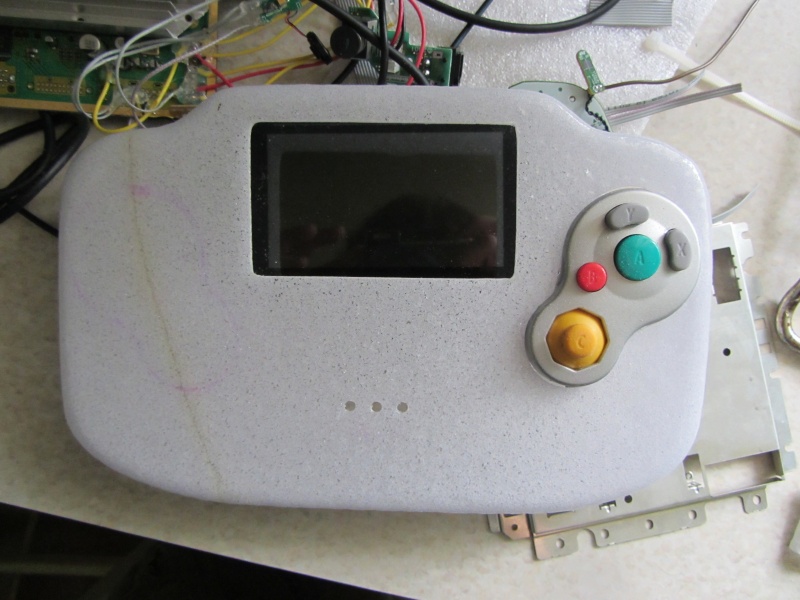
Monstercrunch GCp Worklog

your options :

-buying smaller soldering iron (30 W) (pas ceux de leroy merlin)

-going for the chip directly. The size of your soldering iron doesn't matter that much if you tin the wires (put solder on them first) and then heat the wire, not the tab. Try it. My first soldering iron was enormous yet I could do that sort of wiring.

-Scraping the traces :
now you must locate the traces you cut, and rewire them. Scrape off the paint with a knife or something, apply flux (eau de soudure) and tin, then solder your wire. For that method, the size of the iron and the wire do not matter since it will only connect where you reveal the copper under the paint. So its the way you scrape that determines how the connection will be made.

[Edit : also, us PALs :awesome: don't always have the same circuitry as the diagrams you'll find on modretro. Don't follow them to the letter, use them as a guide, and use your multimeter to test]
 
Thanks, but it is possible to do without flux ? Because I don't have it =/

(et je sais pas si c'est normal mais ma panne (enfin, le truc au bout du fer, je suis pas sûr que ça s'écrive comme ça) a été rongée =/ Je sais pas à quoi c'est dû, mais au départ y'a eu un creux sur le côté, puis petit à petit, elle s'est fait ronger jusqu'à perdre un petit bout (c'est pour ça que je peux rien faire de précis...) Mais c'était un truc à 10€ chez Mr brico donc voilà ^^")
 
yeah that's totally normal for cheap soldering iron, happens to me all the time.

The good thing is that you can trim it.
Whenever it gets brown or doesn't heat solder well enough, or changes shape, just take a dremel or sandpaper or whatever to it, and form it the way you want. You can get it real pointy, that way you can do any small soldering.
I sand my soldering iron about one time I use it out of two.

About flux, you can do away without it, but you definitly need it as it will help you save a lot of time and help your solder stick to the surfaces. I know I couldn't have wired my wiikey if I haven't had some.
Buy some, its cheap, look for "eau de soudure" at Leroy merlin or Mr brico or whatever.

A propos de fer a souder, ou a tu acheté le tien, car je vais devoir en acheter un autre et ceux de leroy merlin sont 60W et sont enormes, et a 60W ca fait litteralement tout bruler...
 
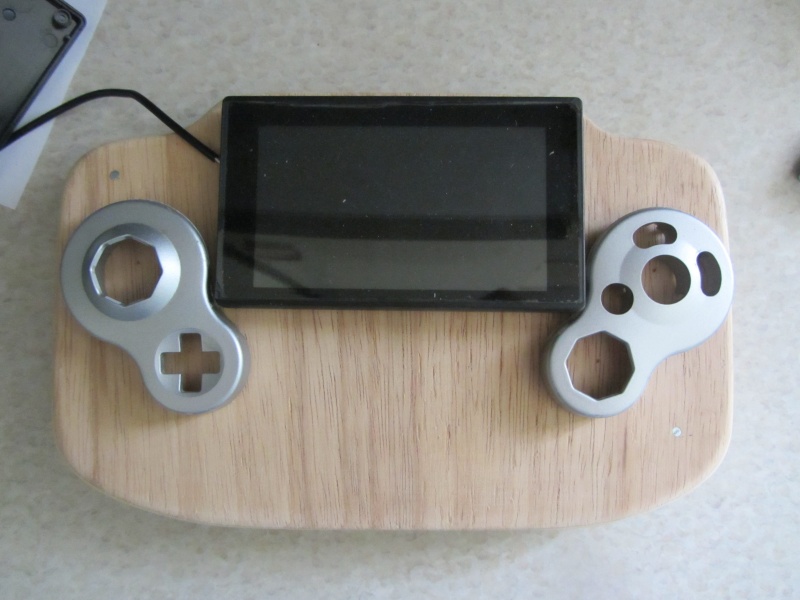
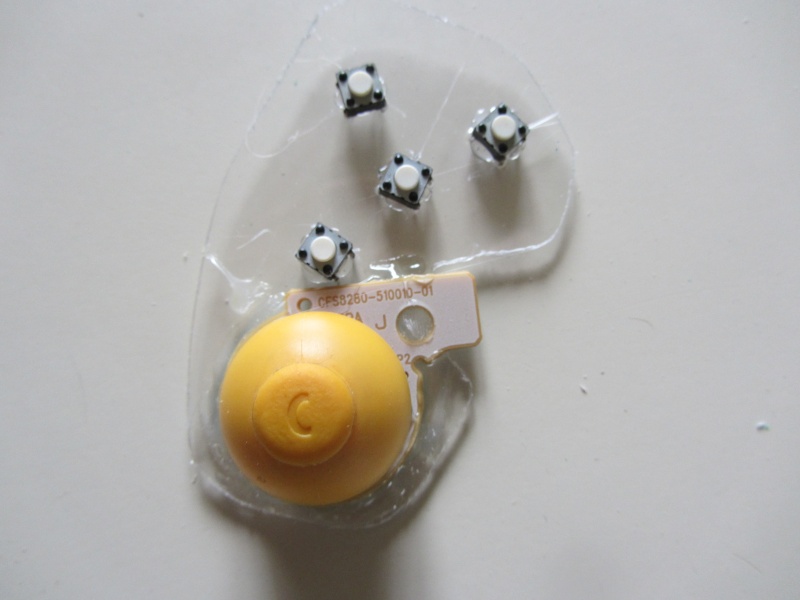
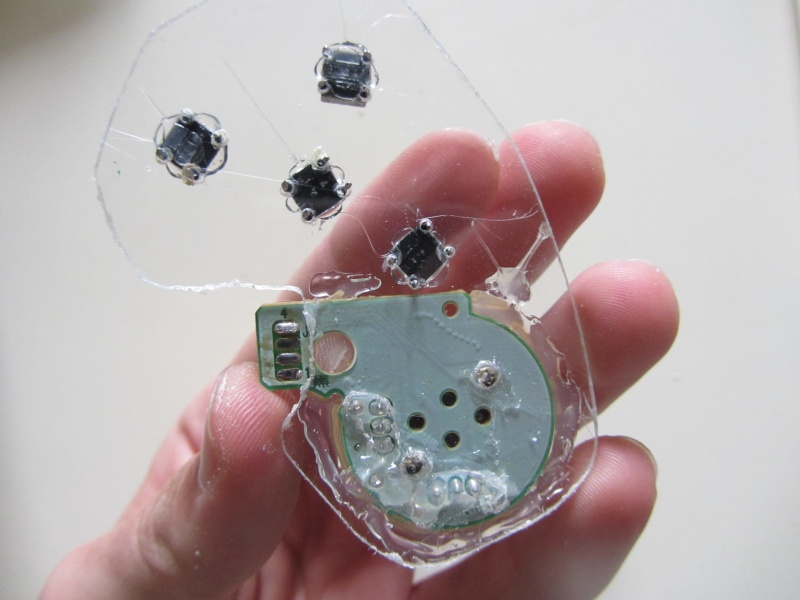
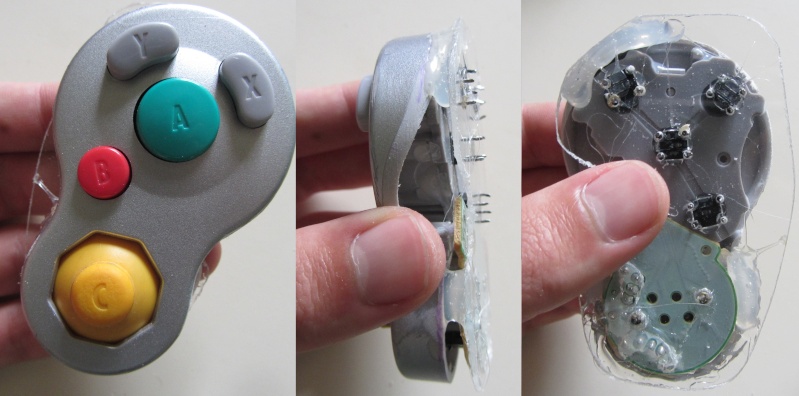
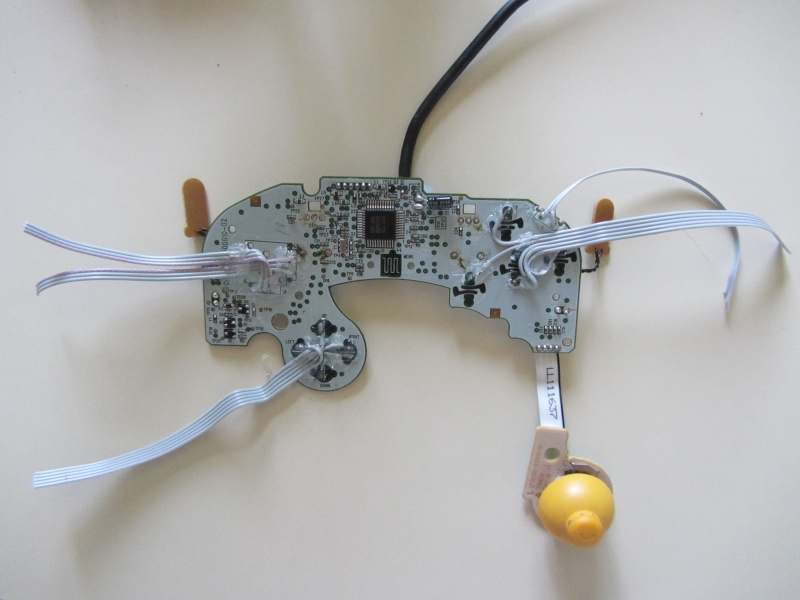
Yop, I decided to keep the controller in one part an relocate the buttons with wires, here some pics:

img_3210.jpg


img_3211.jpg


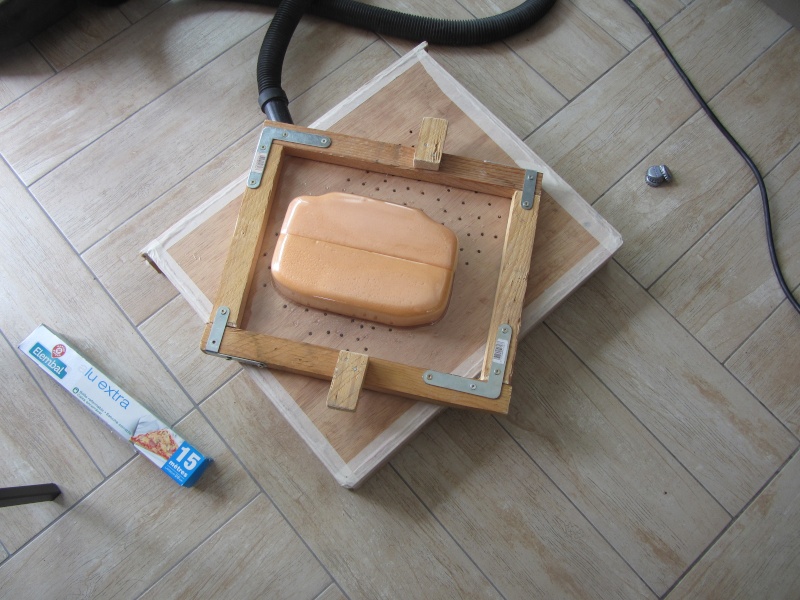
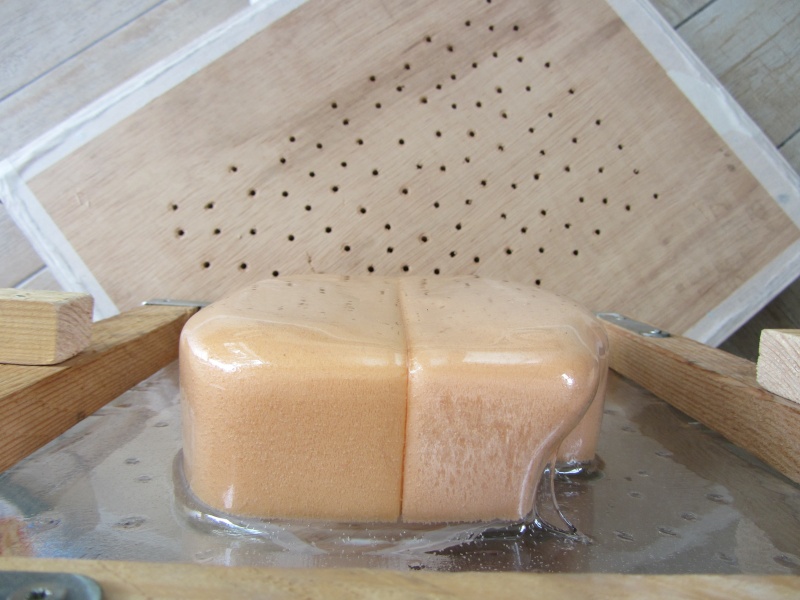
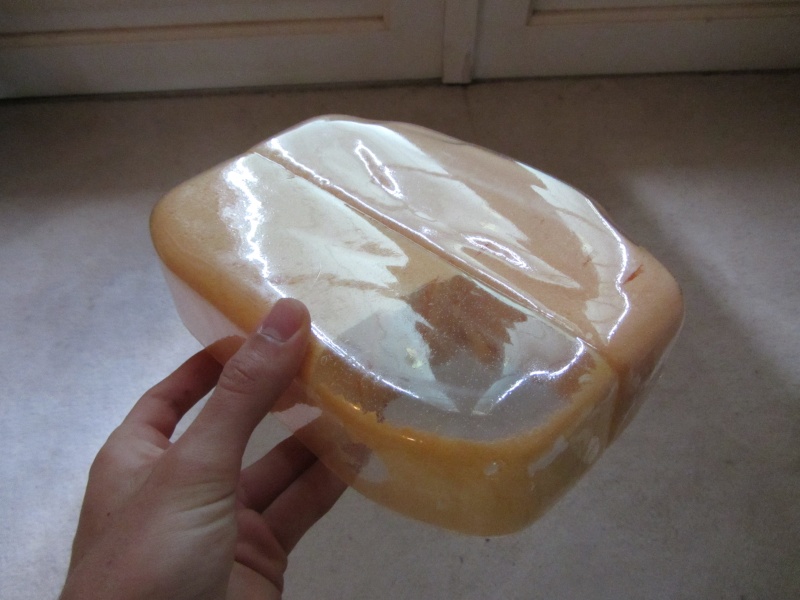
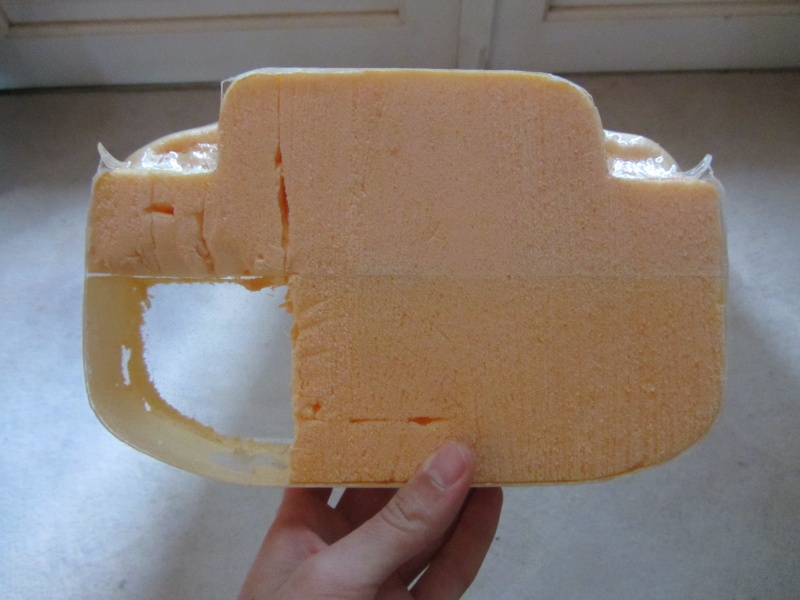
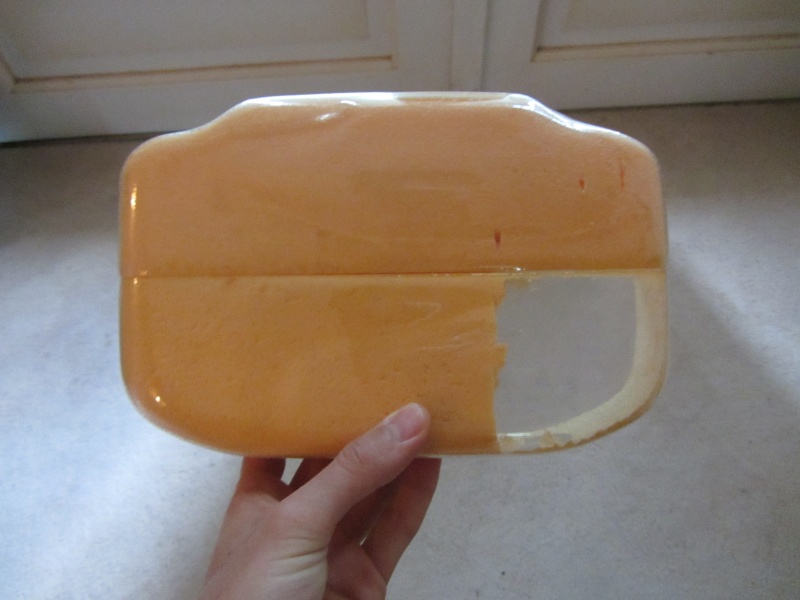
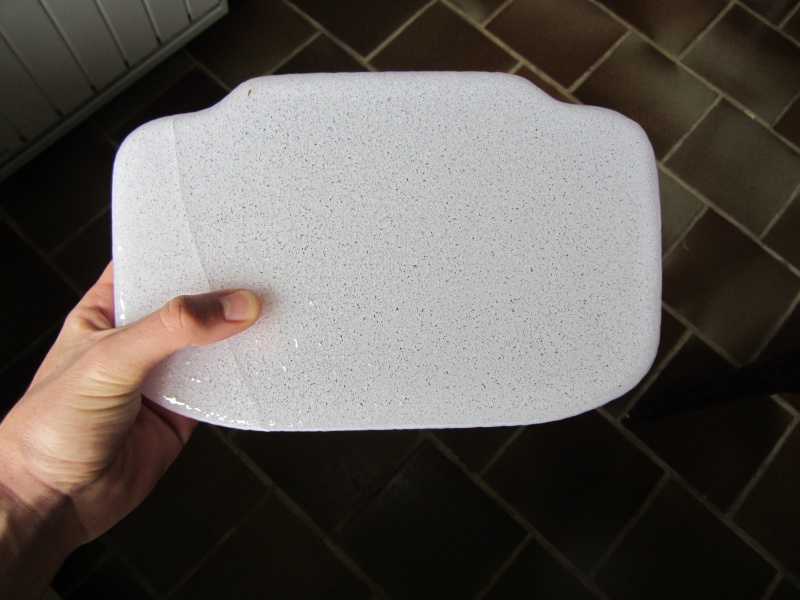
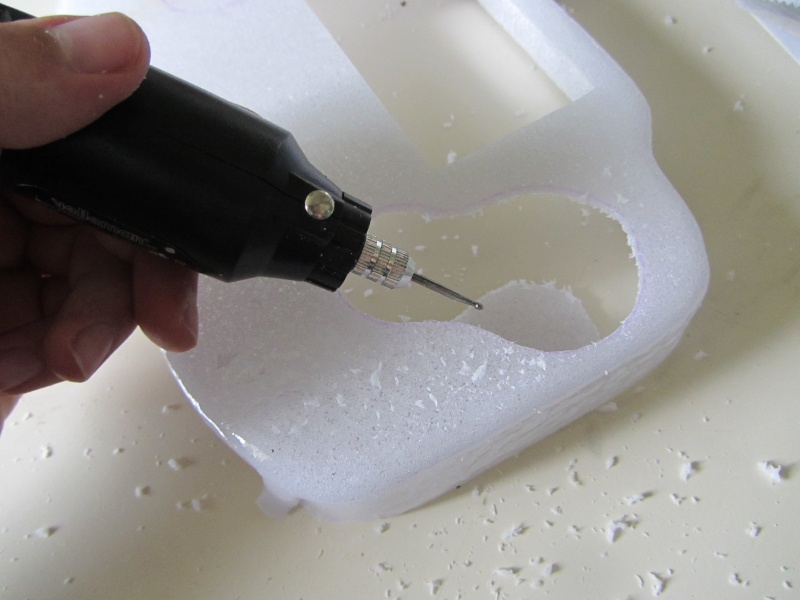
I tried to make my vacuum forming case but it's a very bad result: there are big bubbles on the front that make it uneven... Also, the polystyrene model is stuck to the case because of the heat... So it is very hard to put it off the case => it was a bad idea =/

img_3212.jpg


img_3213.jpg


img_3214.jpg


img_3216.jpg


img_3215.jpg


So... let's do it again :rolleyes:
 
Little teasing...:

img_3217.jpg


So I tried to do an other vacuum forming with a wood model:


It seemed to be very nice ! :D
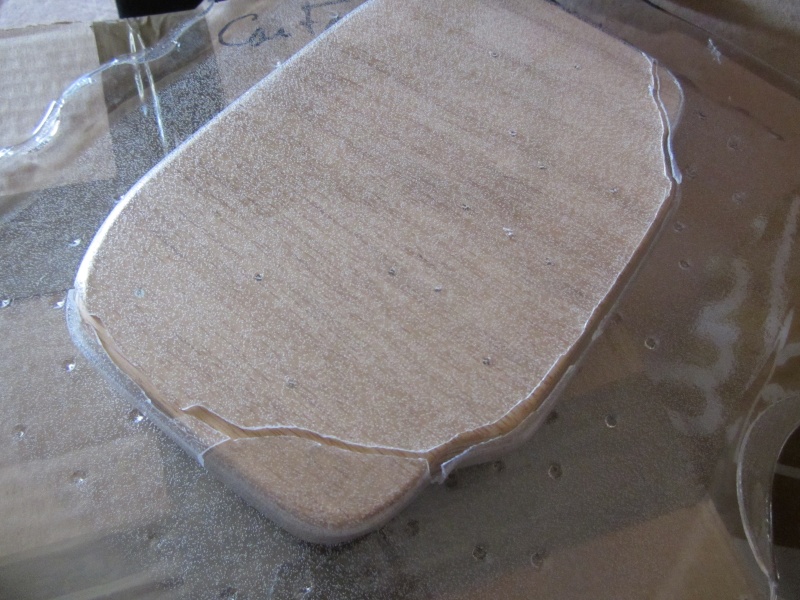
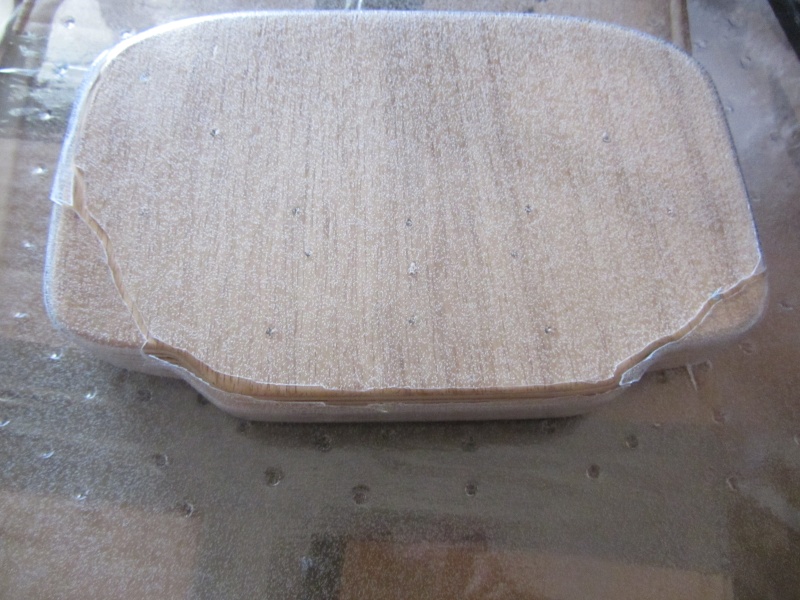
But few minutes later.... A wild noise "crack !!!!" appeared :

img_3218.jpg


img_3219.jpg


:wtf: :wtf: :wtf: :wtf:

I didn't touche it, it happened without anything ! Fuuu...
What could I do to avoid that problem if I want to do it again ?

[edit] I think the plastic is too thin, I'll try with a 2mm one, maybe tonight, probably tomorrow.
 
I would try to slide the wood out from the mold as soon as it can hold it's own shape.
 
It looks like the plastic you're using is really thin. You want abs or polystyrene sheet that is .090-.11in thick or 1.8-2mm.

Plastic shrinks as it cools, in the case of vac forming it will shrink quite a bit. Hence the cracking.
 
New test with 2mm plastic, it's done ;) The case was broken in two parts but I glued it.

img_3220.jpg


img_3221.jpg


Power hole:

img_3222.jpg


Waiting for a dremel kit to work on the case, I think it will be something nice :)
 
Little update:

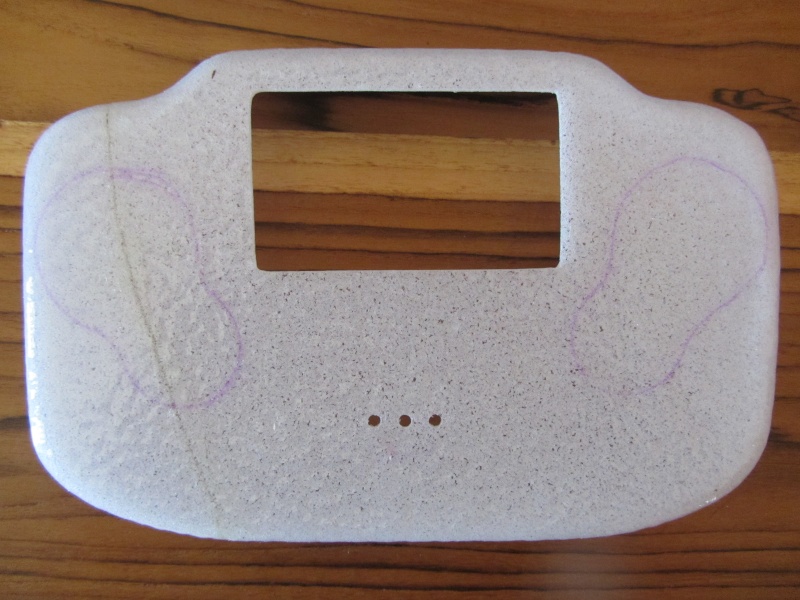
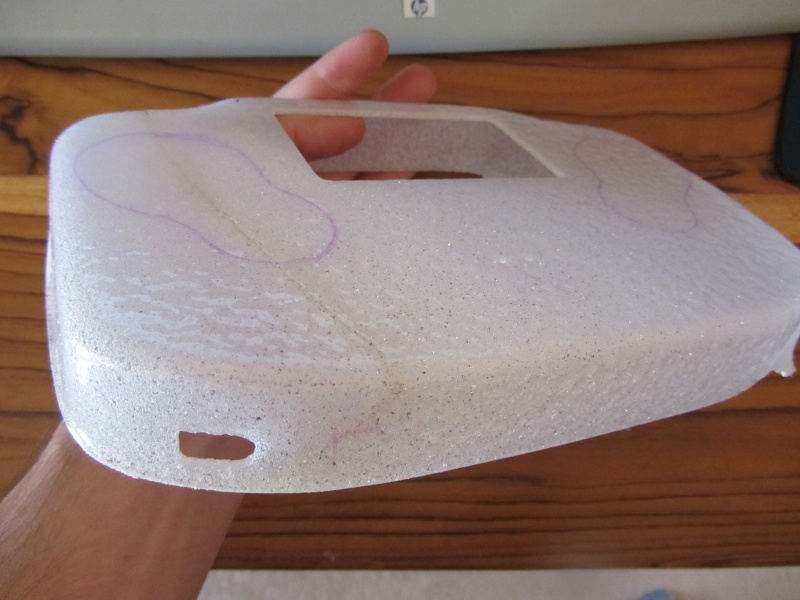
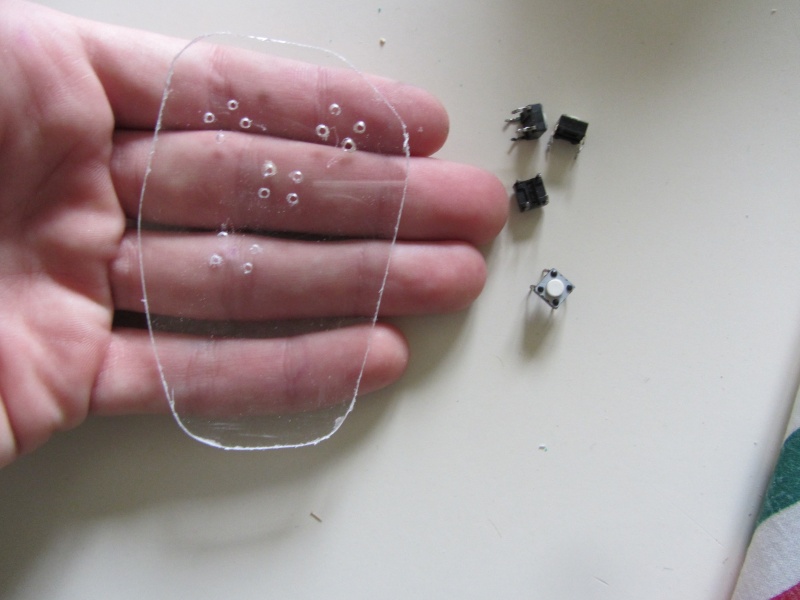
I did the hole for the buttons and the C joystick and also the pushbutton support:

img_3223.jpg


img_3312.jpg


img_3313.jpg


montag12.jpg


img_3310.jpg


Preview (nothing glued)

img_3311.jpg


It's all for today :cool:
 
So thats how people mount the buttons in :D. I am working on a gamecube portable too, my 2nd mobo, Rev A just fried, and today is my birthday, so i went to laststop (local used videogame place) and bought a rev C cube. Now...Time to rip this baby apart :D.
 
I have a question: can I use laptop batteries ? Because there is not just the + an - output/input, there are other pins that I don't know what they do. Moreover, if I can use it, how can I charge it ?
Thanks :)
 
I am wondering the same thing Monster :D. I have an old ibm with a decent laptop battery in it, and before i crack it open, i want to know if i can use it, or if there is something special i need to do.
 
Ill do some research, after i get home from going out to dinner. :awesome: I've seen people using individual li-po's which, i think most laptop batteries use. But i dont know :tophat: so ill check back in later :D

EDIT: DONT BUY BATTERIES FROM EBAY. people have had really bad experiences... :oops:
 
Cuz this is the laptop battery pack i have, from a 2000 ibm think pad 10.8 Volts, at 3600 mAH pretty good for its size :awesome:

Battery.png


EDIT: and yes :awesome: that is a ps3 in the bottom corner, and a gamecube, that i just dremeled the Heck out of in the top left :awesome:
 
3600 mAH won't give you much gameplay time, especially since you are using the disc drive. (i'm assuming that, if you're using a wiikey you still won't get much but it will last a little bit longer)
 
Na, i am using a DD, but i just found a 4800 MAH 11.1v battery from an old sony vaio that was my mom's. I still have to calculate the play time tho, and how i am going to charge the thing.( i mean it gives a sony vaio laptop 3 hours, so what about a gamecube :confused: )
 
Back
Top