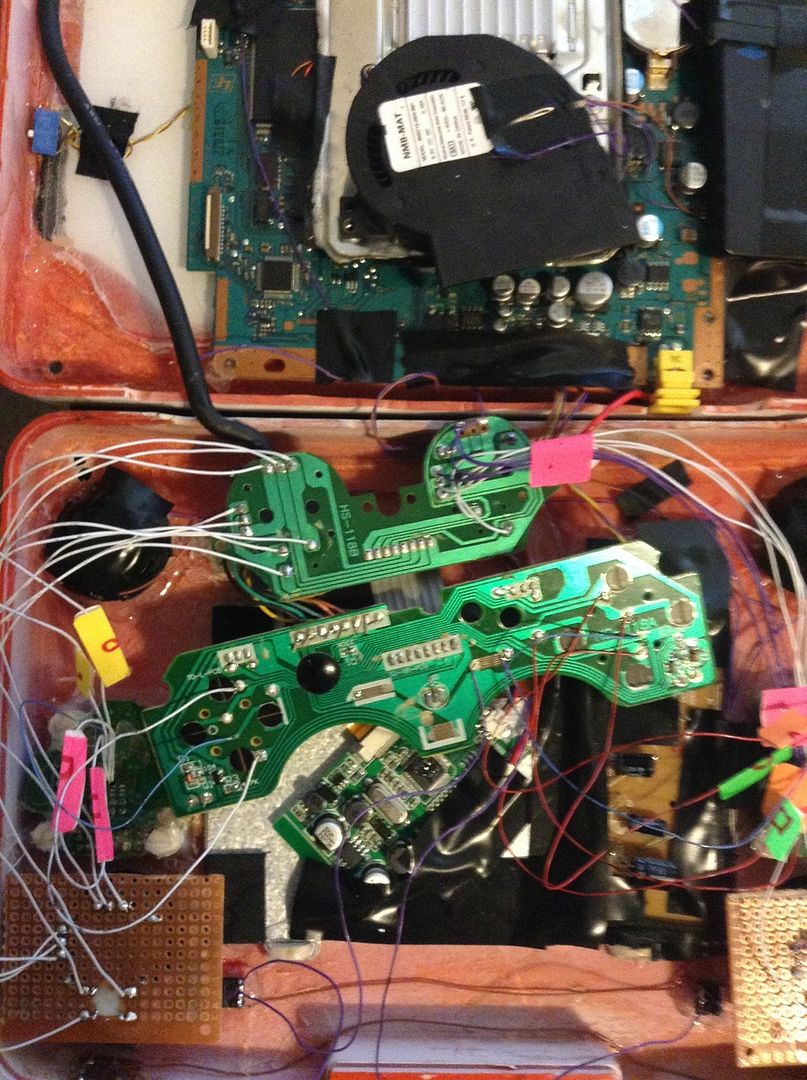
well you know what I'd do (and probably gonna do when I reach that phase) is order a couple of those boards (they're really kinda stupid cheap!!! lol), they have some pretty nice mounting holes, which you could mount in using upturned screws mounted to the inside of the case, that way they'll be removable (for the undoubtedly countless adjustments you'll need to make), and if you wanted to get really fancy (again, I'm probably gonna do this), use breakaway headers to connect the boards (also removable), they already have the holes, so you might at well use them, and breakaway headers are super cheap