Super mario said:
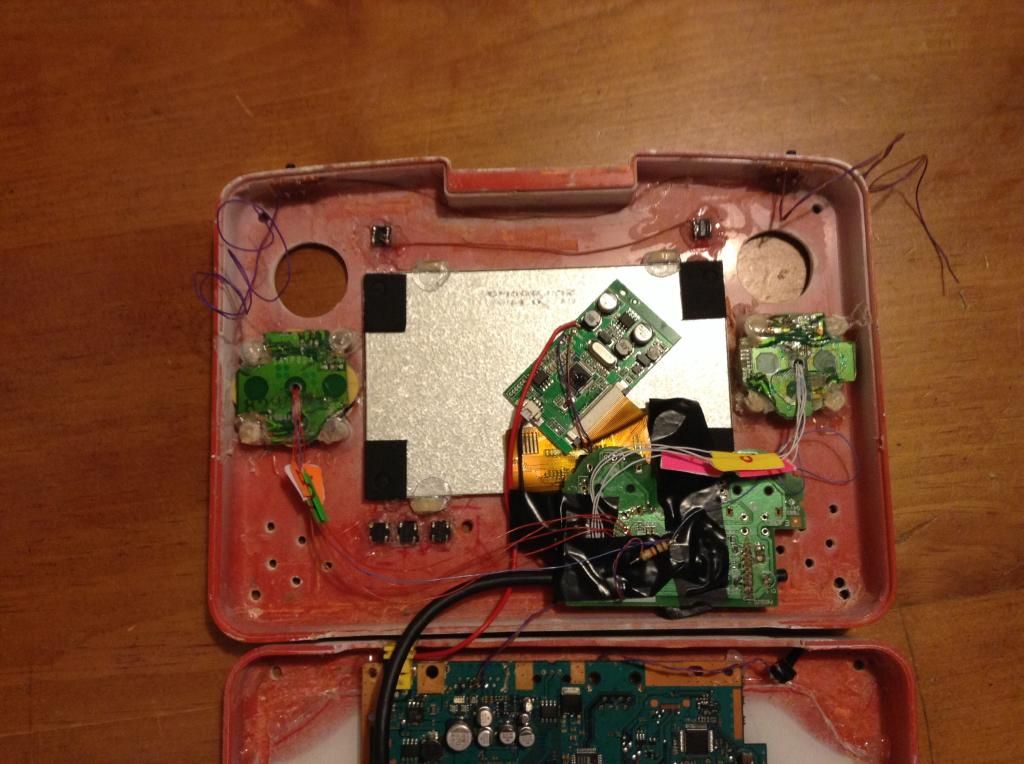
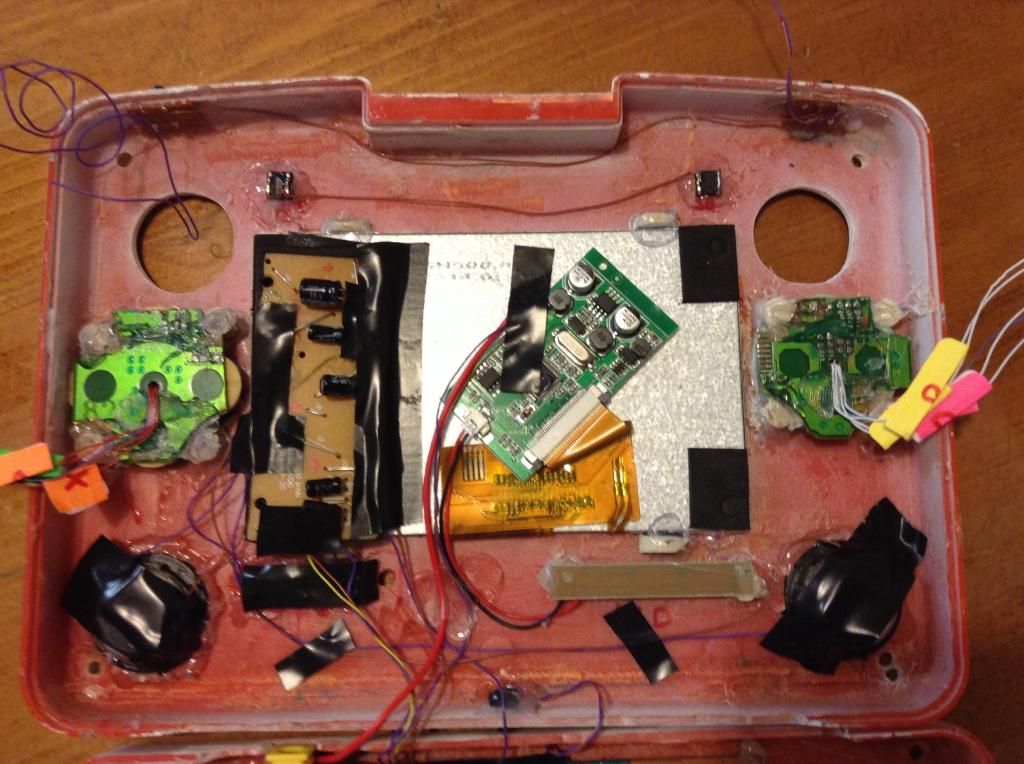
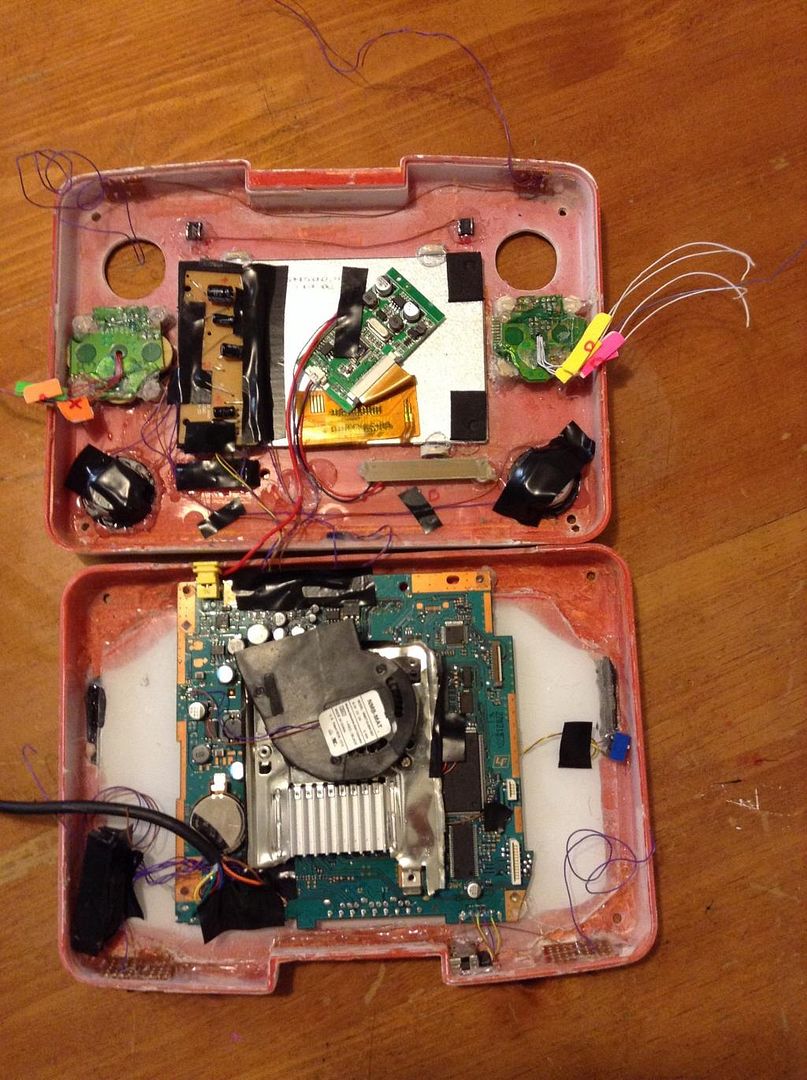
Since I already glued the motherboard in place I might just leave it like that ill just remove power cable to turn off console
well.... there is one way you could do it, but its slightly unorthodox:
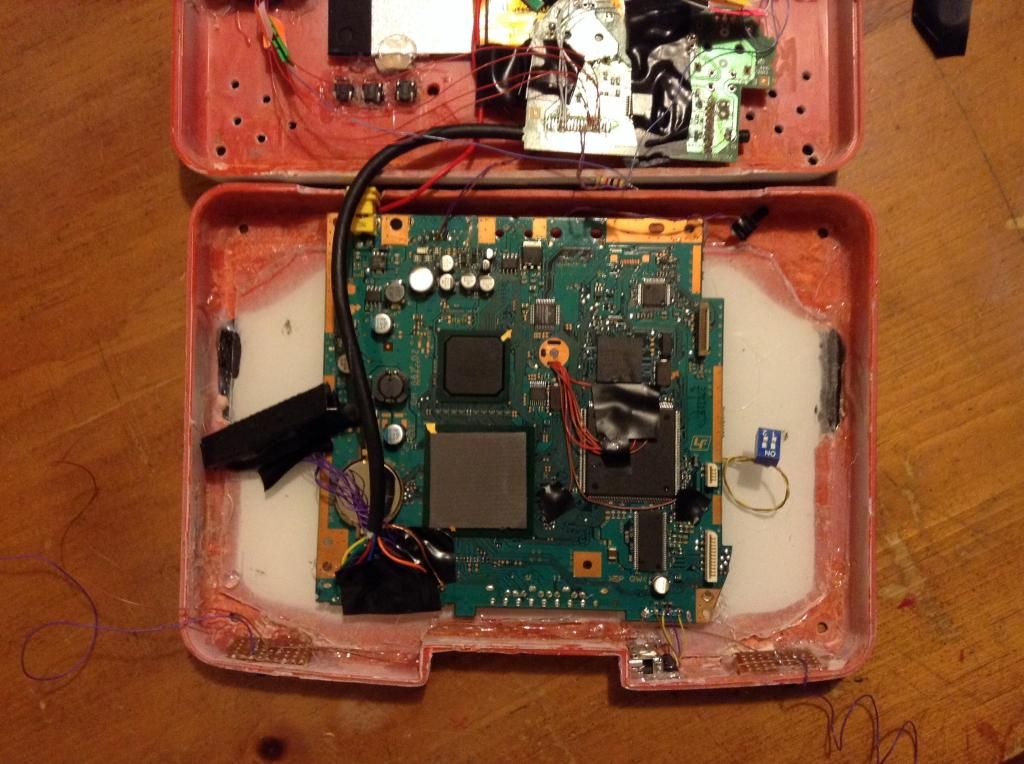
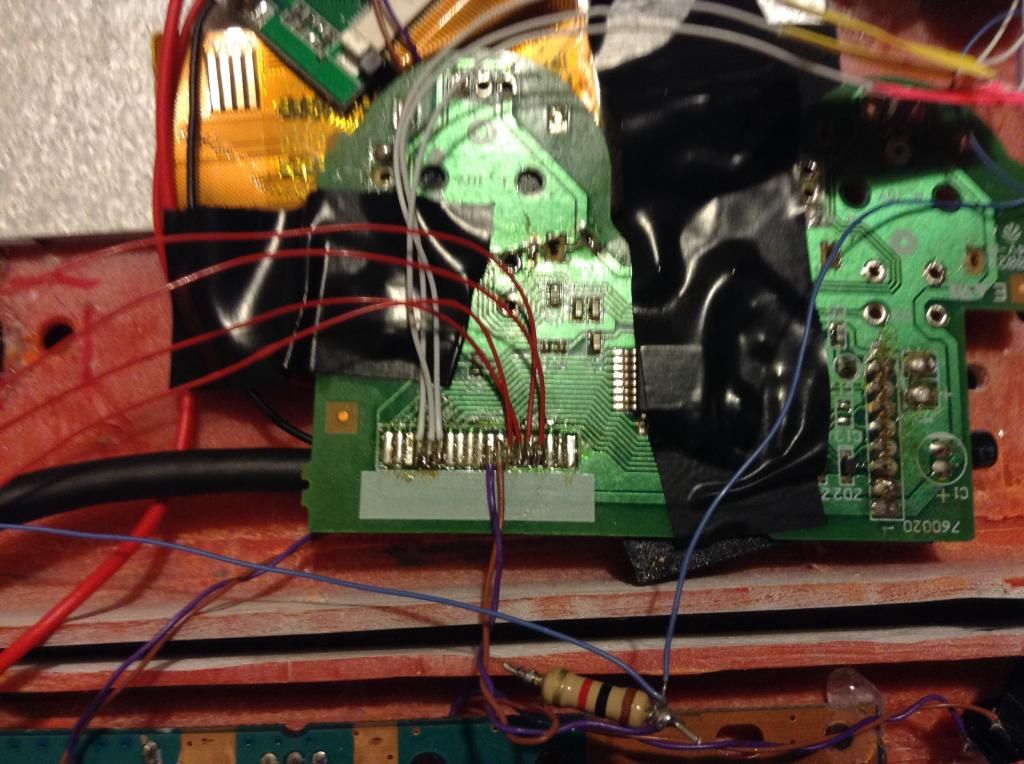
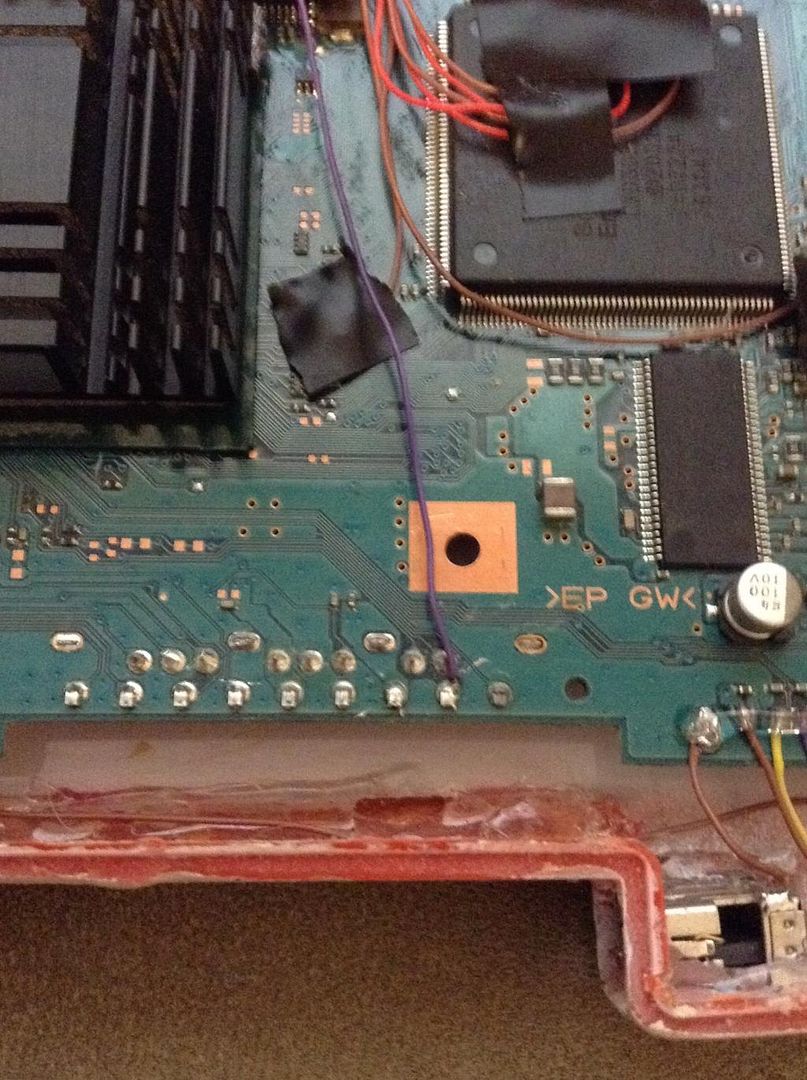
start by removing the big white fuse on the bottom of the board, try to keep it intact, as you can still use it if you still want it's protection.
if you keep it the fuse, solder one end of it to one of the two pads it was originally attached to, and solder a wire to the other end, if you don't keep it, just solder a wire to each of the two pads that the fuse was attached to and put a switch between them
if you don't get what I mean I'll make a mock up and photograph it