Fusion Micro(s) ~ Worklog

:mrgreen: :mrgreen: :mrgreen:

That epoxy based spray paint is nice. Gives a beautiful finish after its dry. I believe it was Ish that suggested this, so its thanks to him. :D

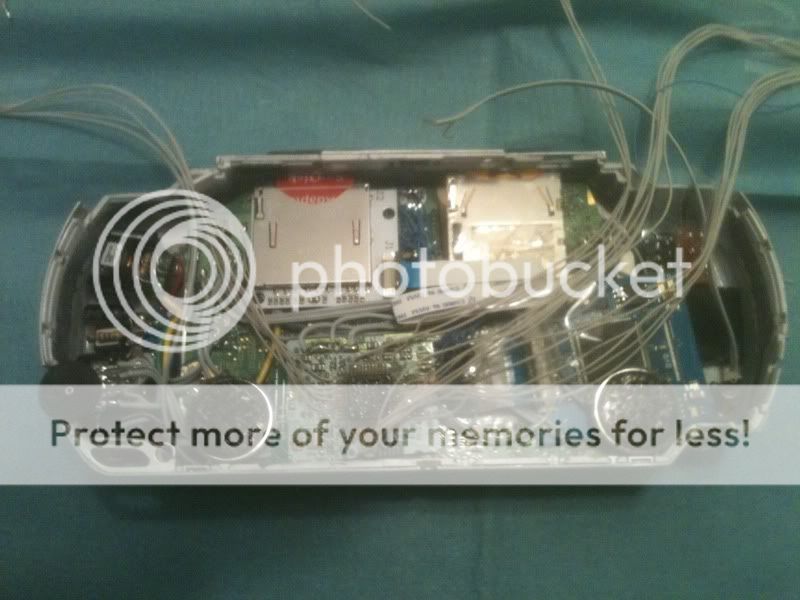
The inside is not quite as nice looking as the outside, you can see that its frankencased though. :D

270dbac9.jpg


I'll be taking some sandpaper inside there to get rid of all that overspray once the paint is dry.
 
Hey ashen, could you tell me where you get that epoxy based paint? I haven't been able to find any.
 
Just google "epoxy appliance spray paint"

The stuff I got is some industrial stuff that comes in a generic looking can, cant remember exactly where I ordered it from now. :/
 
Does it have a brand name?

Edit: Also, the ones I've found say they're meant for metal. Is any sort of preparation required for using it on plastic? Other than sanding I mean.
 
This is the exact stuff I ordered. VHT I guess is the name brand.

http://www.tcpglobal.com/spraypaintdepo ... paint.aspx

It looks like a bunch of the normal companys make this stuff too though, so it may be available at places like wal-mart, target, etc.

http://www.rustoleum.com/CBGProduct.asp?pid=101

http://www.krylon.com/products/epoxy_enamel_paint/

On the back of the can of the stuff I have it says its meant for all kinds of surfaces. I just put a coat of primer on beforehand and go right over that. This stuff gets hard as a rock, so I doubt there's going to be issues with peeling or anything down the road.
 
The only bad thing about it is that it seems to not be readily available in a multitude of colors. If you're sticking to the standard Black/White/Beige/Gray then you're hollywood.

I know for sure there are industrial manufacturers that make at least some different colors because my work used to get cans of the stuff for refinishing equipment, where to buy it is the question though.
 
I'm sure we can track some down eventually, but sexy sexy white and sexy sexy black will do for now.
 
All I have left to do is wire up the internal controller and install the L/R buttons. Maybe a few other piddly things. Should be done in the next few days anyway. :D

IMG_0554.jpg


IMG_0550.jpg


IMG_0553.jpg
 
Ran into some technical difficulties today. I won't go into detail cause I'm still a bit pissy about the whole mess, but I had to pretty much dremel out every single component from the front of the case. Needless to say, this will set me back a bit. :/
 
Ashen said:
Ran into some technical difficulties today. I won't go into detail cause I'm still a bit pissy about the whole mess, but I had to pretty much dremel out every single component from the front of the case. Needless to say, this will set me back a bit. :/


I know the feeling....
 
Ashen said:
Ran into some technical difficulties today. I won't go into detail cause I'm still a bit pissy about the whole mess, but I had to pretty much dremel out every single component from the front of the case. Needless to say, this will set me back a bit. :/

Hey, my first case melted in my paint curing oven. I know how ya feel. :rolleyes:
 
Full analog compatibility. Soft press gives full pot press. Hard press gives full pot plus tact. Tact closest to the outside of the case on each side is raised .5mm higher than the other. Works beautifully.

IMG_0557.jpg


IMG_0556.jpg
 
Back
Top