You are using an out of date browser. It may not display this or other websites correctly.
You should upgrade or use an alternative browser.
You should upgrade or use an alternative browser.
Downing's 3rd N64p "The Nimbus II" Complete!!! Update Pg.11
- Thread starter Downing
- Start date
Downing
Well-Known Member
Re: Downing's 3rd N64p "The Nimbus II"
I think I'm gonna attemp the Blue w/White overtones first off...But I can't make that work than all Black it is. I've got a spare case that didn't come out well to practice on.
As for you myMixed question, the black is .093 Thick. A bit heavier than it needs to be, but that's what I had on hand to use. It just has to cook a bit longer when vac-forming. Not that big of a deal though, it's pretty solid.
Bino Gas
Active Member
Re: Downing's 3rd N64p "The Nimbus II"
I'm not much for complicated paint schemes; you never see them on consumer electronics or really anything for that matter. If I were you I would go with either straight white, 2 distinct colors, or black. If you make it black, then maybe you should consider calling it the "Stratus 64" instead...
I'm not much for complicated paint schemes; you never see them on consumer electronics or really anything for that matter. If I were you I would go with either straight white, 2 distinct colors, or black. If you make it black, then maybe you should consider calling it the "Stratus 64" instead...
Downing
Well-Known Member
Re: Downing's 3rd N64p "The Nimbus II"
Got the rough epoxying/sanding done, now just waiting on the second coat to dry. Progress will be limited this week as at 4:00AM Thurday morning I'll be on a plane headed to Florida. But it's no vaction, work related and I really don't want to go! But there's not a lot I can do about it, so I'll just grin a bare it. But in anycase, I should have a pic or two up before too long!
Got the rough epoxying/sanding done, now just waiting on the second coat to dry. Progress will be limited this week as at 4:00AM Thurday morning I'll be on a plane headed to Florida. But it's no vaction, work related and I really don't want to go! But there's not a lot I can do about it, so I'll just grin a bare it. But in anycase, I should have a pic or two up before too long!
Downing
Well-Known Member
Re: Downing's 3rd N64p "The Nimbus II"
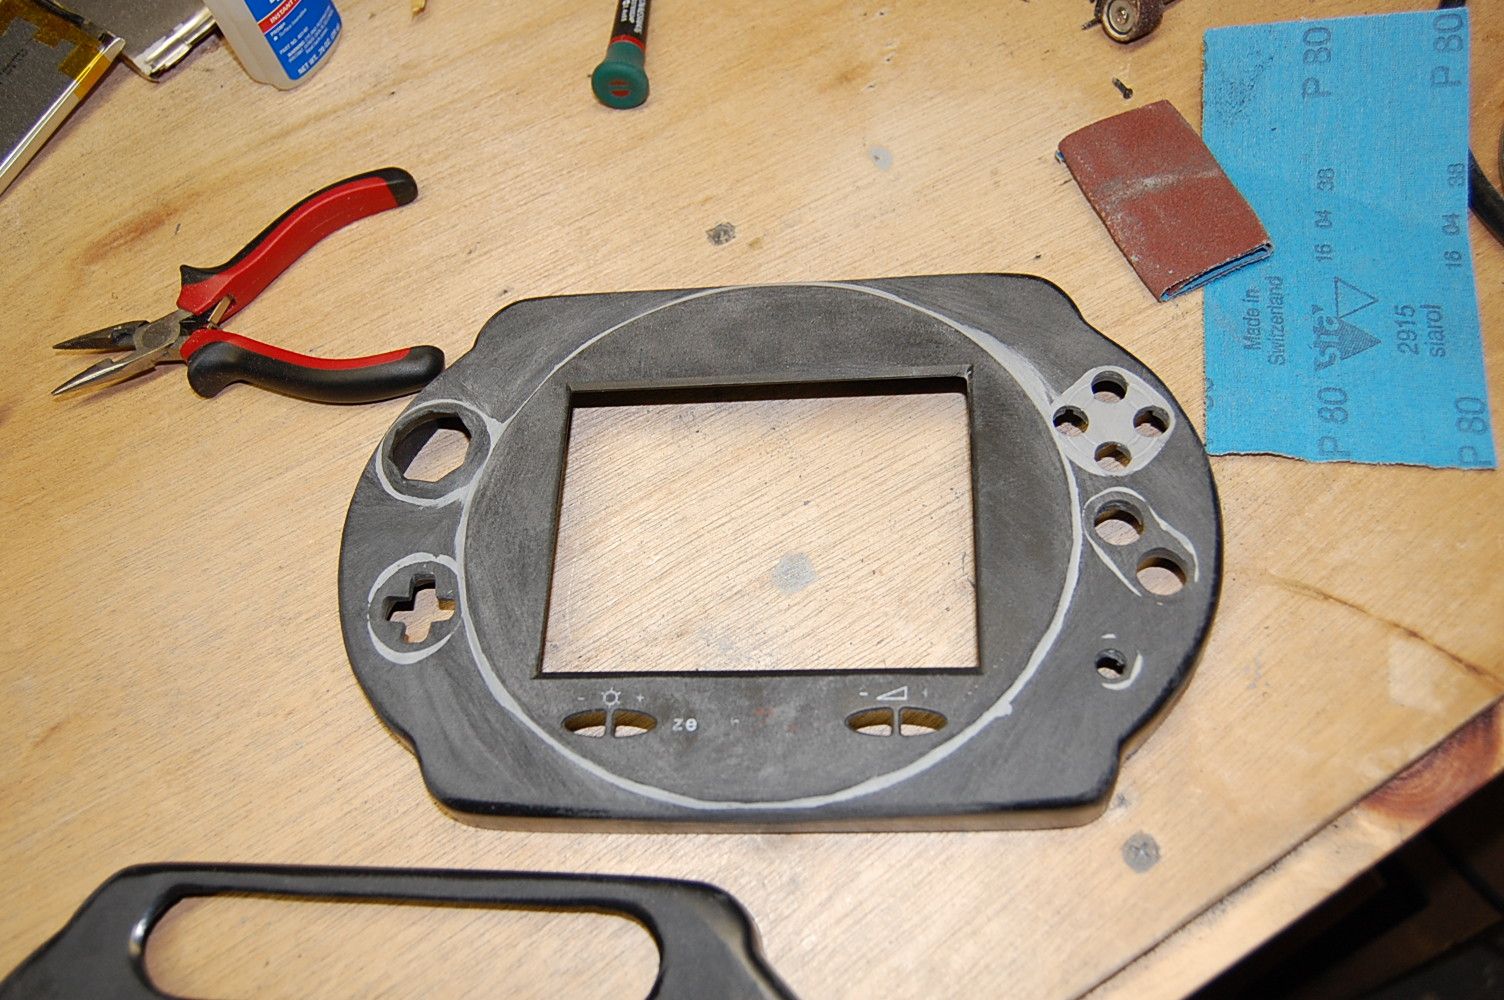
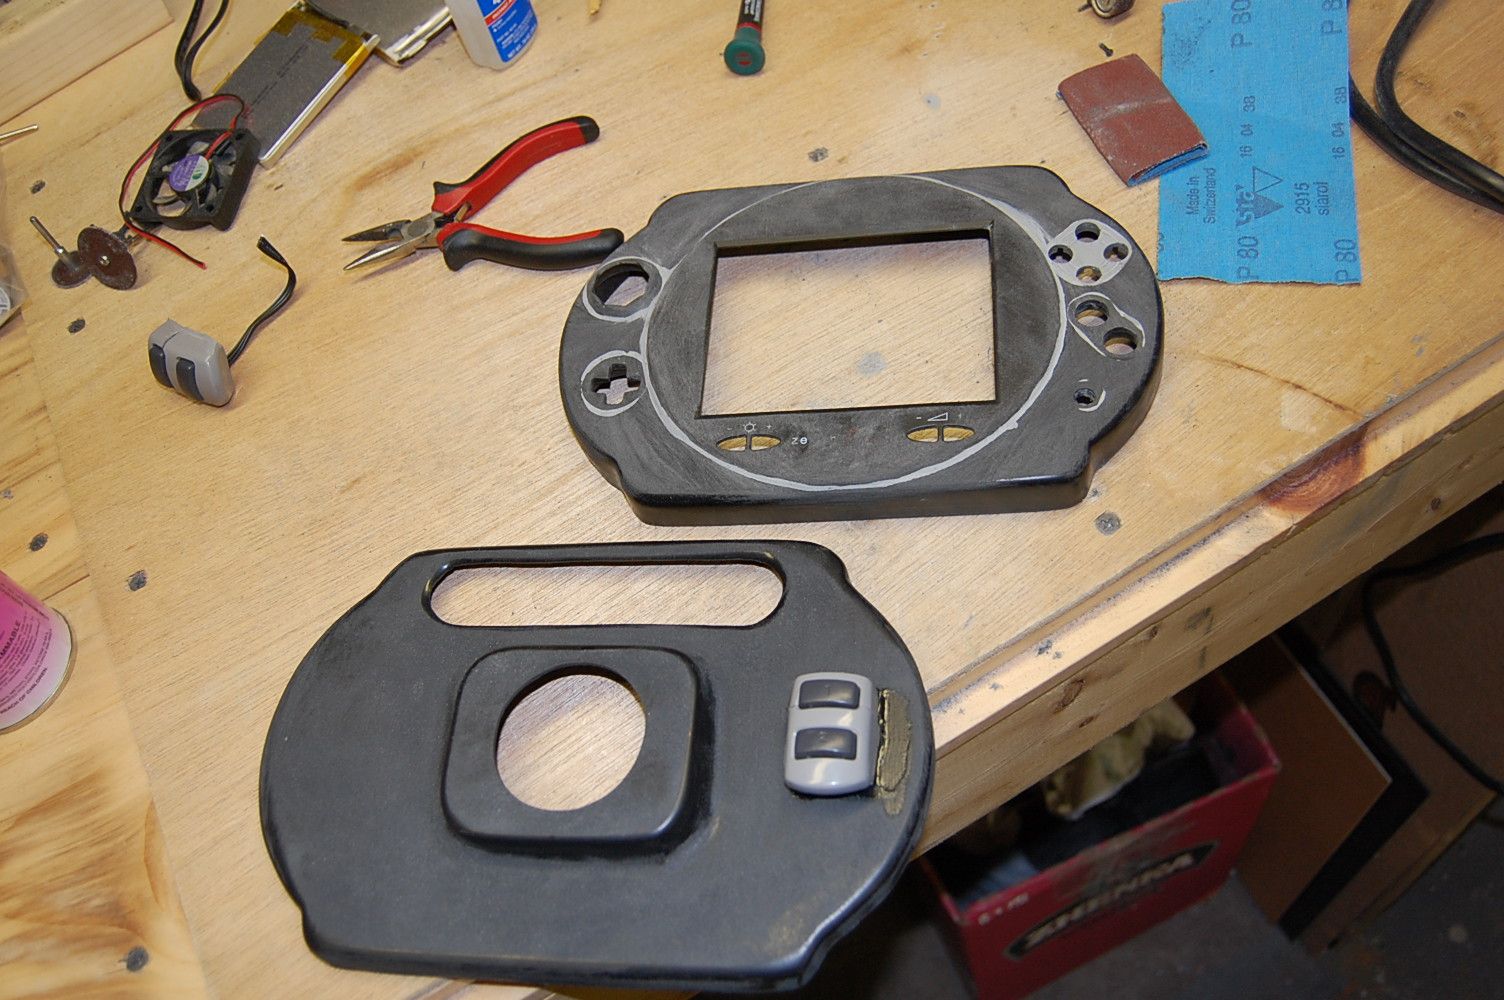
Alright, well here are some progress photos. The front and back are now roughly sanded and the front filling is done. I just need to hit it with 120, 240 and 480 grit sand paper (maybe even 600) to smooth it out. The back now has two PlayStation controller L and R buttons on the back. Unfortunately this made it a bit thicker than I wanted, but I needed to have the buttons external because there is no room at all for them on the inside and I didn't want to do what I did with the original Nimbus and use the x and O buttons from it.
So tomorrow I should be able hard fill the PS1 buttons and sand them down too and hopefully I'll get a coat or two of paint on before I leave for Florida.
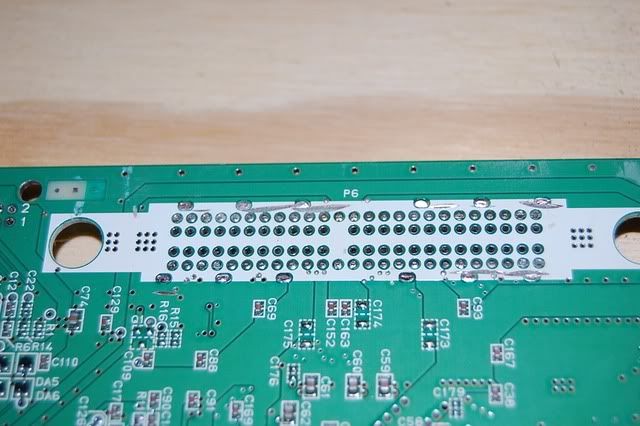
I did notice that when I took the back expansion port off, I accidentally cut through a trace. I'm looking at it and it looks as if it can go to a small cap. Any idea if I need to reroute this or where to reroute it? If you know, please share. Still not that good at tracing traces...don't know why, it sounds so easy.
If I had to venture to guess, it looks like it goes down to the C152 cap and I have no idea what the Heck that does or if it's important...I'm guessing it is. Where would be a good place to reconnect it?

Everything filled in nicely.

The back almost complete.

Alright, well here are some progress photos. The front and back are now roughly sanded and the front filling is done. I just need to hit it with 120, 240 and 480 grit sand paper (maybe even 600) to smooth it out. The back now has two PlayStation controller L and R buttons on the back. Unfortunately this made it a bit thicker than I wanted, but I needed to have the buttons external because there is no room at all for them on the inside and I didn't want to do what I did with the original Nimbus and use the x and O buttons from it.
So tomorrow I should be able hard fill the PS1 buttons and sand them down too and hopefully I'll get a coat or two of paint on before I leave for Florida.
I did notice that when I took the back expansion port off, I accidentally cut through a trace. I'm looking at it and it looks as if it can go to a small cap. Any idea if I need to reroute this or where to reroute it? If you know, please share. Still not that good at tracing traces...don't know why, it sounds so easy.
If I had to venture to guess, it looks like it goes down to the C152 cap and I have no idea what the Heck that does or if it's important...I'm guessing it is. Where would be a good place to reconnect it?

Everything filled in nicely.

The back almost complete.

Basement_Modder
He who mods in thy basement.
Re: Downing's 3rd N64p "The Nimbus II"
Most people cut that trace off anyway. Will be fine if you wire your power to the switch pins or to the 7805 and 3.3v cap.
Most people cut that trace off anyway. Will be fine if you wire your power to the switch pins or to the 7805 and 3.3v cap.
Downing
Well-Known Member
Re: Downing's 3rd N64p "The Nimbus II"
Do you have a link to the diagram that shows that. I mean I think it's switch pin 7, but I don't know where the 3.3v cap is. This is they type of elementary work that pisses me off because I don't know it that well! But the concept is so easy! Ughh...anyway, let me know if there is something...I know there is, I've seen it.
Do you have a link to the diagram that shows that. I mean I think it's switch pin 7, but I don't know where the 3.3v cap is. This is they type of elementary work that pisses me off because I don't know it that well! But the concept is so easy! Ughh...anyway, let me know if there is something...I know there is, I've seen it.
Basement_Modder
He who mods in thy basement.
Re: Downing's 3rd N64p "The Nimbus II"
For wiring to the switch, pin 7 is 7.4v, pin 6 is 3.3v, and GND goes anywhere.
For 7805, its goes 7.4v to left leg of 7805, and 3.3v to positive side of C141 (2 caps to the left of the 7805) GND goes anywhere.
For wiring to the switch, pin 7 is 7.4v, pin 6 is 3.3v, and GND goes anywhere.
For 7805, its goes 7.4v to left leg of 7805, and 3.3v to positive side of C141 (2 caps to the left of the 7805) GND goes anywhere.
mymixed
Well-Known Member
Re: Downing's 3rd N64p "The Nimbus II"
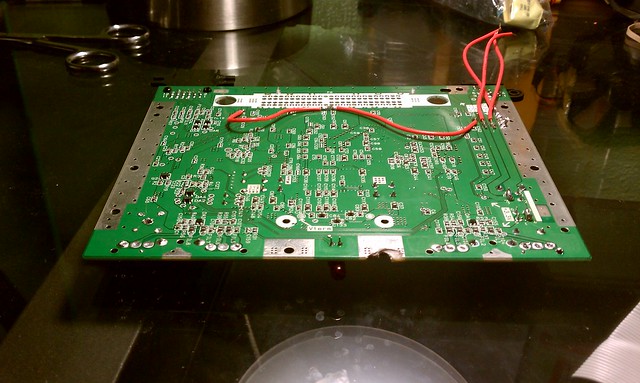
Here's my diagram for rewiring that 12v trace. Just scratch off the green to get the copper that you can solder to under it. The X is where you need to scratch & solder.

(Larger Image: http://farm5.static.flickr.com/4148/515 ... 8ba6_b.jpg)
Final Product:

(Larger Image: http://farm5.static.flickr.com/4127/518 ... efda_b.jpg)
EDIT: What plastic thickness would you recommend?
- mymixed
Here's my diagram for rewiring that 12v trace. Just scratch off the green to get the copper that you can solder to under it. The X is where you need to scratch & solder.

(Larger Image: http://farm5.static.flickr.com/4148/515 ... 8ba6_b.jpg)
Final Product:

(Larger Image: http://farm5.static.flickr.com/4127/518 ... efda_b.jpg)
EDIT: What plastic thickness would you recommend?
- mymixed
Basement_Modder
He who mods in thy basement.
Re: Downing's 3rd N64p "The Nimbus II"
^ do not do that. It is unnecessary and makes the board less trim-able.
^ do not do that. It is unnecessary and makes the board less trim-able.
Jidan
JEEEEEEEEDAN
Re: Downing's 3rd N64p "The Nimbus II"
Care to elaborate?
budnespid said:Trust us on this one. You're doing it wrong.
Care to elaborate?
bud
DAT ASS
Re: Downing's 3rd N64p "The Nimbus II"
If you do that his way you can trim as close to the CPU.
BUT if you wire 7.4v to the higher leg of the 7805 and wire 3.3v directly to the back of the board under cap c69 you can trim all the way to the traces on the side of the CPU or even all the way to the legs and then rewire the traces to the RCP.
Get what I'm saying?
Jidan
JEEEEEEEEDAN
Re: Downing's 3rd N64p "The Nimbus II"
This pleases me. I must find this on my own next week.
ANYWAY, back to Downing's N64p...looks great so far!
budnespid said:No.
If you follow SSs trimming guide, you ONLY have to rewire the two voltages that I mentioned.
This pleases me. I must find this on my own next week.
ANYWAY, back to Downing's N64p...looks great so far!
Basement_Modder
He who mods in thy basement.
Re: Downing's 3rd N64p "The Nimbus II"
I just noticed that he's using that fatass solid-core ratshack wire, too.
Get some REAL wire.
I just noticed that he's using that fatass solid-core ratshack wire, too.
Get some REAL wire.
Similar threads
- Replies
- 0
- Views
- 2K
- Replies
- 0
- Views
- 2K
