I think I've been so excited about the casting process that I've forgotten to outline exactly what goes into this part of it. I'll probably do a video log later on of this part, but for now here's the typed version.
Before we do anything else we need to make absolutely sure the inside cavity of our silicone mold is perfectly clean. Anything left in the cavity before pouring will show up in the cast part. Dust, cat hair, fuzzies, lint, whatever, we gotta make sure its all out of there. Even the oily residue left over from a previous casting will make the current pour look terrible after casting. I've been wiping my molds out with isopropyl alcohol and a lint free rag. If they get really dirty you can wash them with warm water and dawn.
I've read that pre-heating the silicone molds is useful to aid in filling and curing. So I've been heating them in my toaster oven for about 15-20mins before I prep them for pouring.
Molds cleaned and heated, place on vibrating table thing and add some pour spouts:
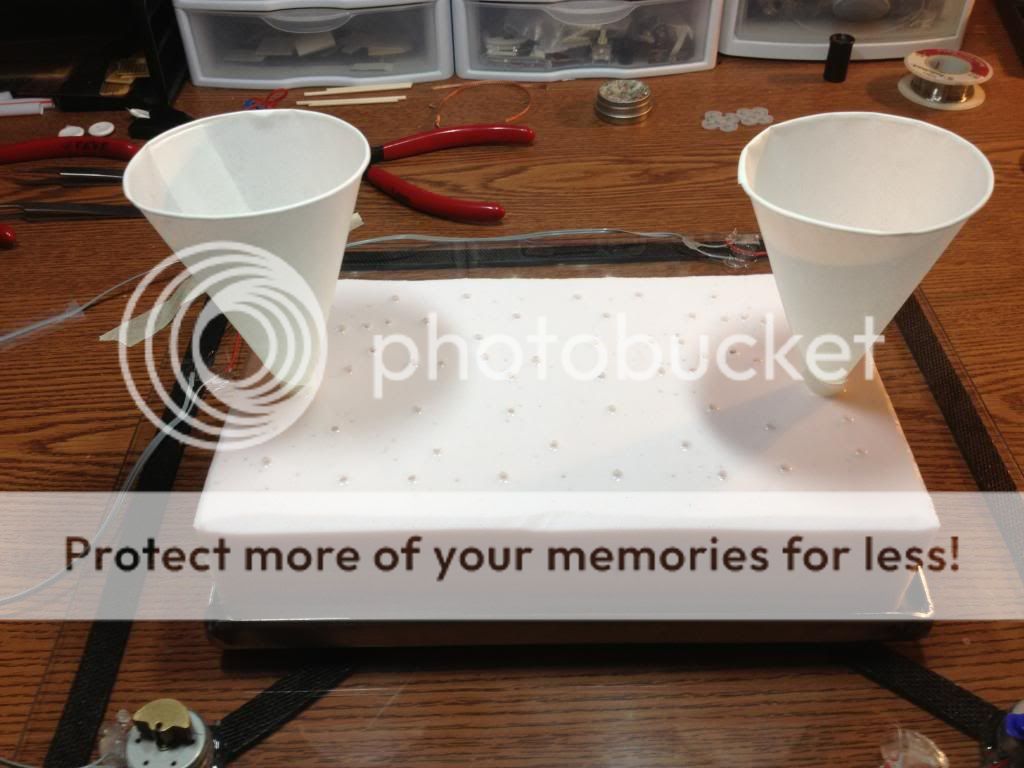
I've found that the opening size on the actual paper pour spouts is super critical to getting a good fill. If your opening is too big, the liquid plastic will flow in too quickly and air will be trapped easier. If your opening is too small the liquid plastic may start to harden (cure) before the cavity is completely filled. Its pretty critical to find the idea pour spout opening size early on in test pours. If you vary the pour spout opening size to much with each pour you will get mixed and unreliable results.
Anyway, the type of liquid plastic I'm using is "Alumilite White" It gets mixed in equal parts (1:1) by either volume or weight So for example 70grams of "A" and 70grams of "b":

After the two equal parts are weighed out any dye that you want to add is mixed into the "A" side first:

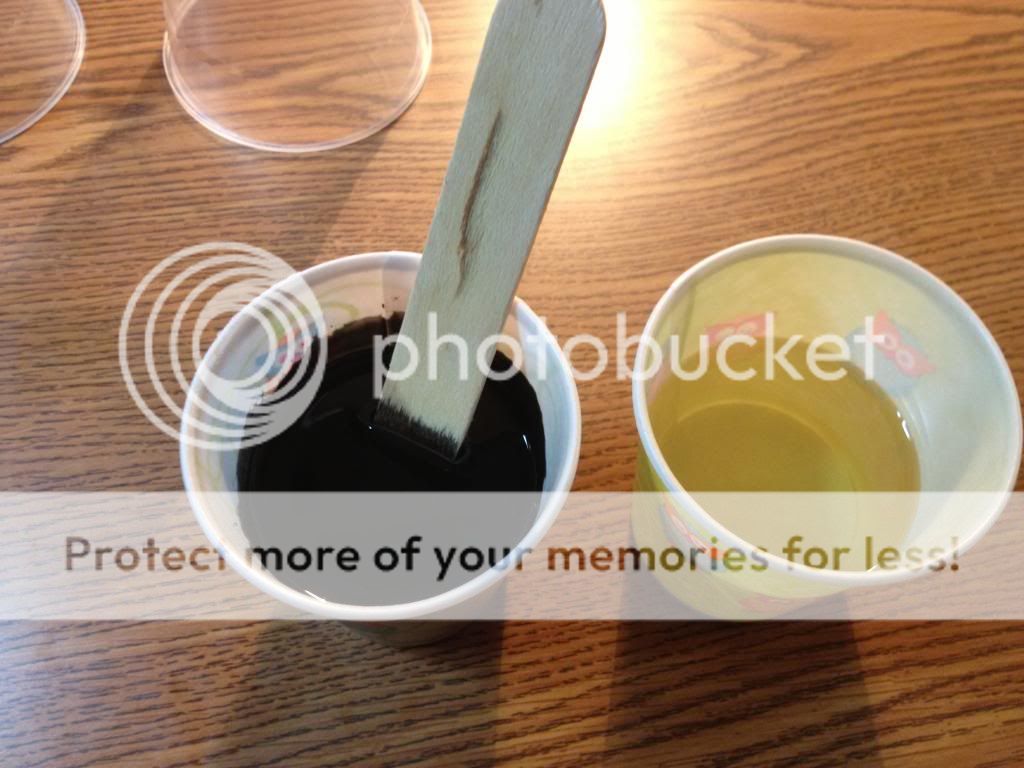
From this point both "A" & "B" are mixed together for about 30 seconds. From this point on you've gotta be really quick. The "pot life" or working time for this stuff is very short after its mixed together. You've only got about a minute or so to do waht you've gotta do before this stuff starts getting curing and getting "gel like" and hardens from there.
So with the plastic mixed we now turn on our vibrator table thing to aid in filling, and pour this stuff slowly into our pour spouts. The cavity inside the mold will fill and eventually the liquid plastic will flow up and out of all of the vent holes and cover the top of the mold. At this point I've been taking the whole filled mold and quickly putting it inside a vacuum chamber and letting the vacuum run for a few minutes while the plastic "gels" up. Then I remove the mold and remove the excess overflow that's laying on the top of the mold where the vents are. Then the filled mold goes back in the oven for 15-20mins @ 150 degrees F to help aid in cure. This gives a better "hardness" of the cast part. After the 2nd cooking is done the filled mold is removed and left to cool to room temperature (40mins - 1hr). The part can then be demolded.
Thats about it. After what seemed like alot of pissing around yesterday, adding vents and doing test pours. I've finally got some front and back castings tht I'm mostly happy with:
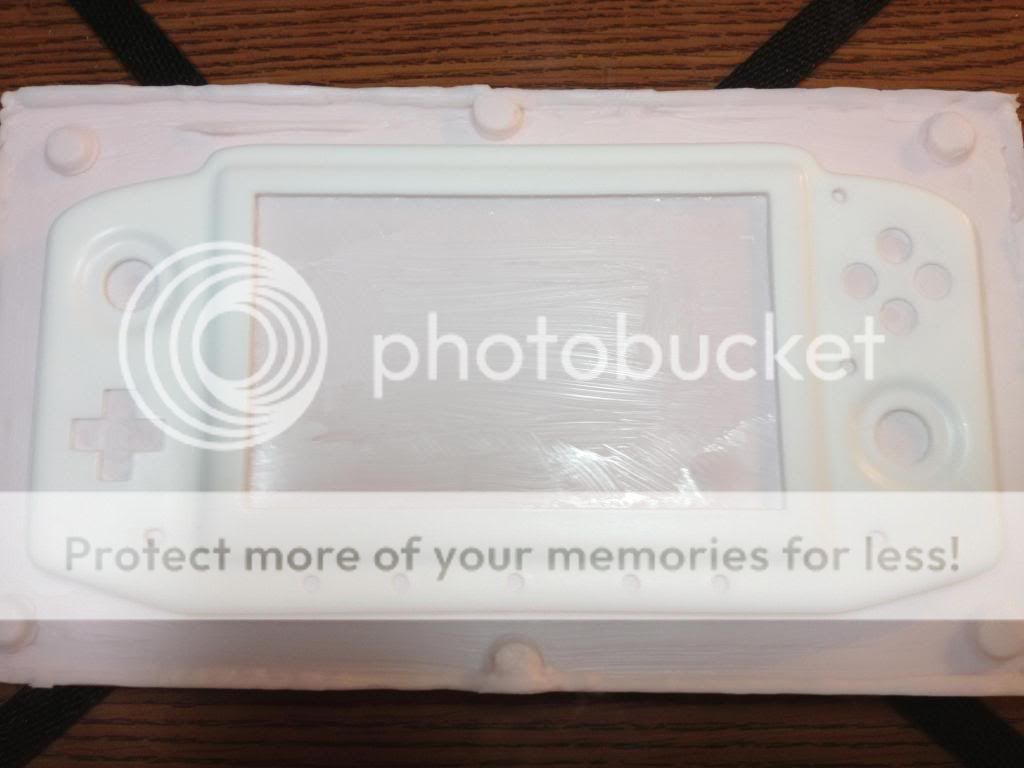
There are still some very small imperfections around the edges, but I don't think I'll get rid of them without a more professional setup. I'm pretty happy, even if the end result still requires a bit of finishing and painting. It still beats the flax out of making each case from scratch.

")


