Basement_Modder
He who mods in thy basement.
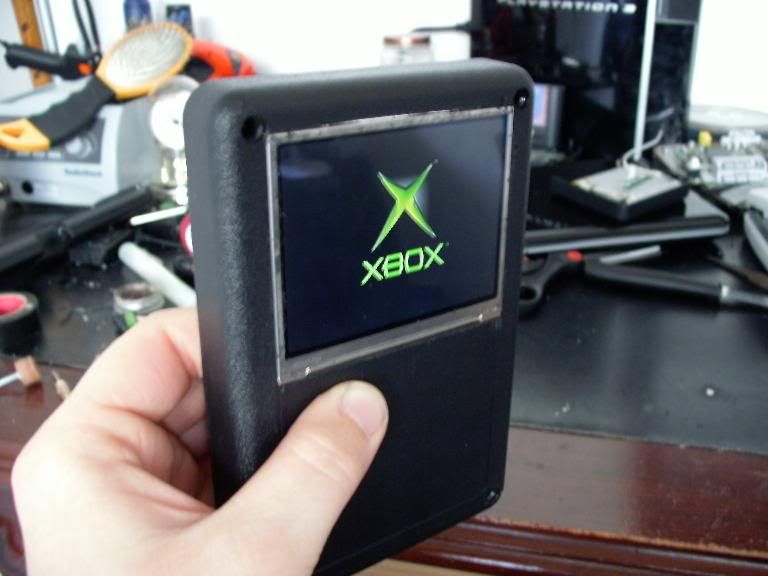
Re: Genesis 3 Portable Worklog
If you come accross one, could you let me know?hailrazer said:Basement_Modder said:I have one issue-I can't find a Dang hori minipad! I was planning on abs-cementing the front of the case in one piece to the front and putting the board under it like normal. Seemed simple enough, but I cannot for the life of me find a hori minipad! D:
Yep they are almost impossible to find now.