SS's Trashcan Iron Man Armor!

Hermaphroditus said:
Jidan said:
That's pretty neat - you should try using Pepakura.

156946_479998116032_648591032_5875257_4610209_n.jpg

^Size tester for an HD Iron Man helmet^

Also I'm making Jorge's suit from Reach with Pepakura; it works wonders. :p

131.jpg
Pepakura is not THAT expensive. I have a friend who has made quite a bit with it. He and I are both members on 405th (neither of us are noticed. and I do not think I have gotten on that site since I joined it), and he has been making Spartan (Halo) armor for a while. I was going to design anything electronic he may want. I should ask him how this is going

Annnnd, it is looking good so far. Definitely recognizable as Iron Man, but I do agree with one from before, I was hoping for metal trash cans.


Pepakura isn't expensive at all. The Bondo and Fiberglass adds up. I'm also a member on 405th :p

I wouldn't make anything like this out of metal...I still say look into Pepakura. If you spend a lot of time on it, it will look incredible. I've got all the files for Iron Man mk. 4 and 6 if you want them.
 
I do want them, would make for good reference, plus if I change my mind about the trashcans I'll have something to fall back on. Thanks!

SS
 
So, I've been working on the chest plate, got pretty far on it last night, decided to paint it and see what it would look like. I put it on this morning aaanndd:

IMG_4530.jpg


IMG_4535.jpg


I sort kept the basic design but then when I realized how many symmetrical scraps I had lying around, I decided, "hey, why not add more flare?" Anyways, I haven't done the details yet, probably gonna do those after the entire piece is done.

IMG_4534.jpg


The two halves snap together in 3 places, the fourth is a rivet, Might change over some of the others if I have to, the snaps are almost too small for the plastic. And as you can see some of the glue popped off, gonna fix that too obviously.

SS
 
What are you going to wear underneath it? Are you going to sew it on to some kind of undersuit?
 
All of my snaps broke. ;_;

So, I installed hinges on the top and velcro on the sides. Works better for me, plus makes it adjustable in a way. You can't really see the velcro or hinges in the pictures, though. I finished up the front plate and finished the back plate and put in the arc reactor light piece + components.

IMG_4537.jpg

IMG_4549.jpg


Comments?
 
Here's another video update, it shows my newly finished abs flexing. Plastic abs. Oh, it also shows the really awkward almost done codpiece. I freehanded that flax, too. Didn't really feel like measuring my fat ass. Like the last one, the video was filmed right after I finished working at 3:10 in the morning, so excuse me if I sound like I'm out of words or breath or whatever.


Yeah, still got lots of work ahead of me, but with this part mostly out of the way everything else should be easier.

SS
 
You're doing a great job with this whole thing. The whole "Cut things out and patch holes with them" technique is kicking ass. If you need help articulating the elbows and knees, I do know a fair bit about that.
 
ChaoBreeder said:
looks way better than the pepakura method

Yeah, about that.

Pepakura depends 100% on how much time you spend on making it look good with a nice finish and how you put the pieces together.

This one is only okay and there are a lot better ones out there done with Pepakura, but:
037gge.jpg


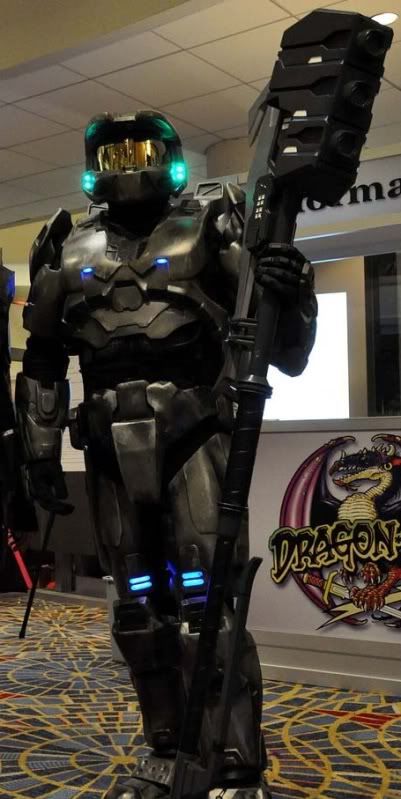
Also Pepakura (not the hammer):
DogWizardandMarine-Copy.jpg
 
Back
Top