Quick GBA SP mod question

Hi, so, I was tinkering with my gba SP (took it apart, mainboard exposed, screen out of the casing. I also peeled the rubber buttons that have the conductive pads on their back in order to see actual contacts... I think I may have just broken the GBA since it doesn't turn on anymore.

I had the GBA on and was testing with a PS2 controller with a cable going from the PS2 controllers VCC to the gba's, and gnd (from the controller) to a testpoint that read "resGnd" (the one in the right).

I'm sorry if I wasn't clear, I can't upload the pics to my pc, but all of that was done without soldering, maybe I shorted something out?

I would really appreaciate any tip or suggestion.
 
I was stupidly soldering things, what I meant to do in the first place was route a PS2 controller's d-pad board to the gba's dpad... I think I may have busted the whole thing >_>

EDIT:

there's nothing soldered onto the GBA board... I was holding the wires that went from the PS2 controller like this:

PS2 side
Vcc // "D-pad's up solder" // Gnd
|
Vcc // D-pad Up (exposed center contact) // inGnd
GBA Side

I think that's about it...
 
You almost certainly shorted something out.

Luckily, the GBA SP has fuses that usually protect it from being damaged. One of them is the charge fuse, the other is the power fuse. If I remember correctly, the power fuse is located lower left of the A button, near the cut out corner. Not looked at a GBA SP motherboard in a long time, but it should be labeled F1 or F2.

All you need to do is replace it (I doubt you want to bother), or bridge it with solder. :)
 
Ummmm maybe if I post a pic you could help me out?

EDIT:

Nevermind, it was F2, you saved me man! (just run a wire to test without soldering). I ask you again, how should I bridge it? thin wire or just solder?
 
Hah, glad it worked. I used to be a bit of a Gameboy master, along with Bibin (Not bragging, nothing we did required much skillz, we just spent countless hours at it), fun to dredge my memory. :lol:

Bridging can be hard if you do not have a good iron, just make sure you do not do anything too fast and ruin the traces. I would suggest putting a little blob of solder on each side of the fuse, then tinning a very short piece of wire (coating it in solder). Then, lay the wire on top of the fuse, and melt it into the two blobs. Tada!
 
Okay, will do that, and with that solved... how should I go around wiring a "mini pad" to the GBA's buttons? if you could point me out to a few tutorials i'd be more than thankful And sorry for all these posts. I'm a total noob in this, and since there aren't any d-pads that I can buy (Like a spare) I'm bound to either make it with common buttons or use a controller's d-pad
 
I cannot remember any tutorials, not many people do it. I did it for my Power Gameboy mod, though, so I know the process. It is pretty easy!

Each of the buttons on the GBA SP has a center metal contact (signal) and multiple ground pins in a square formation around each button (ground). You need to connect one wire to signal, one wire to one of the ground pins, and solder those wire to a switch (Touch them together to test).

Most dpads work about the same way, with a common ground+signal for each button setup.
 
Oh, but that would be if I used a switch... I already made the switchs for the A-B start select L and R buttons. The only problem I find is that the switchs I have are kinda on the big side, so using them for a D-pad would be a bad choice, so I once saw somebody using a part of a controller's board as a D-pad input (sorry again for my english).

thanks a lot again Palmer. I though that the Gba was a goner x'D

EDIT:

Correct me if I'm wrong, but:

If I were to use yet again another controller's board as a dpad I should find the signal and ground contacts for each "arrow" in the d-pad, then solder (signal to signal and ground to ground) to the Gba's d-pad? If that's correct, shouldn't the ps2 dpad board need a source of power?
 
You are not wrong, that is exactly how you would do it with another ps2 dpad. :p It does not need power, the signal would come from the GBA SP, go through the PS2 dpad, and come back through the ground wire.

Also: I forget how the PS2 dpad is wired, but two things come to mind:

1) You might be able to use just a single ground wire for all the buttons
2) Some PS2 controllers use a board, and some use this weird flexible plastic sheet with carbon printed on it. If you have one of the latter, it will be hard to use.
 
This is a pic of the ps2 controller board:
Edit: it's a generic controller
dsc03937f.jpg

dsc03938je.jpg
 
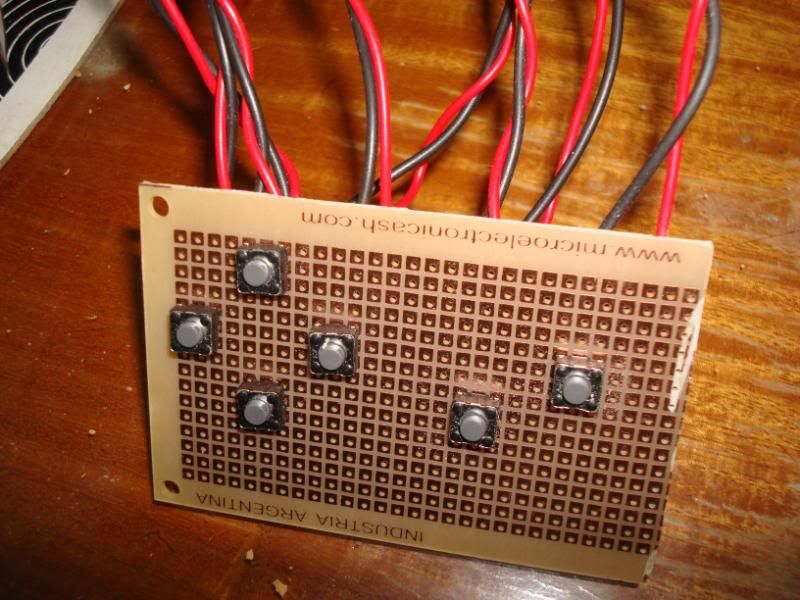
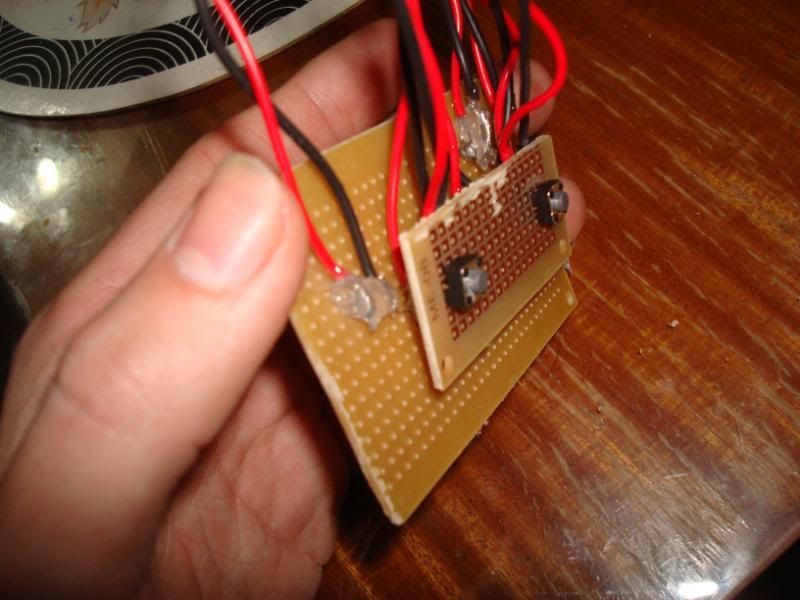
Ok so, using the mini board that the controller had for the R and L buttons (2 separate boards) for the R and L buttons (lol) and the and B buttons. Quick question though:

The board only has 1 ground pin, so I tried wiring the 2 grounds from the A and B buttons to it, and then the other 2 pins (L1 and L2) to the center contact of A and B (respectively). Again, I always test everything before soldering cause I'm not quite good at it and have a bad pulse when I'm sleepy (meaning right now). It has worked so far, but is there any specific conection I should use?


I'll post pics as soon as I get back
 
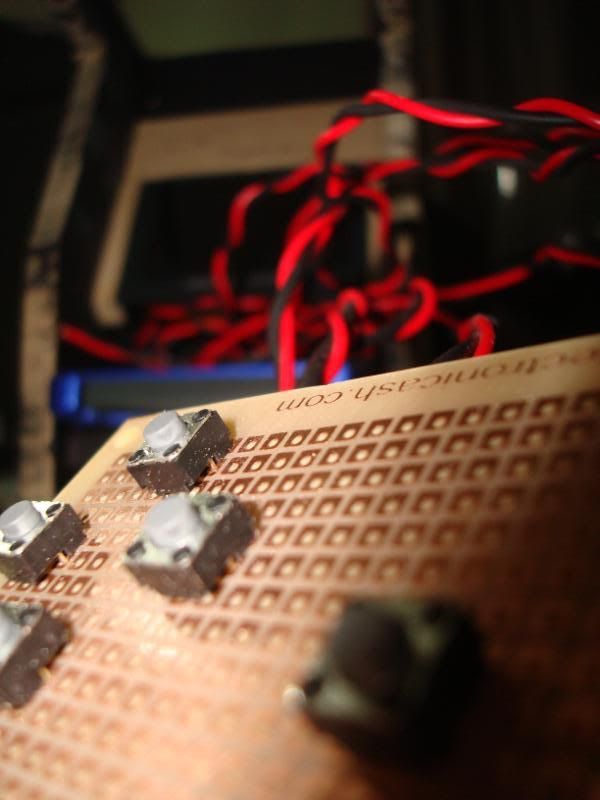
So, here are the pics I promised D:

dsc03939copy.png

dsc03941a.jpg


Also, I got my greedy hands (?) on the d-pad of an original PS2 controller, and tried the up button, thing is it didn't worked... (I mean that it didn't responded to the input, but it did get voltage...).

Anyways, in a few hours I'll go buy a few more parts, so if anyone has a suggestion on using other thing as the d-pad, I'd be more than grateful. (Also, saw a video of hard-modding an analog stick to "replace" a d-pad...I got as far as scratching off the conductive section (in order to give the analog stick a dead-zone) but I again, soldering is just... painful, maybe I'm using the wrong solder? wrong wire?
Should I use pin wire or threaded? (Sorry for all the noobish questions and suggestions, I just wanna make sure I get everything, it's my first "mod" mod...)

Edit:
My bad, the rightmost gnd wire goes from the little ground pin on the left side of the A button.
 
Ok so, I've nearly finished everything. All the wiring is done except for the power switch and the start and select buttons,

next up would be closing/painting everything and making the mini joystick's casing.

DSC03952.jpg

joystick's "board"
DSC03951.jpg

again, dunno why >_>U
DSC03950.jpg

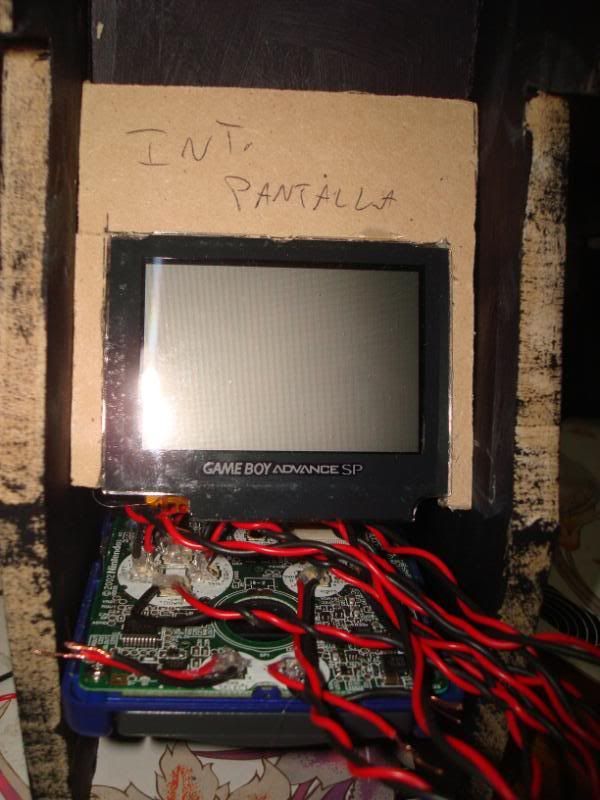
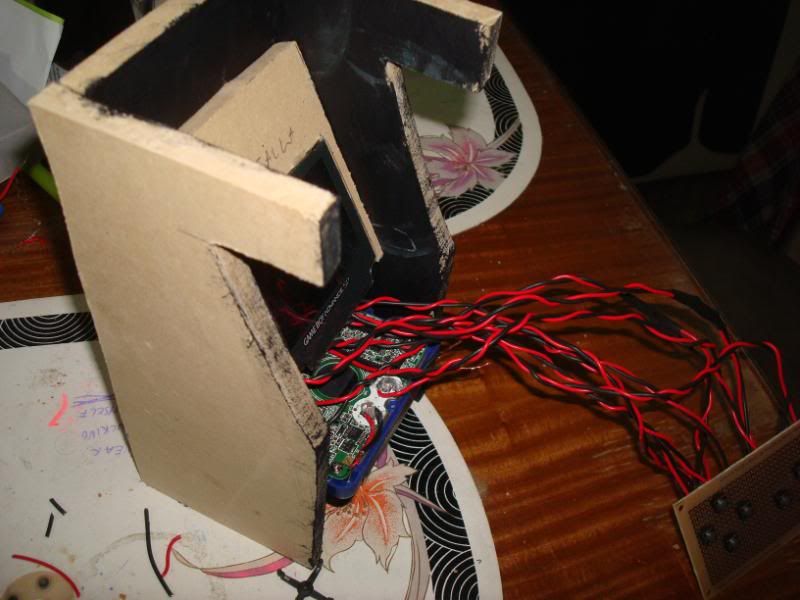
Gba board inside mini cabinet
DSC03953.jpg

L and R buttons (had to wire-em again since I soldered them inverted)
DSC03955.jpg

And that D:

Also, I'm having troubles wiring the first and last pin of the power switch in the main board... my solder just doesn't... "solder" to them :S. I also know that in F2 (near the A and B buttons, as Palmer pointed out earlier) I could solder the swith there, on the bridge I made. I would have to leave the gba "factory" power switch on, right?
 
Can't answer your question. But, the "not able to solder" thing.. are you using flux? If not, use it. Flux is the savior of soldering.

Also, are those the hella thick solid core Radio Shack wires I see? They're certainly usable but I'd recommend something thinner. The problem with wires like that is they put a lot of tension on the solder points when you try and move them around (well, bend them around). They tend to rip themselves up. It's extremely annoying to have to fix stuff all the time with them. If you've got a PSX or PS2 controller laying around, inside the cord there's 7 or 9 (I forget) wires inside of different colors. I use those all the time. Since in the past when buying PSOne screens off ebay I'd end up buying a PSOne with controllers along with it, etc. Plus you can find them for dirt cheap at garage sales and stuff. Perhaps not the most efficient method of getting wires, but it's "recycling" as far as I'm concerned.
 
Thanks a lot, I'll be sure to get some thiner wire now. Actually, over here in argentina, it's pretty weird to come across with some parts, so recycling sounds promising. Flux? I've heard that a lot, but never seen it. Could someone please explain in detail what it is or if they happen to know it's name in spanish?
 
Senketsu-no-asch said:
Thanks a lot, I'll be sure to get some thiner wire now. Actually, over here in argentina, it's pretty weird to come across with some parts, so recycling sounds promising. Flux? I've heard that a lot, but never seen it. Could someone please explain in detail what it is or if they happen to know it's name in spanish?
Yo no se si "flux" tiene una palabra en español por este applicacion, pero uno traduccion de flux es flujo...

Flujo es un liquido que hierve como tu suelde. Cuando suelde flujo es muuuy importante porque el flujo diente la oxidacion cuando hierva y que permite el flujo fluya mejor.

Lo que si mi español no es bueno, se ha pasado tres años que he tiendo de hablar o escribir español. ;)

Edit: In retrospect I remember there're people on this forum who are native speakers...
 
Thanks a lot, I'll be buying flux tomorrow, I'm fluent in english, there are some words that I can't understand, and my biggest issue is that my grammar skills SUCK big time xD.
 
Senketsu-no-asch said:
Thanks a lot, I'll be buying flux tomorrow, I'm fluent in english, there are some words that I can't understand, and my biggest issue is that my grammar skills SUCK big time xD.
Ah, understandable.

Flux does make things so much easier. Also again, sorry if my Spanish was sucky :p
 
So after a loooong time I decided to take another shot at wiring an analog stick to the GBA sp's Dpad.

So far I've been following this guide http://kyorune.com/modding/article.php?id=27
(kept in spoiler, I'm not sure about your policy on outside linking)


I have wired the 4 directions to the test pads on the GBA sp (tp 4 to 7 IIRC), but when I try to solder the middle pins of the potentiometer to the negatives, the GBA takes a perpetual "Dpad down" input.


could someone please tell me how to wire it correctly?
 
Back
Top