Cs5SuiteGuy
Member
I dont know how to start an intro sentence to these things so.... I had seen a few years back one of hailrazers videos giving a demonstration of his darth64 and I thought to myself (this dude is smart as HAIL!), so after looking into it and reading up on a bunch of different forums before being invited to this one I have decided to take on a Ps2p. So I hopped on the interweb and found a lazer doodle for only 19 shipped! I ordered that along with :
Ps1 screen
ps2 scph 70000 series
2 64mb memory cards
some epoxy
3 grits of sand paper 60, 100, 200 and found some 600 in my garage
Wire
8.4v 7900 mah battery
And started this three days ago and I am hoping to get the ps1 screen today.
First I started by cutting out the spot where the controller will be placed and then put some epoxy on the top to hold it in.
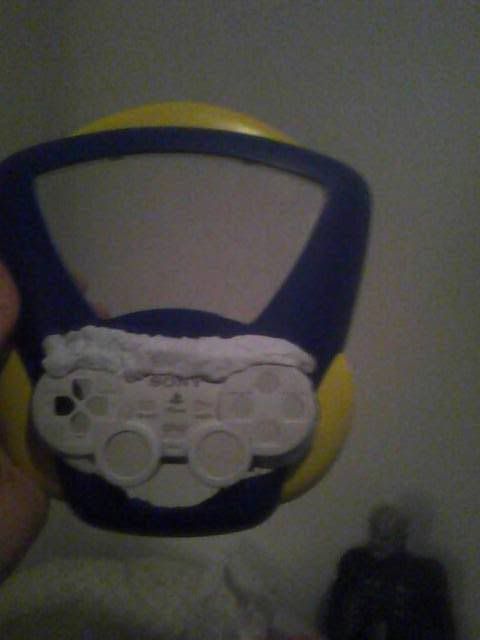
After letting it dry I went ahead and plastered the whole thing with some sand-able locktight putty and also reinforced the back almost using a whole 6 inch tube!
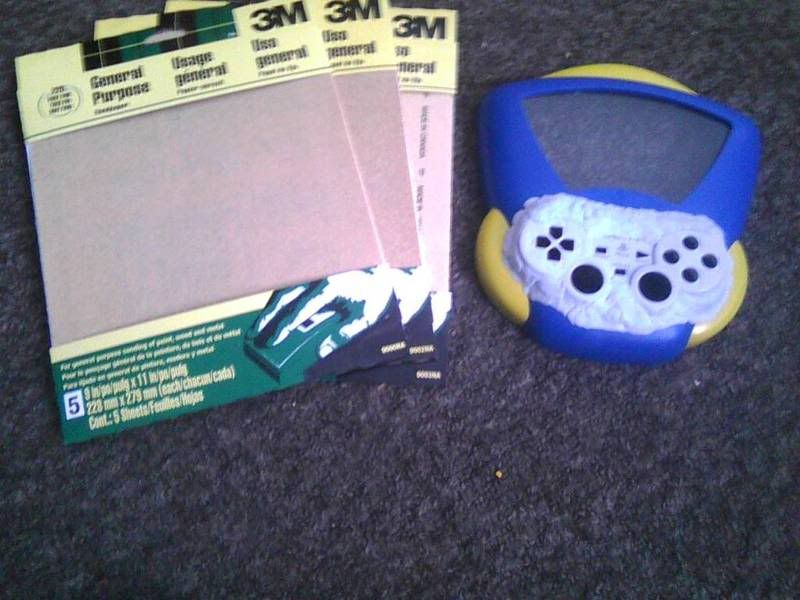
I then grabbed the 60 grit and did some rough sanding, two hours later I had this.
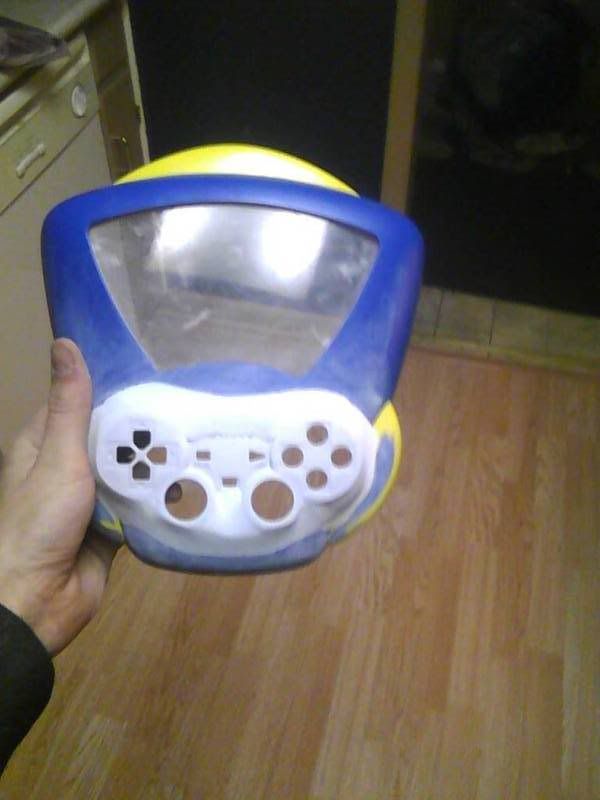
I then did a very light coat to check the flaws.
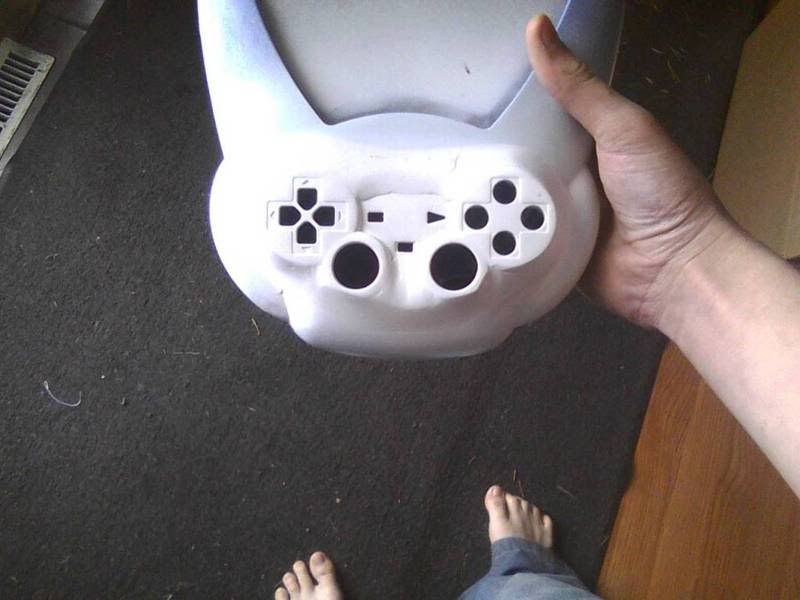
After doing this quite a few times using the 4 types of sand paper including the 200 and 600 for where the epoxy meets the abs plastic, I filled the "low spots" and now I am waiting for it to dry...
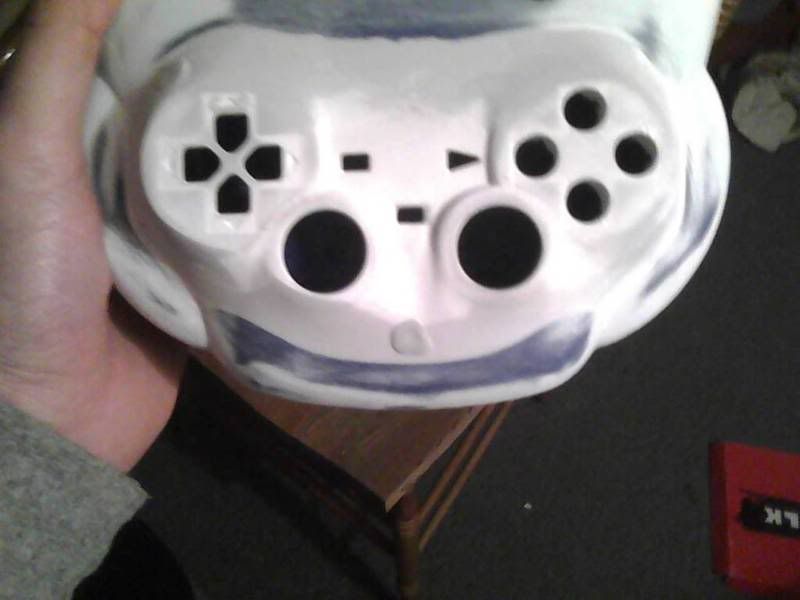
After getting the controller part done it was all a matter of finding the best way to put the screen in. So I put it over the lazer doodle and made a circle around it so that I can make a rough cut.
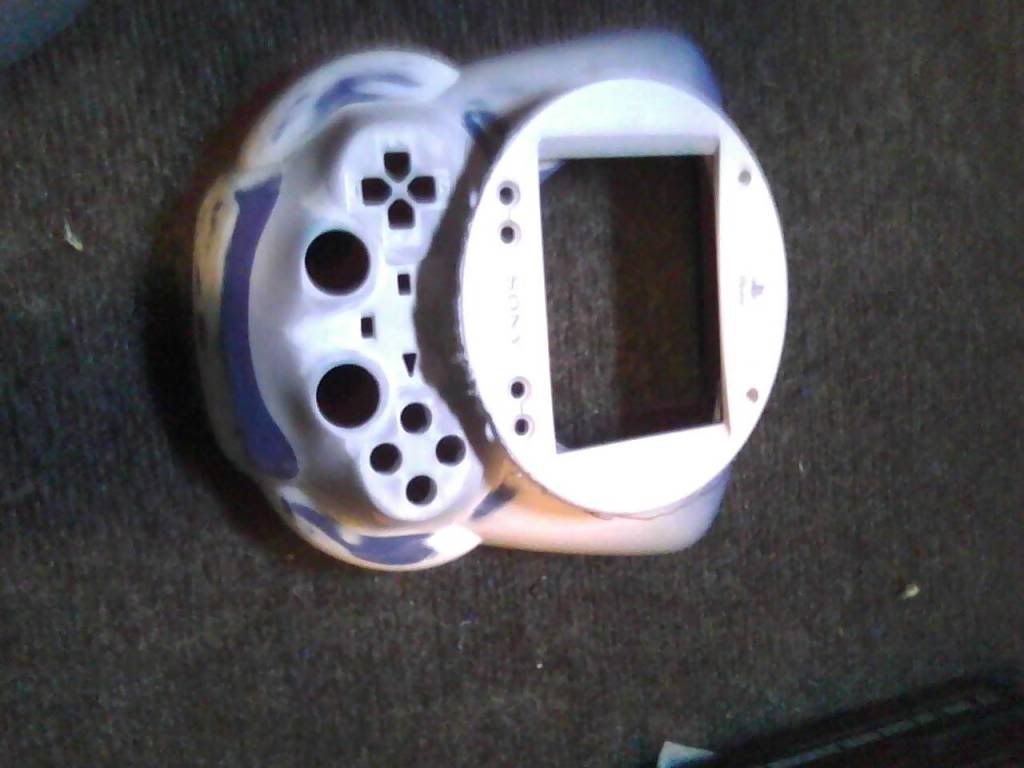
I then made a horribly looking cut. Remember as long as you sand it you will have no problem with cutting yourself on your case and yes... I did that.
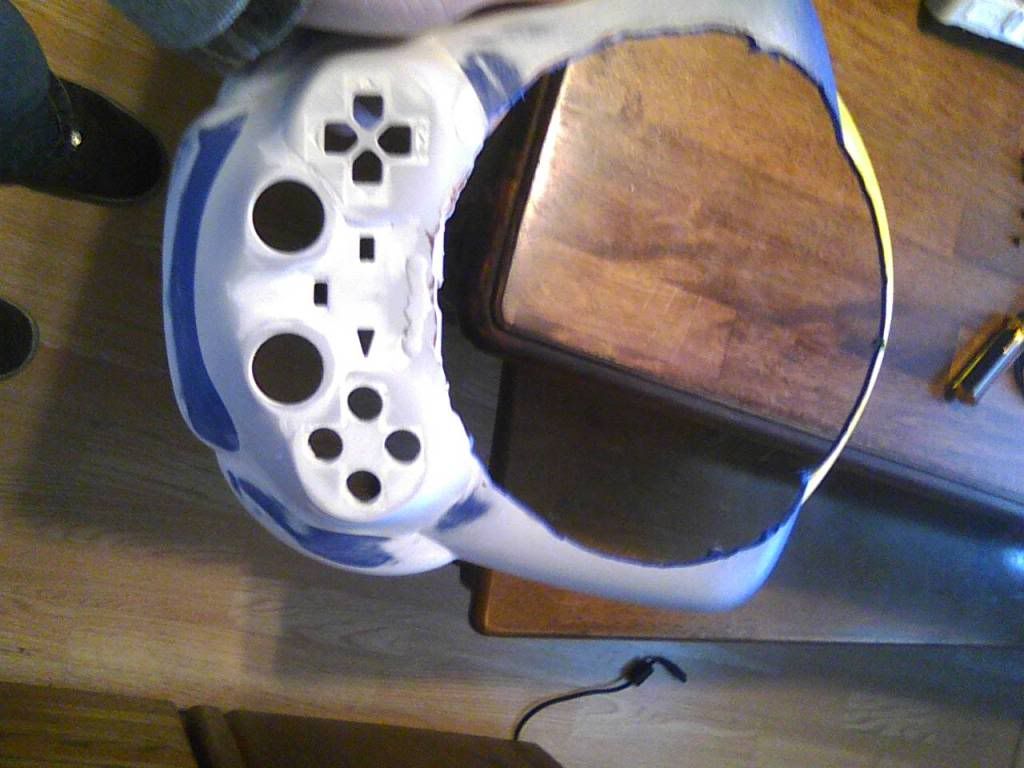
To keep it together I bridged the gap with a little bit of lock-tight putty. Only using a little so if I change my mind I can easily fix that.
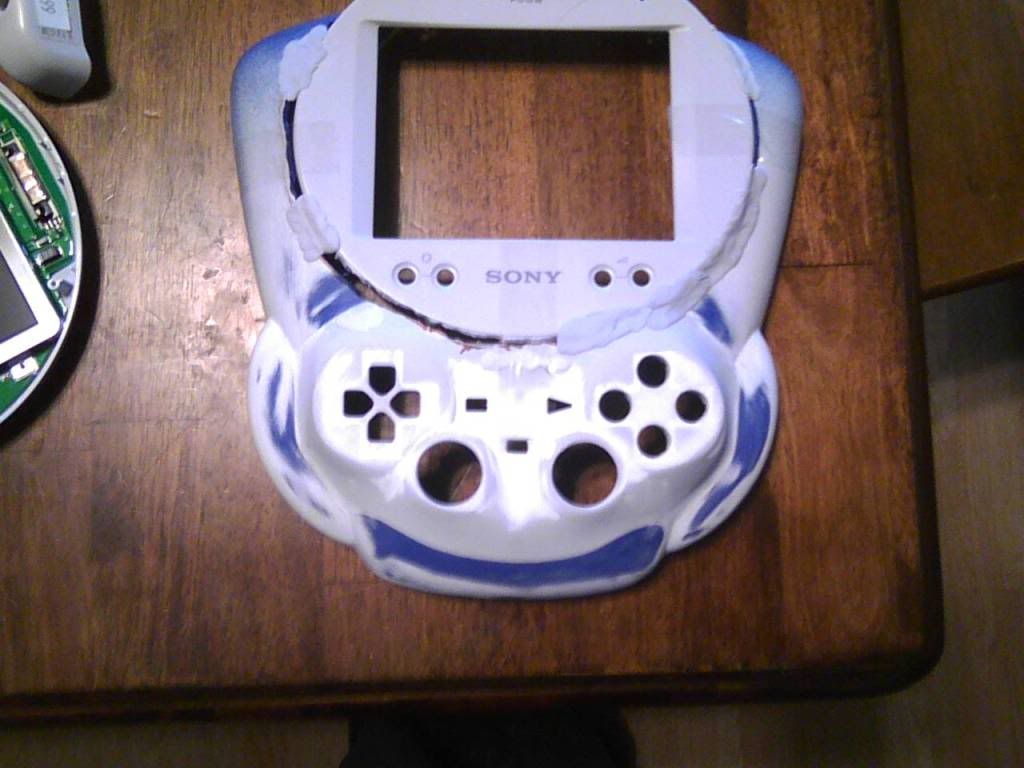
Doing like I did to the controller I plastered the whole thing with epoxy!
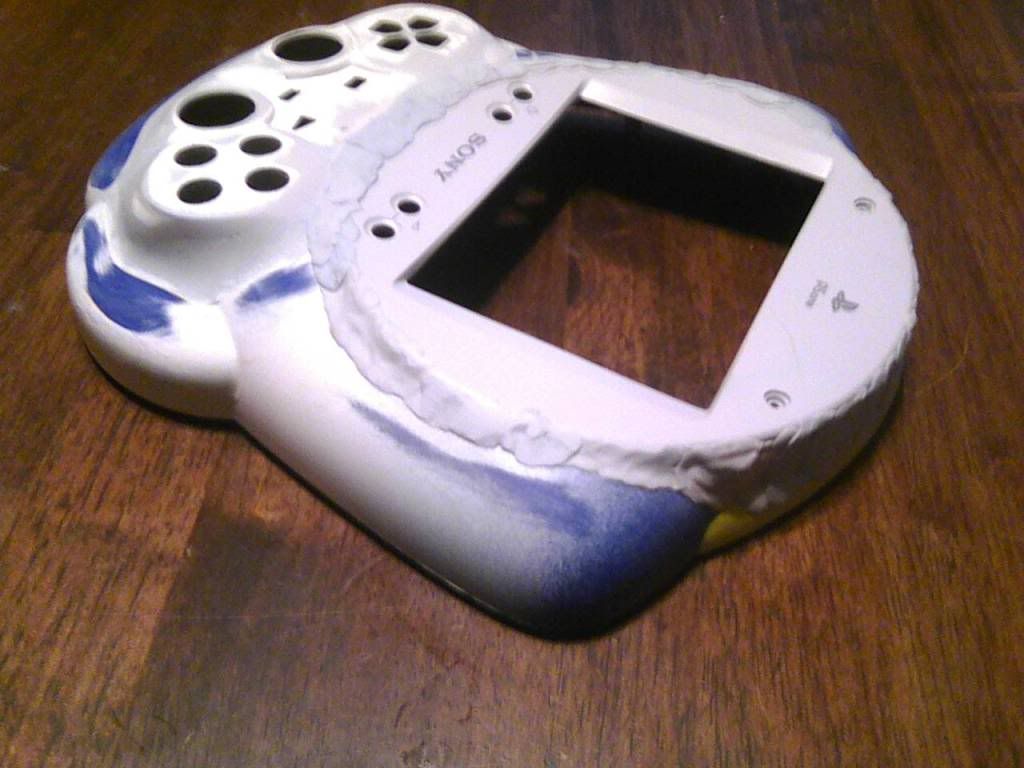
I reinforced the back just like before and sanded just like I did to the controller earlier.
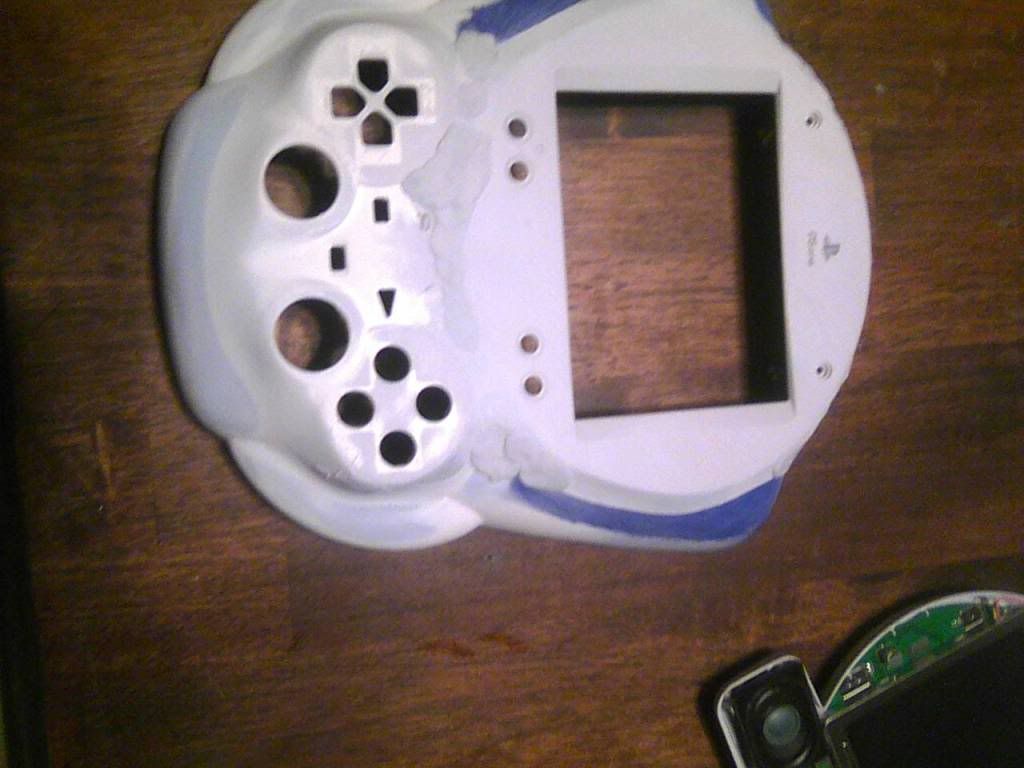
After all of the sanding was done I sprayed it with a few coats of primer to fill some hairline spots.

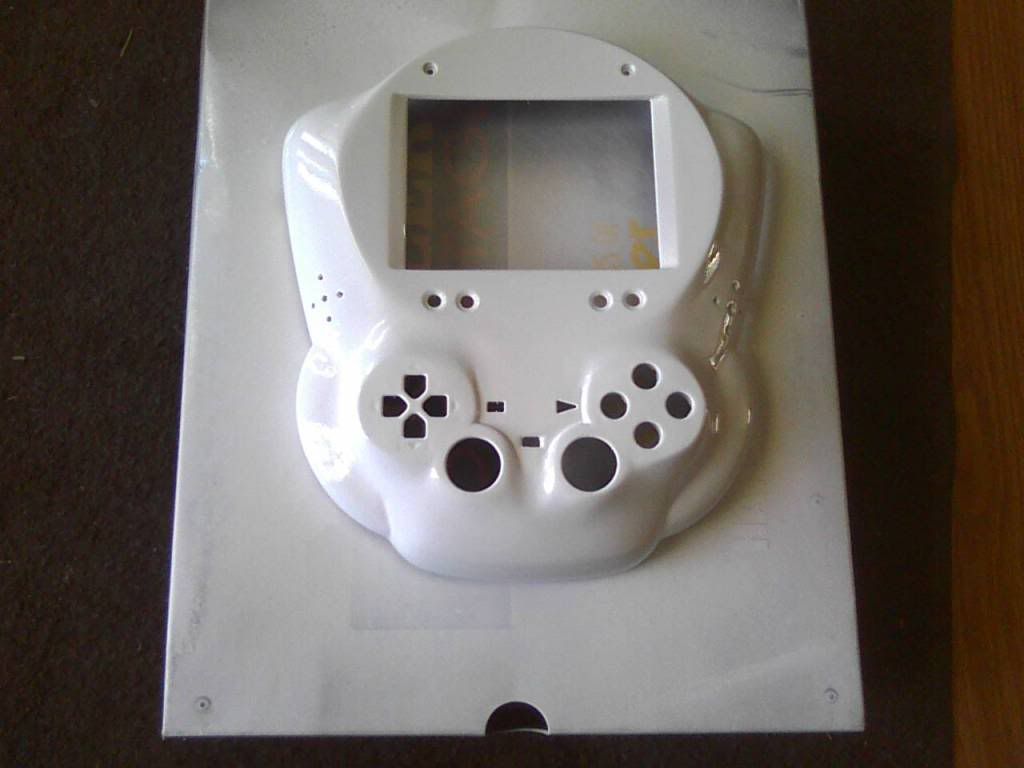
I then painted the whole thing a Krylon semi-gloss white! And after that sprayed it with some Rust-Oleum 2x enamel so that it will be shiny and fingerprints will not show up on it.
Ps1 screen
ps2 scph 70000 series
2 64mb memory cards
some epoxy
3 grits of sand paper 60, 100, 200 and found some 600 in my garage
Wire
8.4v 7900 mah battery
And started this three days ago and I am hoping to get the ps1 screen today.
First I started by cutting out the spot where the controller will be placed and then put some epoxy on the top to hold it in.

After letting it dry I went ahead and plastered the whole thing with some sand-able locktight putty and also reinforced the back almost using a whole 6 inch tube!

I then grabbed the 60 grit and did some rough sanding, two hours later I had this.

I then did a very light coat to check the flaws.

After doing this quite a few times using the 4 types of sand paper including the 200 and 600 for where the epoxy meets the abs plastic, I filled the "low spots" and now I am waiting for it to dry...

After getting the controller part done it was all a matter of finding the best way to put the screen in. So I put it over the lazer doodle and made a circle around it so that I can make a rough cut.

I then made a horribly looking cut. Remember as long as you sand it you will have no problem with cutting yourself on your case and yes... I did that.

To keep it together I bridged the gap with a little bit of lock-tight putty. Only using a little so if I change my mind I can easily fix that.

Doing like I did to the controller I plastered the whole thing with epoxy!

I reinforced the back just like before and sanded just like I did to the controller earlier.

After all of the sanding was done I sprayed it with a few coats of primer to fill some hairline spots.

I then painted the whole thing a Krylon semi-gloss white! And after that sprayed it with some Rust-Oleum 2x enamel so that it will be shiny and fingerprints will not show up on it.

