hey all, I've been browsing here and on other forums for a while, and I started working on a PS2 portable, but as I was I had a brain wave, and I want to share it here:
the PS2 av port is tricky because its non standard, but I figured out a simple method to make it easy to work with, what you need:
1. your PS2 with AV port removed and through holes clean *this works for PS1, PS2, PS3*
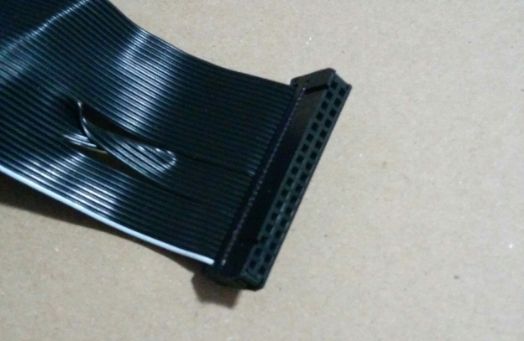
2. IDE cable head
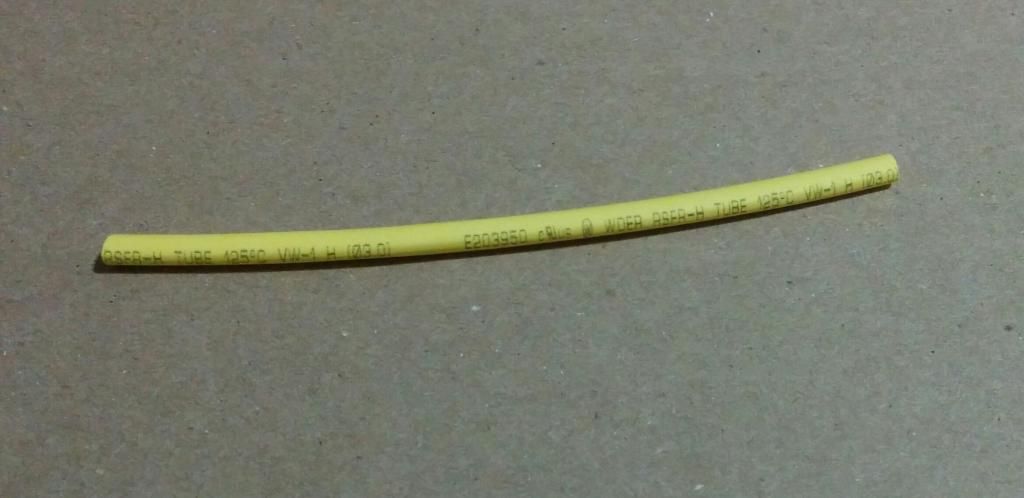
3. 1/8" heat shrink tube, any color.. mine is yellow
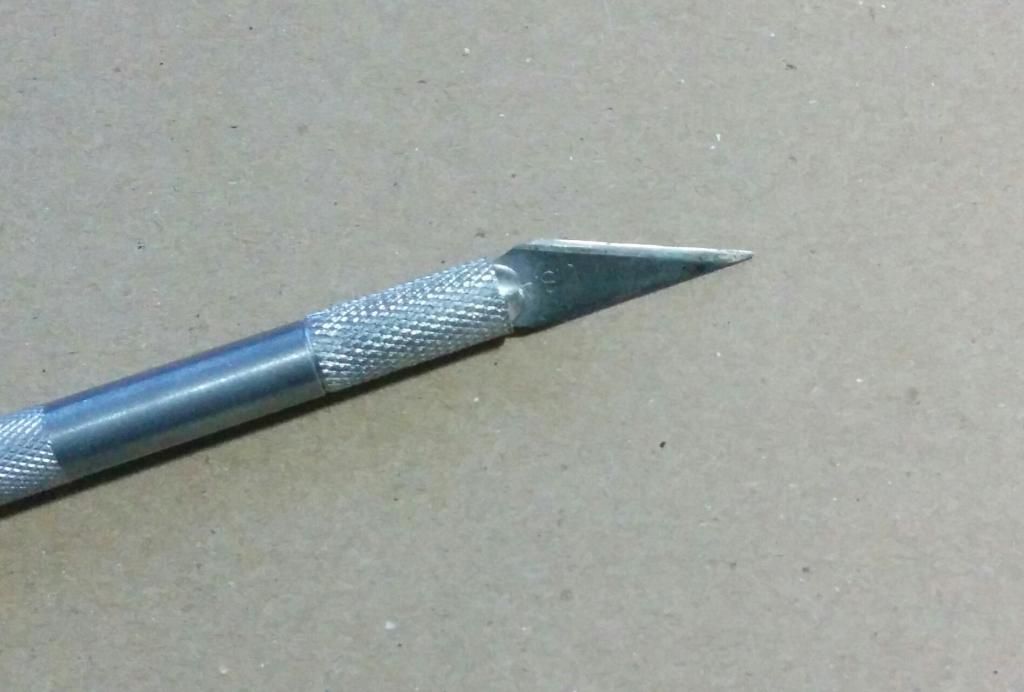
4. exacto knife, preferably dulled for safety
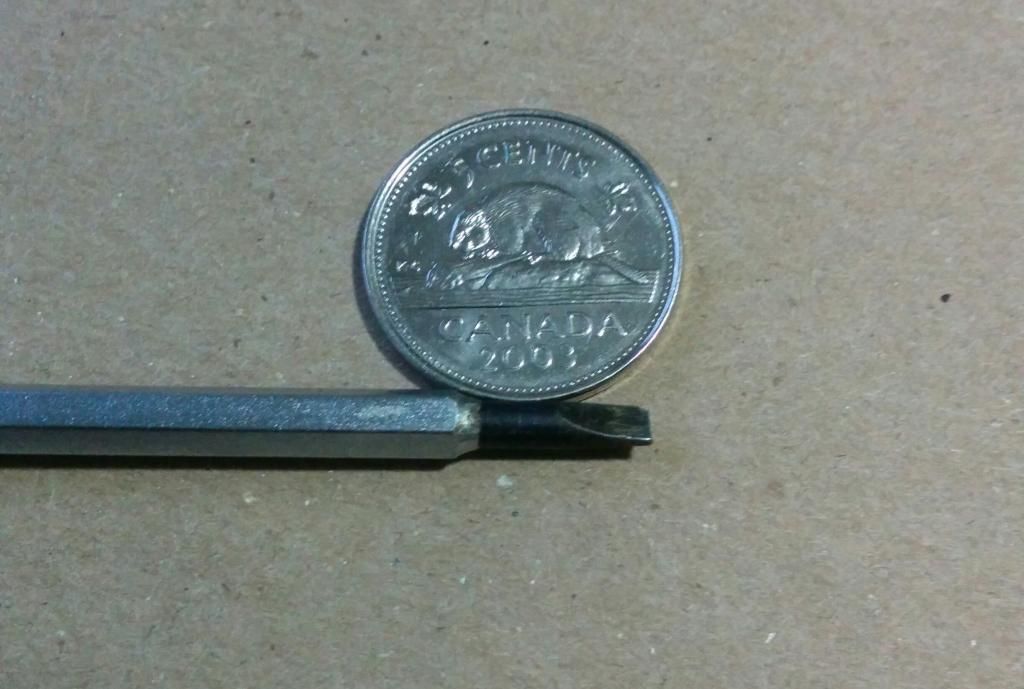
5. small fine screwdriver.. this is what i used
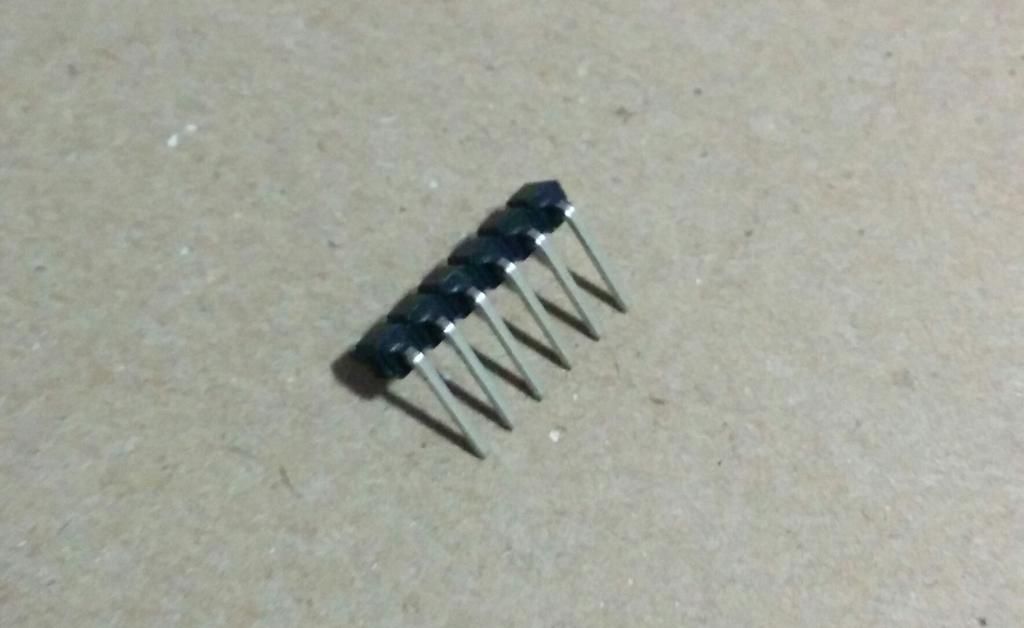
6. row of 6 right angle 2.54 mm breakaway headers
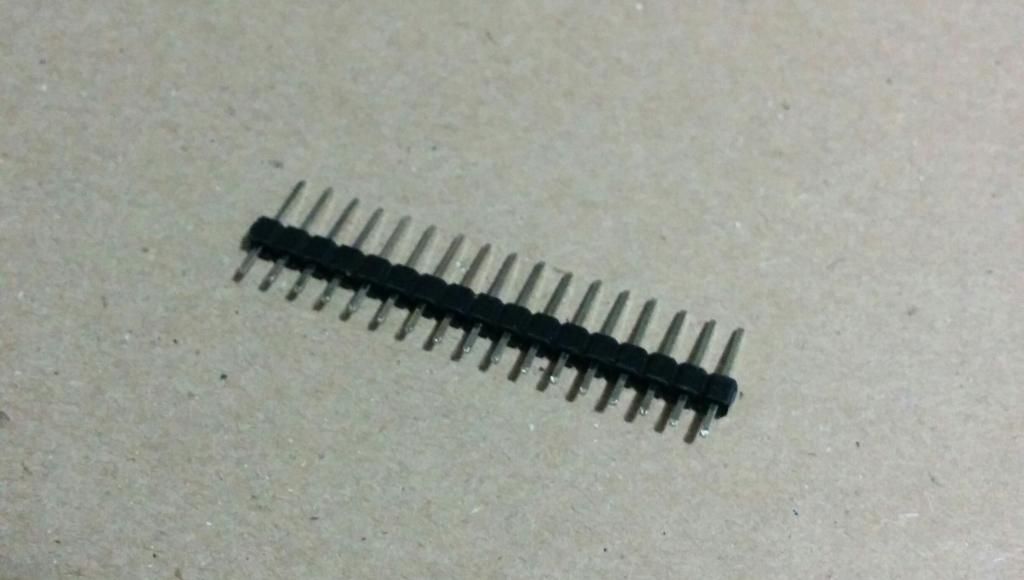
7. row of 12(or more) straight 2.54mm breakaway headers
and heres how to do it:
take your IDE cable head and your small screwdriver and carefully prize the top retaining bar off
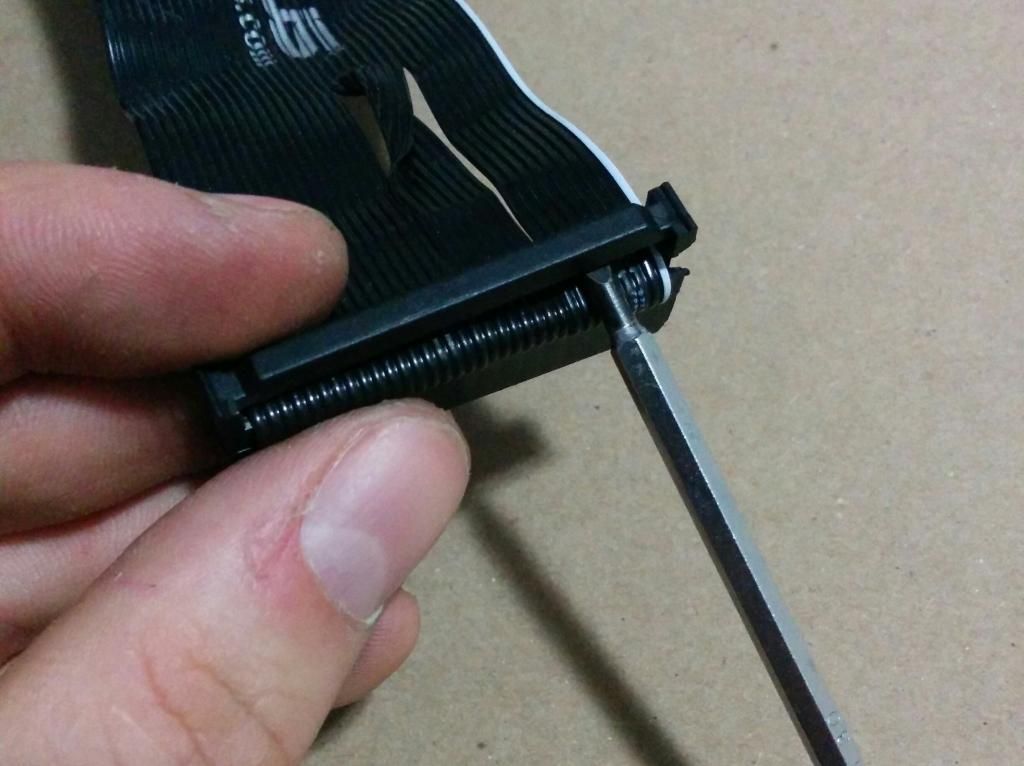
unfold the first layer, and then carefully prize open the side tabs to release the second bar. this picture shows one tab opened
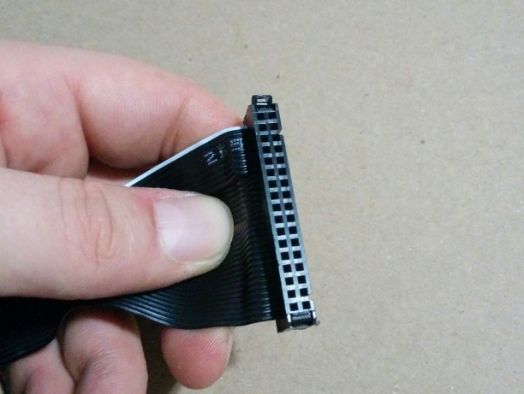
as an optional step, keep the second bar, you'll see why later
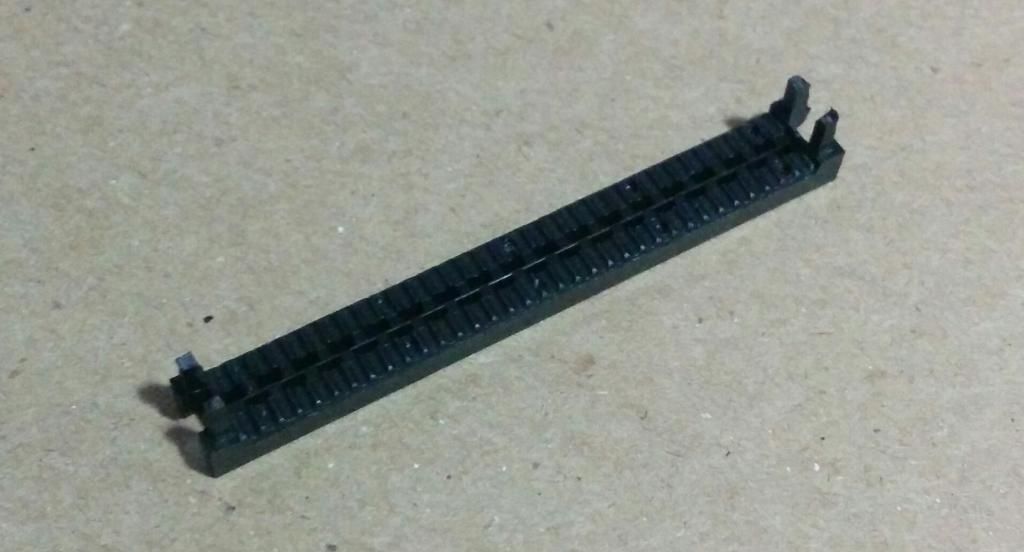
fully unfolded it should look like this
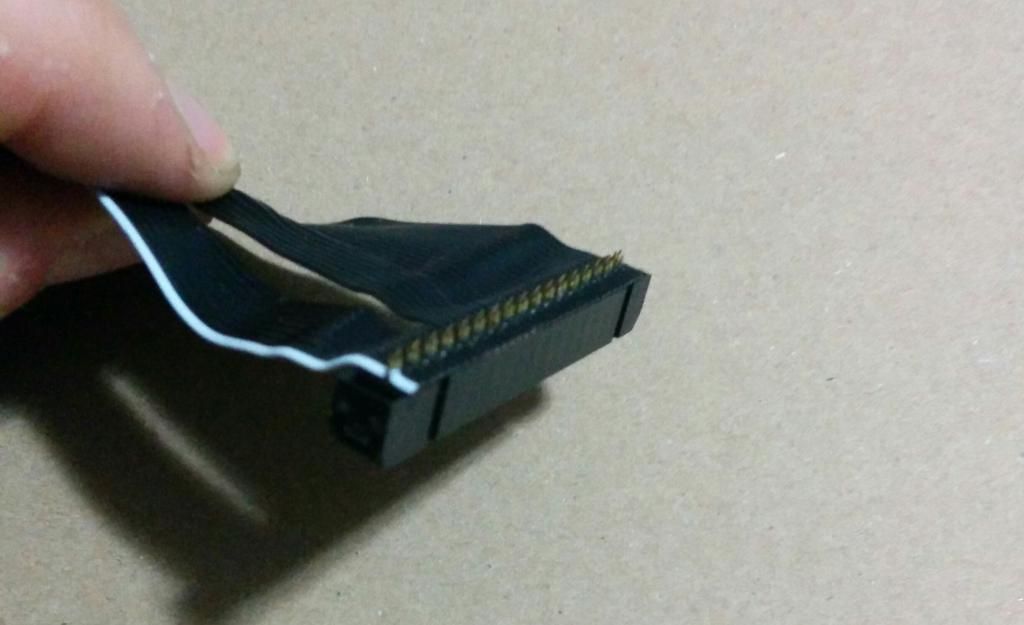
carefully and slowly begin to pull the cabling free. the metal tabs come out very easily if you pull all at once.. trust me
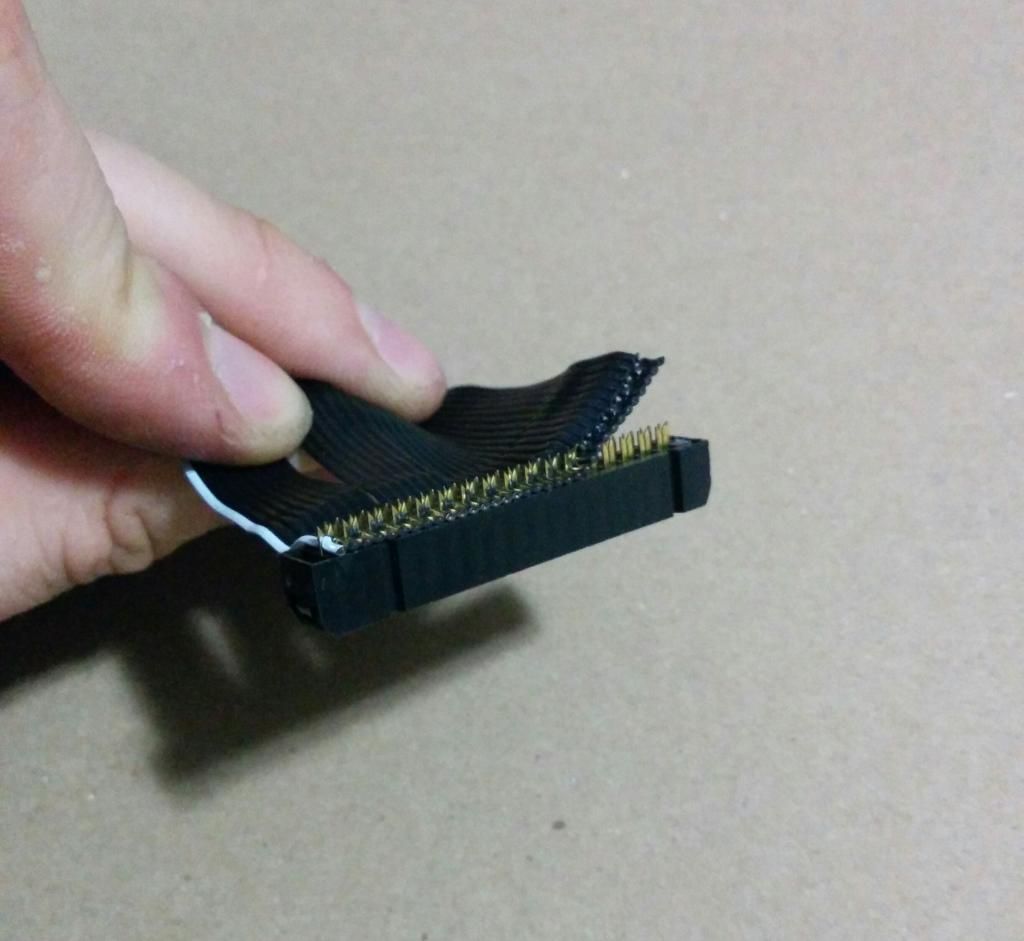
once its all free, you'll have this
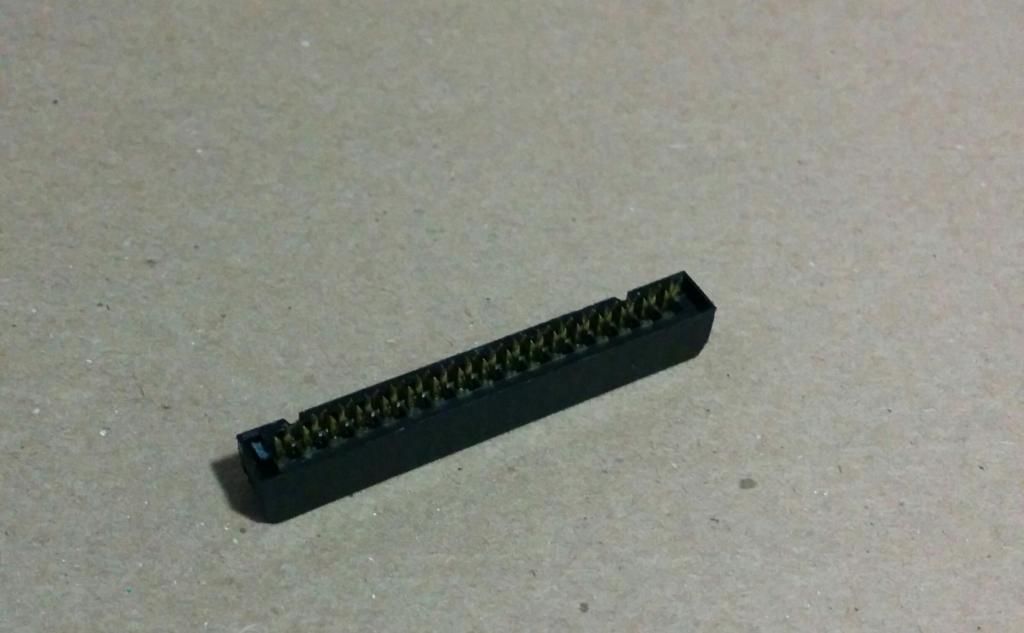
this is where we begin to use our row of 6 right angle headers, the pins can be difficult to tell apart because of thier shape and close spacing, but the headers can help us tell them apart, so slide them up into one side of the plug head, you will see their tips marking which ones to leave and which to pull!!
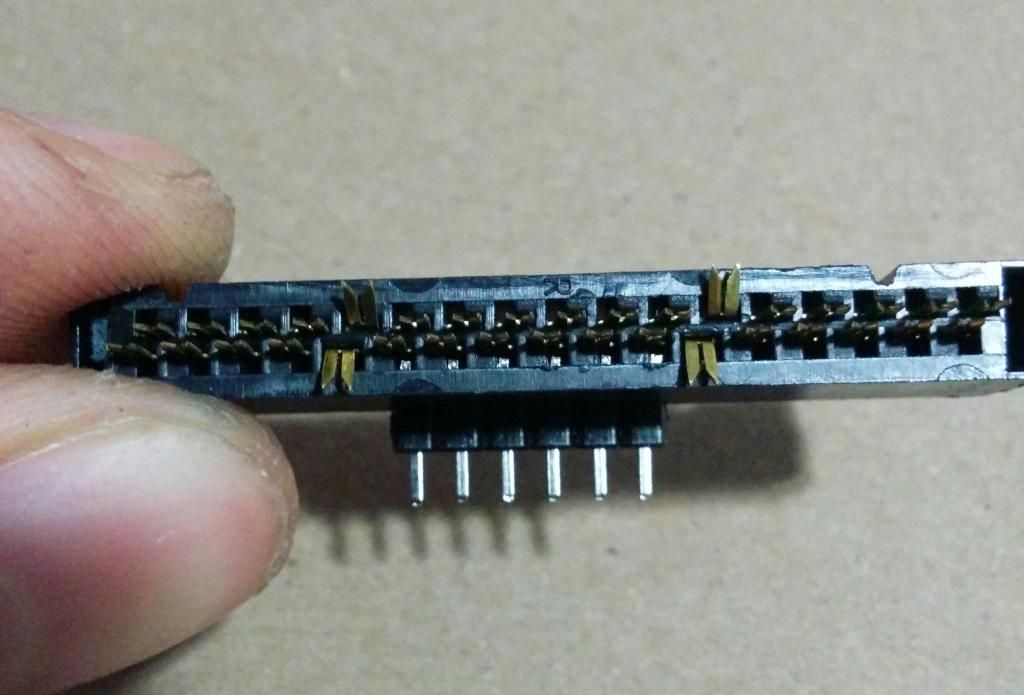 bend down the 4 pins to the side as shown, this gives us a nice group of 12 holes, and a clear cutting plane
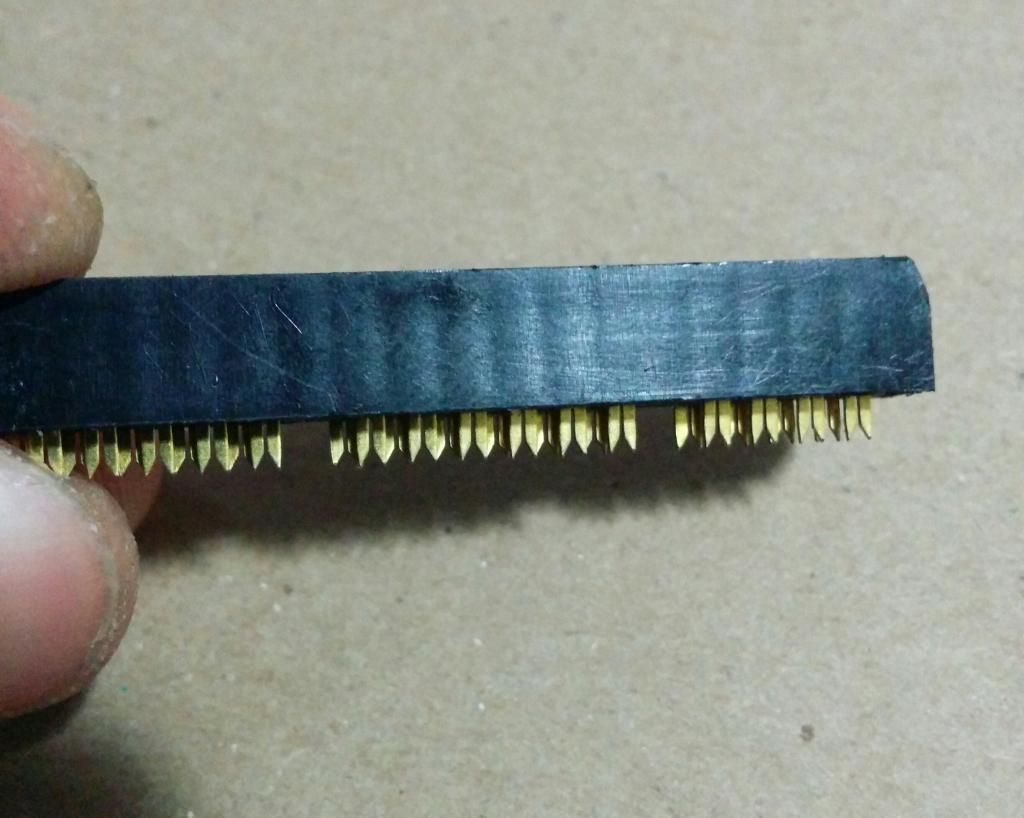 use your preferred method of cutting plastic.. i used a hack saw
clean up the piece to your preferred level of acceptable using files, or sand paper, etc.
now we get down to the nitty gritty..
take your dulled ecacto knife and your row of 6 headers;
-insert the headers into the side you want to bend first, they act as a brace for the pins, so they don't come loose.
-using your dulled exacto knife, carefully bend down only one of the two teeth in the pin
-note the direction of the bent teeth
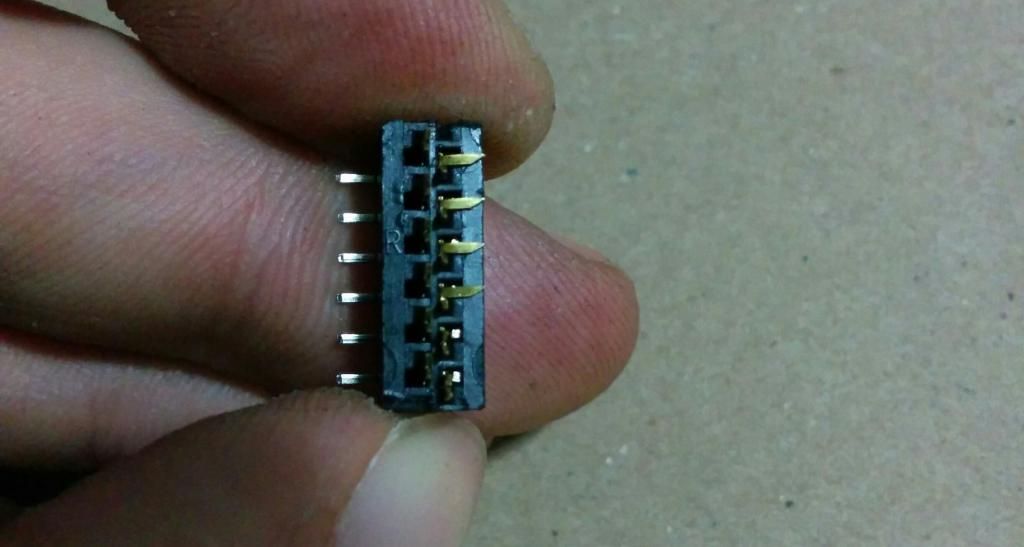
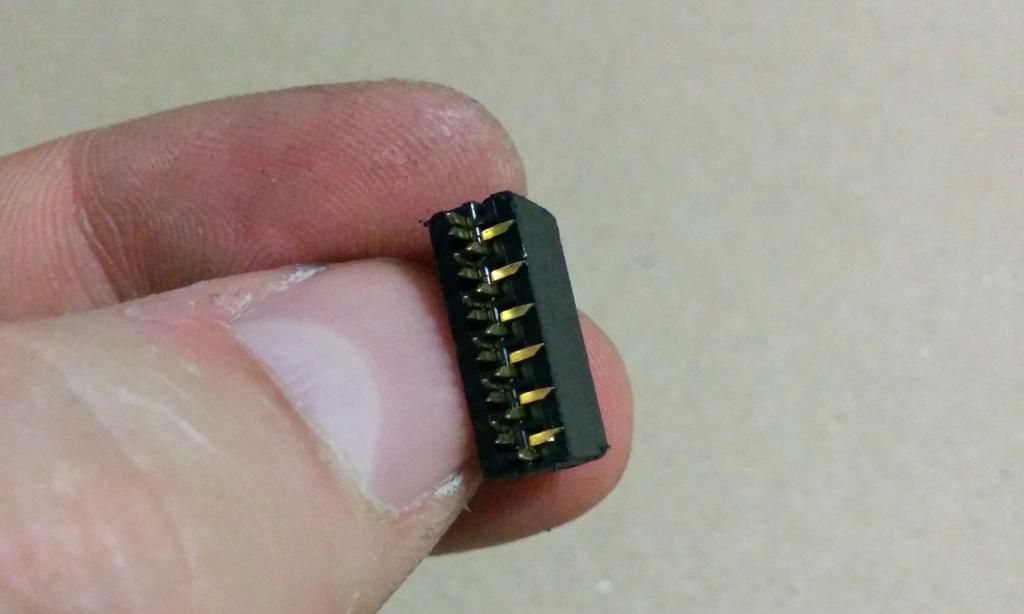
turn it around and repeat, remembering to move the row of 6 to the other side
-note again the direction of the teeth
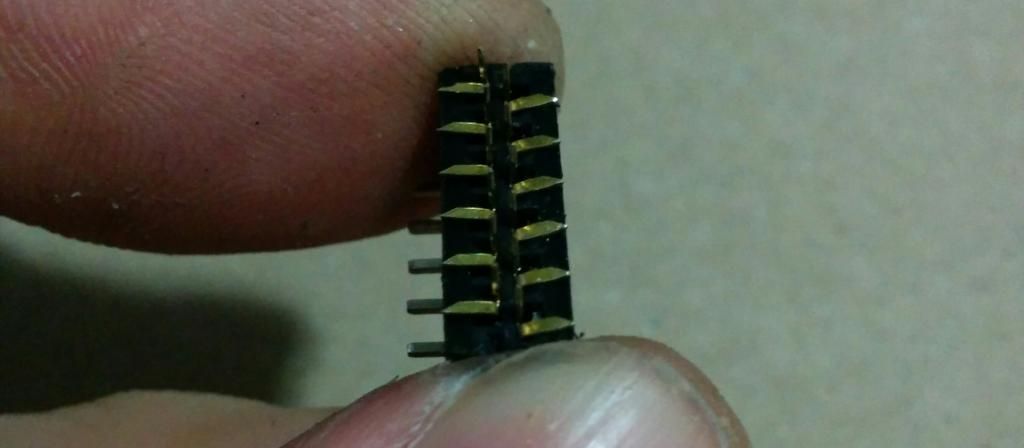
in the end it should look like this, with the center row of teeth still perfectly straight
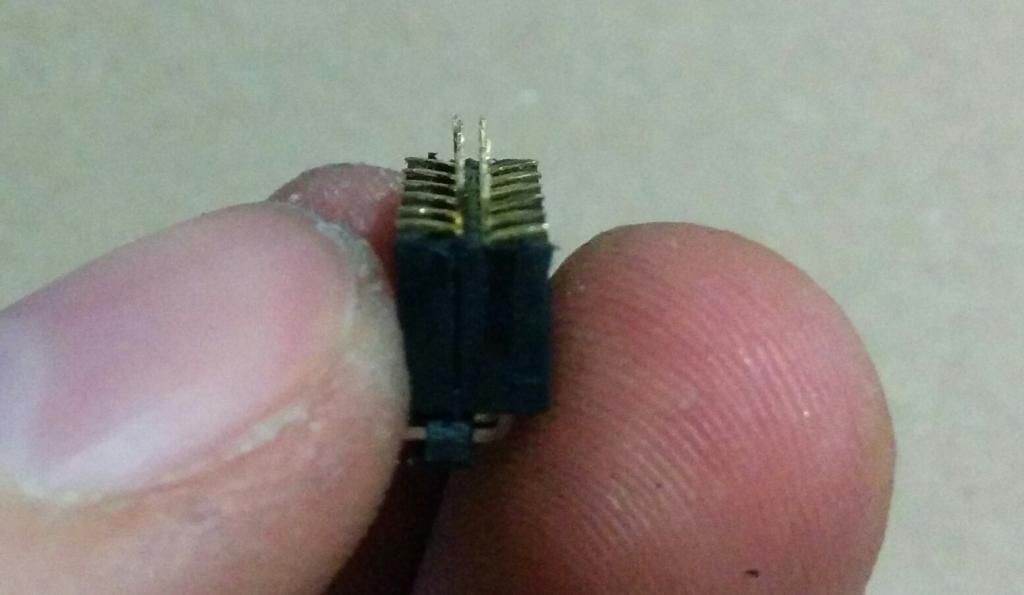
now comes even more nitty gritty lol
remembering (for the last time, i swear) to keep your row of 6 in the side you're working on, take your exacto knife and bend the flattened pins back and forth until they break.. took about 3 oscillations each for me
by the time its all said and done, it should look like this
-the teeth!! the teeth!!
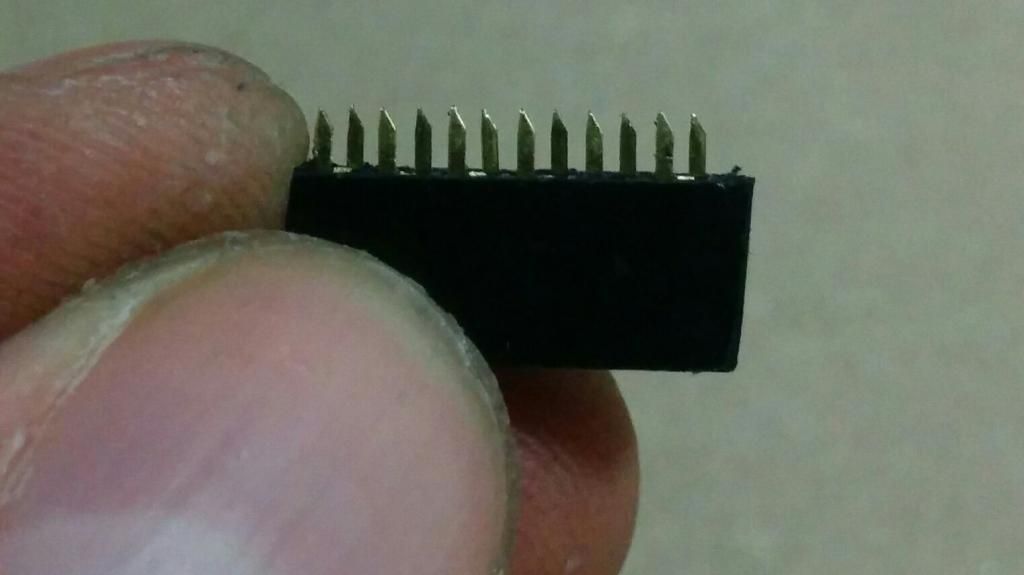
now comes that optional step i mentioned earlier;
-take that bar you set aside (this was the optional part, and i hope you did, this is a finger saver!!), and your heat shrink tubing (the tubing is needed regardless for electrical insulation)
-place the heat shrink center on the bar and clamp it in place, it should fill out the width of the bar perfectly
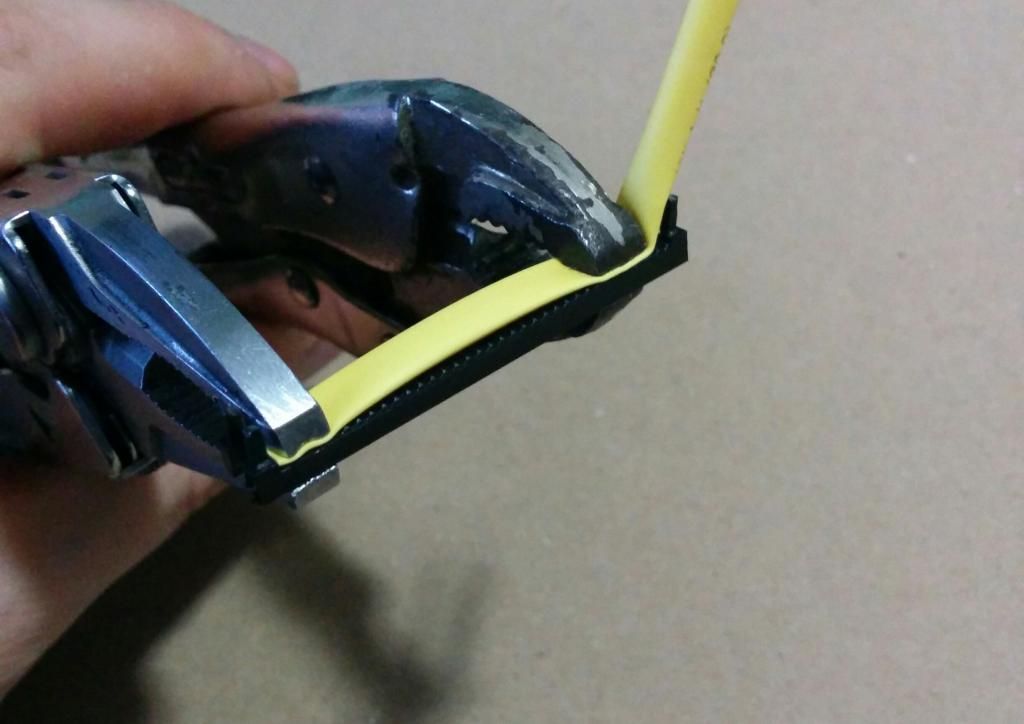
take your part and press it into the tubing, the teeth will penetrate it easily
-if your teeth didn't go all the way to the bottom on the first try, simply remove the clamps and line up the teeth with the holes, until it naturally slots together *don't force it!!*
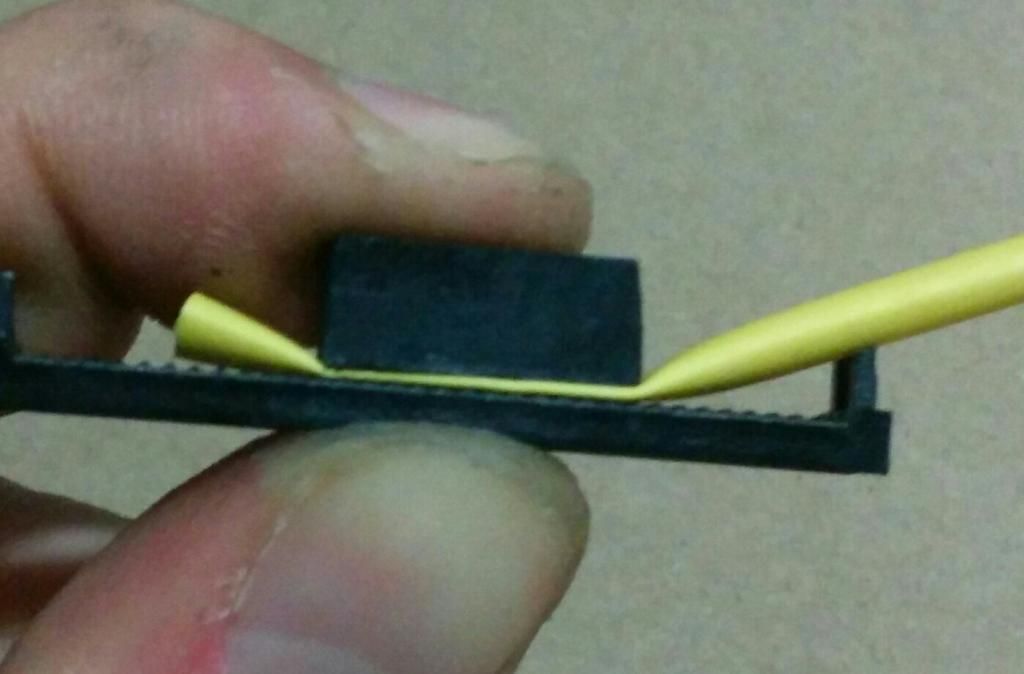
once everything is nice and sandwiched together, take your exacto knife (lets face it you all used a sharp one) and cut off the excess tube
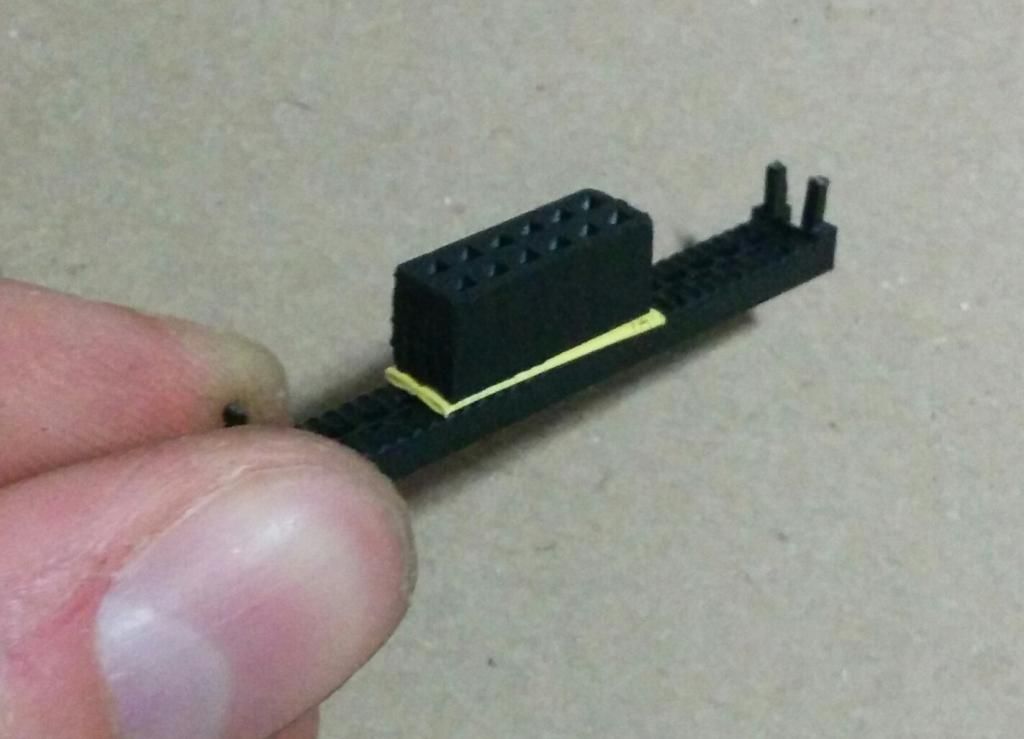
it should look like this
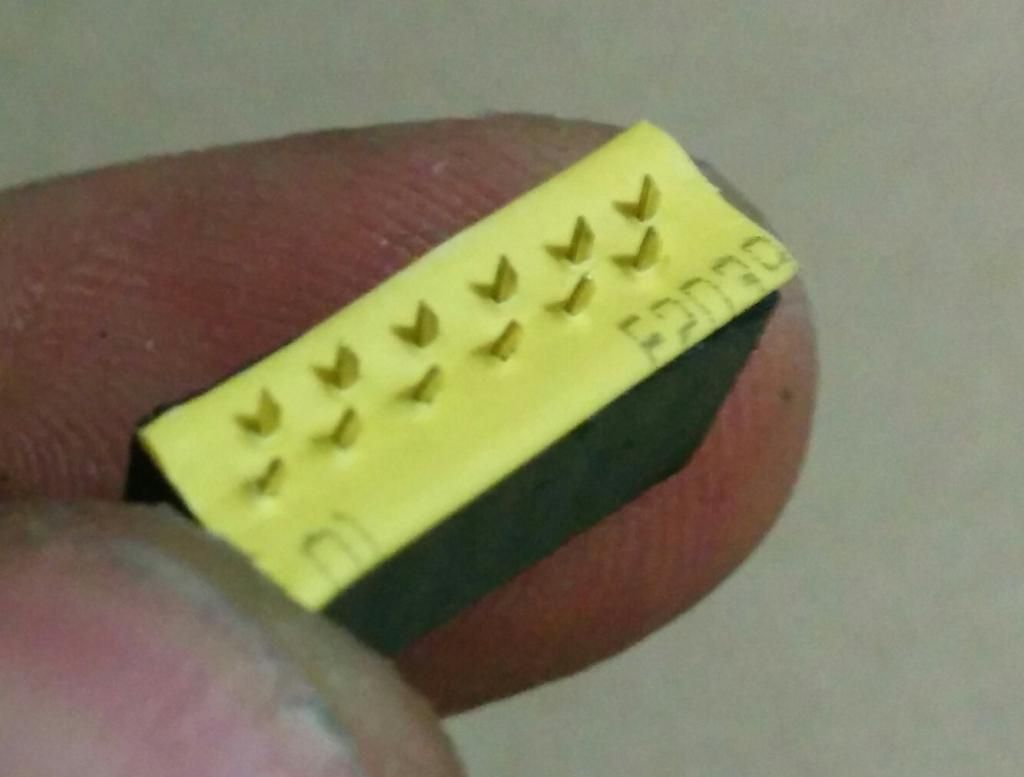
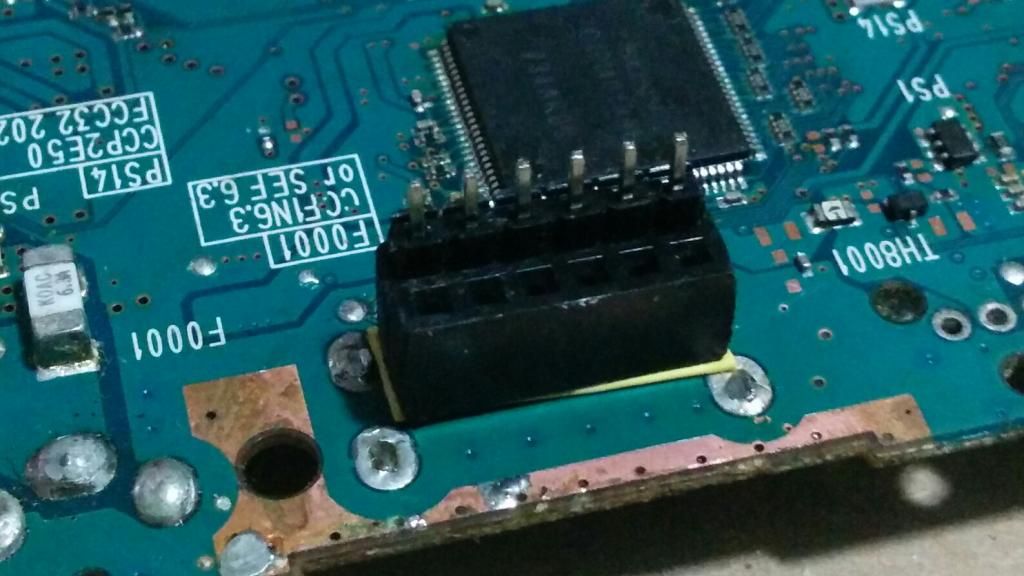
the last bit is fairly simple, adjust the spacing of the teeth as needed to make them slide easily in and out on the holes of the AV port, flip the board over, and solder them in (use flux!!!)
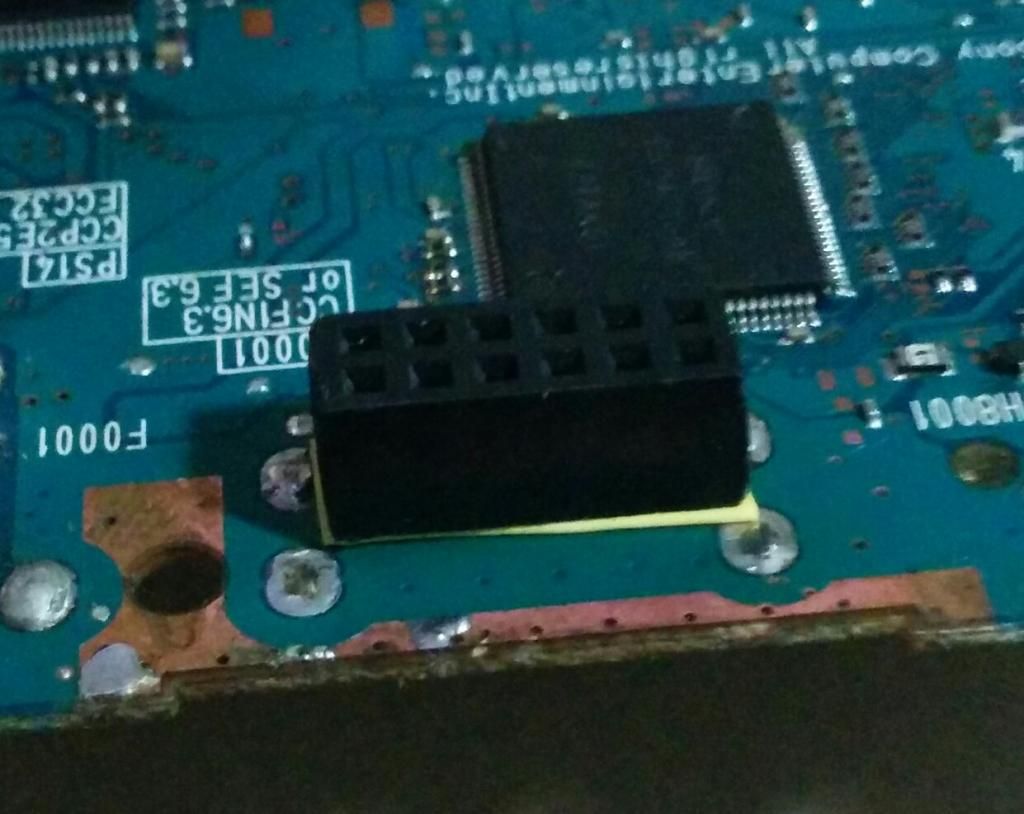
now you can take your row of 12 or more, break them off into rows of 6, and there you have it
the PS2 av port is tricky because its non standard, but I figured out a simple method to make it easy to work with, what you need:
1. your PS2 with AV port removed and through holes clean *this works for PS1, PS2, PS3*
2. IDE cable head

3. 1/8" heat shrink tube, any color.. mine is yellow

4. exacto knife, preferably dulled for safety

5. small fine screwdriver.. this is what i used

6. row of 6 right angle 2.54 mm breakaway headers

7. row of 12(or more) straight 2.54mm breakaway headers

and heres how to do it:
take your IDE cable head and your small screwdriver and carefully prize the top retaining bar off

unfold the first layer, and then carefully prize open the side tabs to release the second bar. this picture shows one tab opened

as an optional step, keep the second bar, you'll see why later

fully unfolded it should look like this

carefully and slowly begin to pull the cabling free. the metal tabs come out very easily if you pull all at once.. trust me

once its all free, you'll have this

this is where we begin to use our row of 6 right angle headers, the pins can be difficult to tell apart because of thier shape and close spacing, but the headers can help us tell them apart, so slide them up into one side of the plug head, you will see their tips marking which ones to leave and which to pull!!


clean up the piece to your preferred level of acceptable using files, or sand paper, etc.
now we get down to the nitty gritty..
take your dulled ecacto knife and your row of 6 headers;
-insert the headers into the side you want to bend first, they act as a brace for the pins, so they don't come loose.
-using your dulled exacto knife, carefully bend down only one of the two teeth in the pin
-note the direction of the bent teeth


turn it around and repeat, remembering to move the row of 6 to the other side
-note again the direction of the teeth

in the end it should look like this, with the center row of teeth still perfectly straight

now comes even more nitty gritty lol
remembering (for the last time, i swear) to keep your row of 6 in the side you're working on, take your exacto knife and bend the flattened pins back and forth until they break.. took about 3 oscillations each for me
by the time its all said and done, it should look like this
-the teeth!! the teeth!!

now comes that optional step i mentioned earlier;
-take that bar you set aside (this was the optional part, and i hope you did, this is a finger saver!!), and your heat shrink tubing (the tubing is needed regardless for electrical insulation)
-place the heat shrink center on the bar and clamp it in place, it should fill out the width of the bar perfectly

take your part and press it into the tubing, the teeth will penetrate it easily
-if your teeth didn't go all the way to the bottom on the first try, simply remove the clamps and line up the teeth with the holes, until it naturally slots together *don't force it!!*

once everything is nice and sandwiched together, take your exacto knife (lets face it you all used a sharp one) and cut off the excess tube

it should look like this

the last bit is fairly simple, adjust the spacing of the teeth as needed to make them slide easily in and out on the holes of the AV port, flip the board over, and solder them in (use flux!!!)

now you can take your row of 12 or more, break them off into rows of 6, and there you have it

