Downing's SNES-001 Advanced COMPLETE! *1st Post Update*

Re: Downing's SNES-001 Advanced

superben51 said:
Fine video and sound and use batteries to power the thing

And then essentially I'd have created a portable that needs a cord... :confused: Believe me I tried to get it to work with just one line, but I would have had to make a new cable with the extra lines for the SNES controller anyway as it only had 5 cables in it. Still thinking about it for the next one.
 
Re: Downing's SNES-001 Advanced

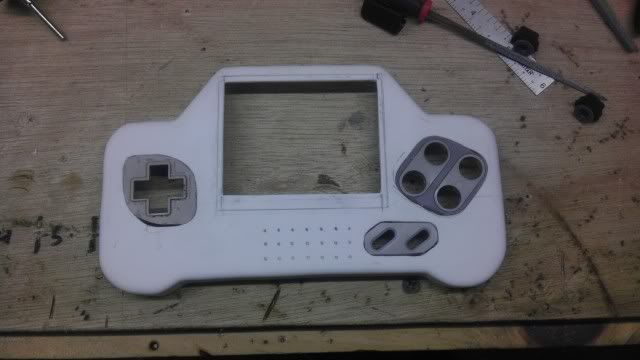
Small update today, though I'm finally getting back into it! Started on the second controller today. I decided to go with a bit of a different layout as well as frakencasing instead of just drilling. I will be doing what Bac has done with the D-pad because I'm about as frustrated with the other controller as can be. Once I have the rest of the buttons cut out, I'll post another update, but for now here's where it's at!

IMAG0547.jpg
 
Re: Downing's SNES-001 Advanced

What are you going to do with your other case? :cry:
 
Re: Downing's SNES-001 Advanced

Fix it. Most likely I'll be frankencasing another dpad into the face which I really did not want to do, but I'm gonna have to in order to make it work correctly.
 
Re: Downing's SNES-001 Advanced

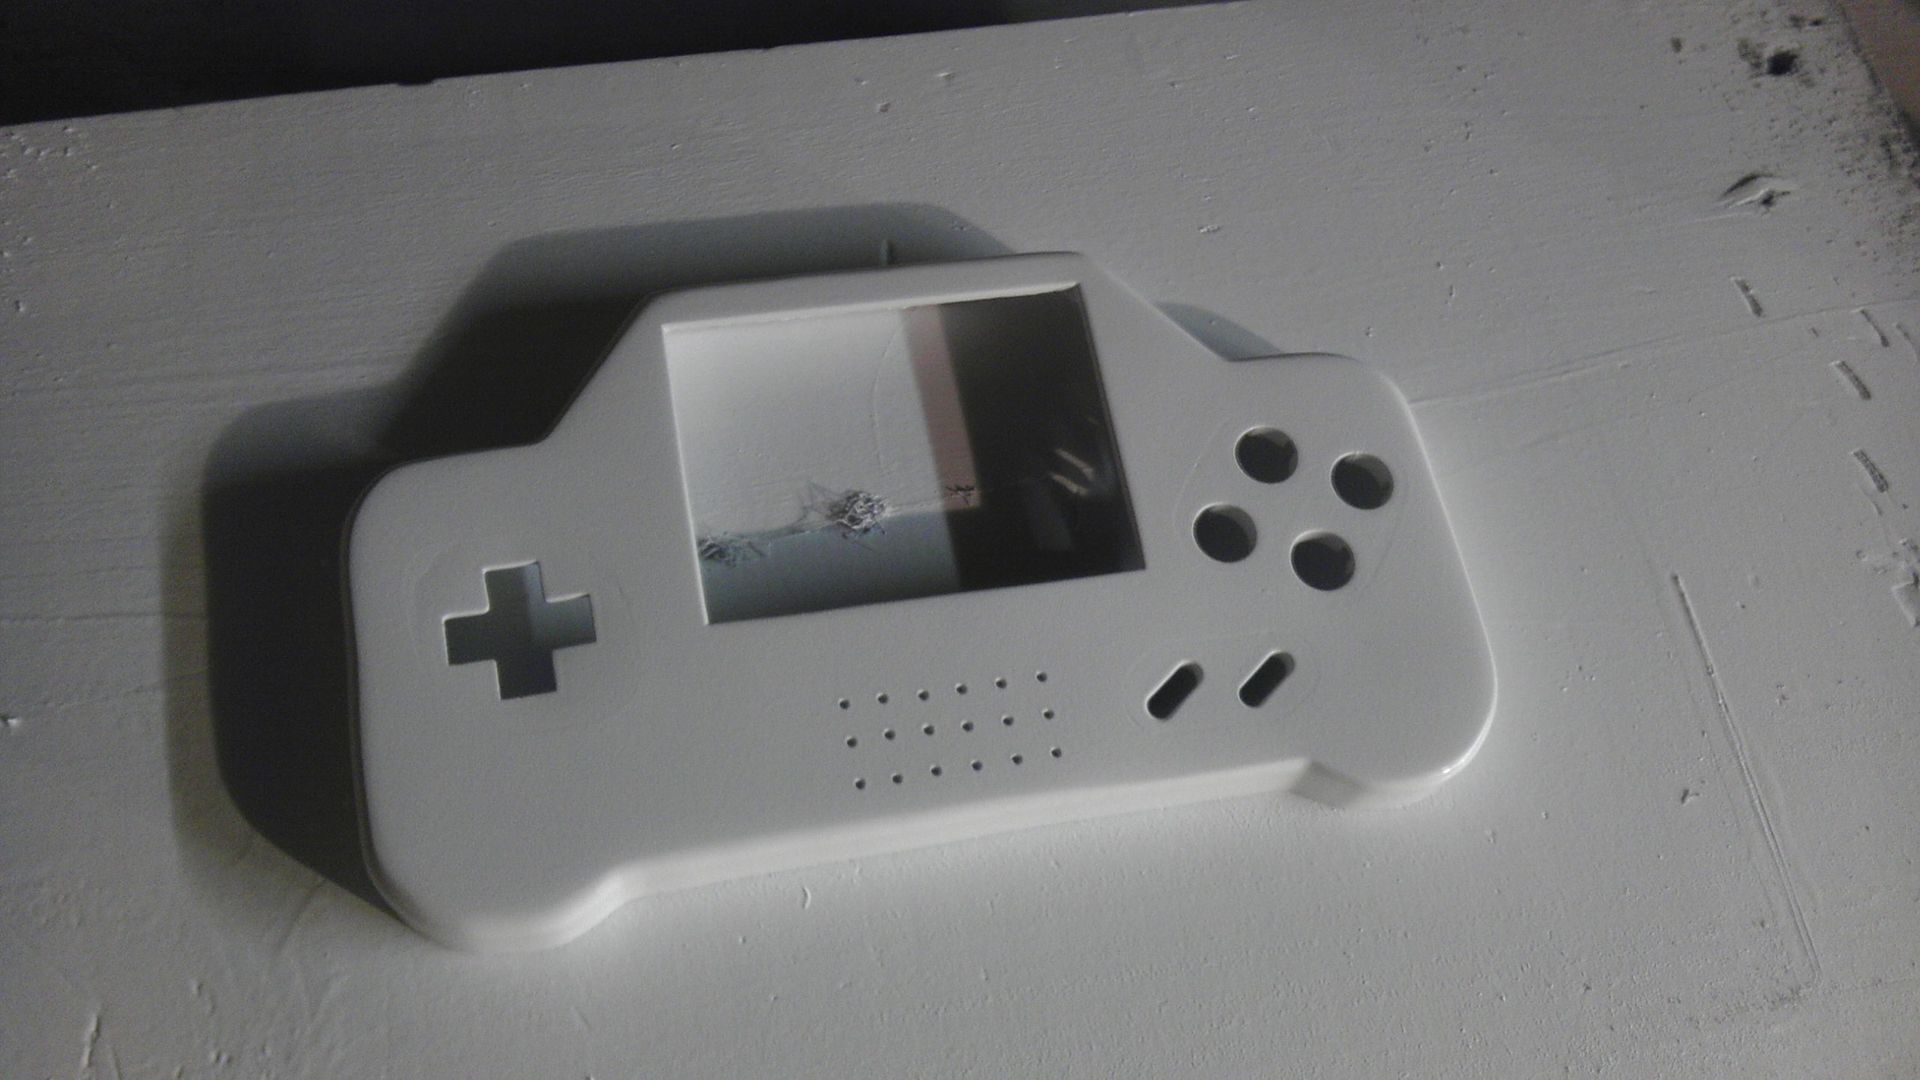
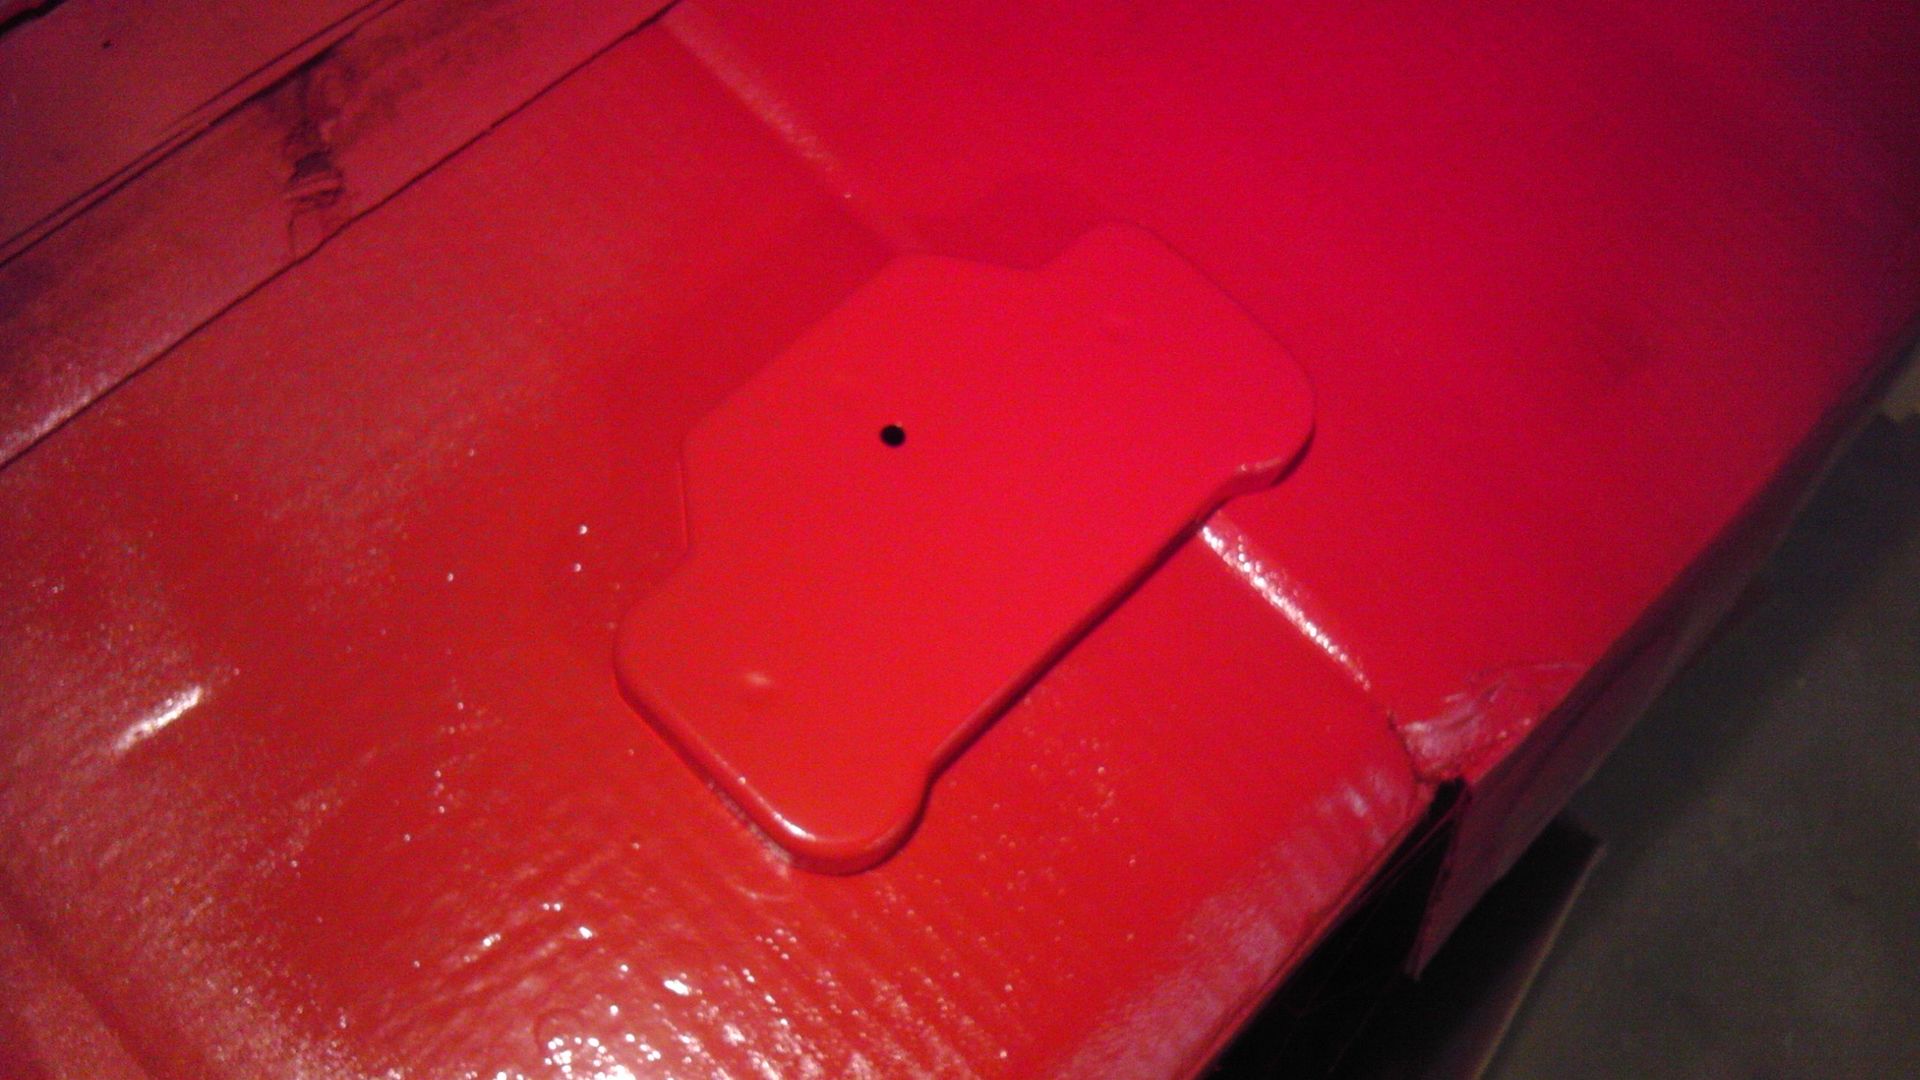
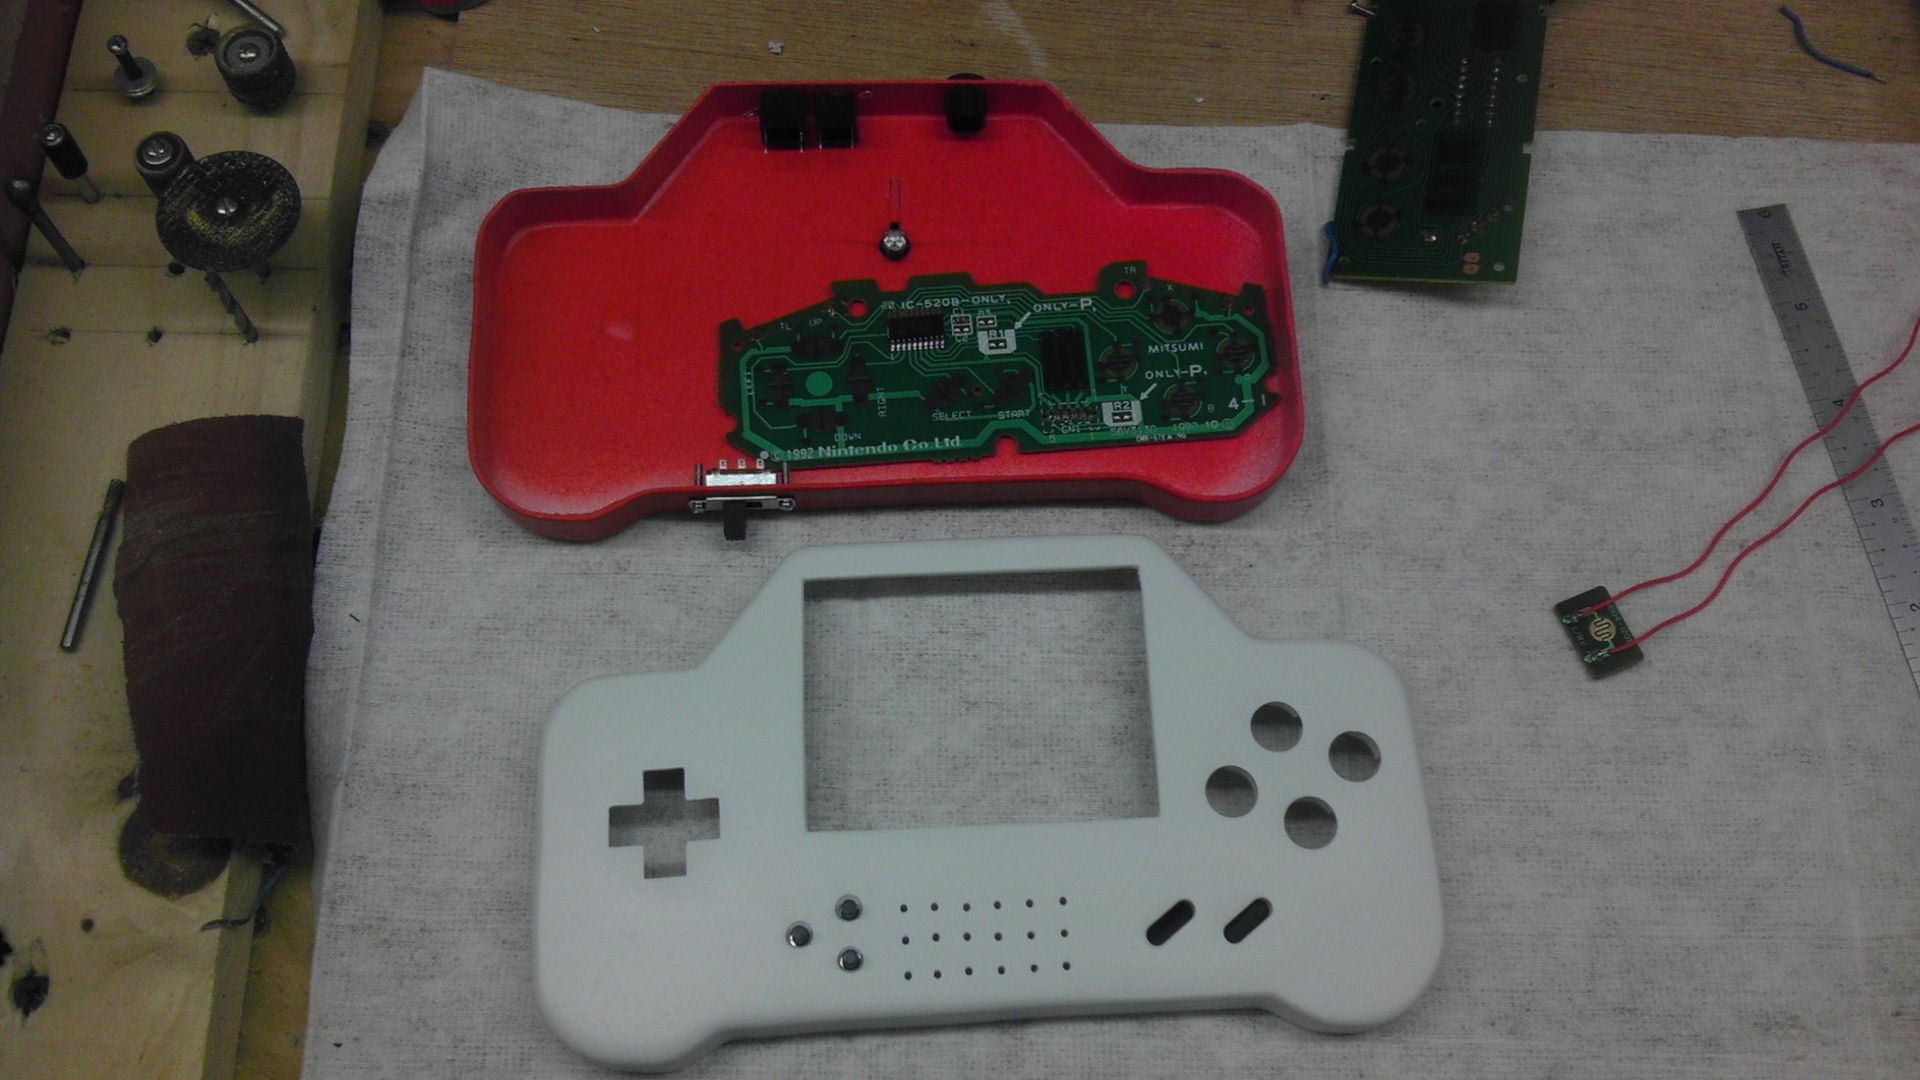
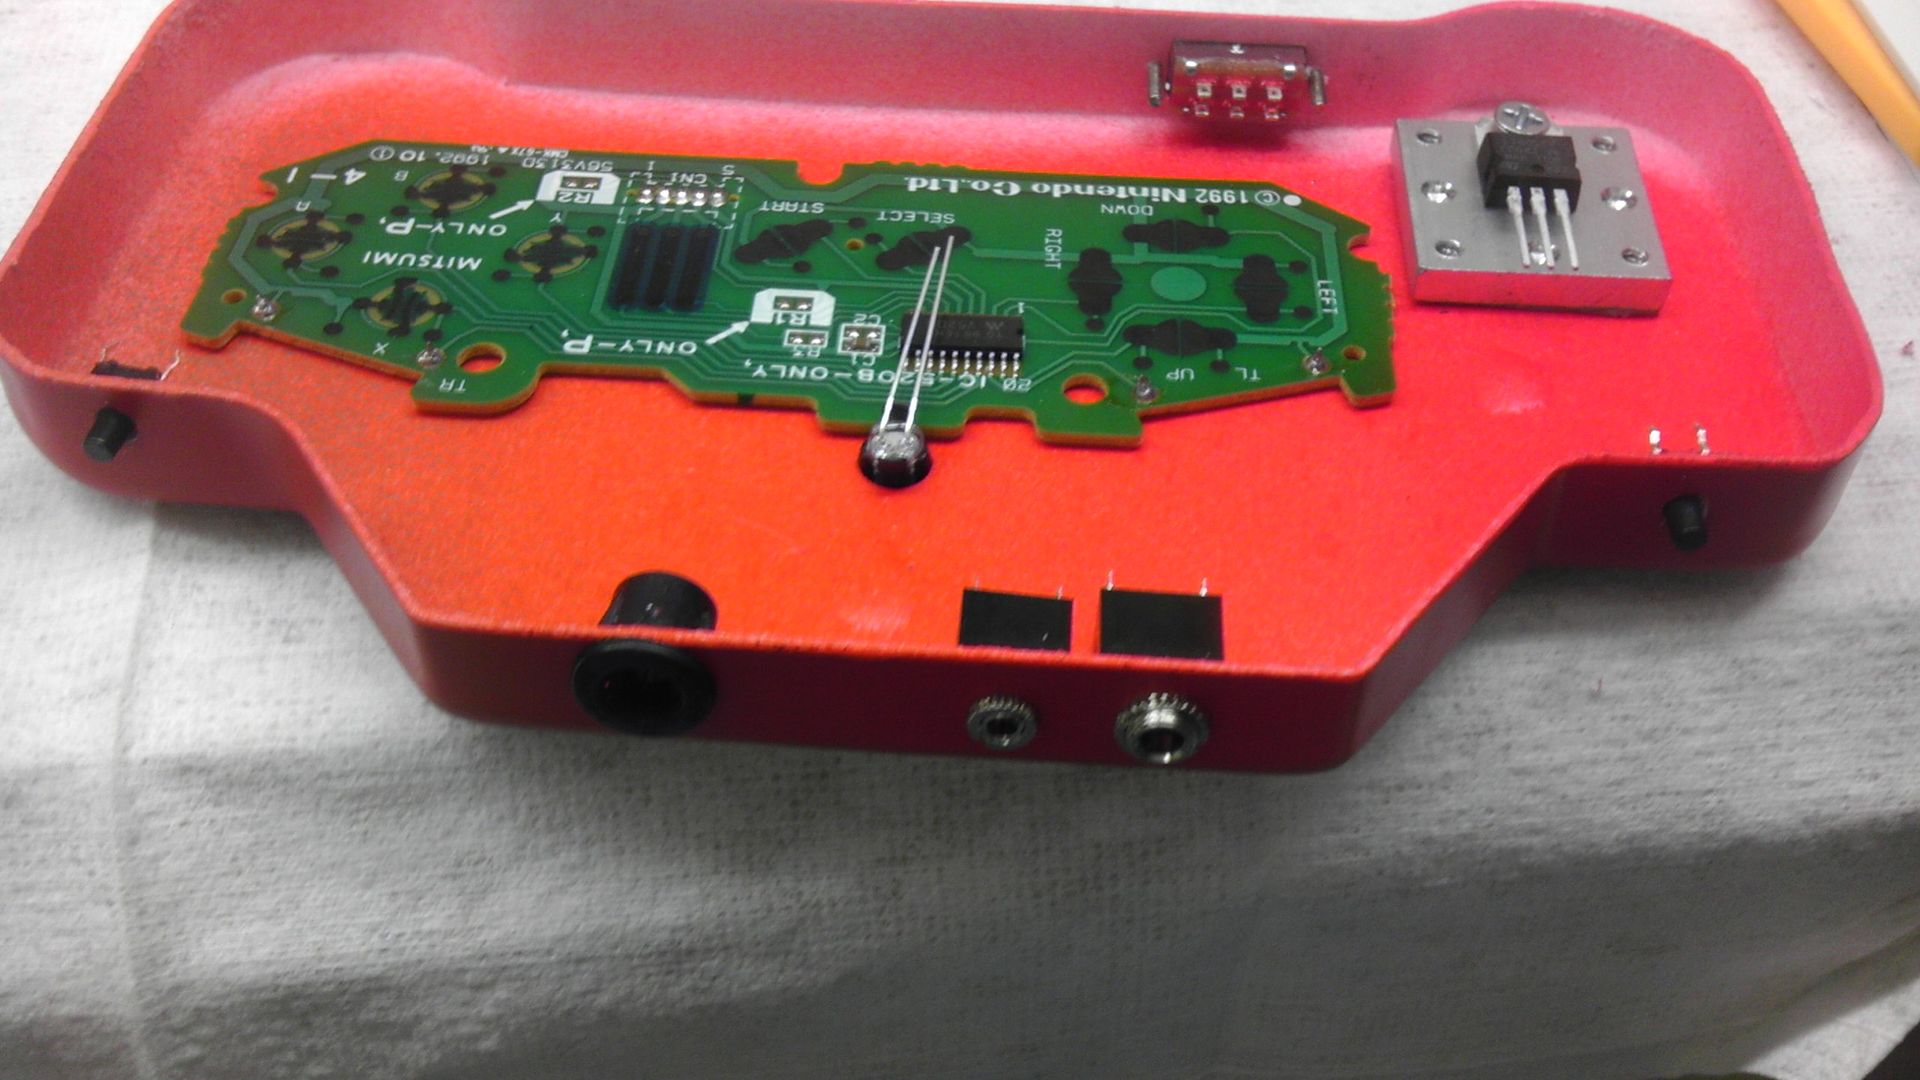
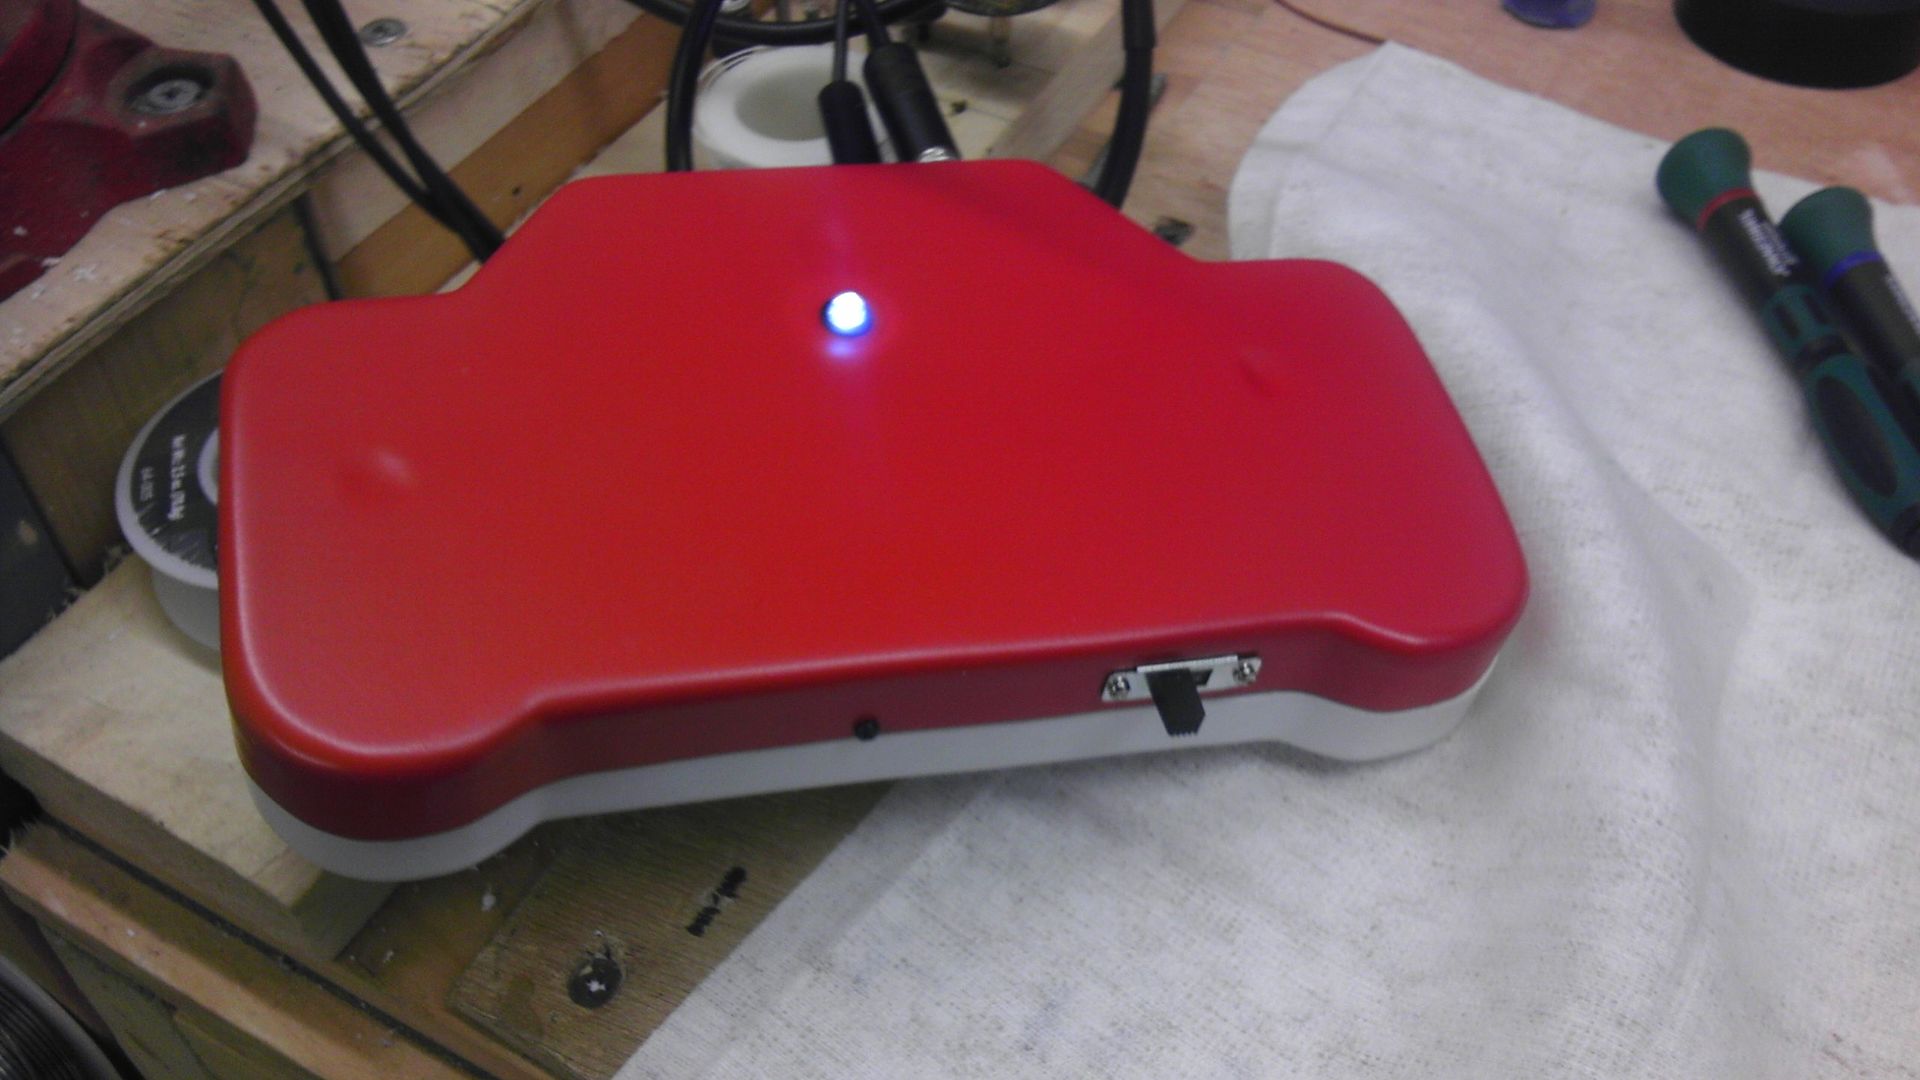
Ok, so I got the front face of the controller sanded an painted tonight. I also added the LED hole and the A/V on-off switch on the back part of the controller. I decided to put the switch on the outside and mount it like it was supposed to be because on the last controller I kinda screwed up using hot glue and pretty much glued the switch shut. Took a lot of Denatured alcohol and time to get it fixed.

You will notice that again, the franken casing isn't perfect. This is of no consequence though as I'll be adding decals around the entire frankencased areas which should cover it nicely.

Trying to get back into this as much as possible, I just wanna get this done and on the auction block, but I can't rush it for that very reason! So it's getting there! I'm still waiting on some high-top tact switches for the screen controls as the regular ones don't sit high enough to push comfortably. I also ordered some very small, very low profile tact switches as well as a trial, so I'll let you know how those work out once they get here.

IMAG0553.jpg


IMAG0554.jpg
 
Re: Downing's SNES-001 Advanced

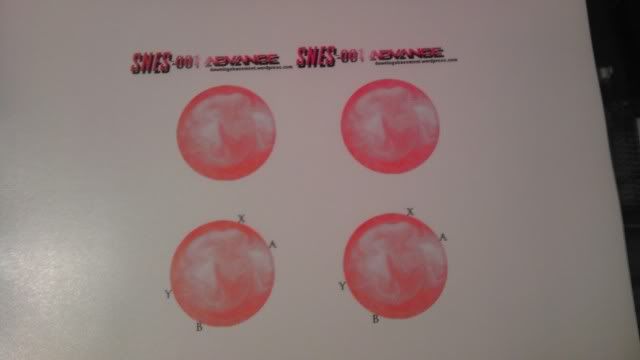
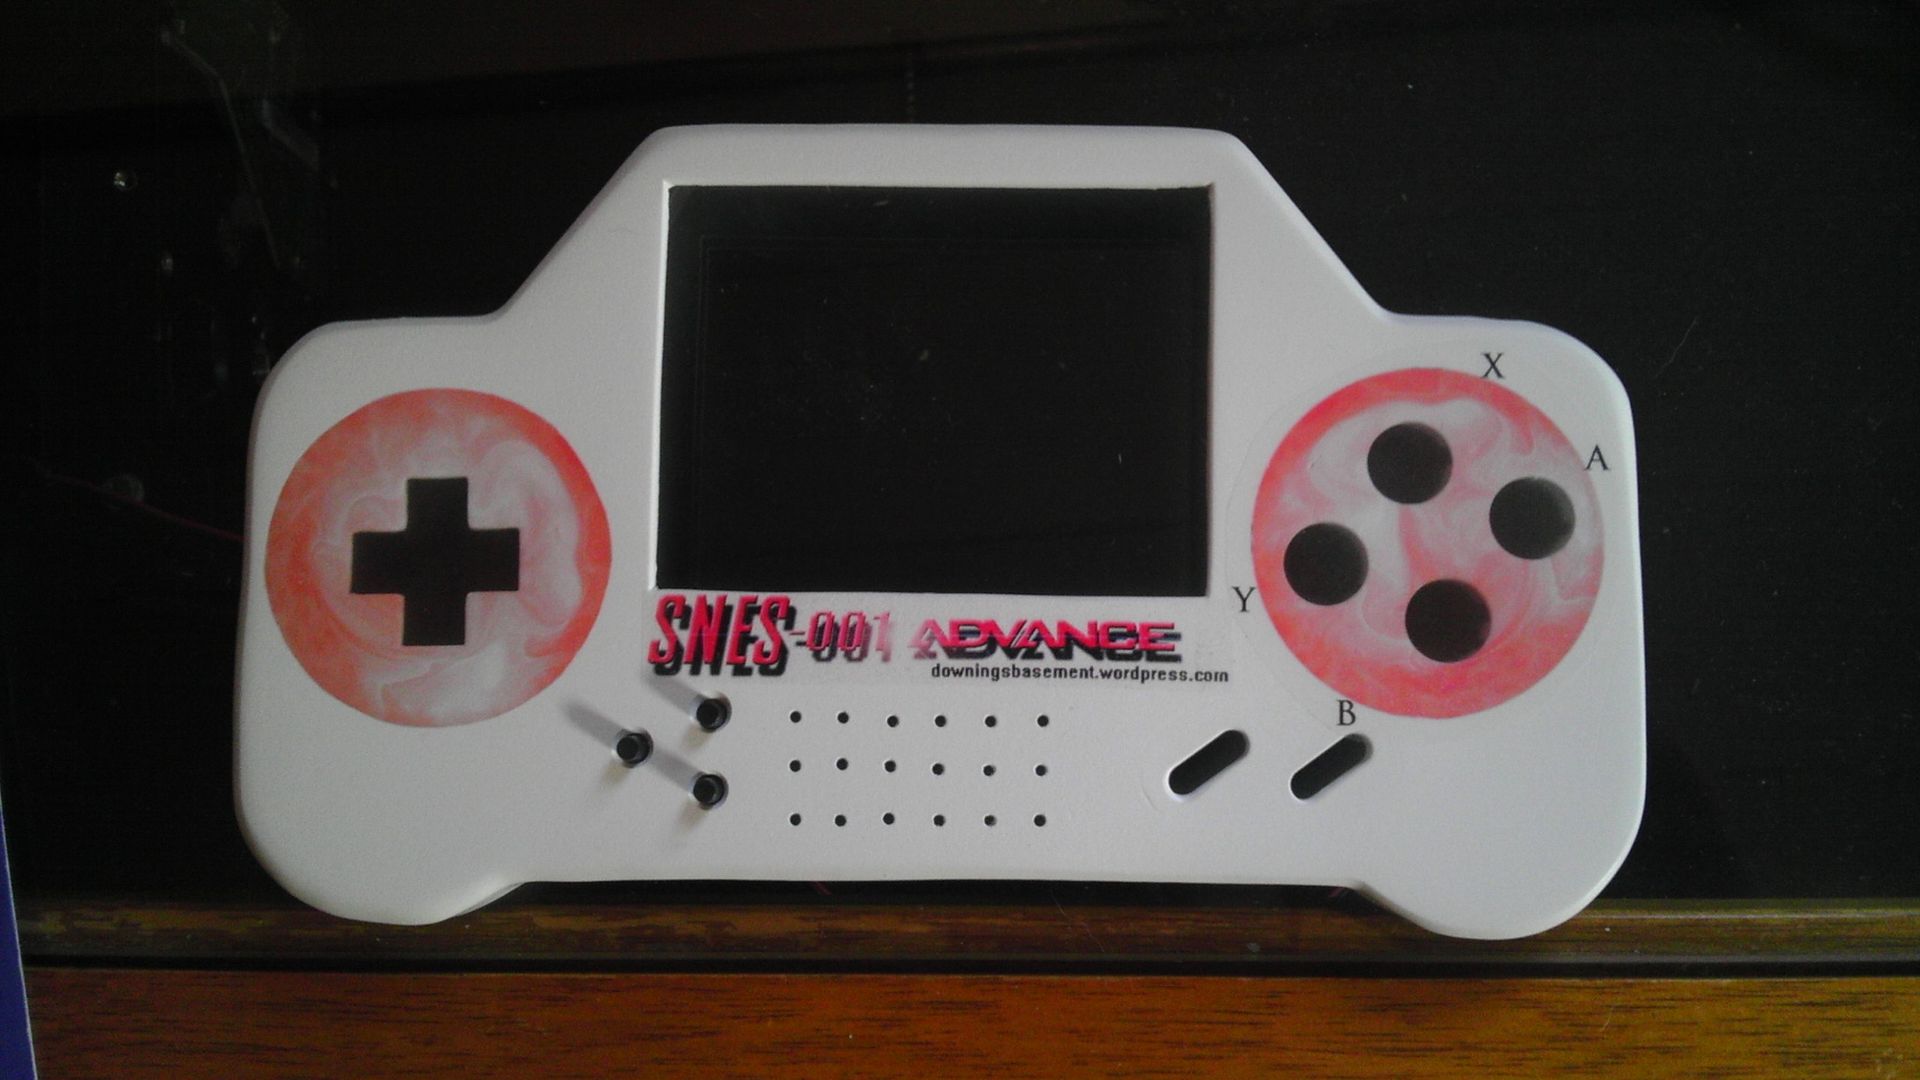
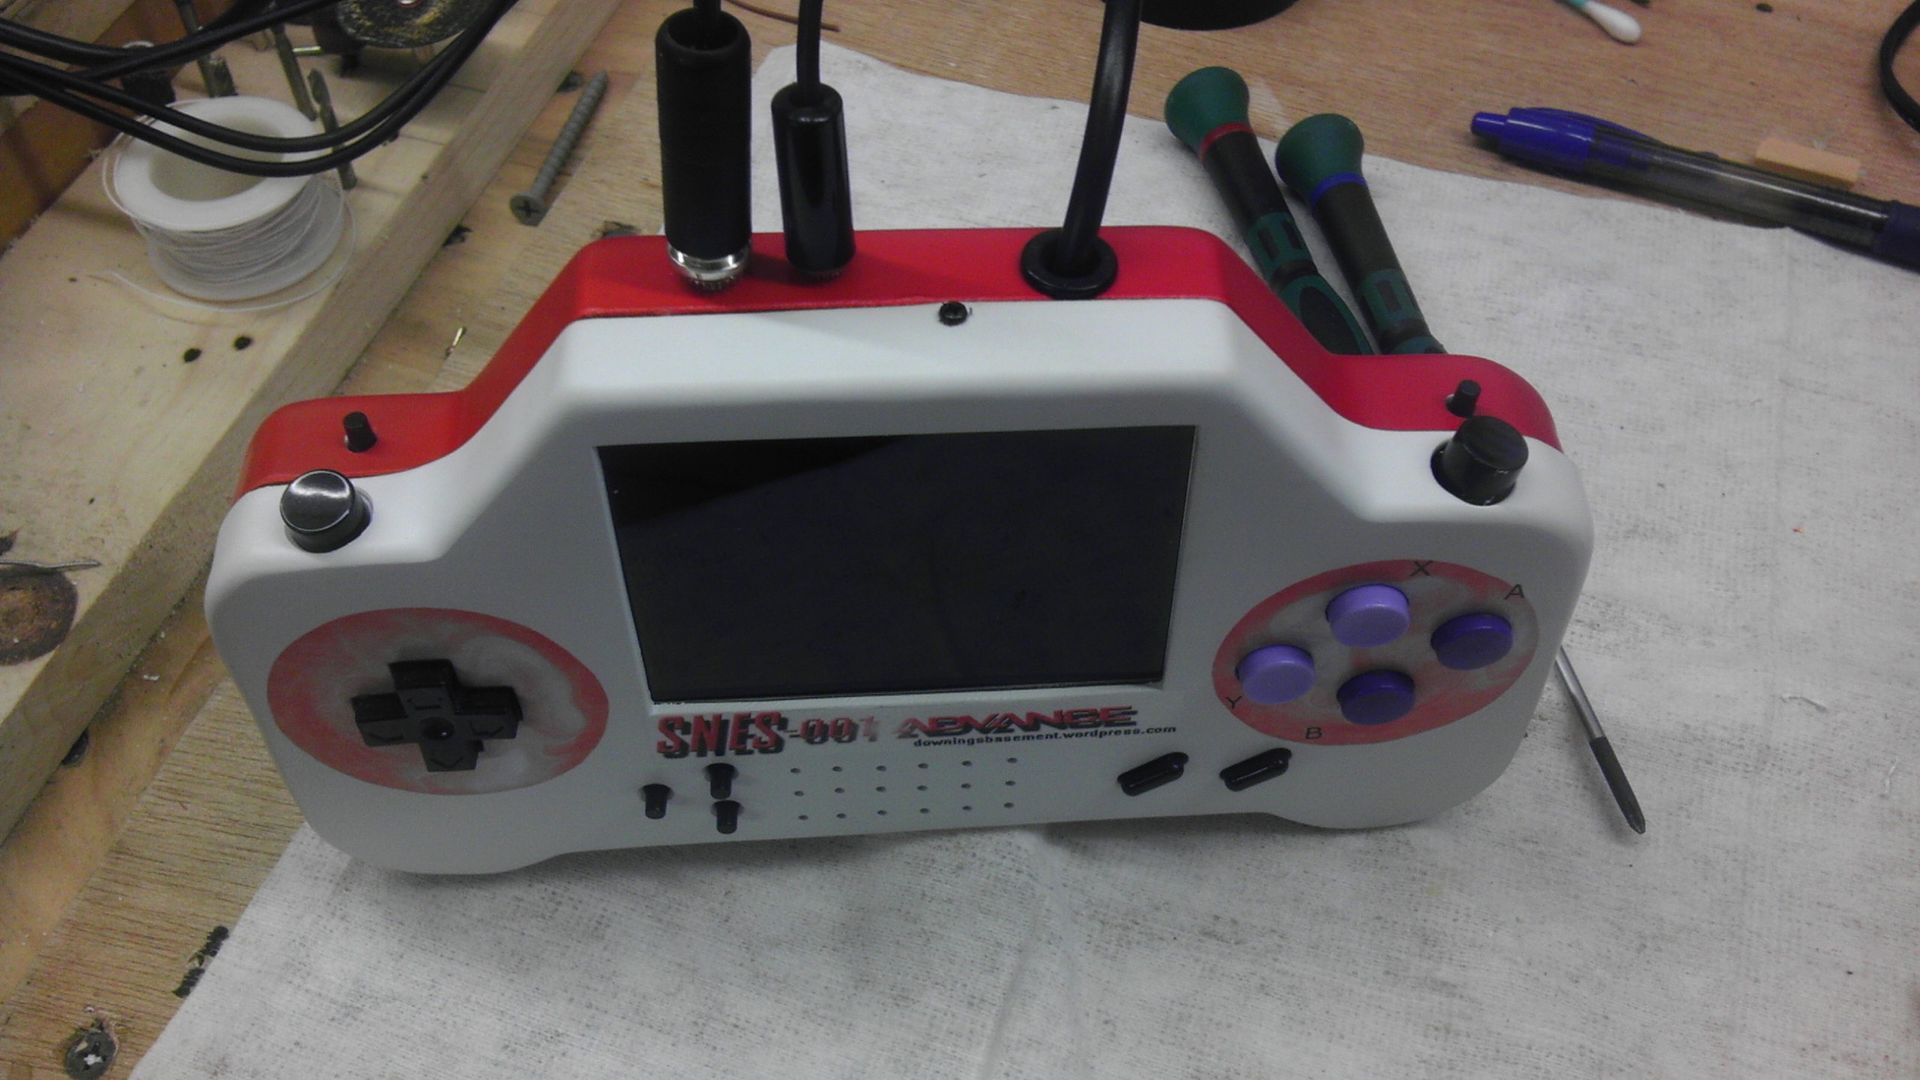
So before I could really get too far with the internals, I had to put my decals on first because I was going to need to use the open spaces for the x-acto knife to cut the openings for the buttons and d-pad. I did however get the buttons for the screen controls drilled and in place as well as mounting the controllers on/off switch, the A/V & Power Jacks, the controller cable grommet and the LED holder/LED in the back.

Not 100% satisfied with the placement of the YXBA labels because I just kind of guessed at it not knowing where they were going to fall, but now that I have a baseline and can see where the alinement needs to be, I'll probably redo it properly.

I am happy with how the SNES-001 Advance logo turned out though and this is my first successful use of Water-Slide decals. (thanks loveable chevy!)

Much happier with the way this controller is laid out though and tomorrow I should be able to start on the electronics while I'm waiting for the new decals to dry.

The Layout
IMAG0561.jpg


The Printed Decals
IMAG0562.jpg


The Decals Placed, Trial One
IMAG0563.jpg
 
Re: Downing's SNES-001 Advanced

Almost! :D haha. Though I do like to try my best for a commercial appeal, I know I'll never get there using vacuum forming with my current set up versus premade casings/project boxes. But the vacuum forming upgrade is in the works, but really everyone has their signature technique and though I admit my finished products aren't as polished as some, they are unique and fun to me.

I should have some more updates later tonight as I've been working this morning on getting the components in place. Looks decent but still have a ways to go!
 
Re: Downing's SNES-001 Advanced

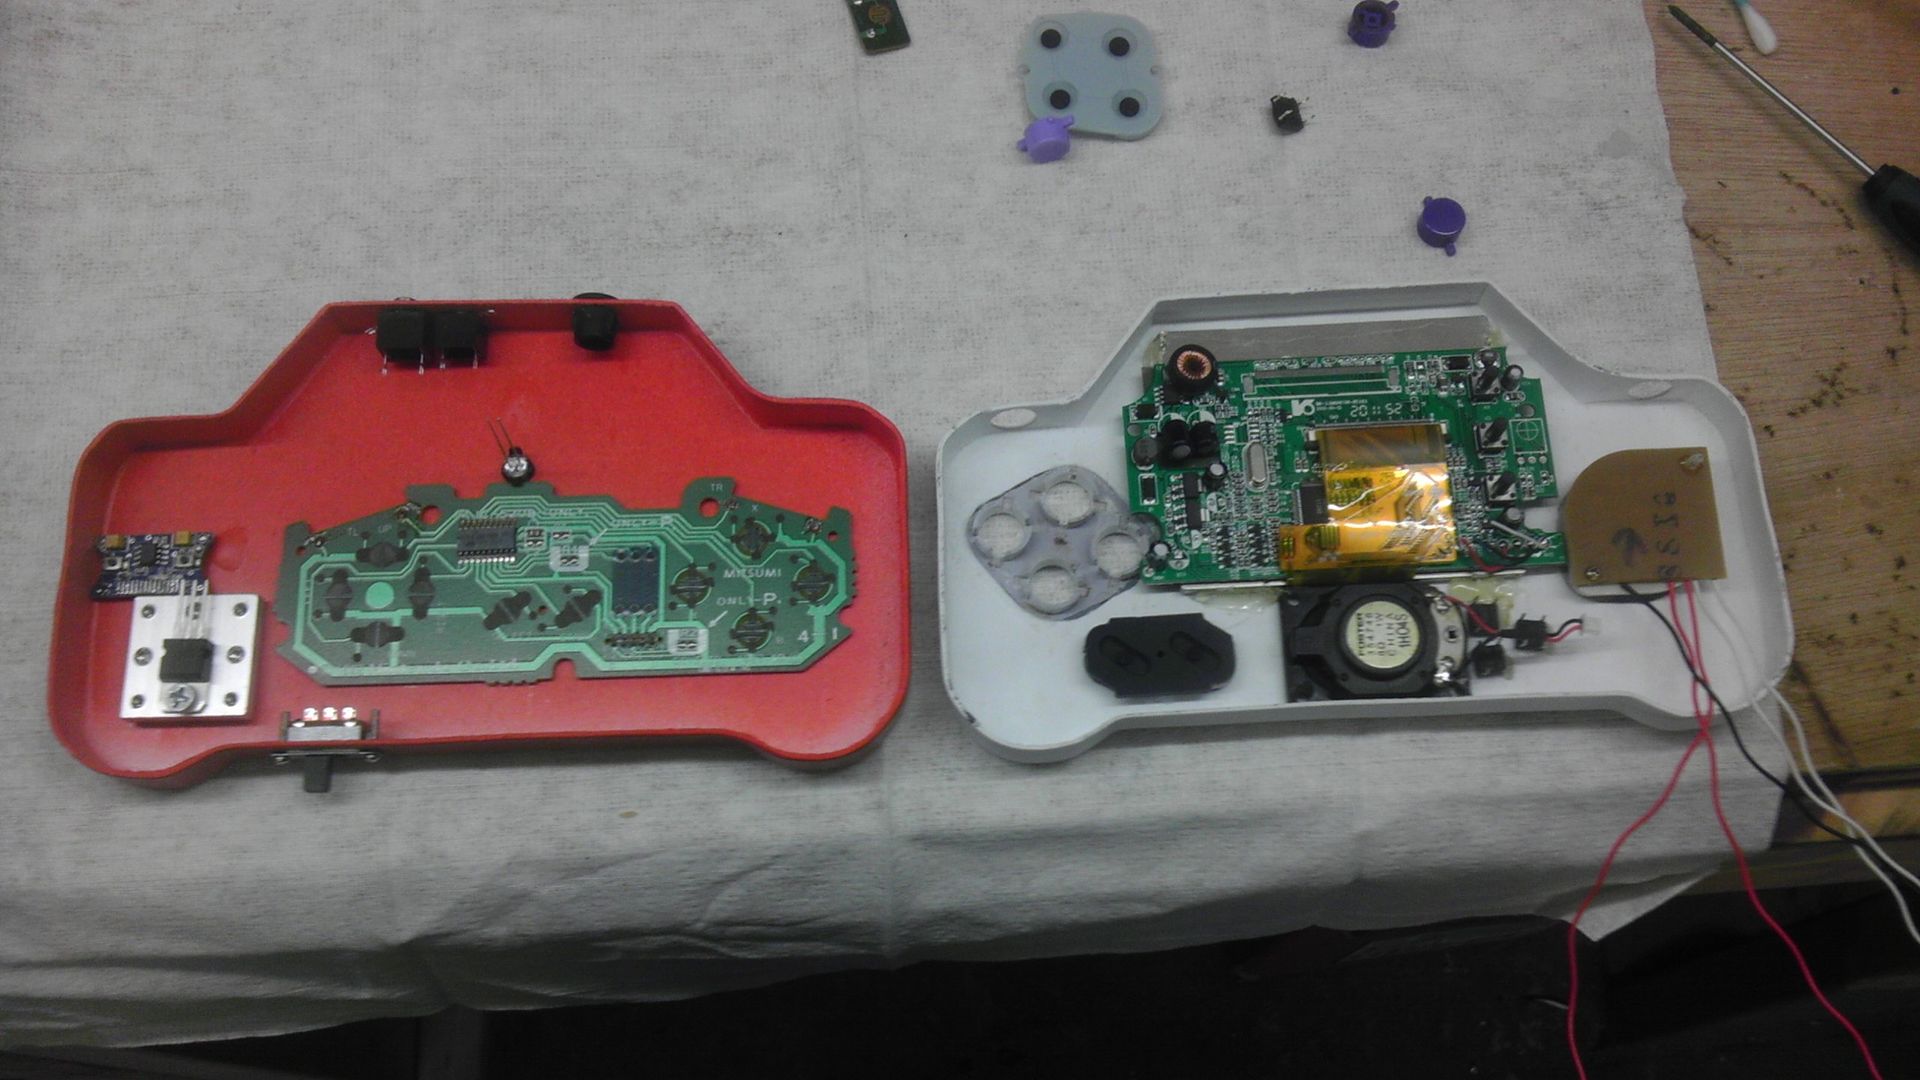
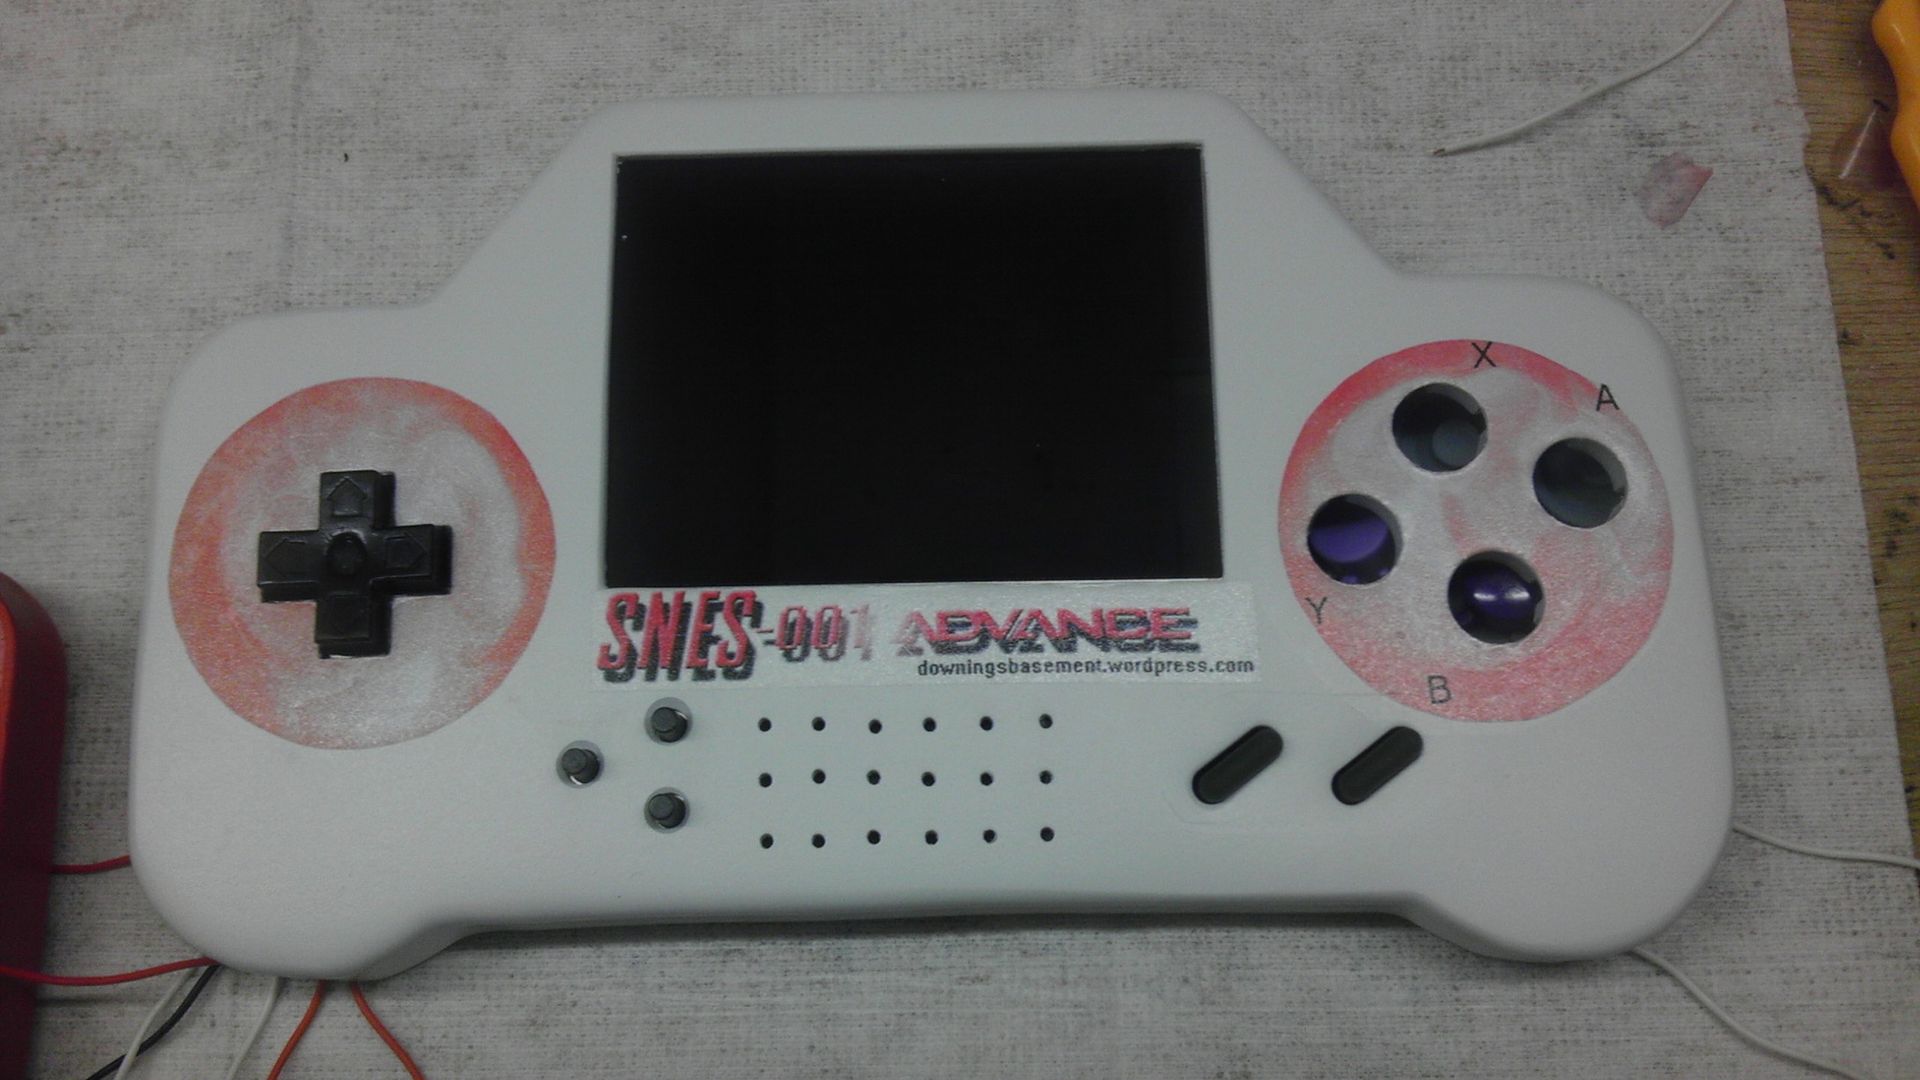
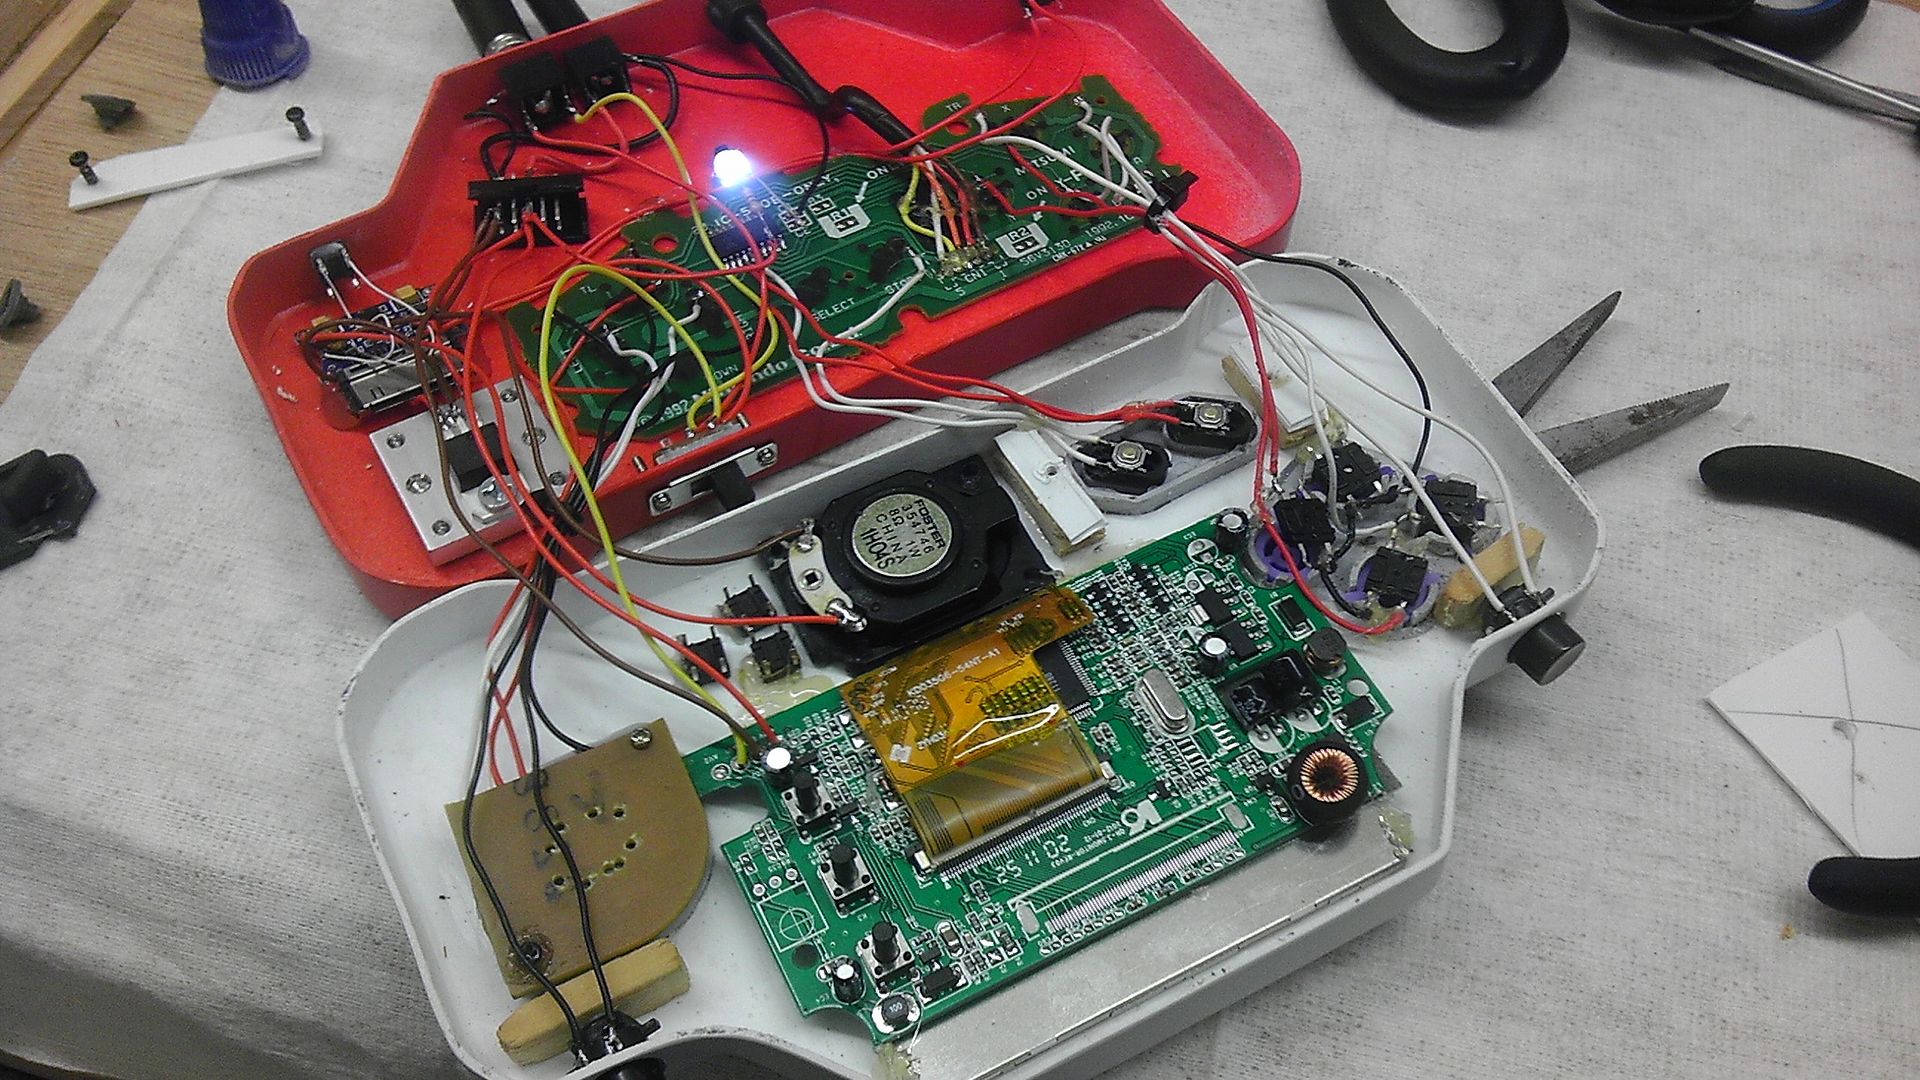
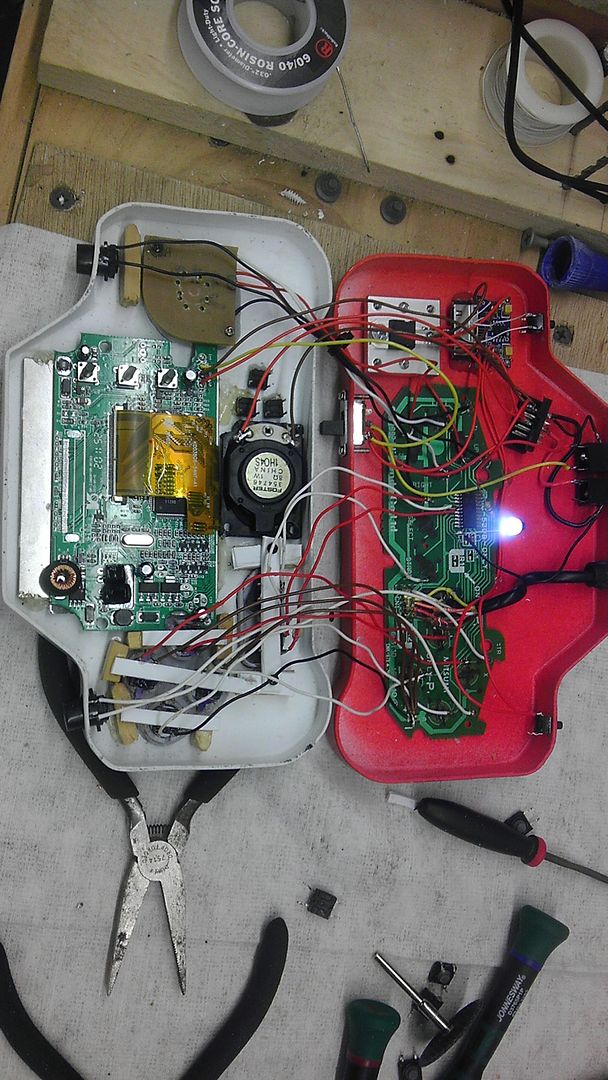
Started with the internals this morning, getting the screen, speaker, controller PCB, D-pad and 7805 mounted. I also made the new decal for the XYBA. Still not perfect, but guessing games rarely are and I'm happy with how much better these turned out. For some reason the lighting was a bit off and the decals look a bit faded in the pic, but they look good in real life still.

Still trying to decide if I wanna use the SNES PCB for the buttons as the feel of the NES d-pad is amazing and secure. Feels just like the real thing because well...it is. I did realize that I mounted the chunk of the NES controller the wrong way and so I have to wire to the PCB a bit differently but it makes no difference regardless. Feels good and we'll see if it works when I get it hooked up to the SNES controller. More updates later this week.

IMAG0564.jpg


IMAG0565.jpg
 
Re: Downing's SNES-001 Advanced

Started moving on this again today, though I was sick again this morning, so pretty much as wasted day. Anyway, updates in the pics!

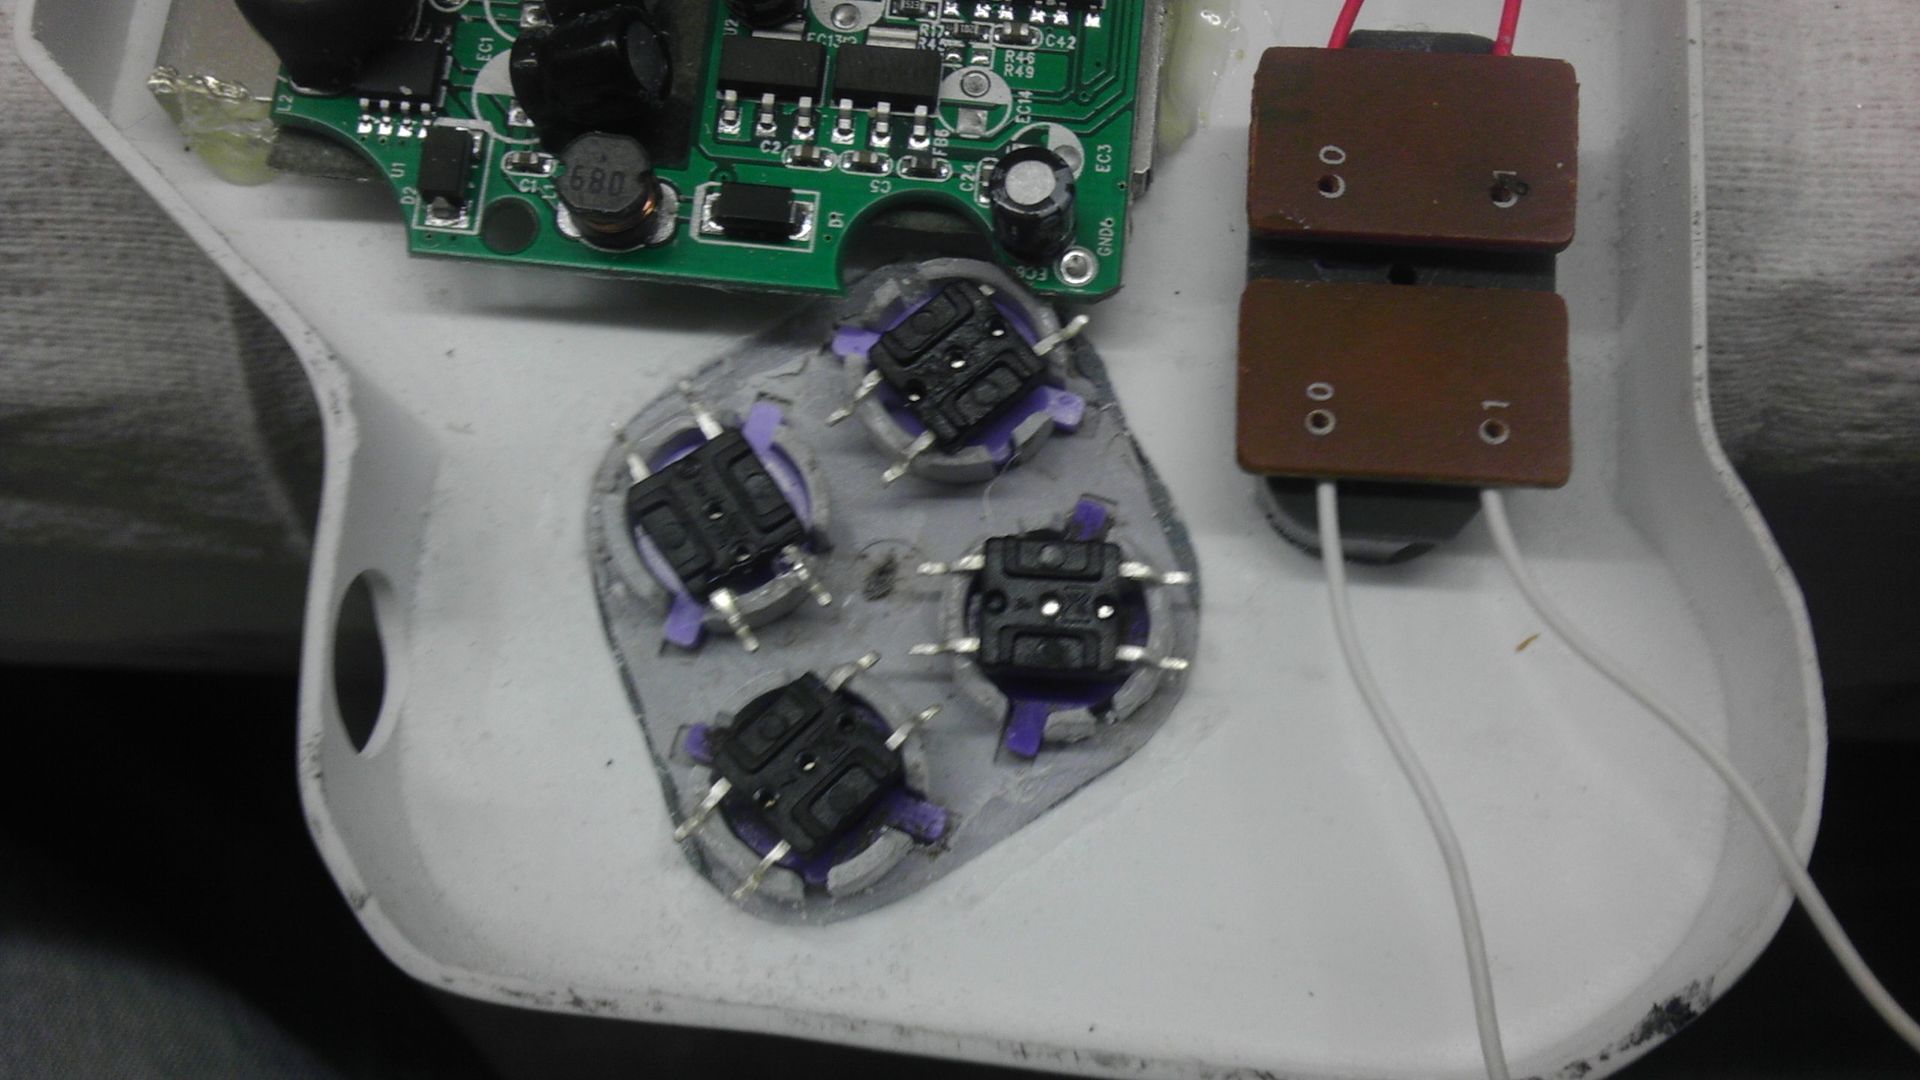
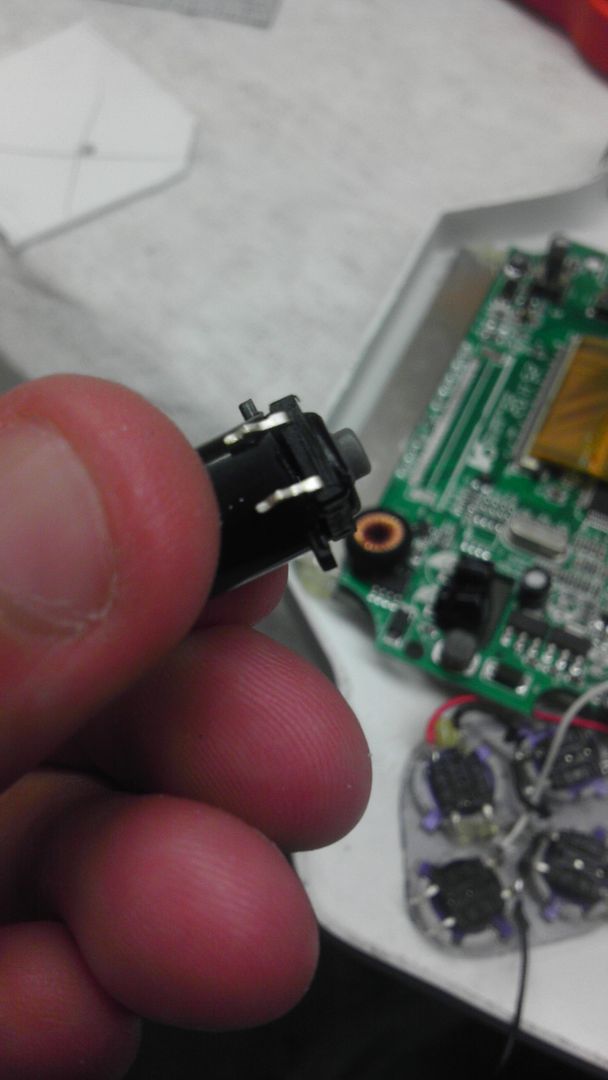
I started with deciding I'd rather go with the rubber tact switches for the YXBA buttons, but I tried a different method of mounting them this time. Because I used the original controller mounts, I had those little lips that the buttons set into to stop them from spinning. So using some loctite super glue, I bent the legs of the tacts backwards so they provided the level base for the buttons and tacked them in place with super glue. Once I have them all wired, I'll then put another back plate over them so they are actually mounted to the casing and won't pop off with a hard button push.
IMAG0566.jpg


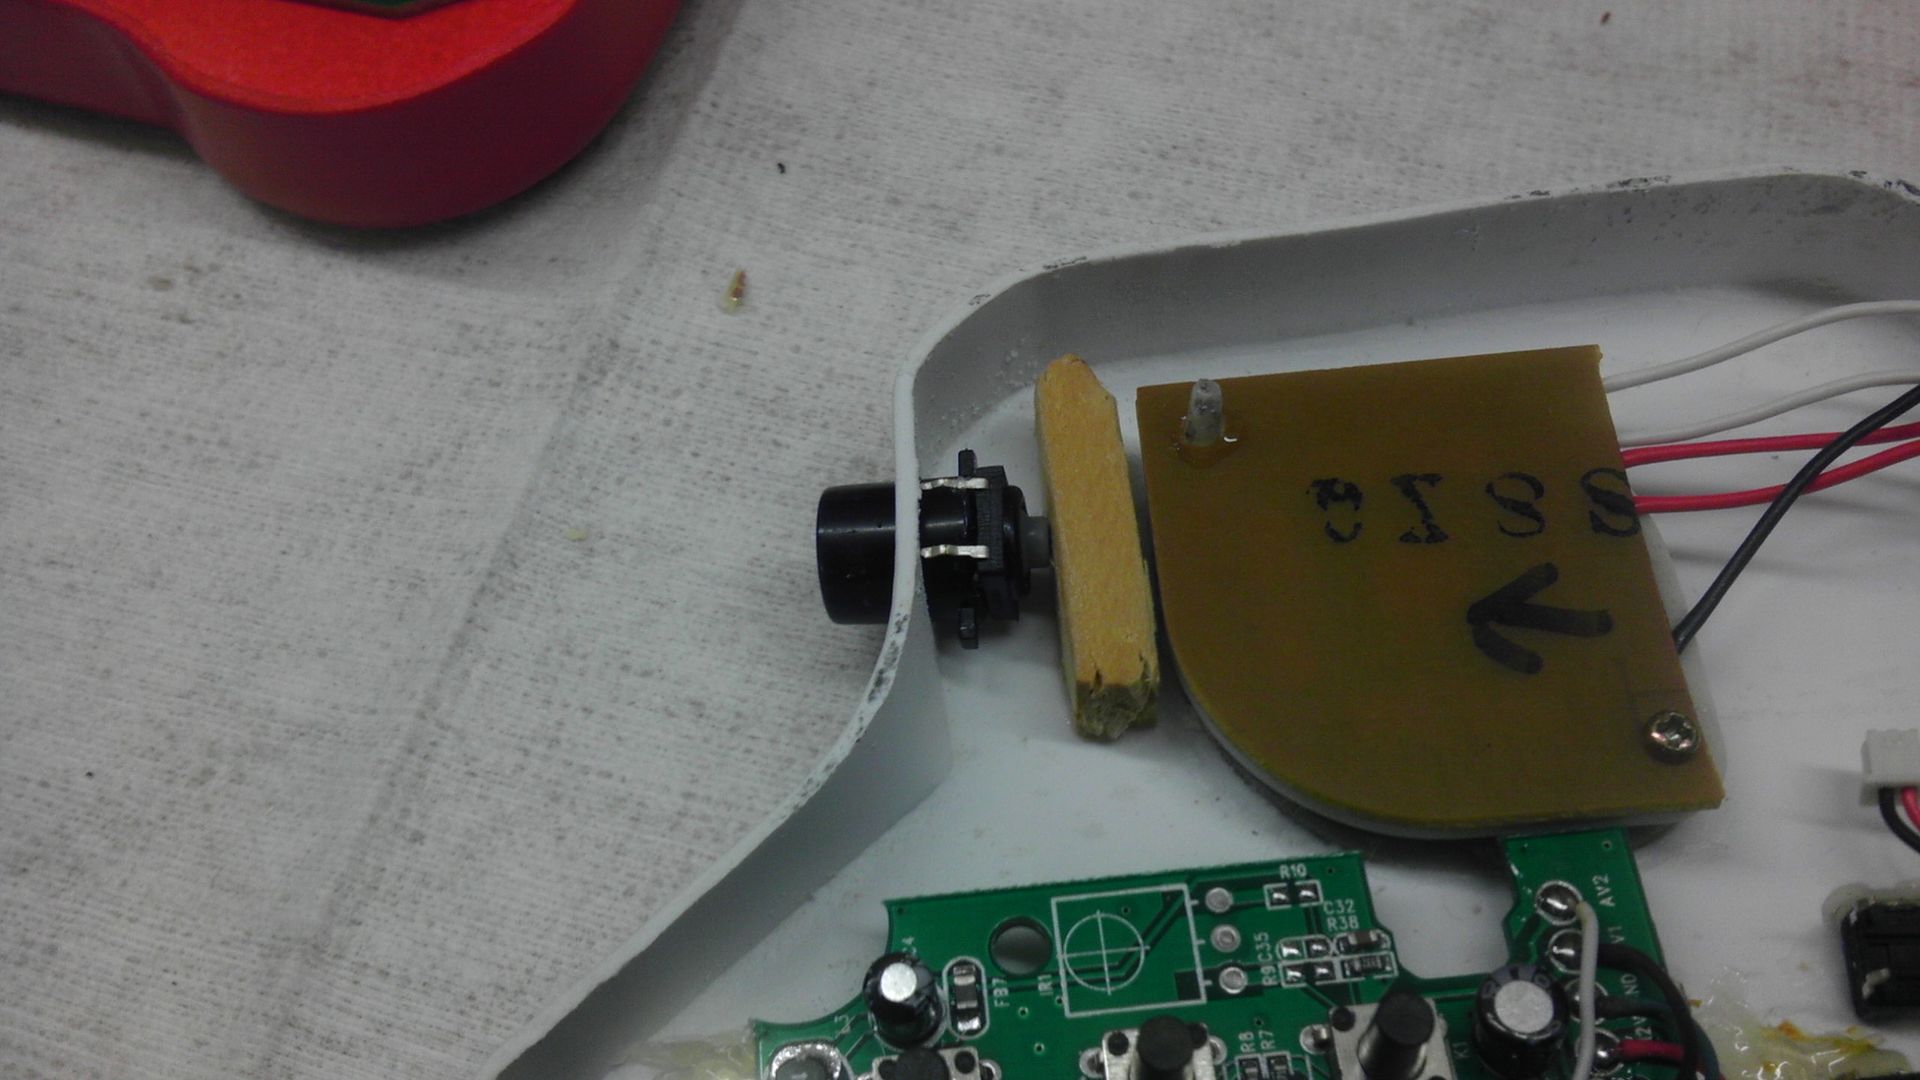
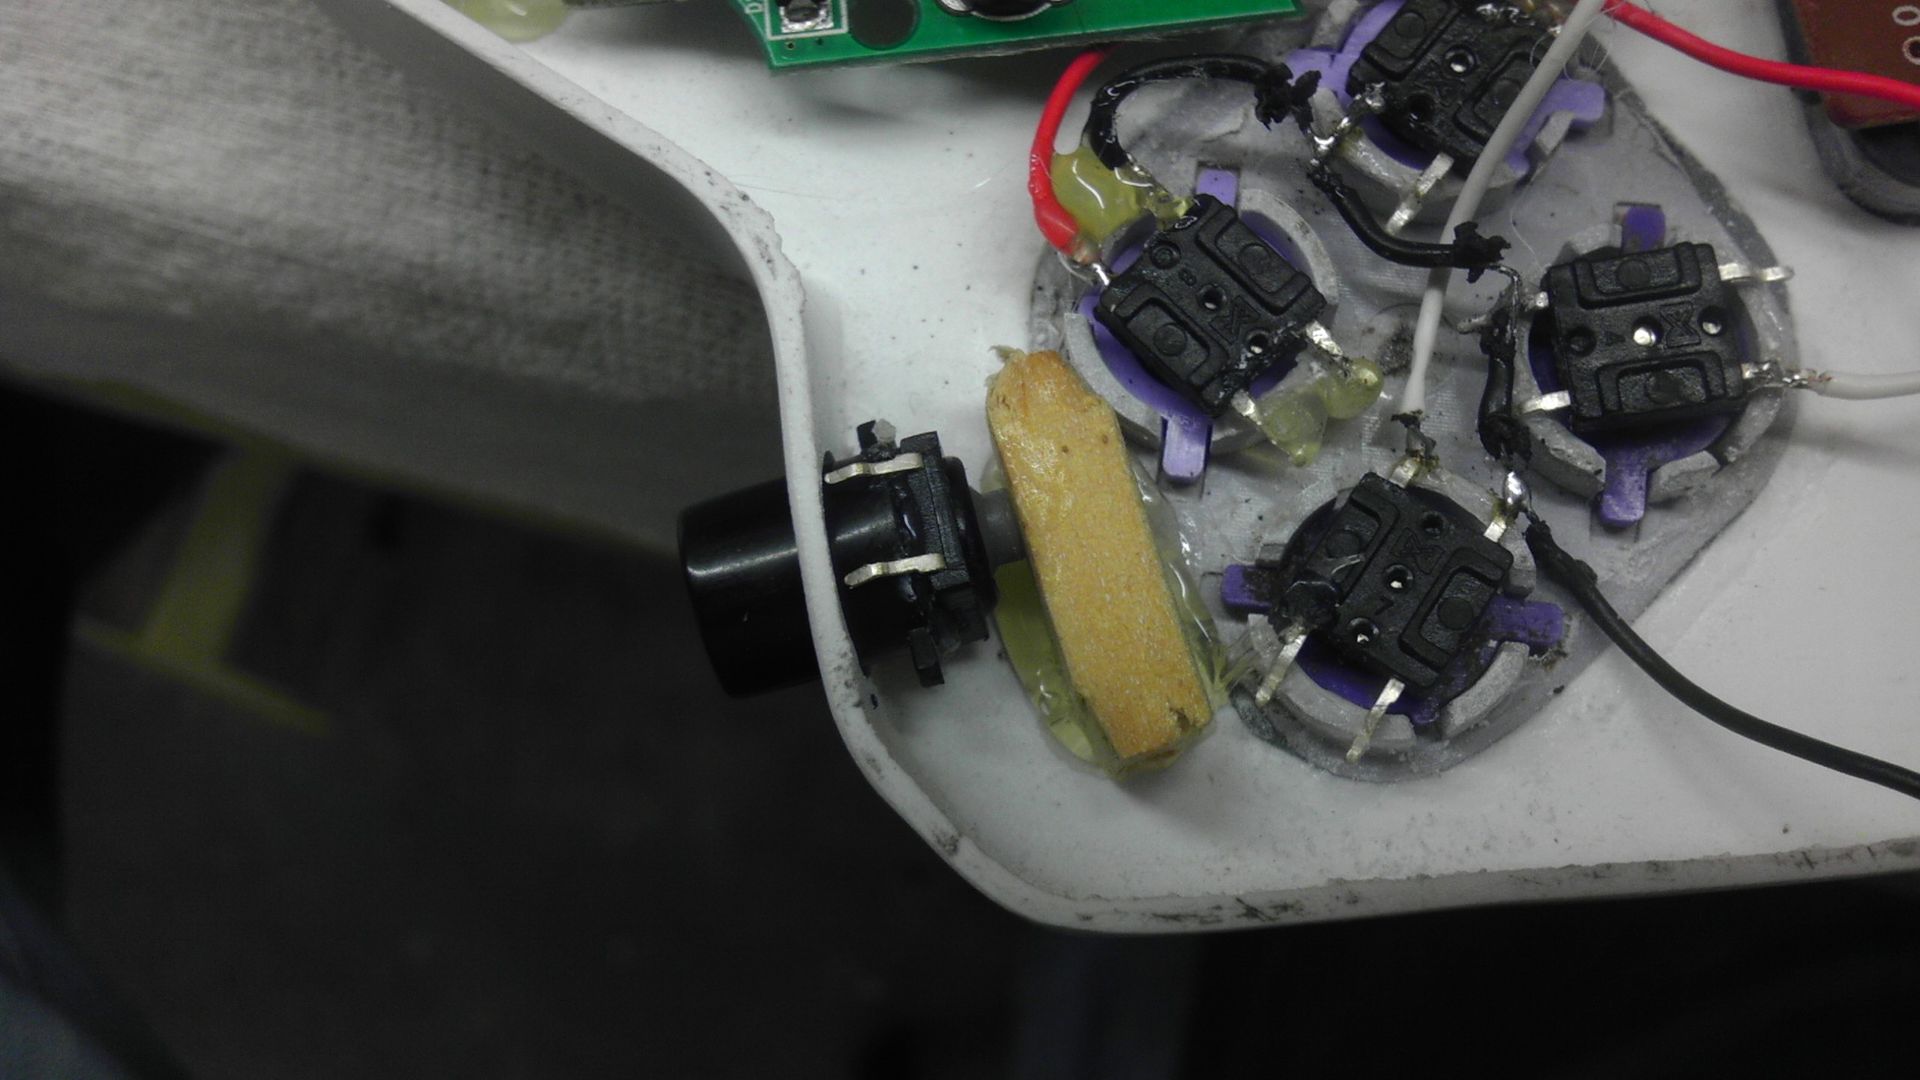
Next I worked on mounting the R&L buttons. Rather than having a button come to the tact and press down that way, I mounted the tact to the bottom of the button with glue and superglued a couple pieces of pine to the deck and so now I have the tact come to the flat surface. Feels a bit more natural that way I think, though I do worry that over time the movement of the buttons might make the solder joint weak, but I wouldn't call this a huge worry really.
IMAG0567.jpg


IMAG0568.jpg


IMAG0569.jpg


The last pic shows the long head click tacks below the R&L buttons. These are going to be my volume up and down. This way you will not have to rearrange the way you're holding the controller to adjust the volume.

Now all that's left is to wire and close it up, make another A/V & Power cable and then redo the first controller correctly using these new methods. Kind of a pain, but will be worth it in the end.
IMAG0570.jpg
 
Re: Downing's SNES-001 Advanced

Ok! So I'm probably about 90% complete with the wiring. Ended up having to redo just about all of it to get it working, but now the D-pad works great, the Start/Select is functional, L&R and volume buttons all work great. All that's left is to finish off permanently mounting the XYBA buttons and closing it up! Here is a pic of the chaos!

IMAG0577.jpg


But I would like to thank Akira and Triforce for joining me in my chat room. It really is a great experience having other modders join in a chat about their work. Akira showed me live demos of his new Game Boy and it's truly fantastic the work he's doing that he could show me first hand.
 
Re: Downing's SNES-001 Advanced

Well Zeturi, here you go!

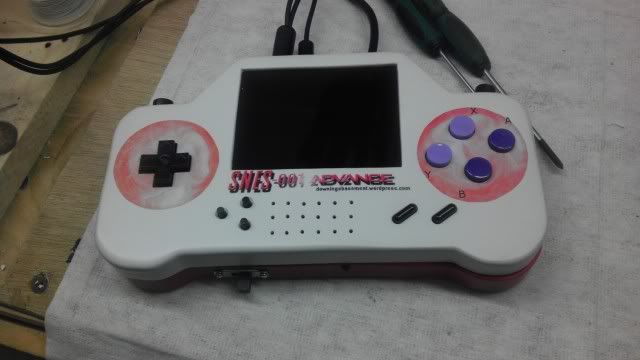
Alright! Pics as promised! Second controller is complete and closed up! Though I do have to fix the alinement of the case halves which won't be too difficult! But the controller is 100% functional and feels great when playing! Leaps and bounds ahead of where the first one landed and so now I have to fix it to make it work like this one. Happy with where this one ended up and with some minor adjustments we'll be in business for a clean and even looking controller.

Now I just have to make the cable for it, fix the other controller, box it up, stick in on ebay and see what happens!

Everything but the tacts wired, but they are now and working.
IMAG0578.jpg


The Face (right side needs to be alined but that will come with a new screw post)
IMAG0579.jpg


The Back
IMAG0580.jpg


The Top
IMAG0581.jpg


Liking very much how this all came out! Hopefully another week or so and we'll be ready for market! haha.
 
Re: Downing's SNES-001 Advanced

Sorry it's been a while since a progress update, but things have been happening and going quite well!


The testing phase is much complete with this, so now it's just a matter of a few cosmetic touch-ups and finishing off the wooden case for the whole system to reside in and then I should be able to sell! I've tested both controllers extensively and the D-pads and buttons all feel great and have been reinforced so even the angry player can still mash the buttons without pushing them through. Though it's not designed for excessive abuse, it's playable to normal standards.

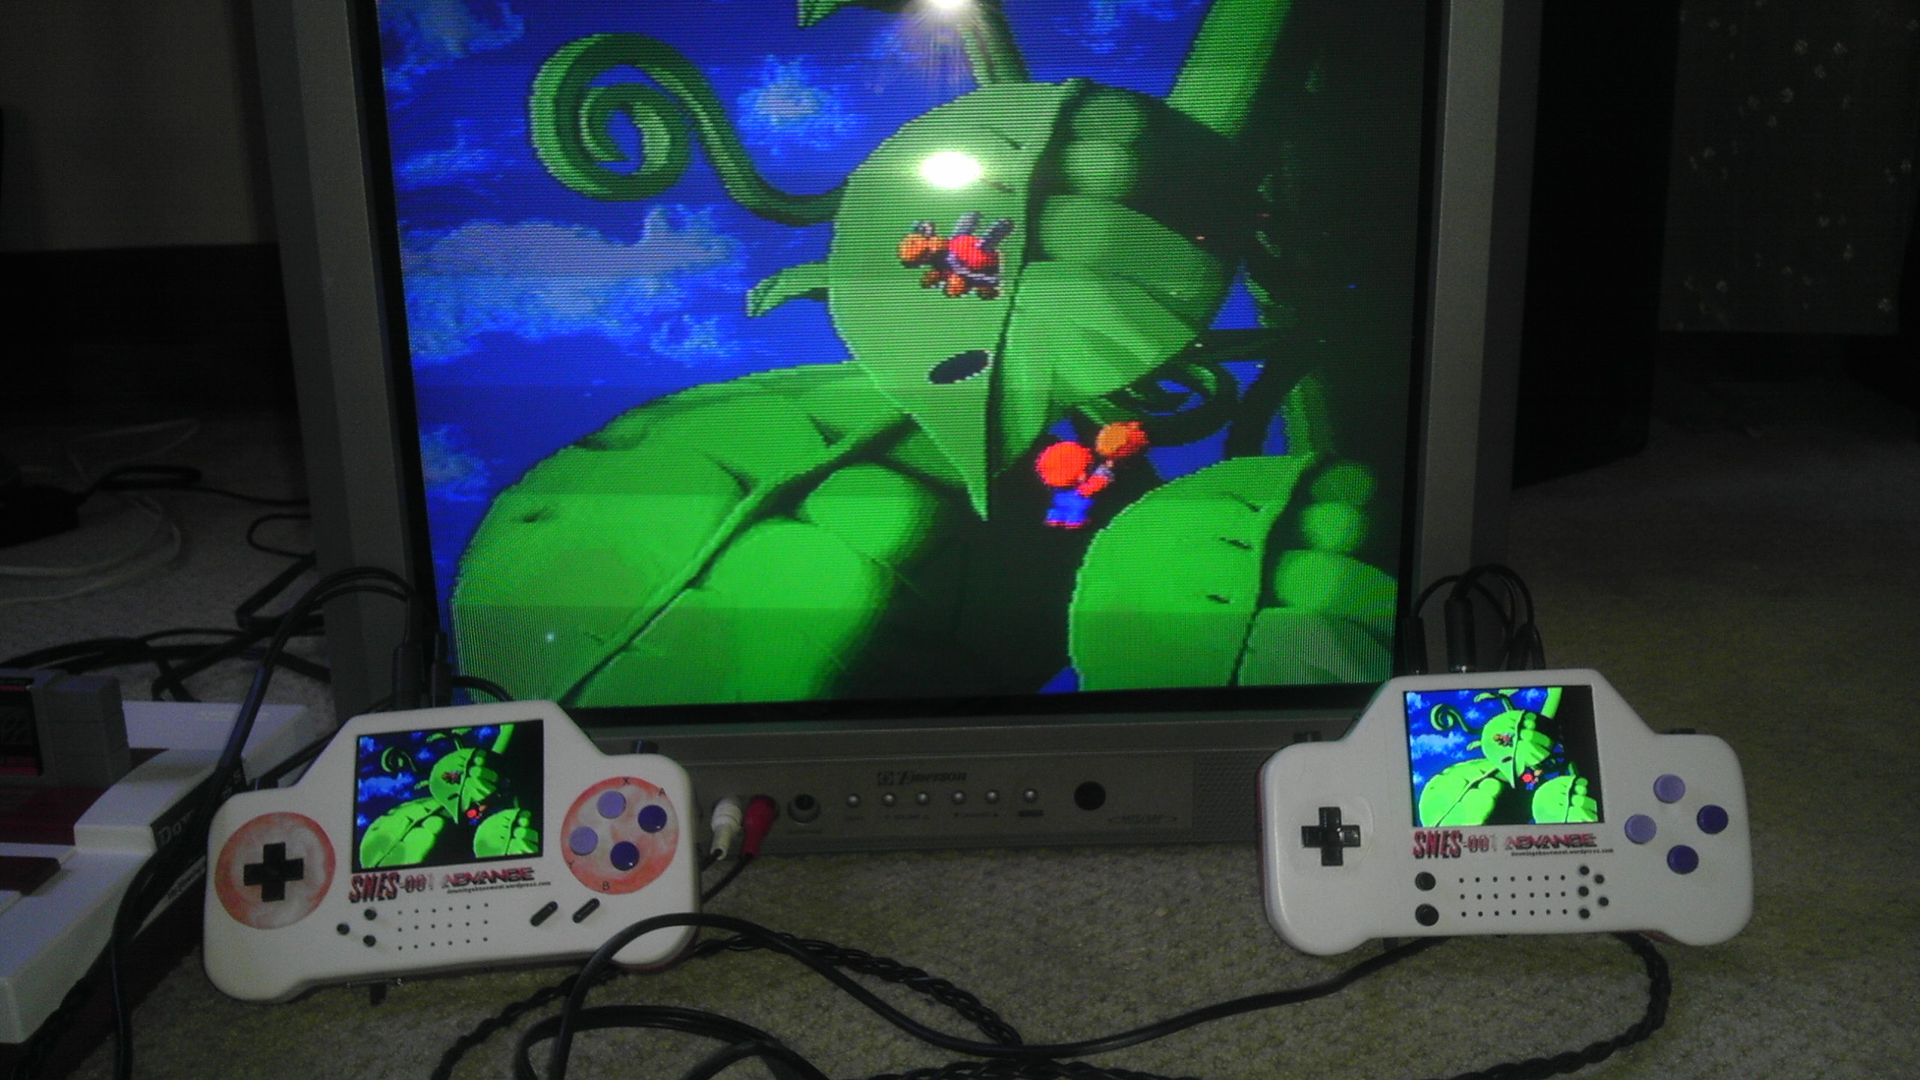
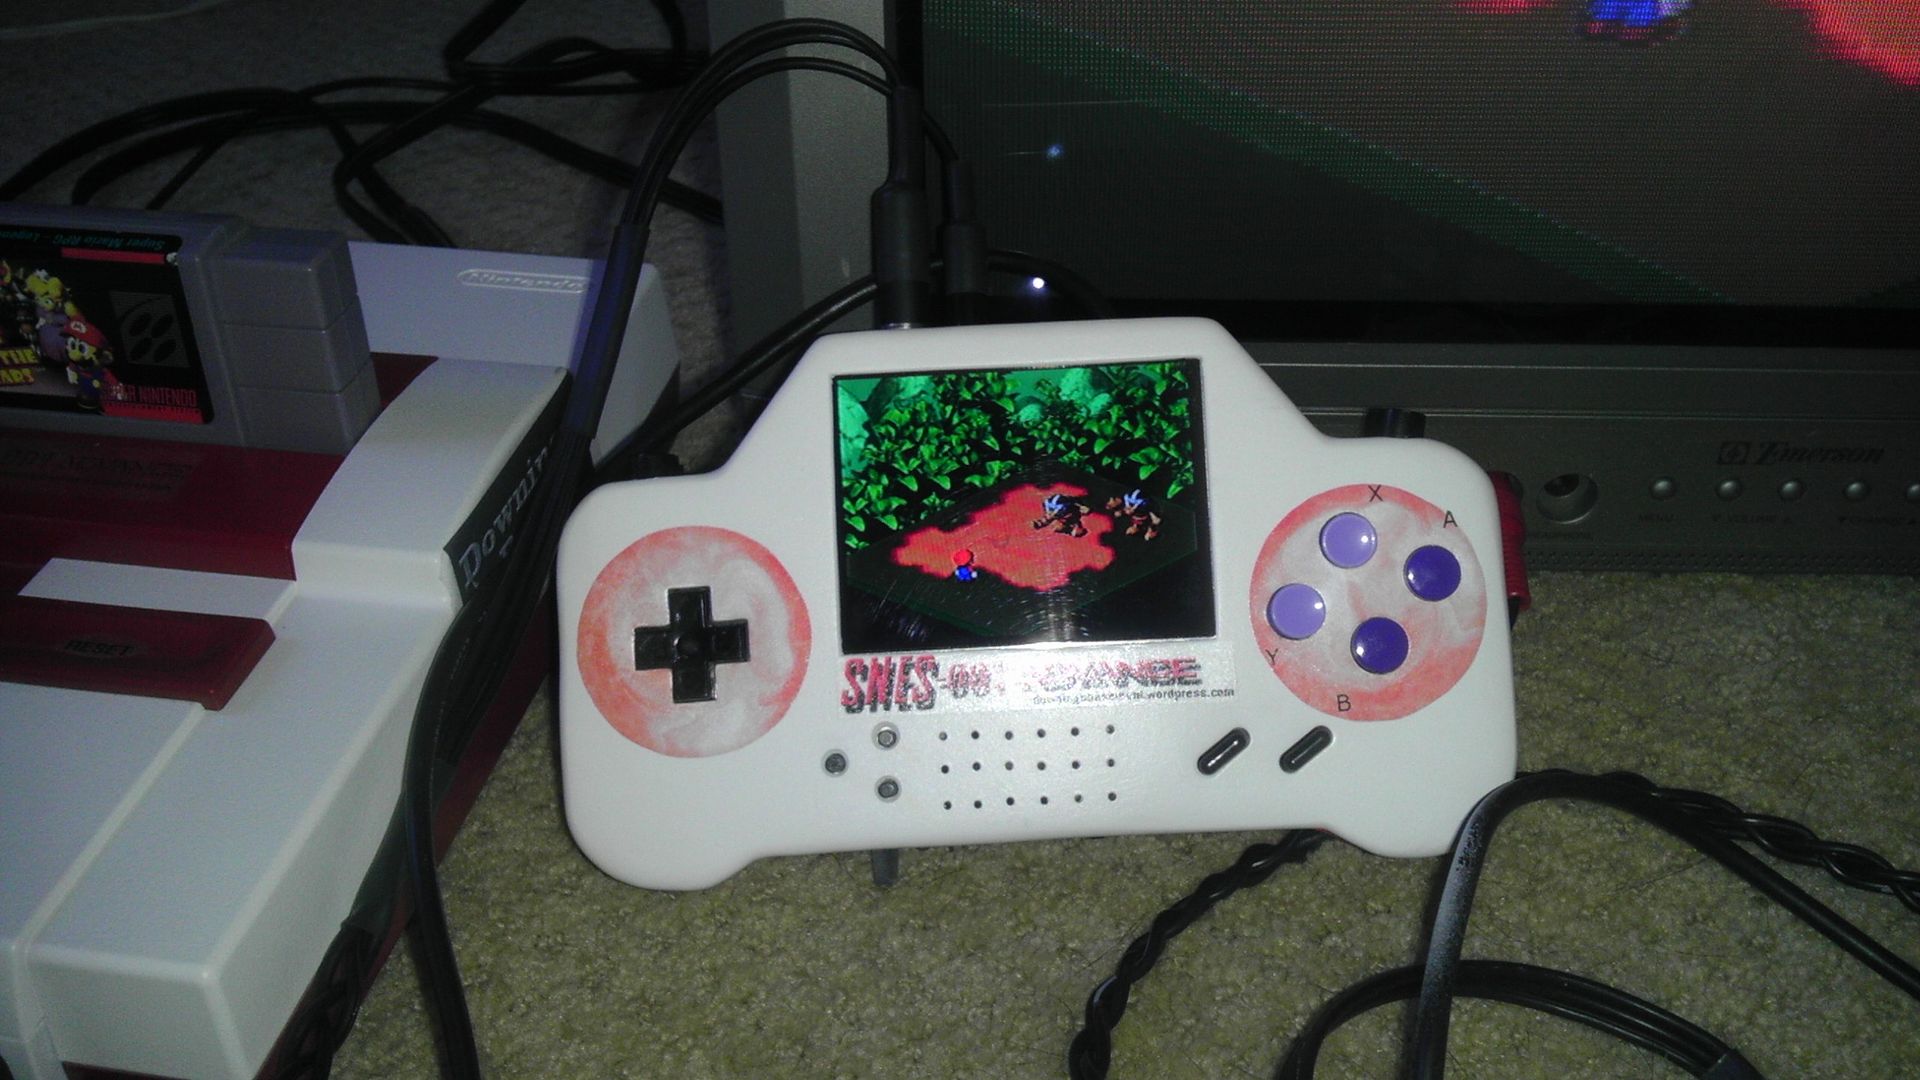
The first pic shows what the video displayed and all the controller's screens and speakers work and are in sync and interference free. The quality of the smaller screens is actually better than the big screen, but that's to be expected as the SNES composite output is not very hi-res to begin with.
IMAG0595.jpg


The camera doesn't pick up the display that well, but I assure you that it's crisp and clean as well as the audio being the same. The cables are still kind of a mess, but I'll be making some kind of cable tie that when the controller screen is in use, it can be attached to it so it's less messy!
IMAG0597.jpg


It feels cool to be so close to complete with this!
 
Re: Downing's SNES-001 Advanced

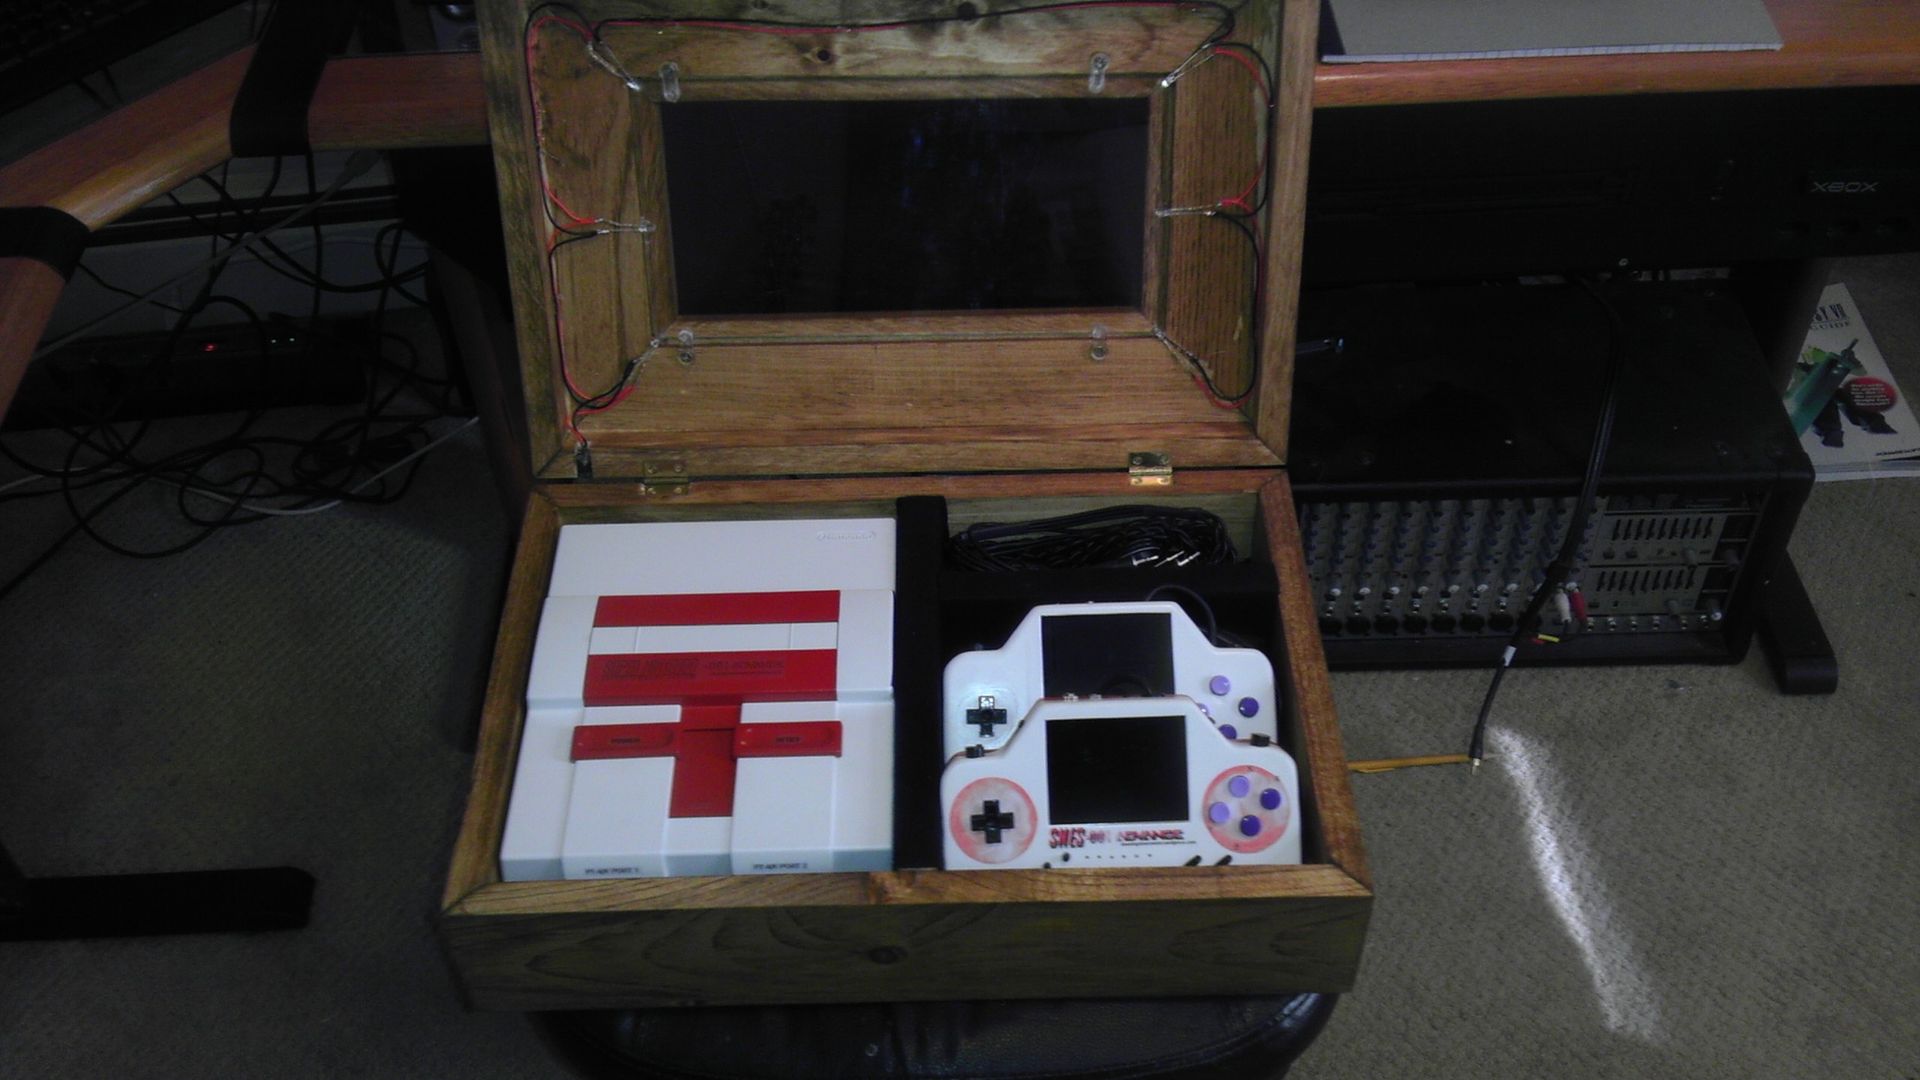
Almost finished off the box for the system. Just have to get a clasp so it will stay closed and then secure the LED wires a bit better. But all in all, getting very close to complete! Build process of the box explained in pictures below.

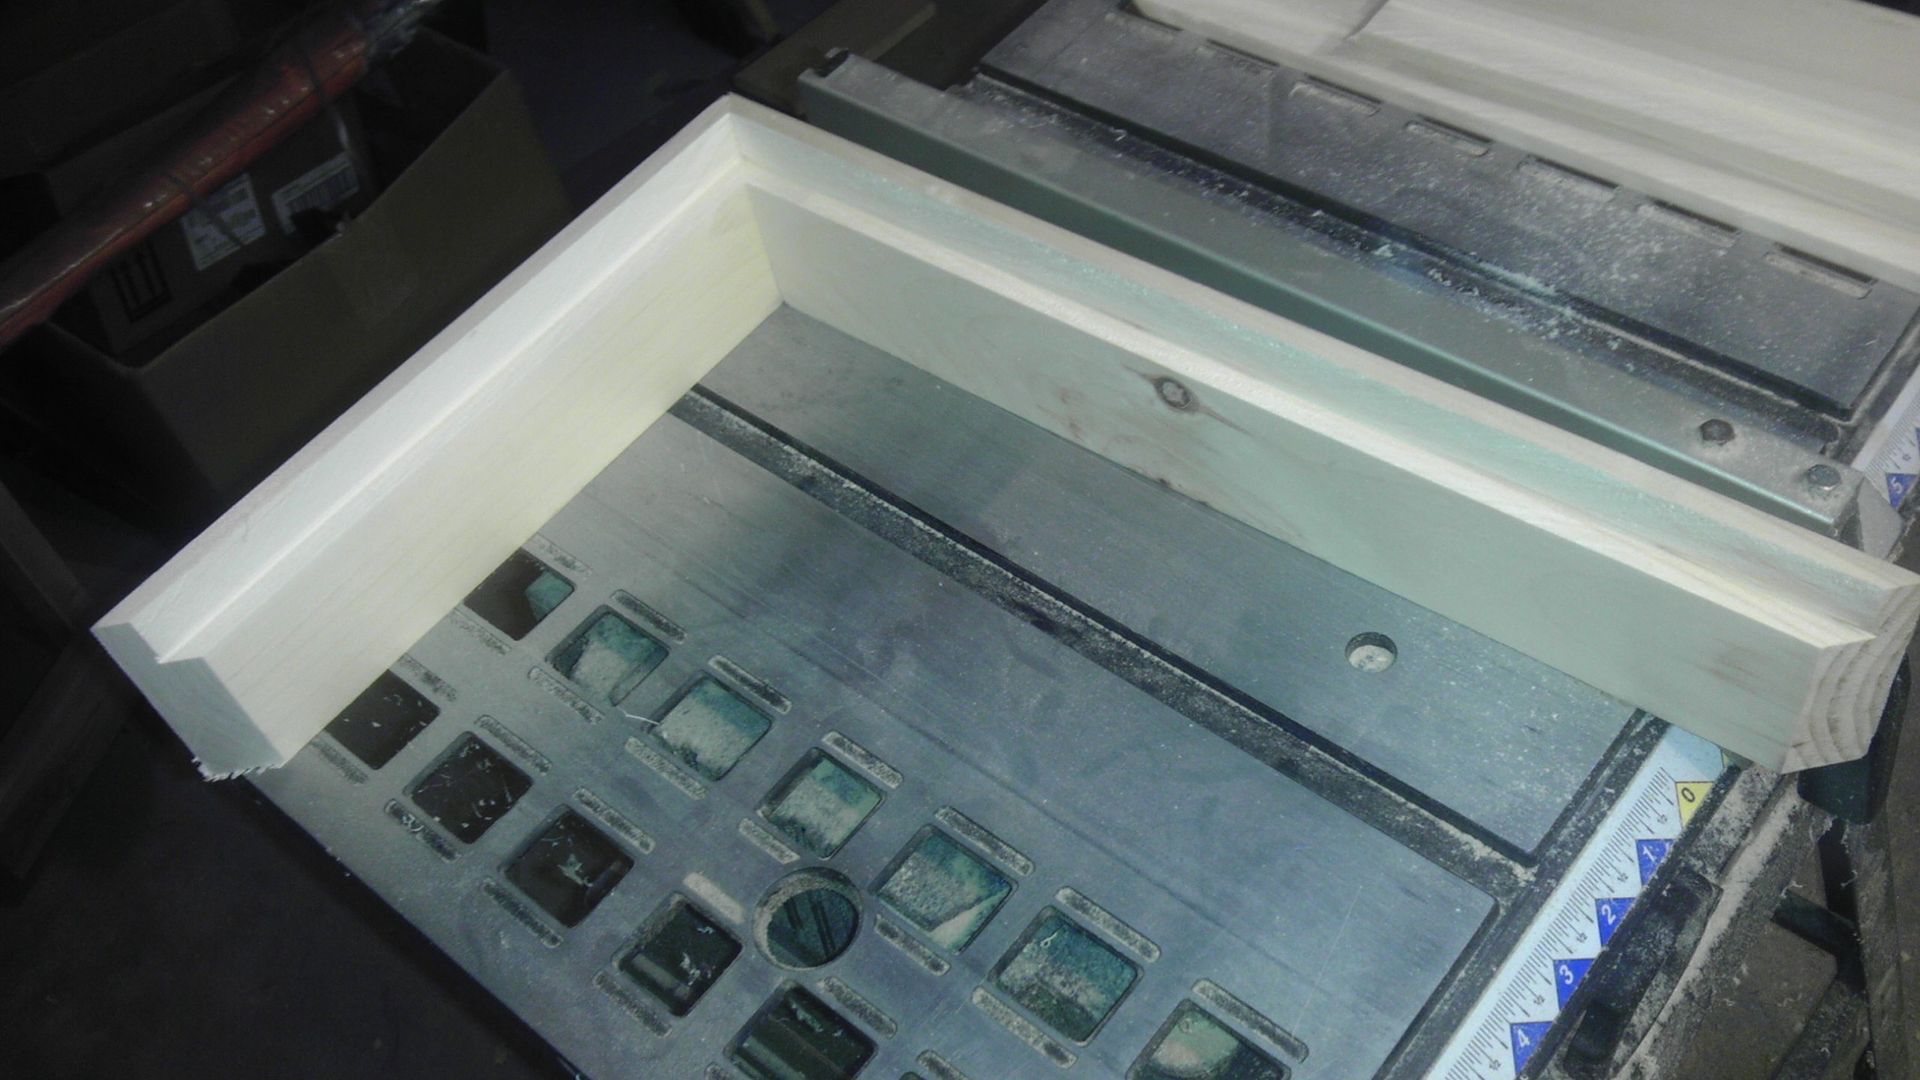
Two edge pieces with the groove cut out so the bottom can sit flush and secure.
IMAG0591.jpg


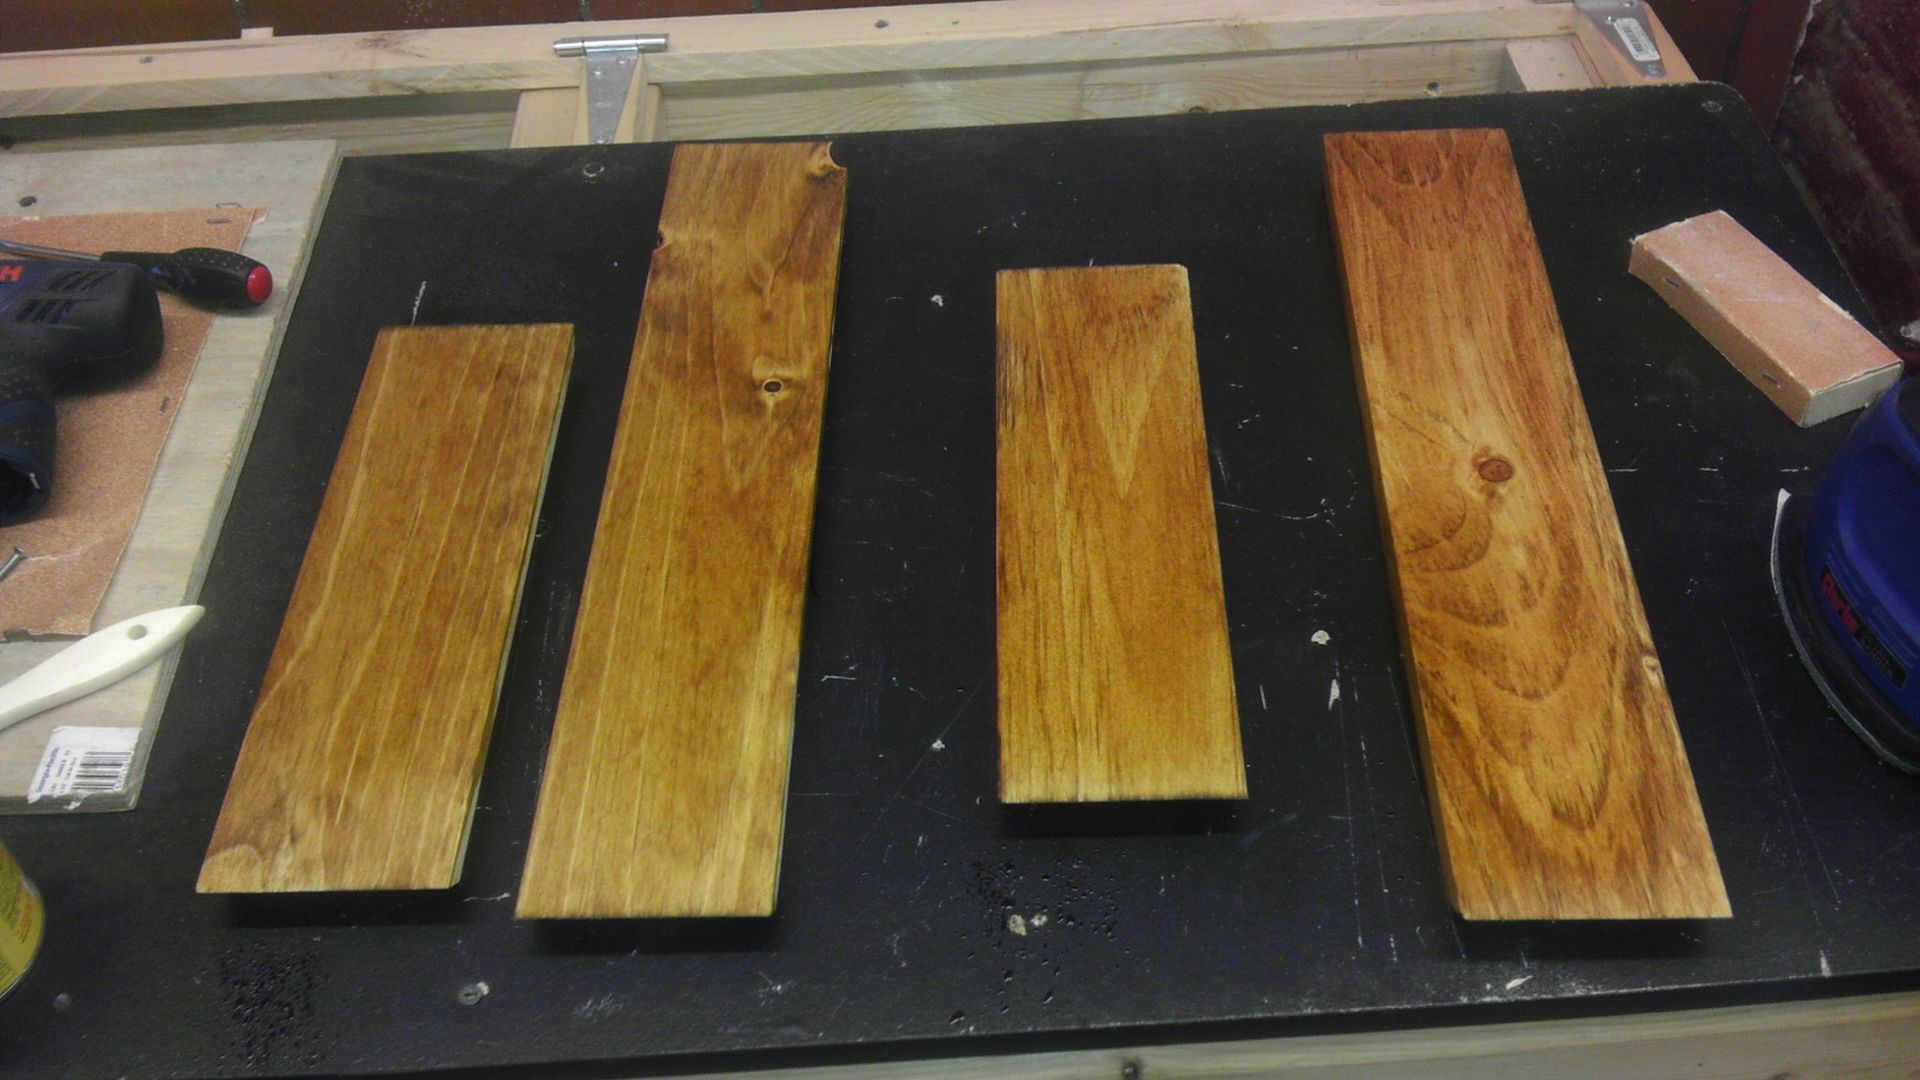
4 edge pieces stained a Golden Oak from MinWax
IMAG0592.jpg


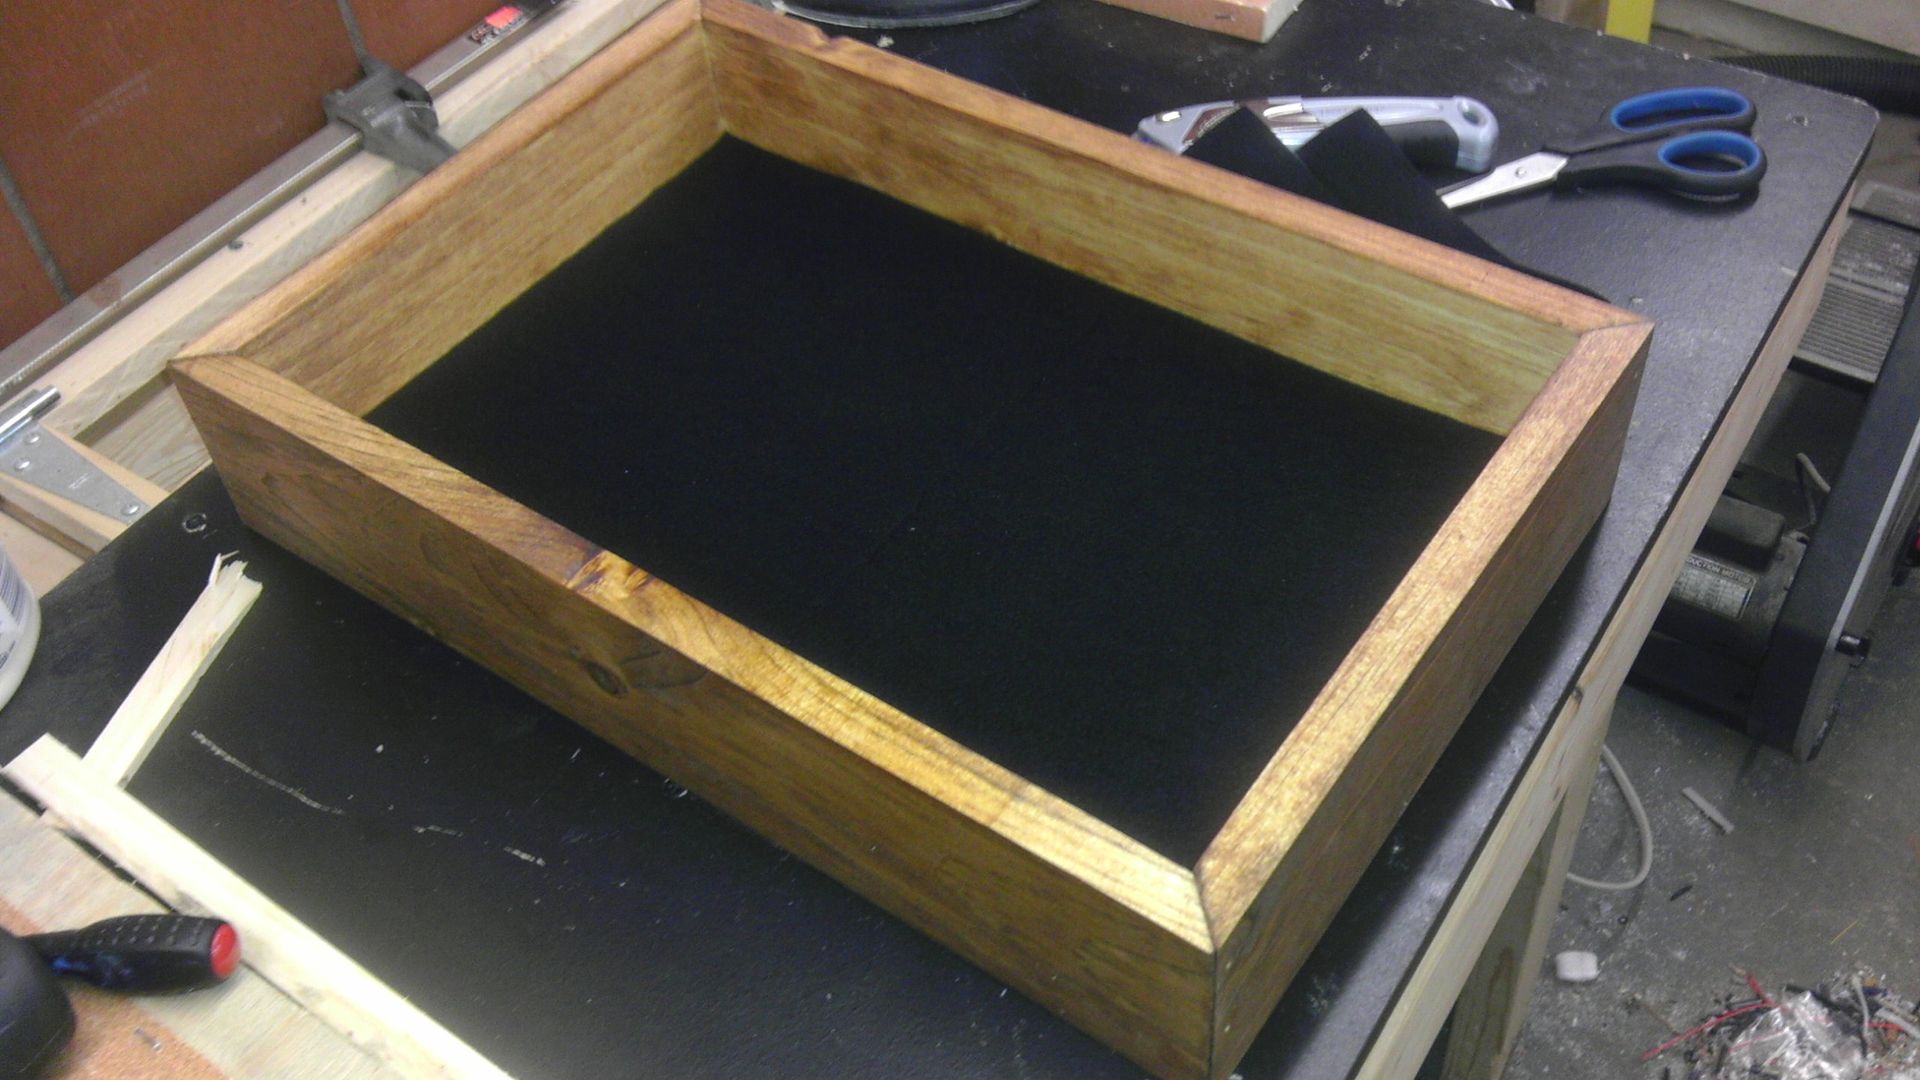
The edges put together, the bottom platform secured to the sides and the black felt adhered with a 3M spray adhesive
IMAG0593.jpg


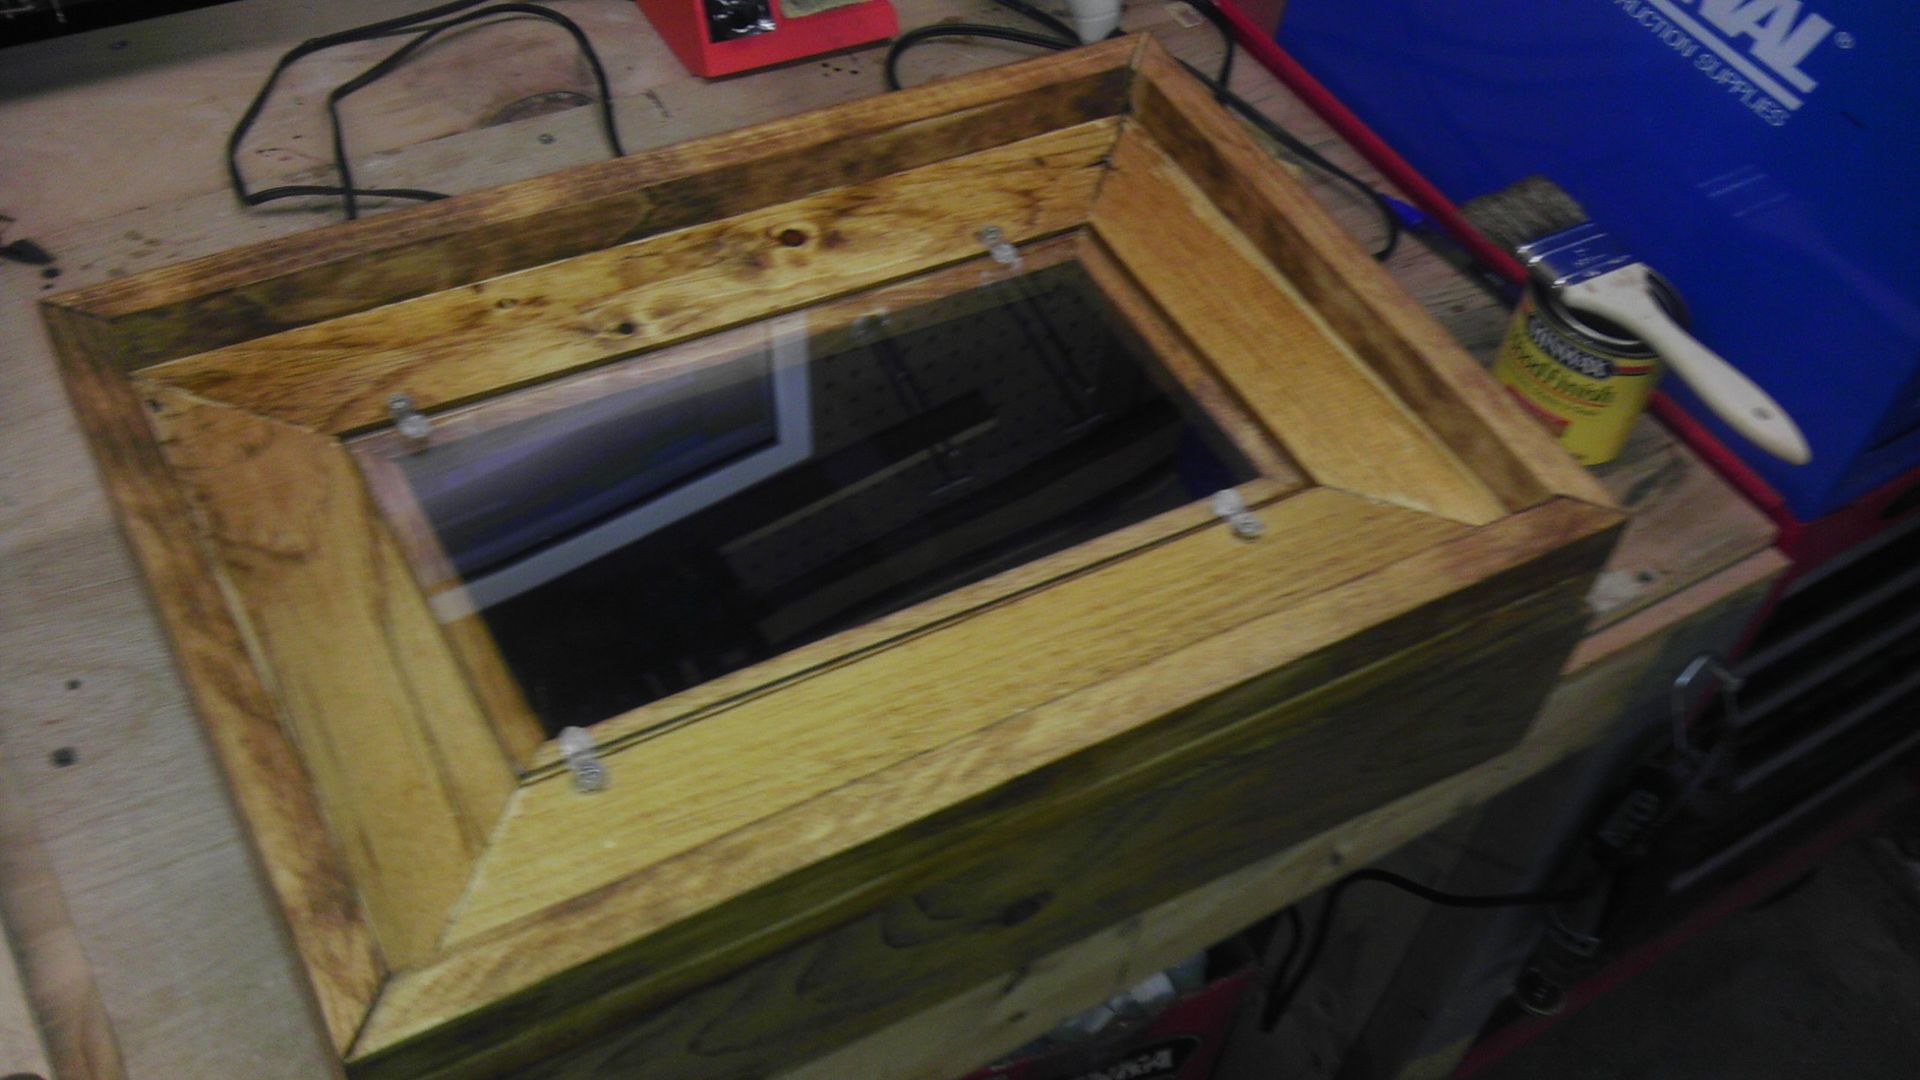
The cover put together and stained with the Lexan secured into place.
IMAG0599.jpg


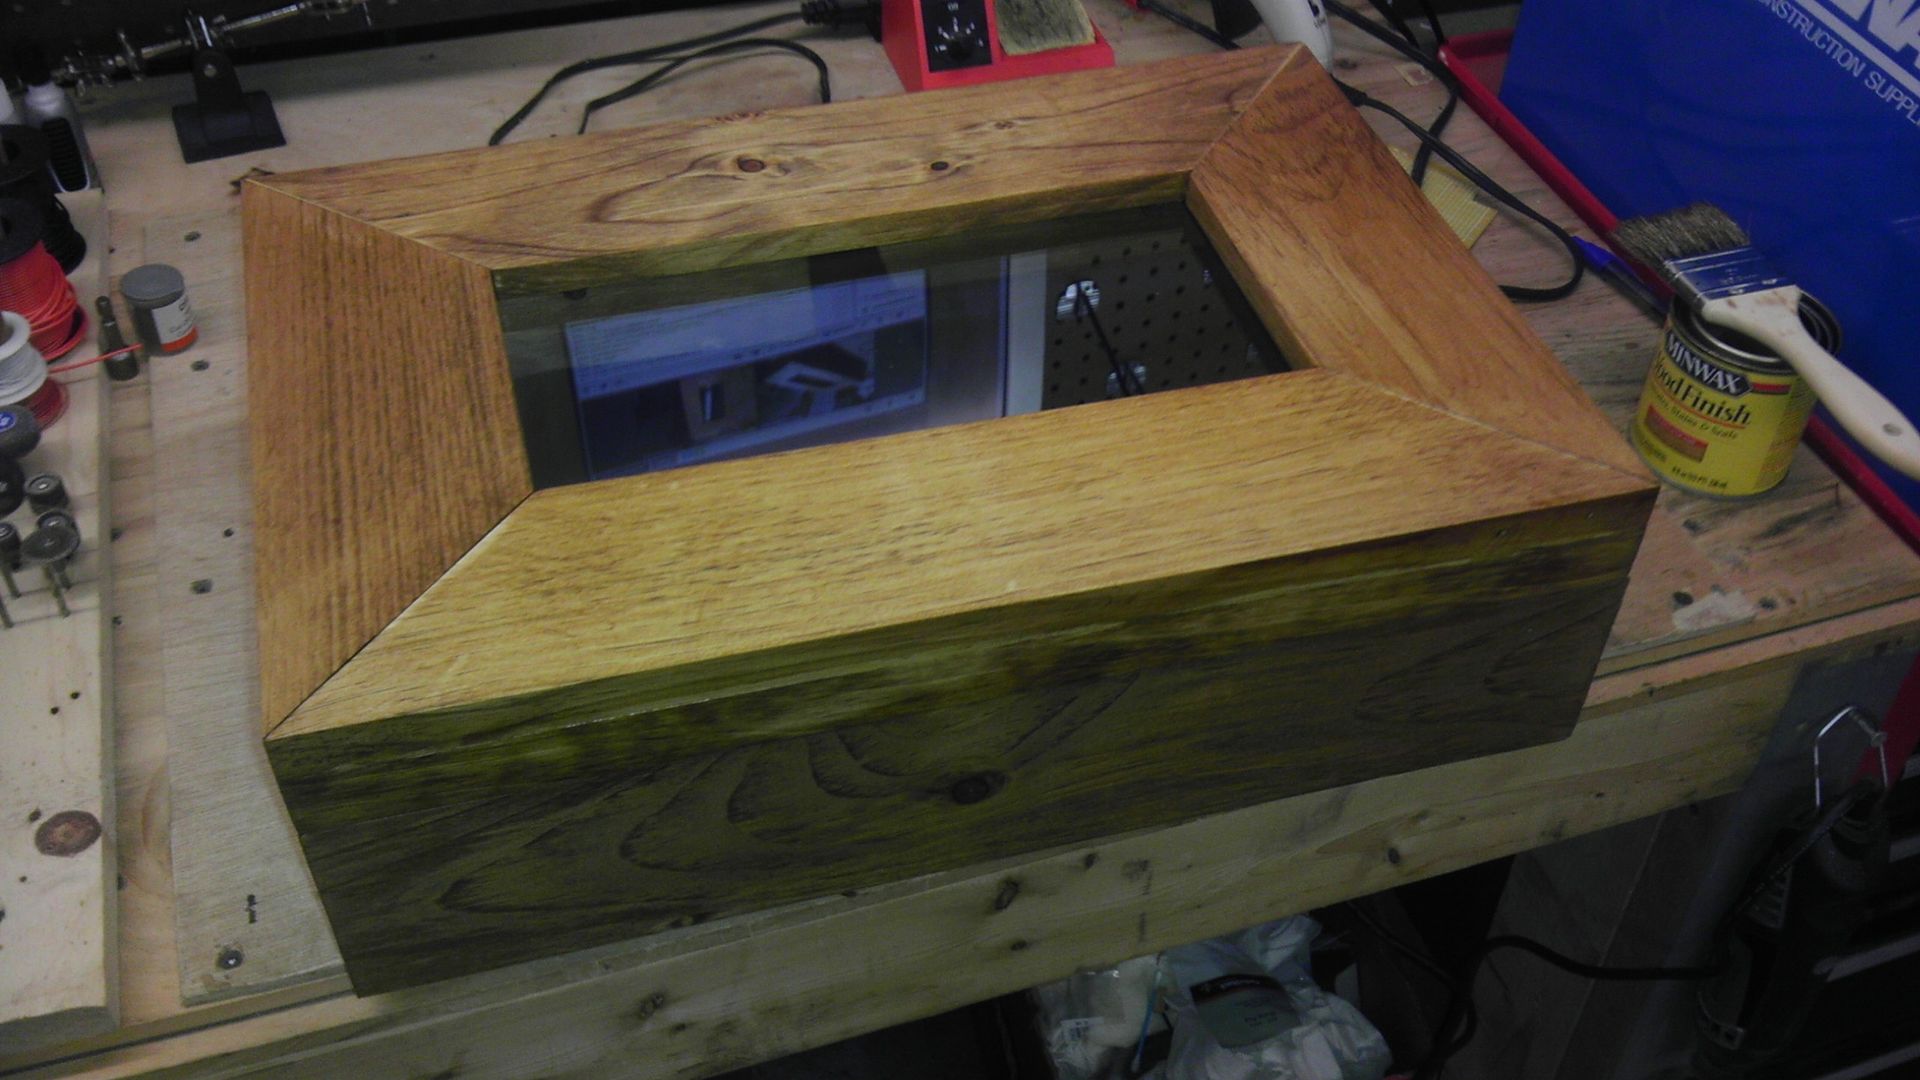
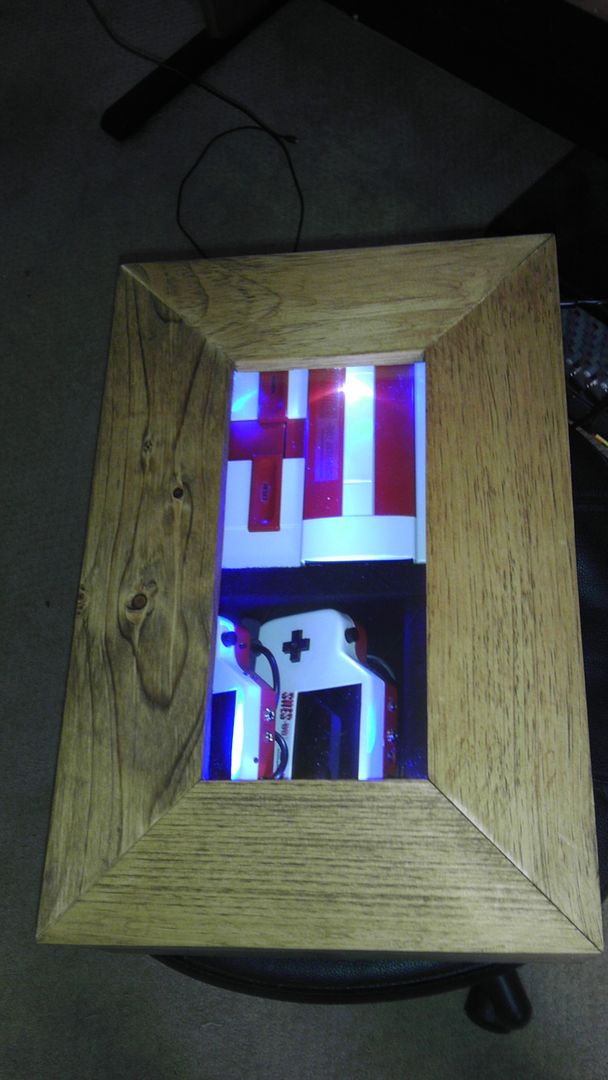
Top view with the Lexan in place.
IMAG0600.jpg


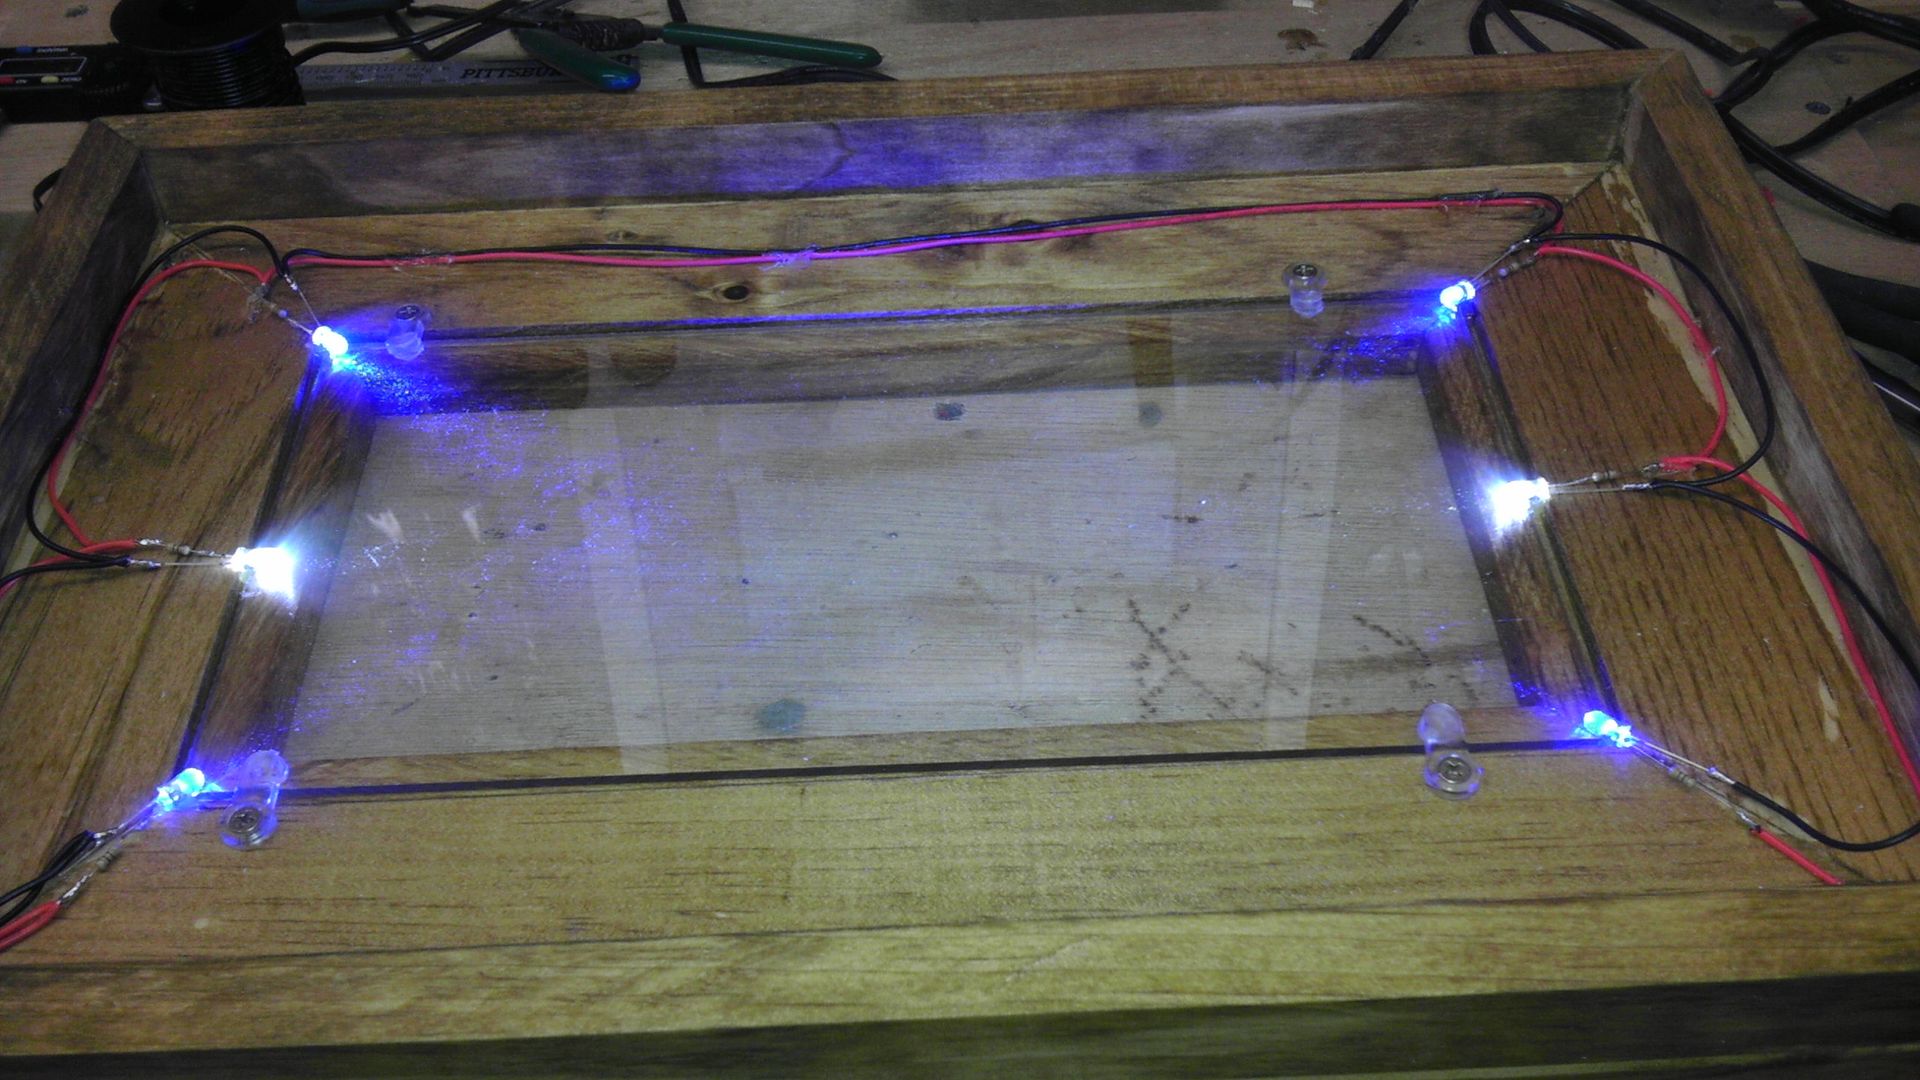
LED's wired in place and all working. This is working off a 12V power supply with a jack built into the back of the cover. Just unplug to turn off.
IMAG0601.jpg


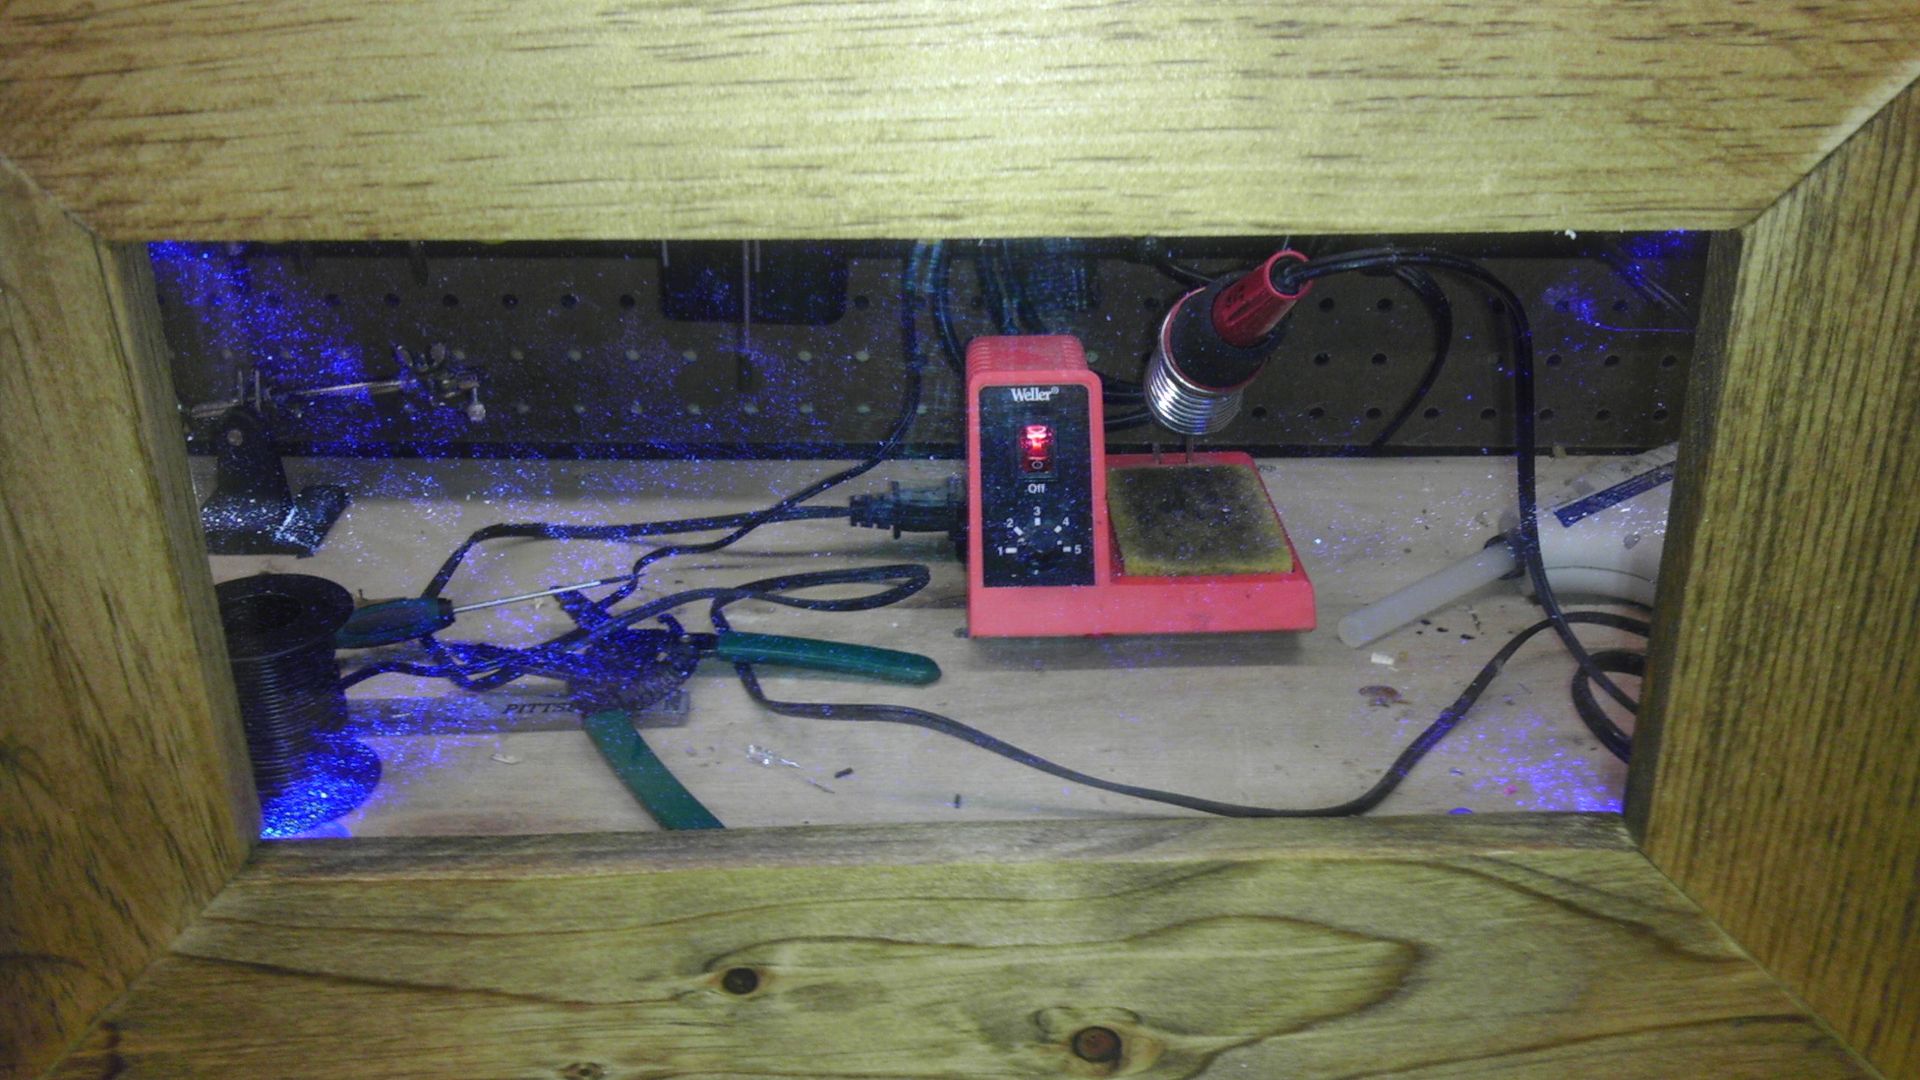
Gotta wait until to night to get some good pictures of it in the dark, but you get the general idea.
IMAG0602.jpg


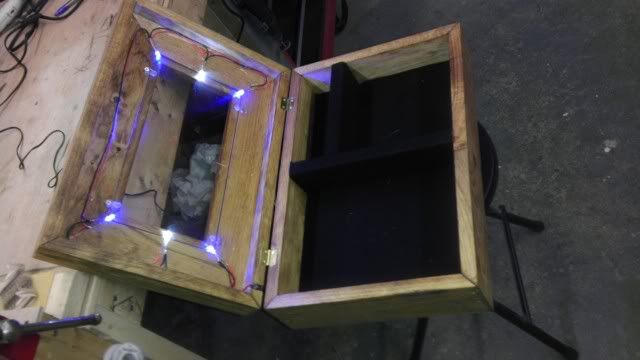
Hinges applied. These were a pain in the ass an it's still not perfect, but I stopped caring an hour ago.
IMAG0603.jpg


View with the system in place...
IMAG0604.jpg


...and all closed up.
IMAG0605.jpg


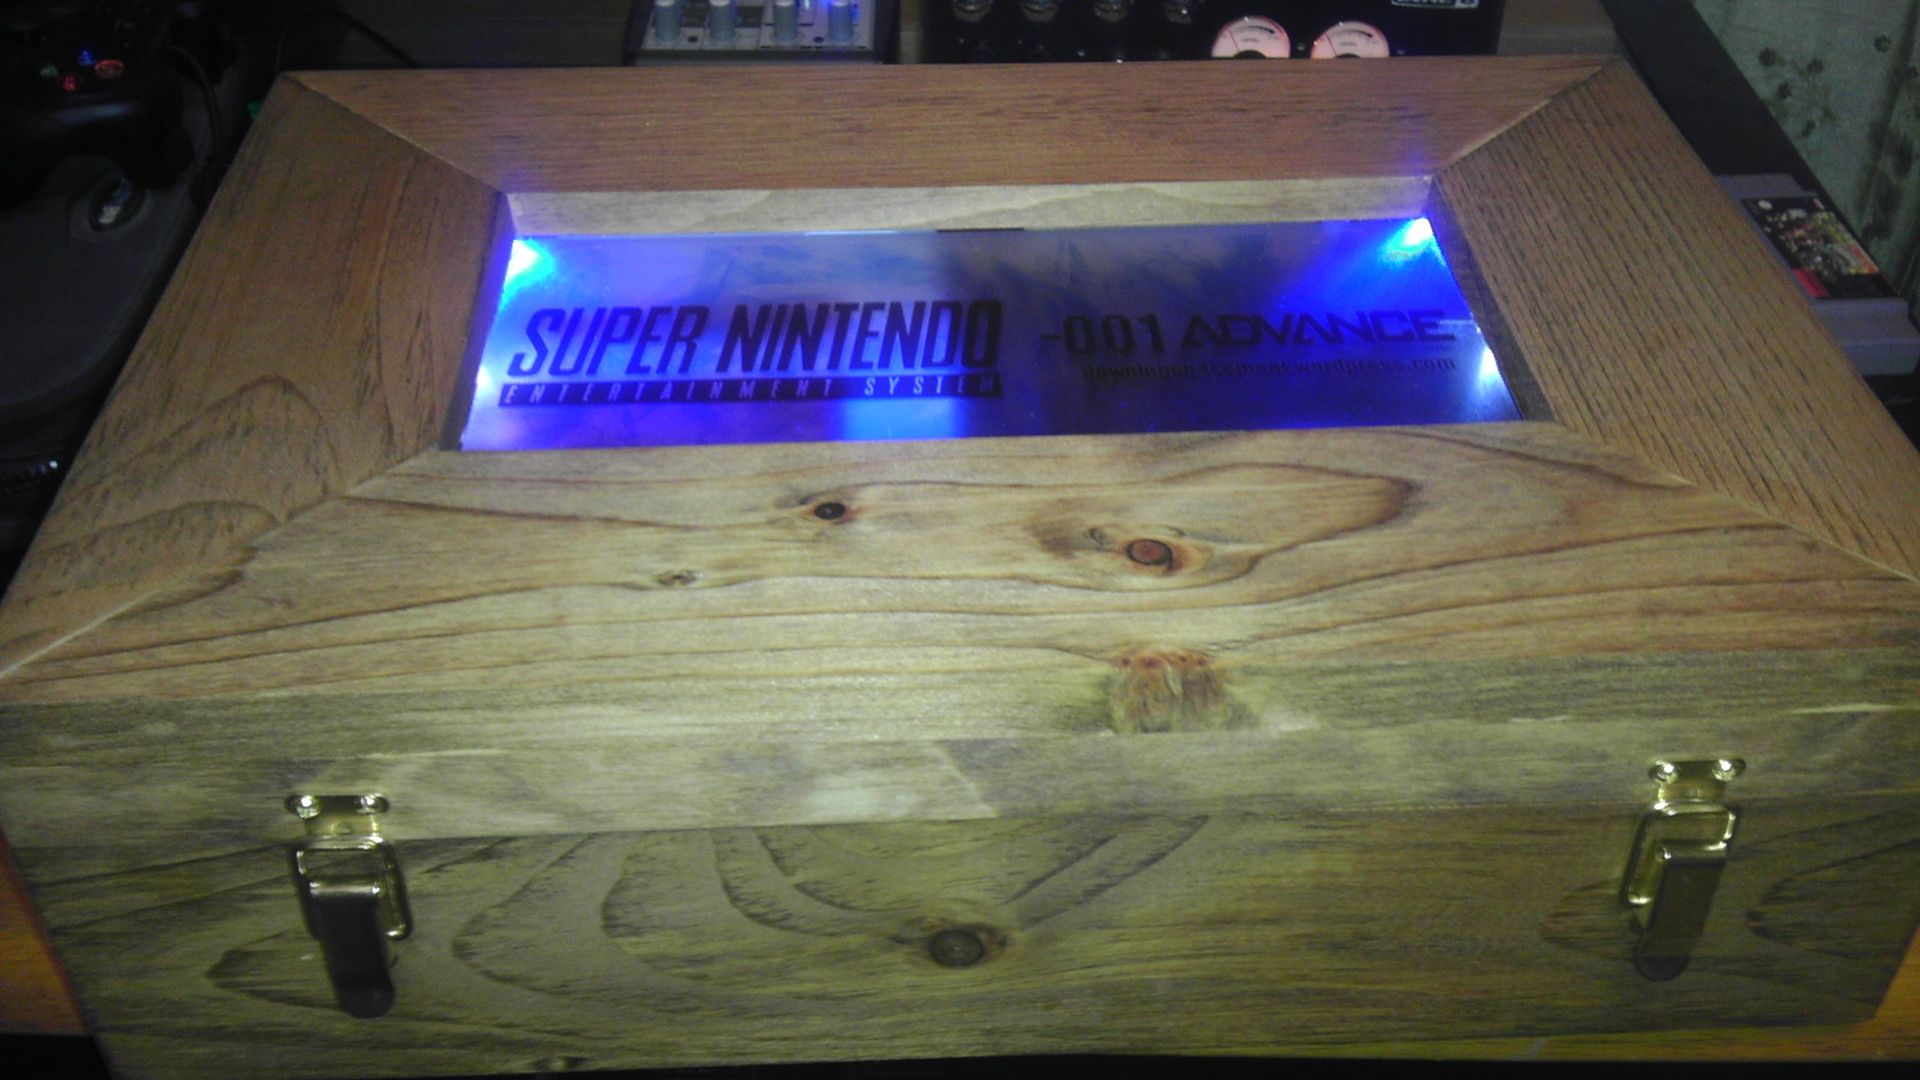
I still have to make a few more decals and there will be a big one on top of the Lexan so when the LED's are on the graphic will show up quite nicely! Also have started working on the video so hopefully by next weekend I'll get this to ebay and we'll let the fun begin!
 
Re: Downing's SNES-001 Advanced

IMAG0608.jpg


And the box is complete! Now just have to fix up the cords and bit more aesthetic work on the controllers and we're calling this one complete! This was a lager than normal water slide decal I used so it took a bit to get it right without bubbling, but I think it came out pretty nice. I also added the two brass catches to keep the lid closed when not in use. Pretty happy with this really and I hope it's new owner (whoever that may end up being) will enjoy it too!
 
Back
Top