Downing
Well-Known Member
The SNES-001 Advance II is Complete!
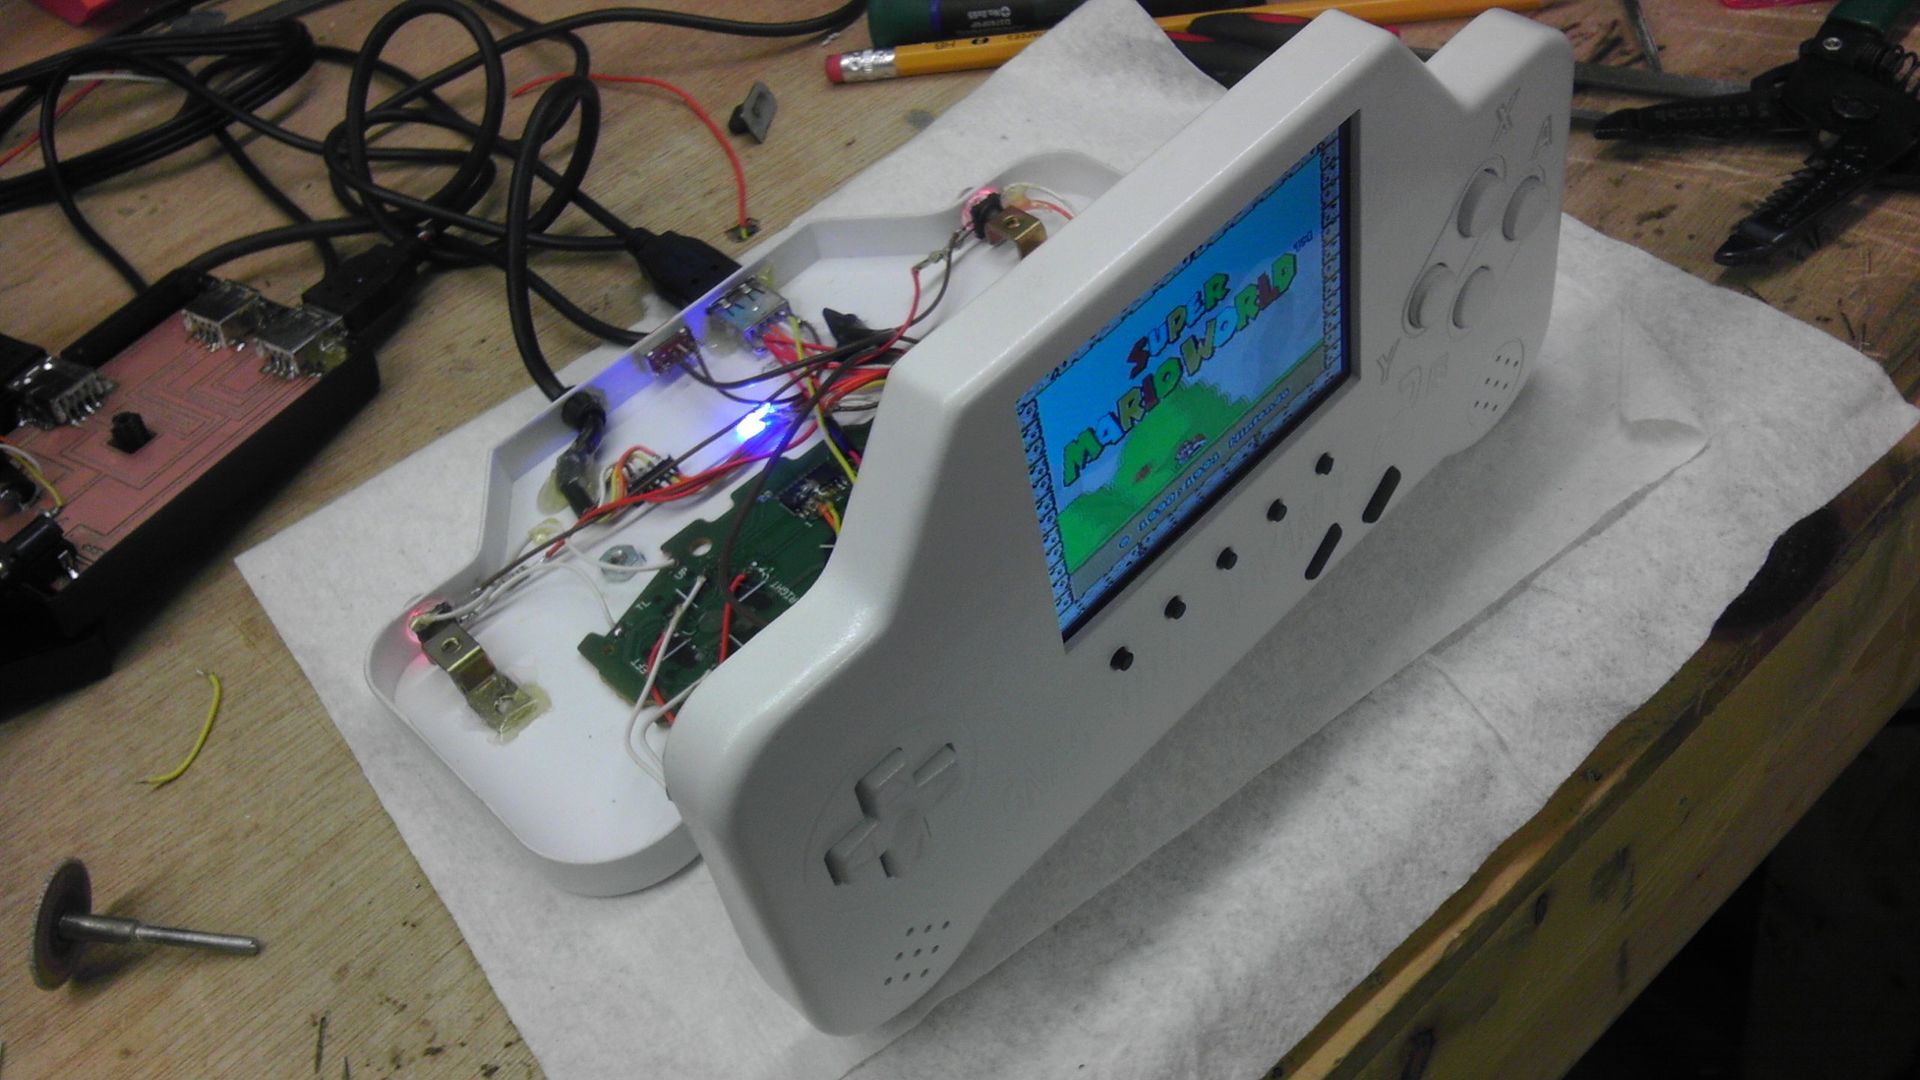
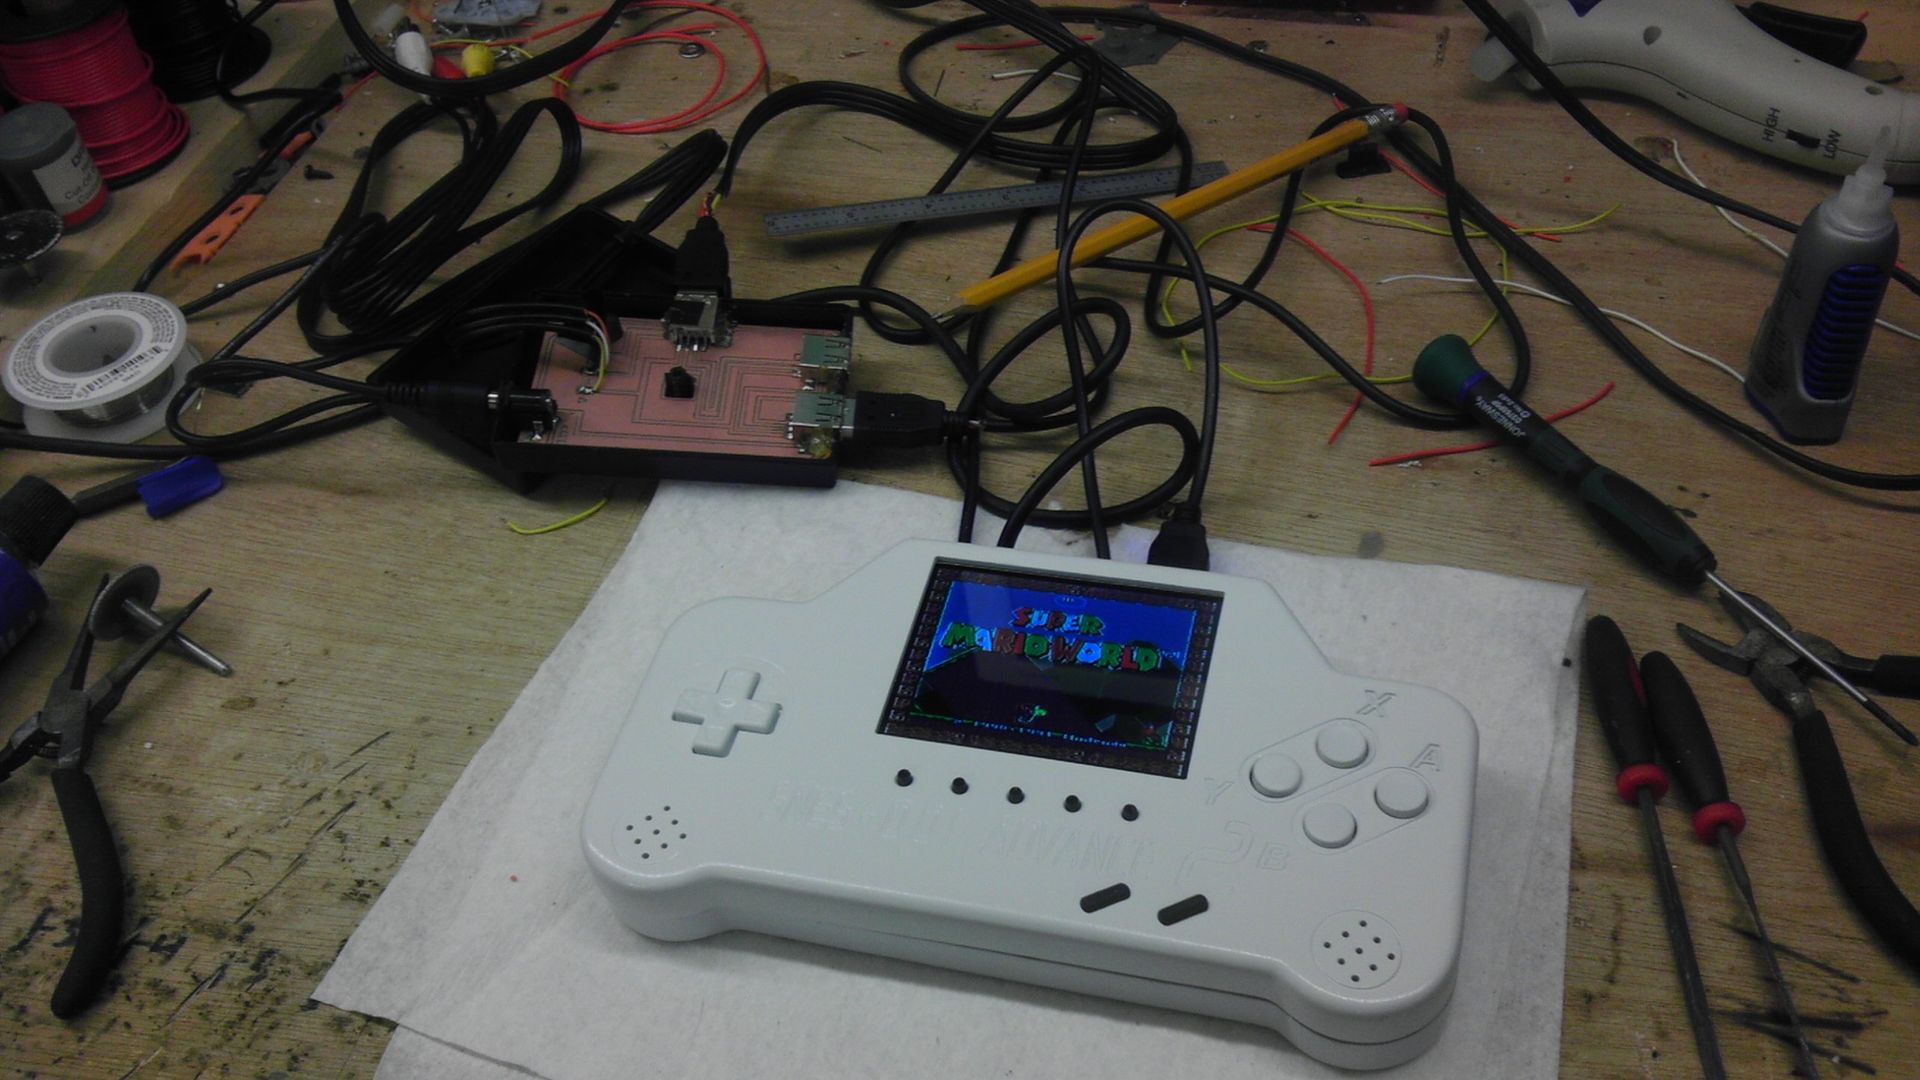
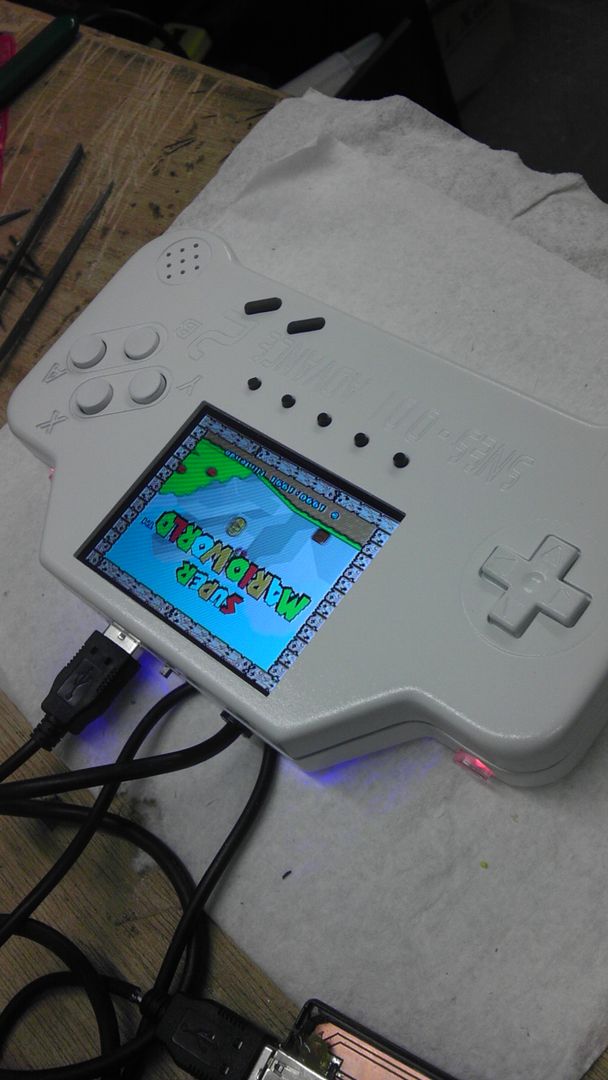
And it's done! After nearly 4 months of off and on work and endless hours effort due to new learning curves and experimentation, the second rendition of the SNES-001 Advance is complete!
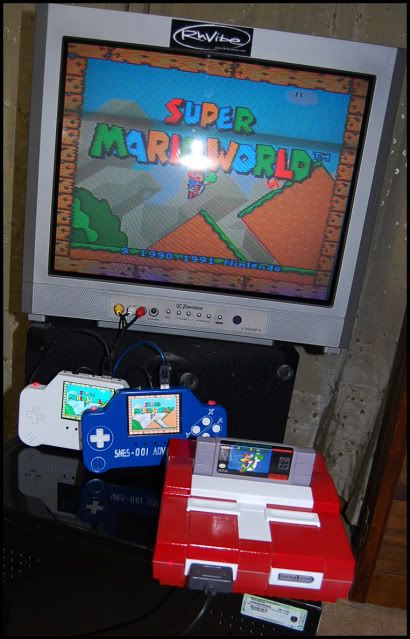
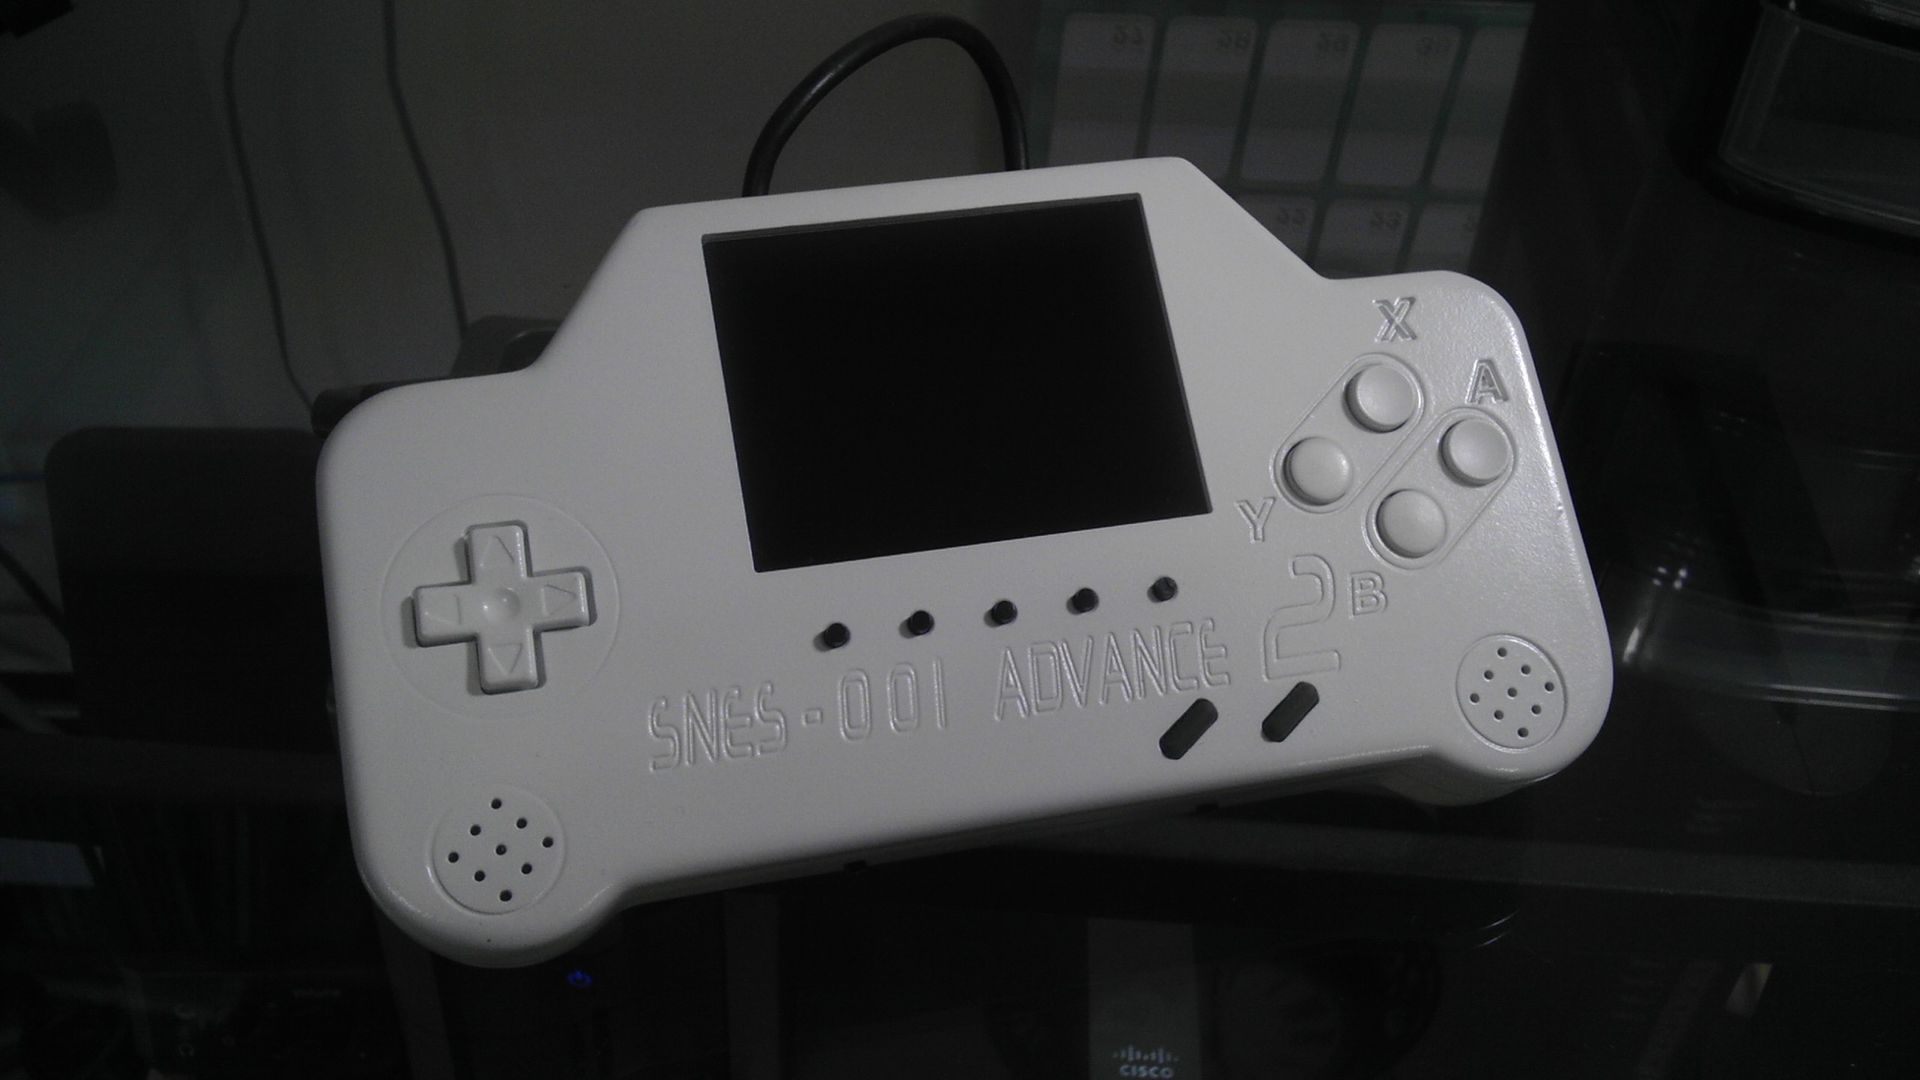
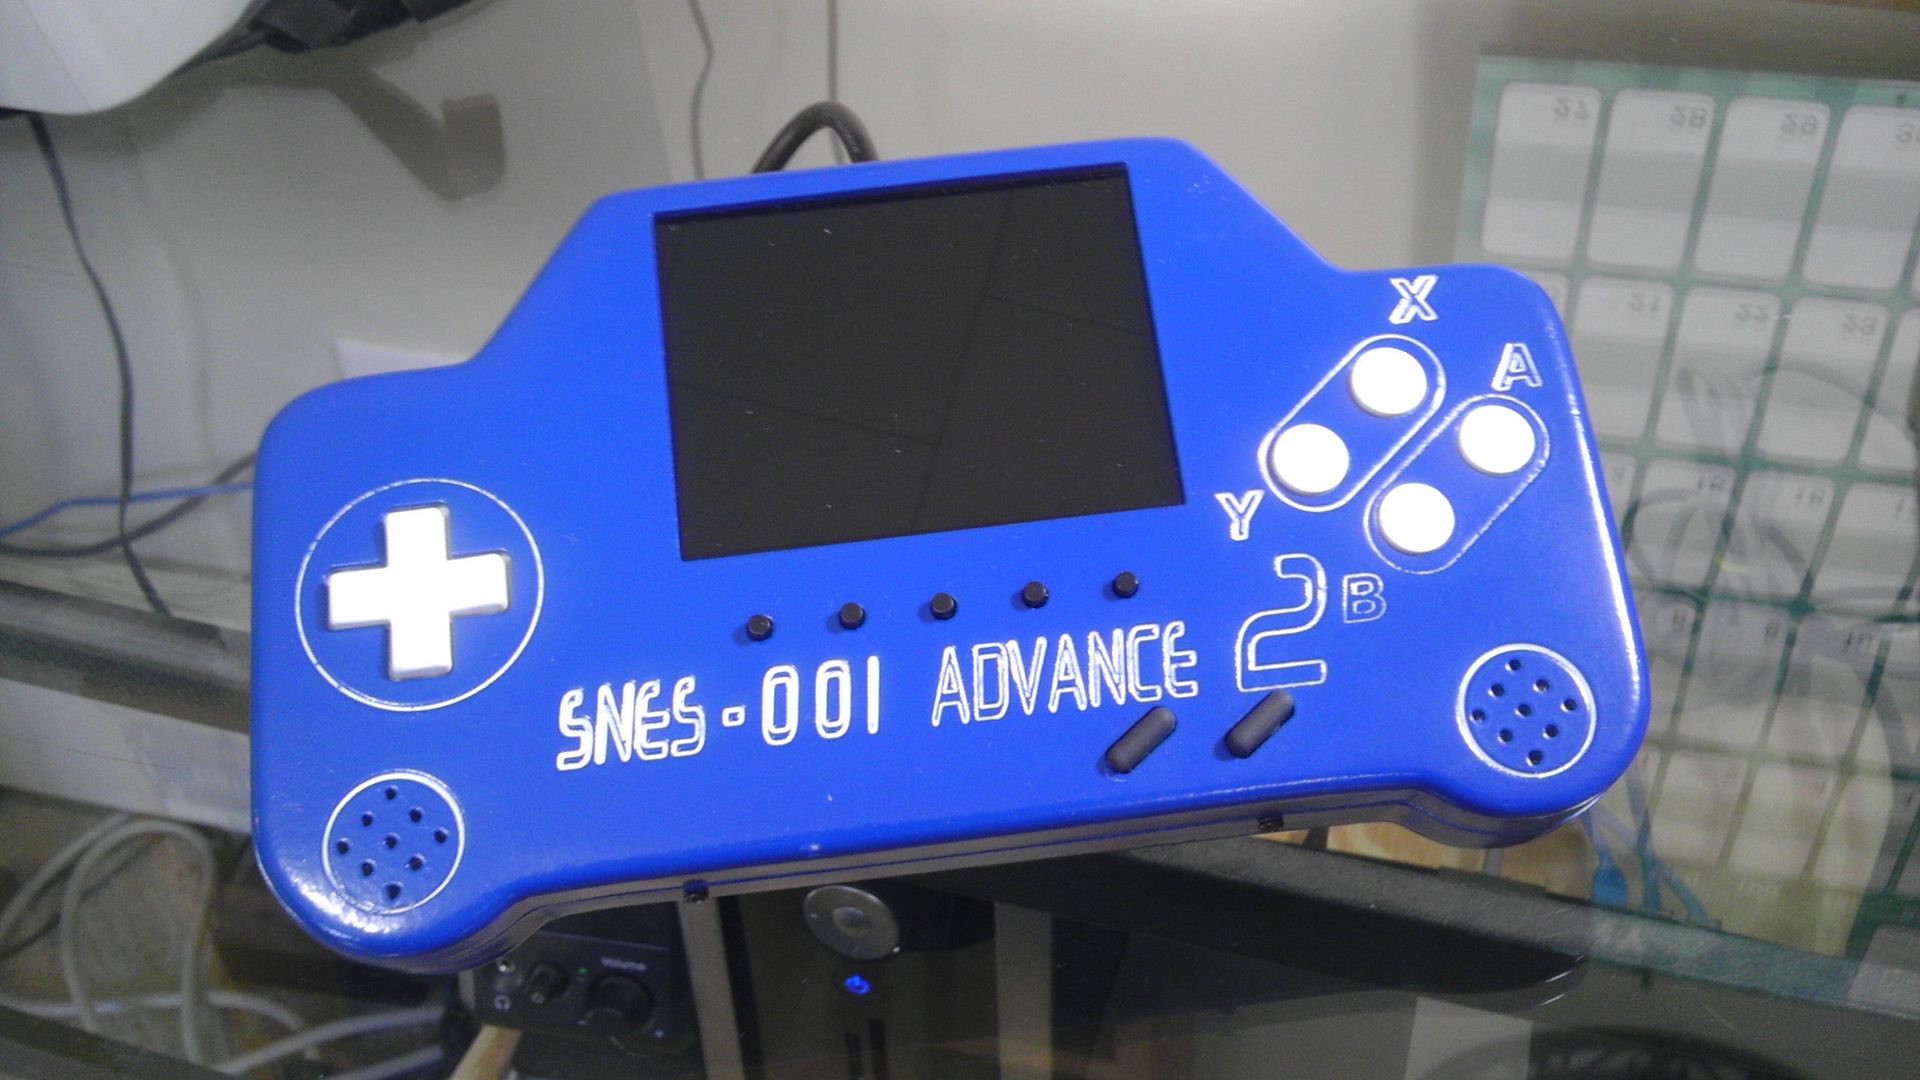
As the work log has shown, this system was produced while utilizing my new tools I have in my new shop. The small tabletop CNC router that I got back in September has been a pivotal addition to my creations and has allowed me to take these projects to new heights.
Other than a fair bit more precision on this go around, I was actually able to experiment with the design and milling of my own PCBs. Specifically in this project I used them in replacement of the modder's favorite "rubber tipped" tack switch as well as made a central HUB for the A/V, screen and audio inputs to be filtered out accordingly as well as making a tact-switch array for volume control and screen control options.
All in all I'm quite happy with how this one turned out. Again, it's still not perfect and does have a couple issues when all three video outputs are being used, but they are relatively minimal. The images are crisp, clear and the sound works wonderfully. At any rate, I hope you enjoyed this and the video has a bit more in-depth analysis of the project and its capabilities.
This is for sale to, so please let me know if you're interested. Or, if you can promote this a bit and get a buyer interested in the system and they buy it, there might just be a small commission in it for you! Contact me for details!
*Start Original Post*
Alright guys, it's been quite awhile between posts for me and I'm sorry, I've just been super busy with another project and working a couple part time jobs in between. Like I mentioned in my commission's post, I started doing another SNES-001 Advance for a customer, but it appears that the deal may have fallen through. However, I was this far into it so when it get's done I'll throw it on eBay or something.
Below are some pics of the progress so far and some demostrate vast improvements over the original design, i.e. CNC and a un-modded SNES other than the paint job. I'll explain in the pics.
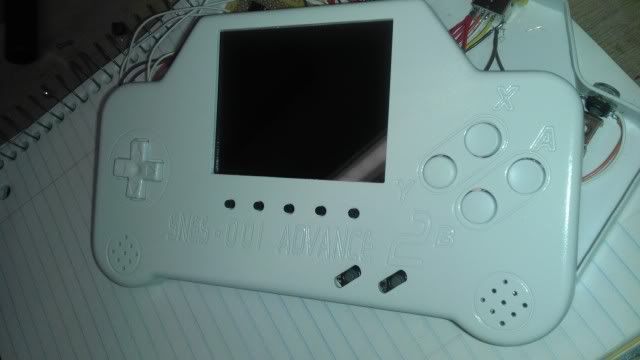
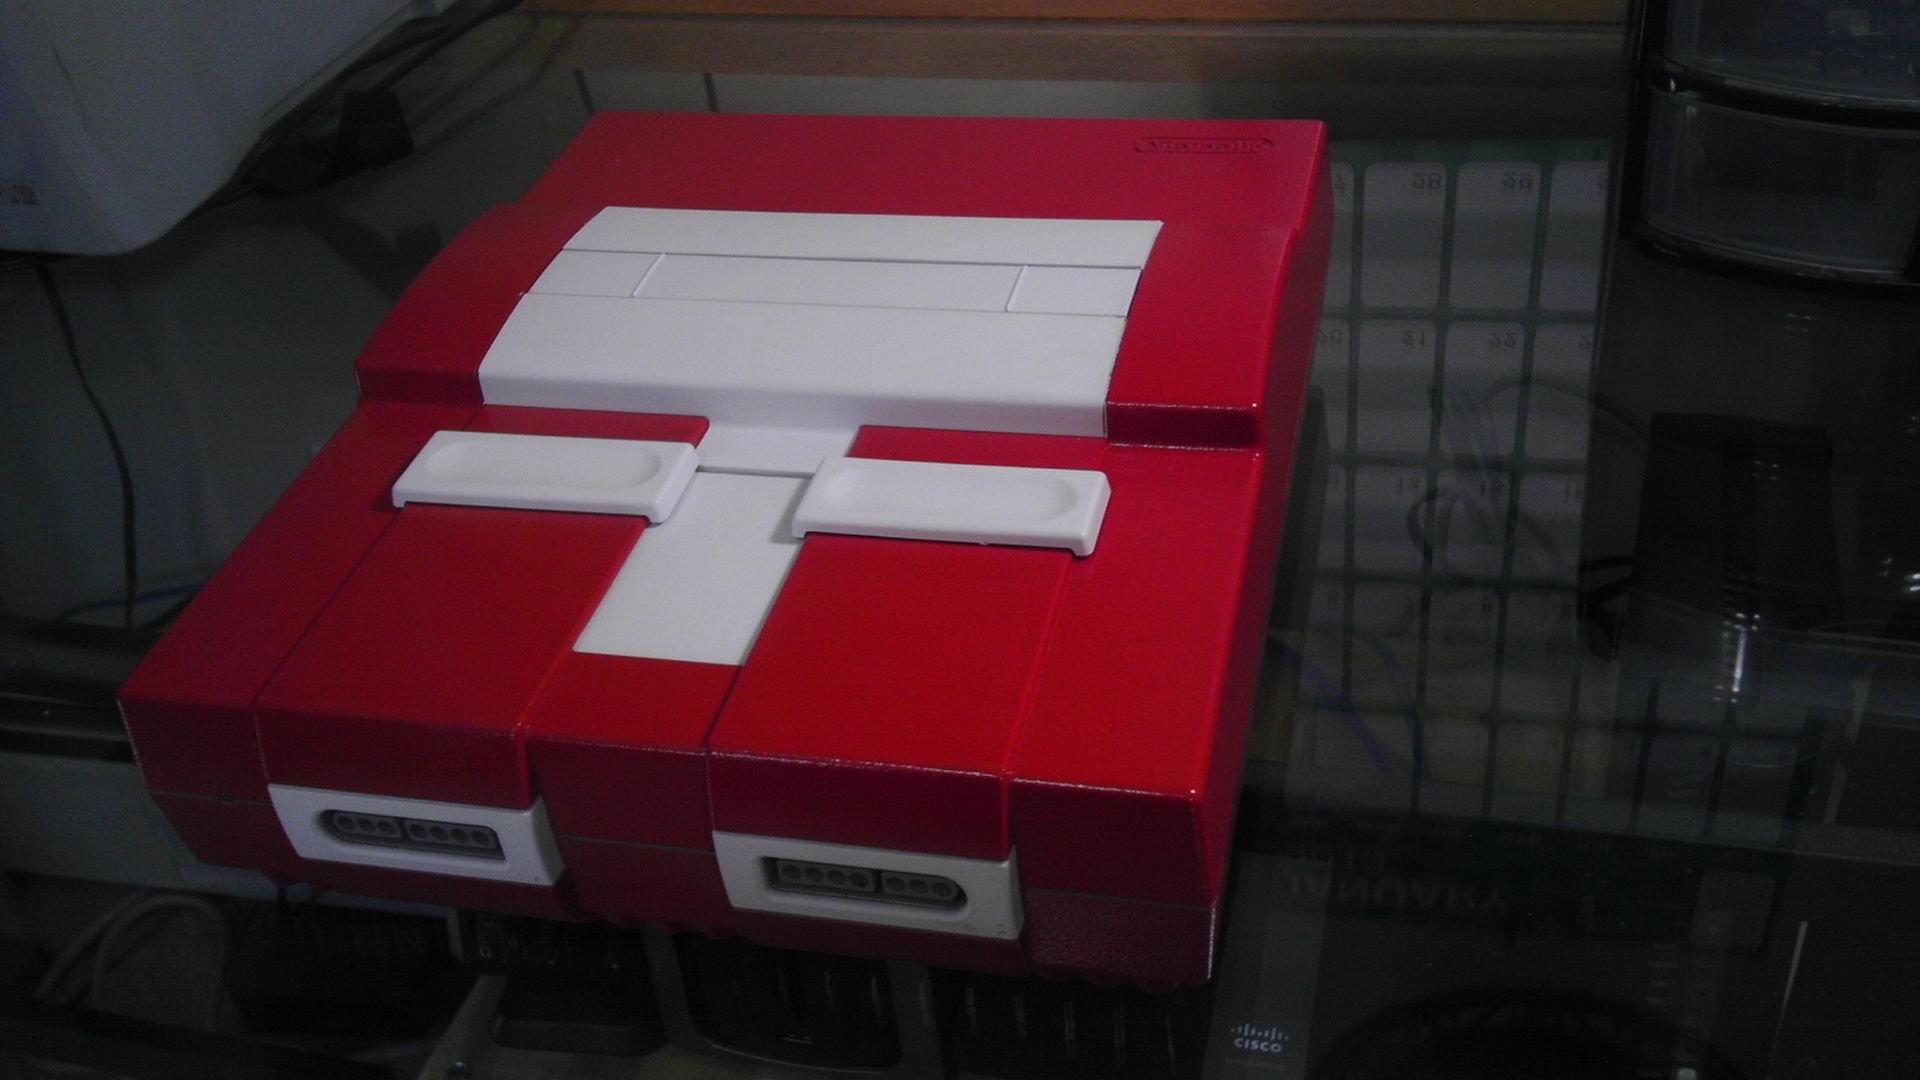
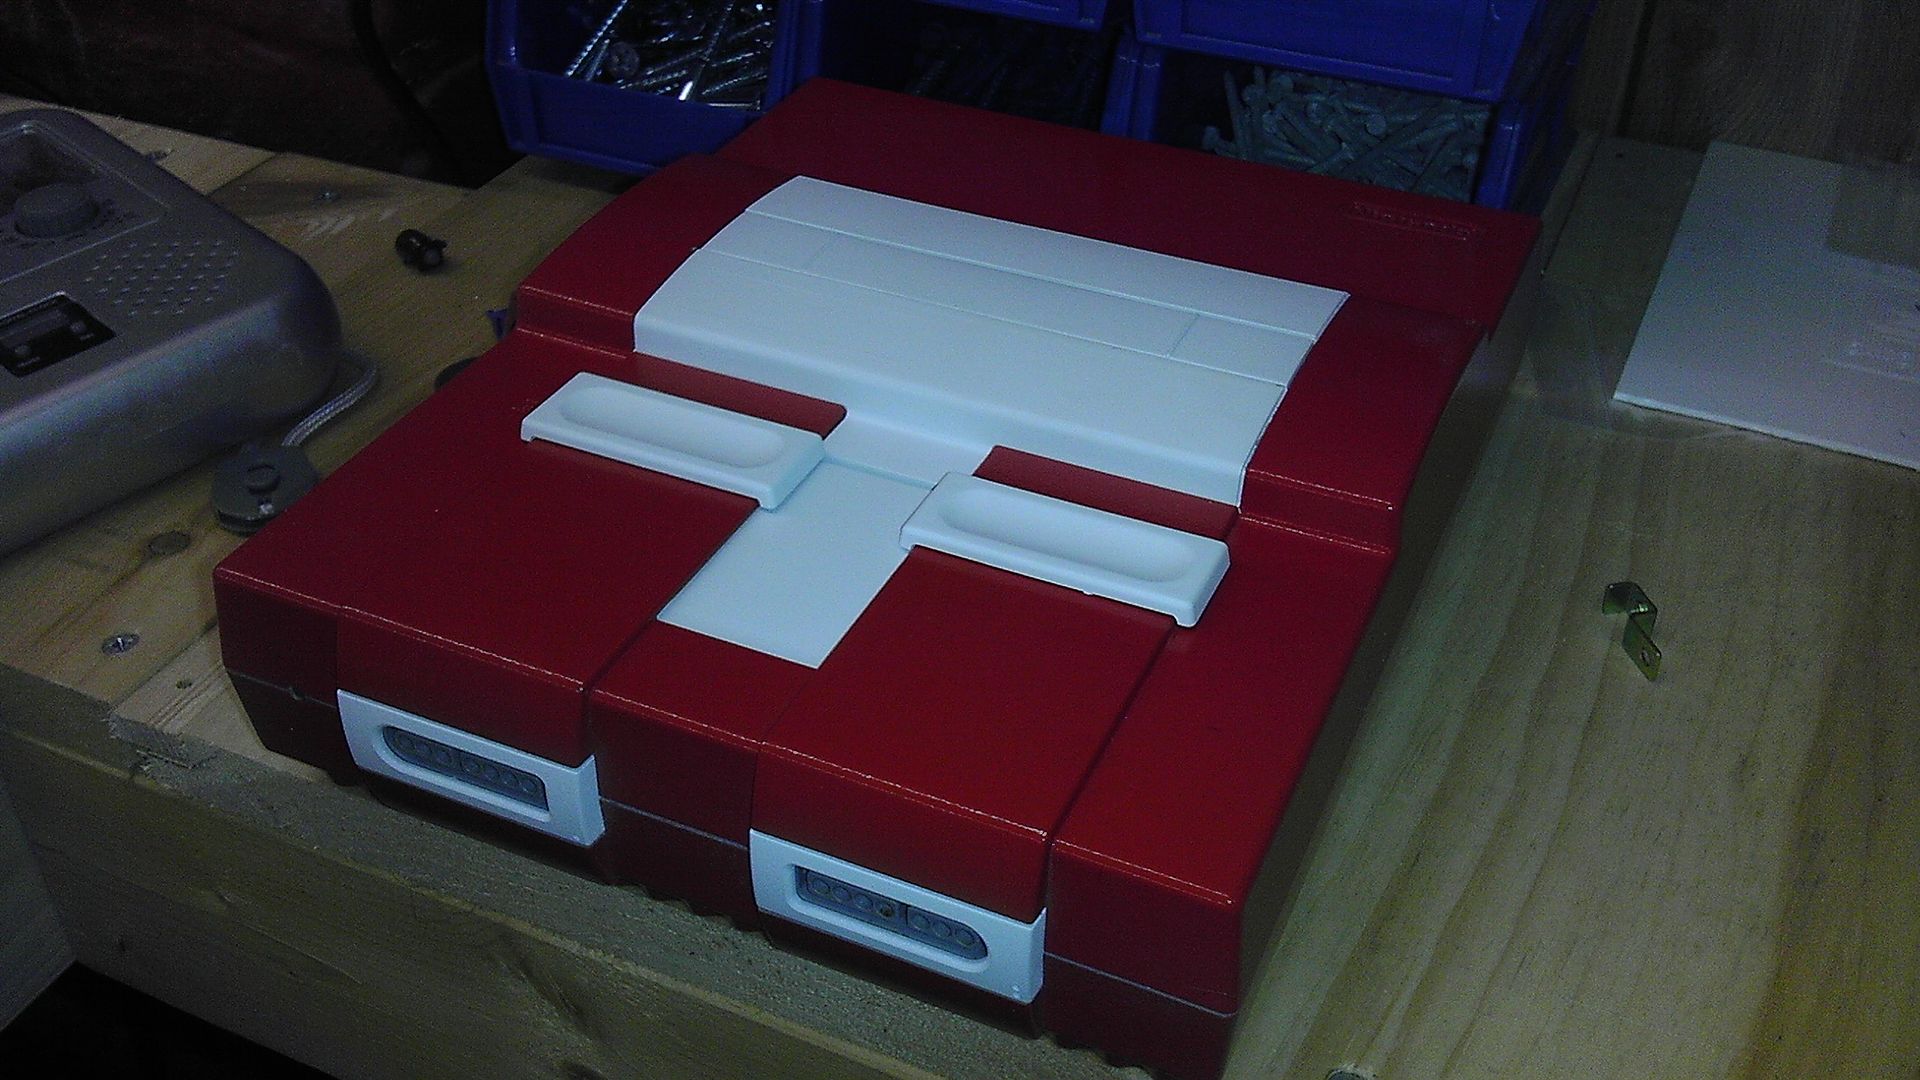
A slightly reversed paint job from the first one, this time the system includes a nice varnish to help protect it better. Notice the big difference here is that there are no additional ports or any kind of alterations to the system other than the paint. I'll explain in a minute.
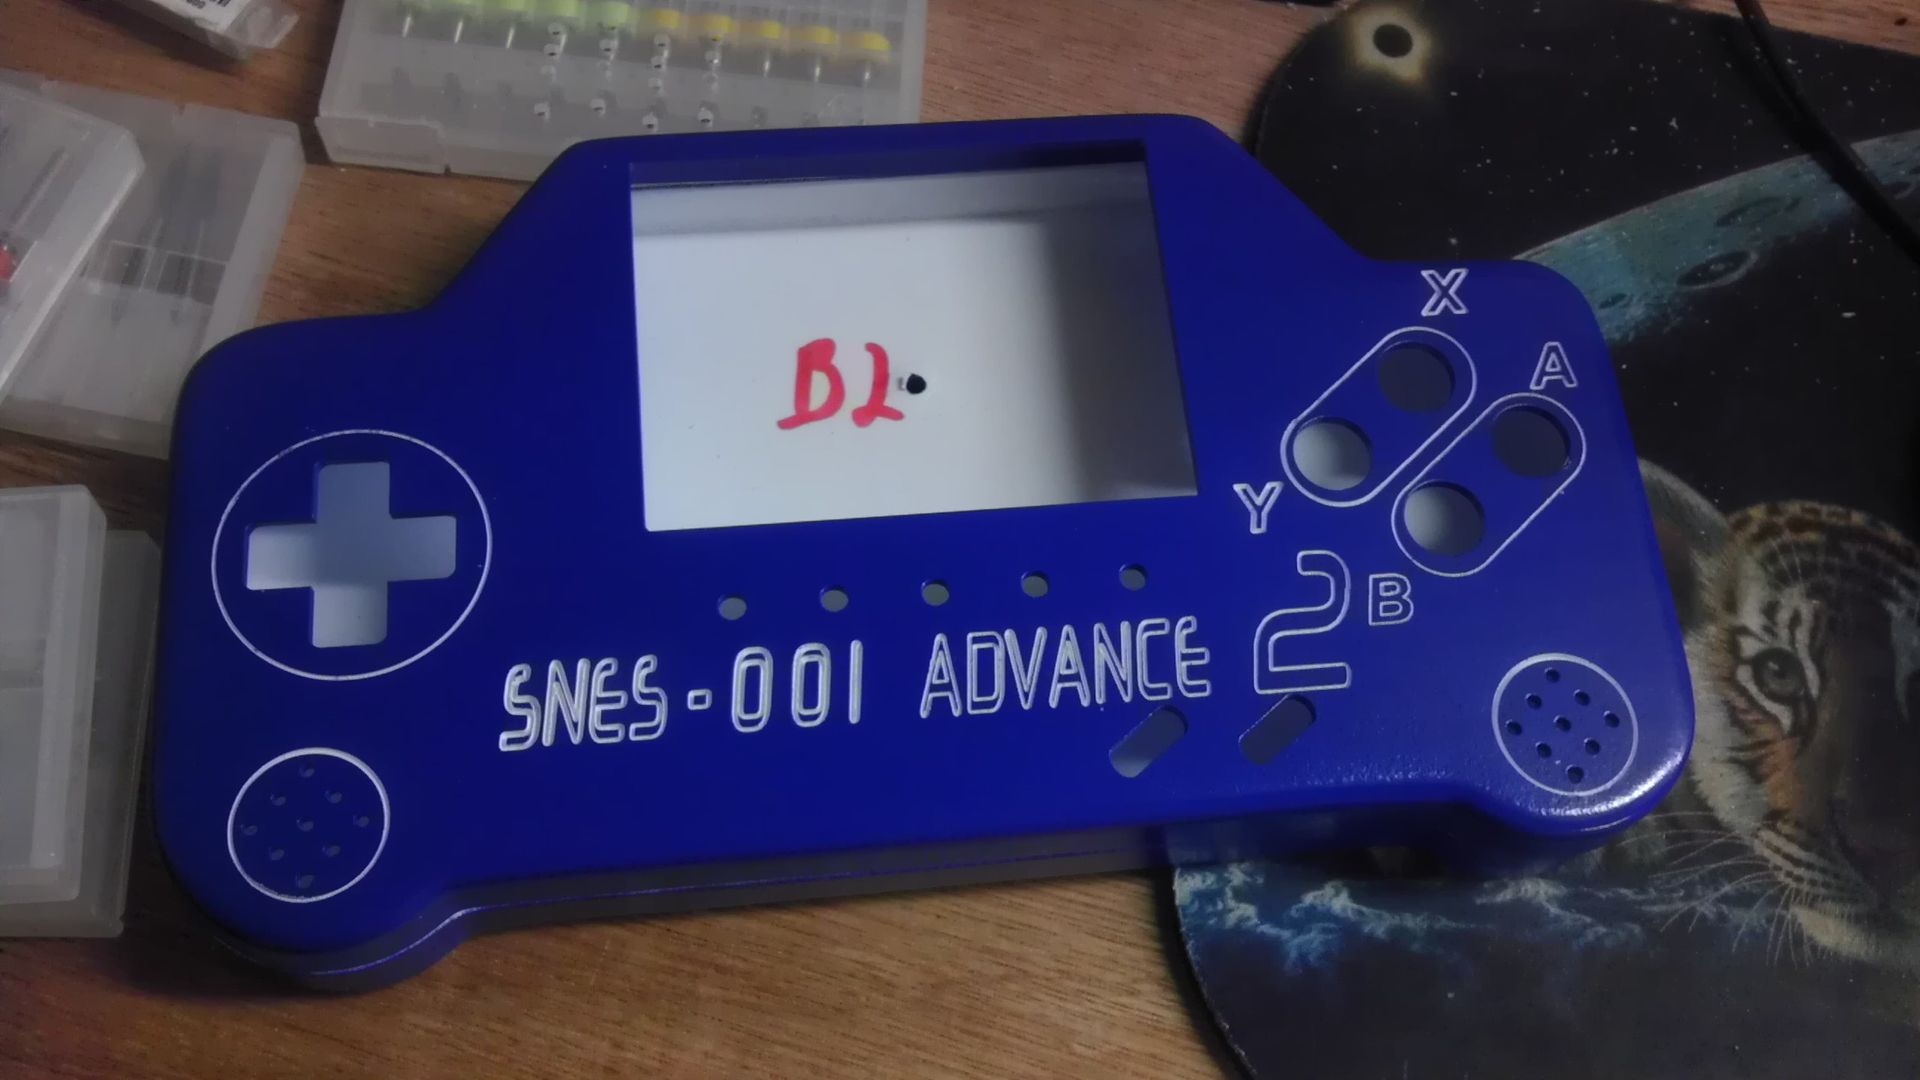
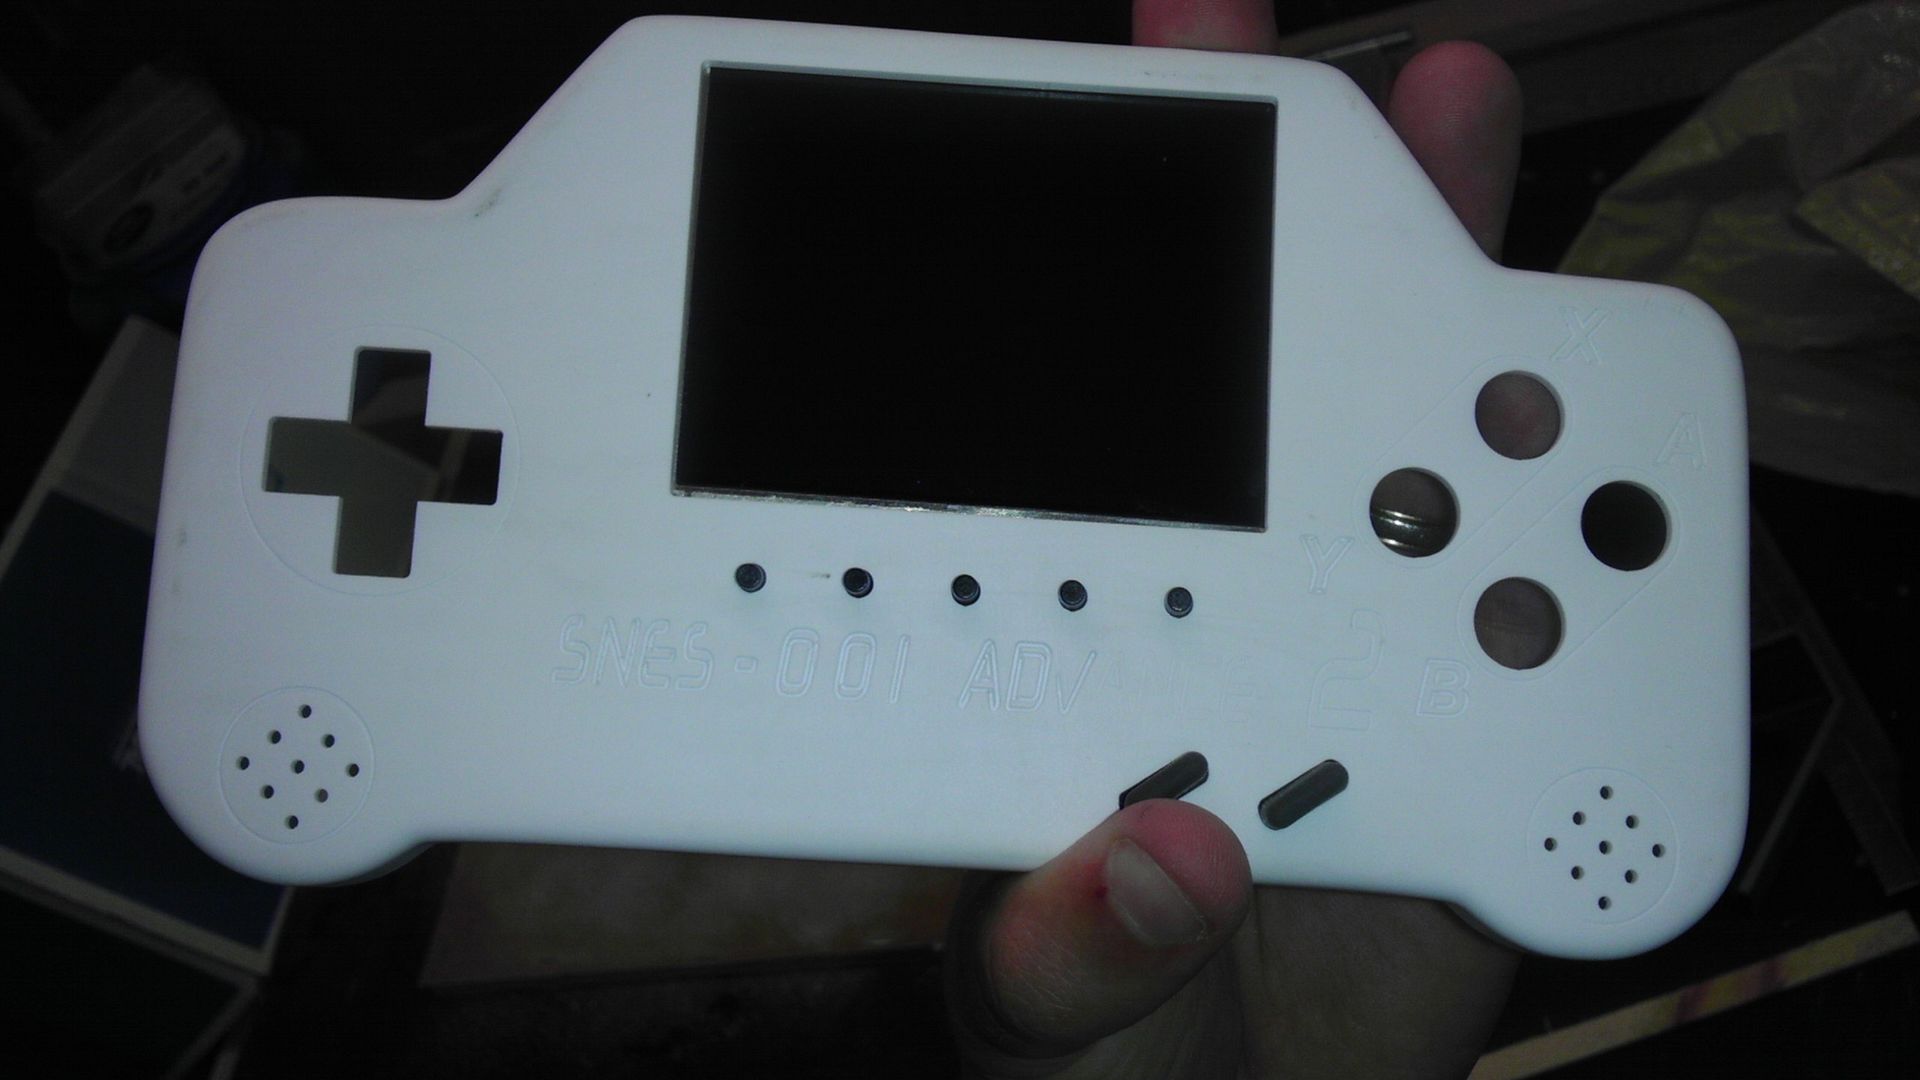
Here is an example of the controller cut. Though you can't see the engraving on this so much, I'll post pics later when it's done so you get the feel for what CNC can do for a project like this. That said, everything on this controller was cut/drilled using my new machine and the cutting only took about 5 minutes. However, the designing phase tool well over 10 hours to get just right as when you design in CAD, you can't just design the face cuts, you have to design everything underneath it if you're going to be using custom PCB's like I did and I'll show you in the next pic. You pretty much have to have your whole project planned before you make the first cut and you'll see why.
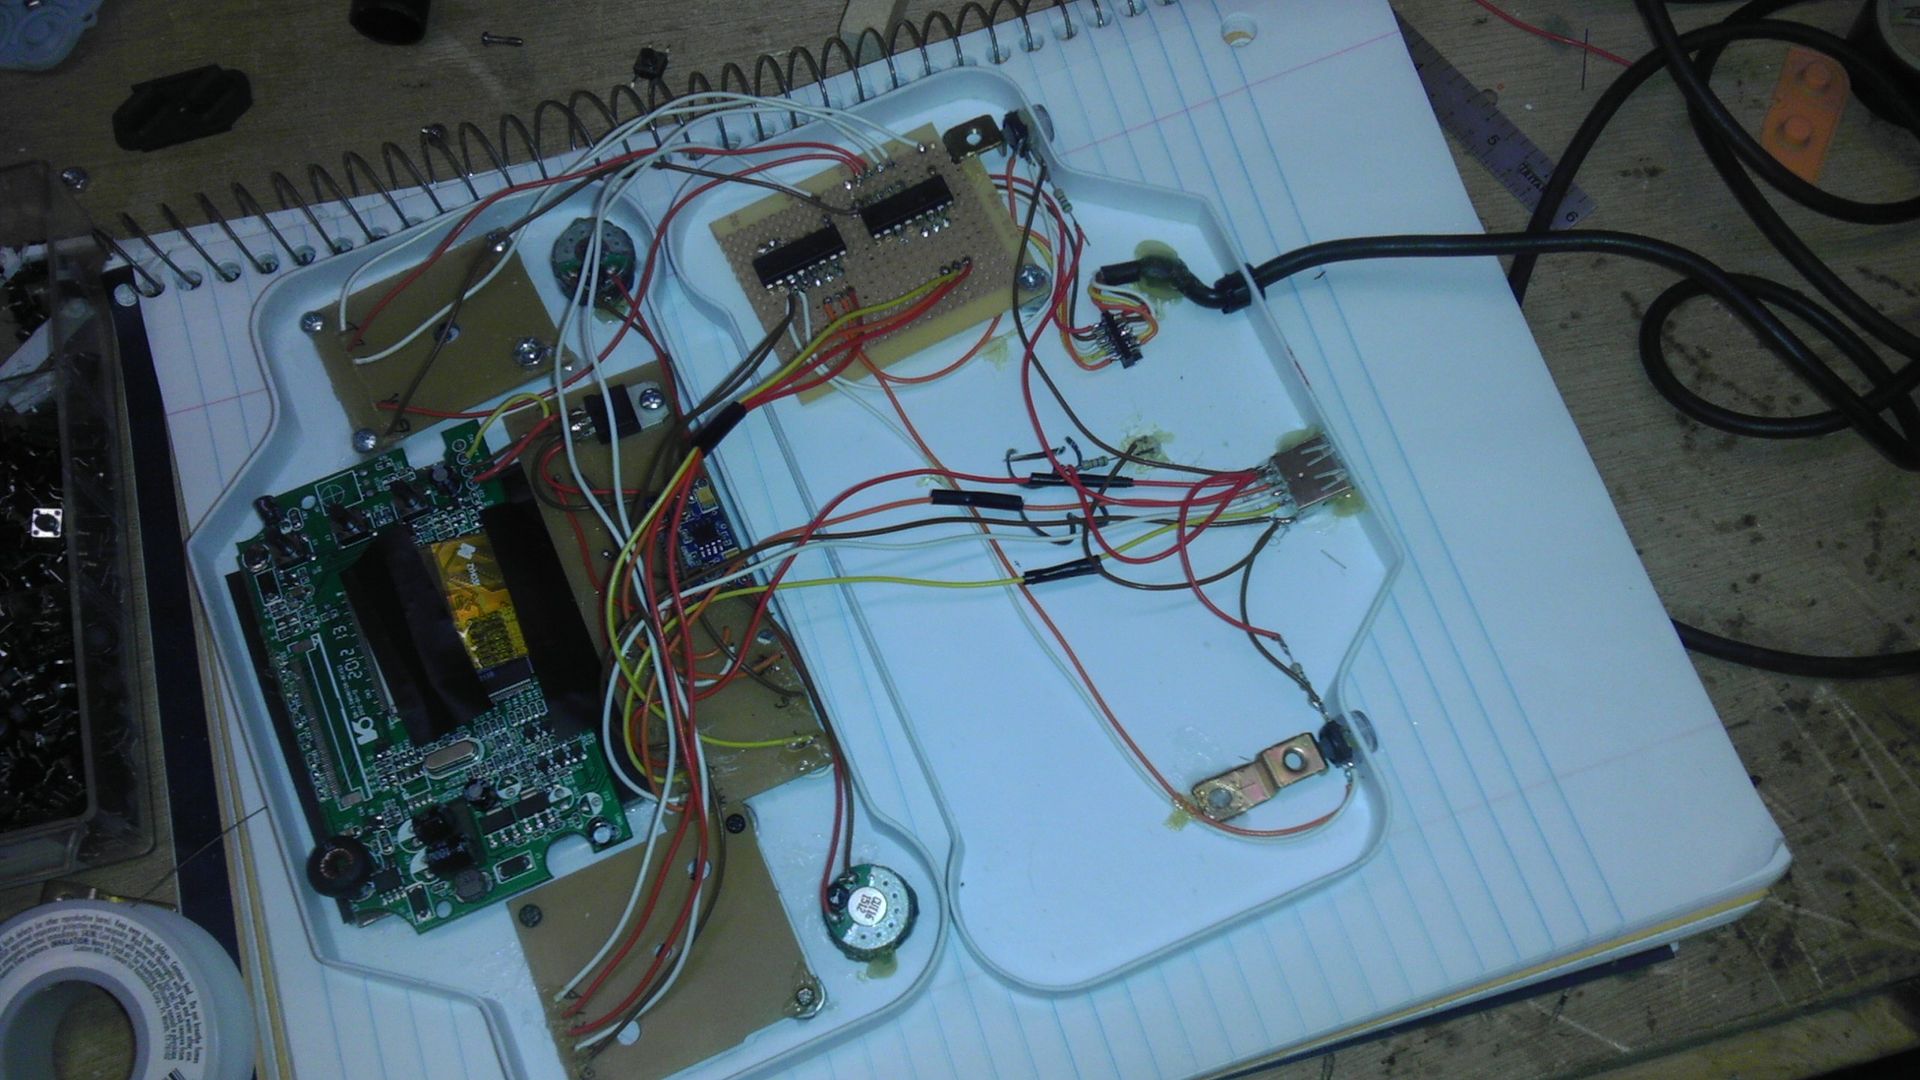
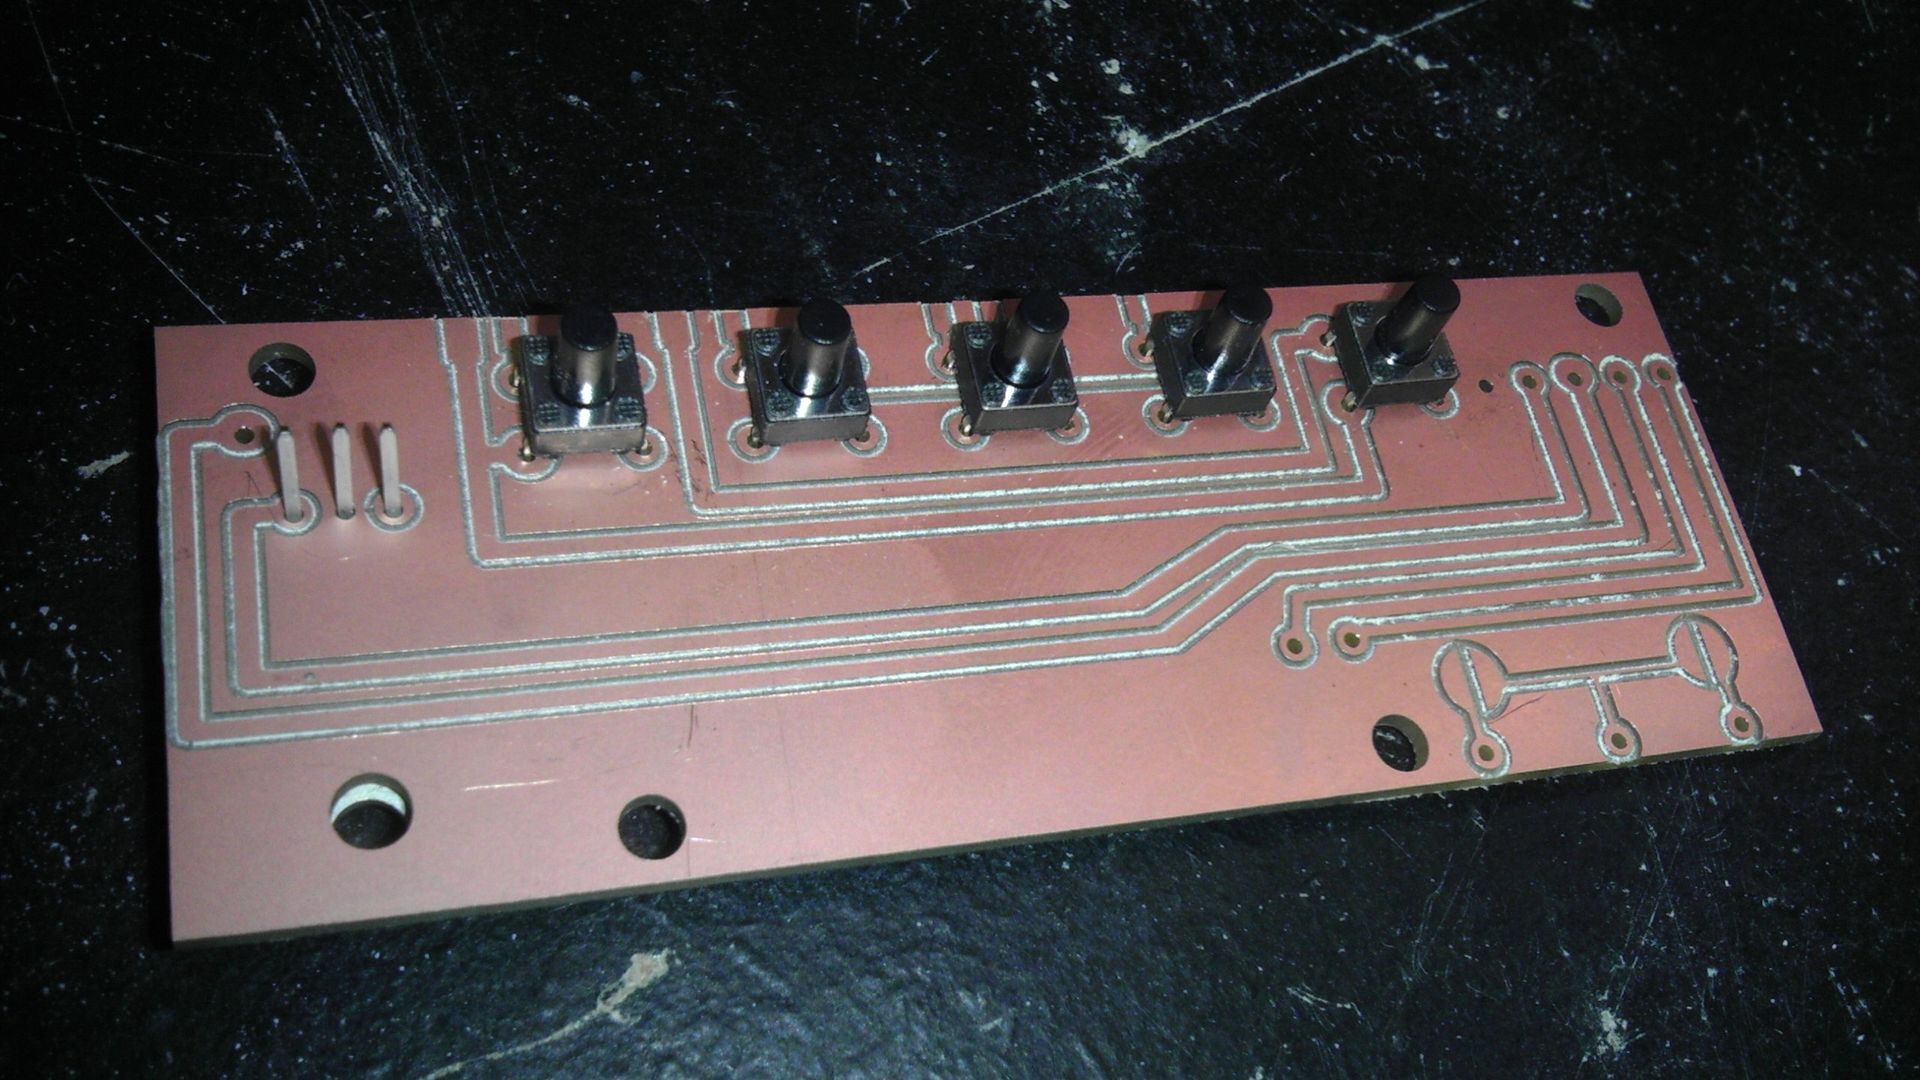
This PCB is the main junction where all the parts of the project come together. The 12v power line along with Video/Audio and Ground all meet up here and are sent to their proper destinations. The audio amp and a 7805 regulator are glued to the back. The 5 tact switches on the top control audio volume +/- and the screen options menu, +/-. The video signal is taken from the right and moved to the left as that's where the input is on the screen. The screen is powered off the input and ground of the 7805 and the audio amp is powered form the output of the 7805 and ground. The start and select pads are also located on the bottom right.
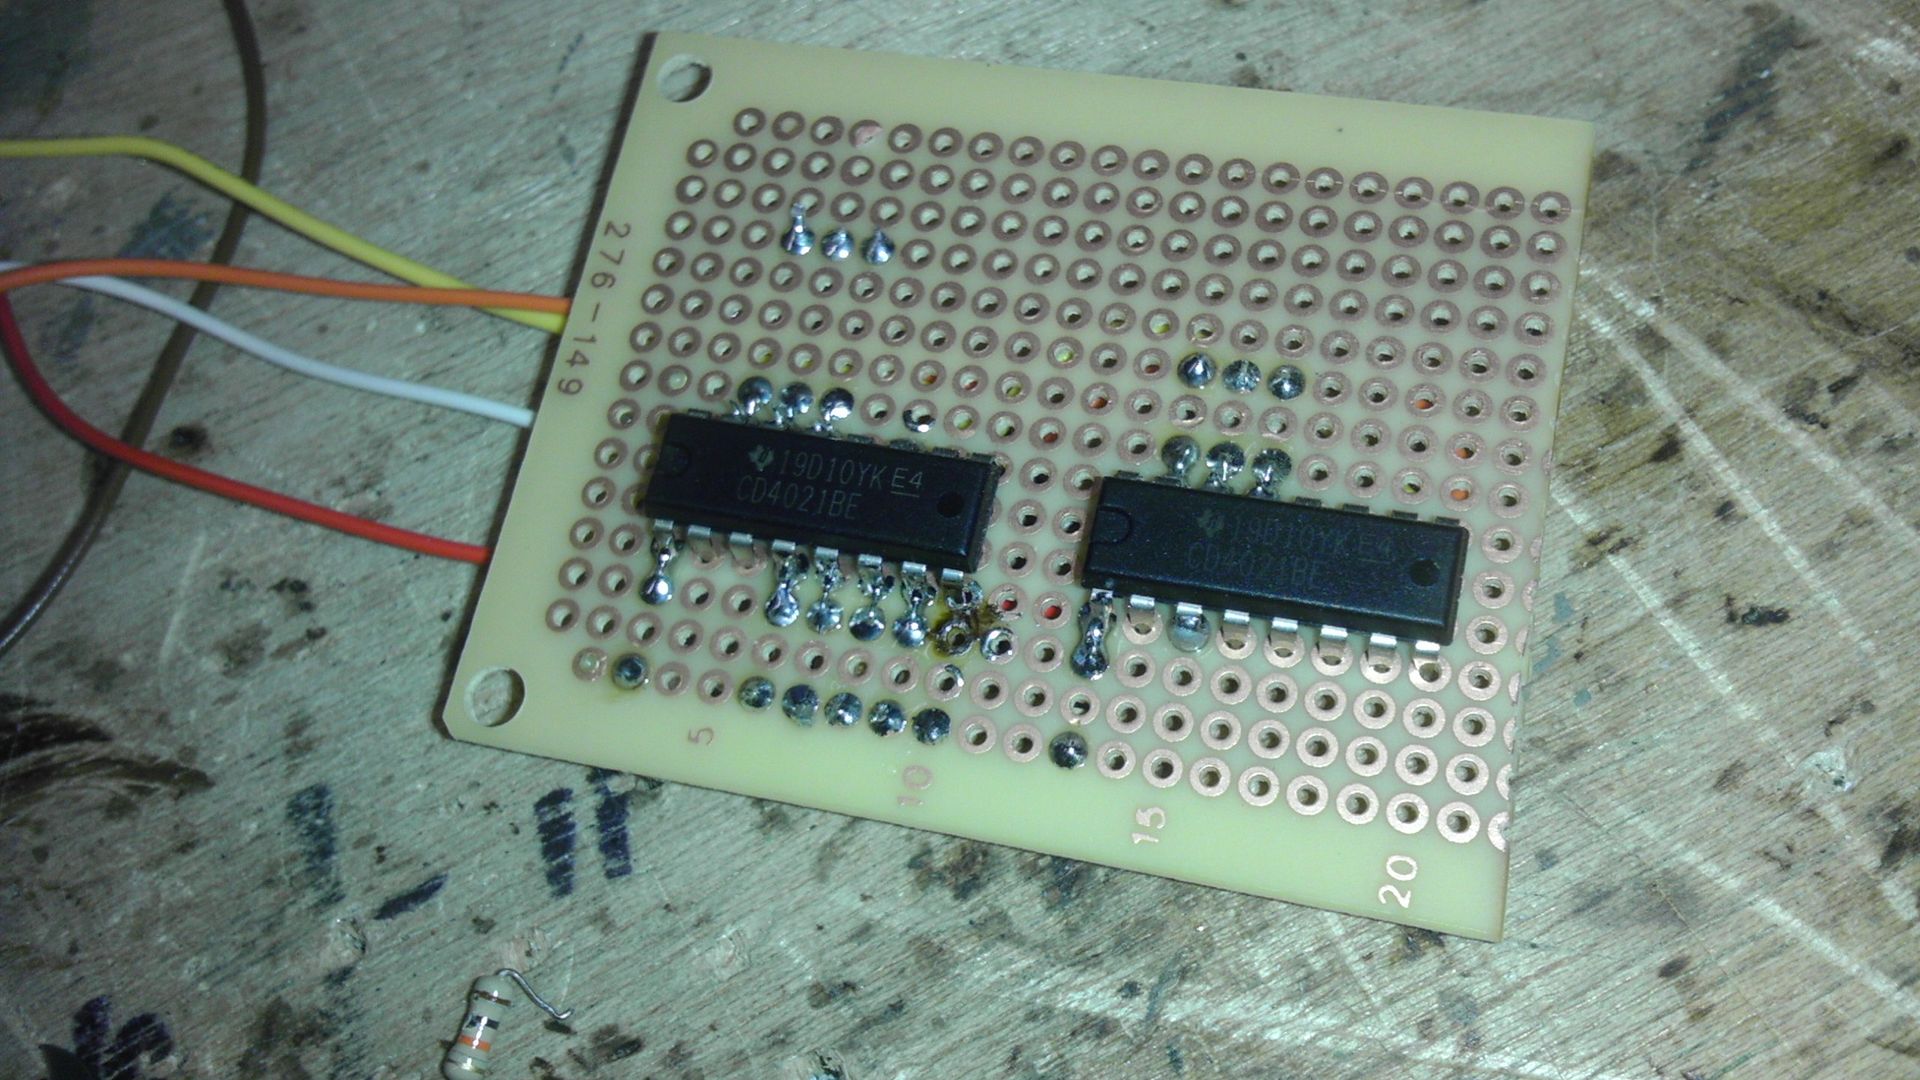
The other big difference is that I'm not using an actual SNES controller for this, I'm building my own using a series of 4021 Shift Registers and 10K Ohm resistors which is what the NES controller used. This apparently is not that difficult though I'm not quite far enough into the project to test it yet. Once I do though I'll post my findings as this combined with making my own PCB's mean's I won't have to hack old controllers anymore. Now if I could only find a source for replacement contact pads I'd be golden!
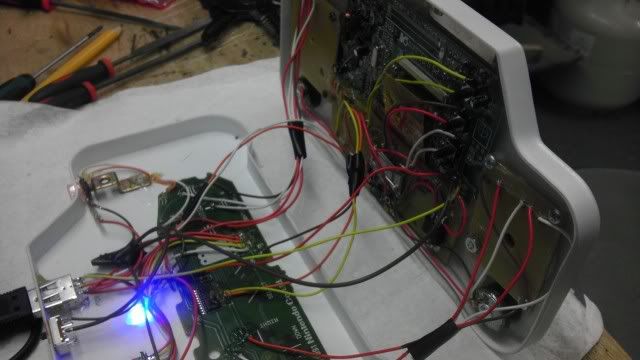
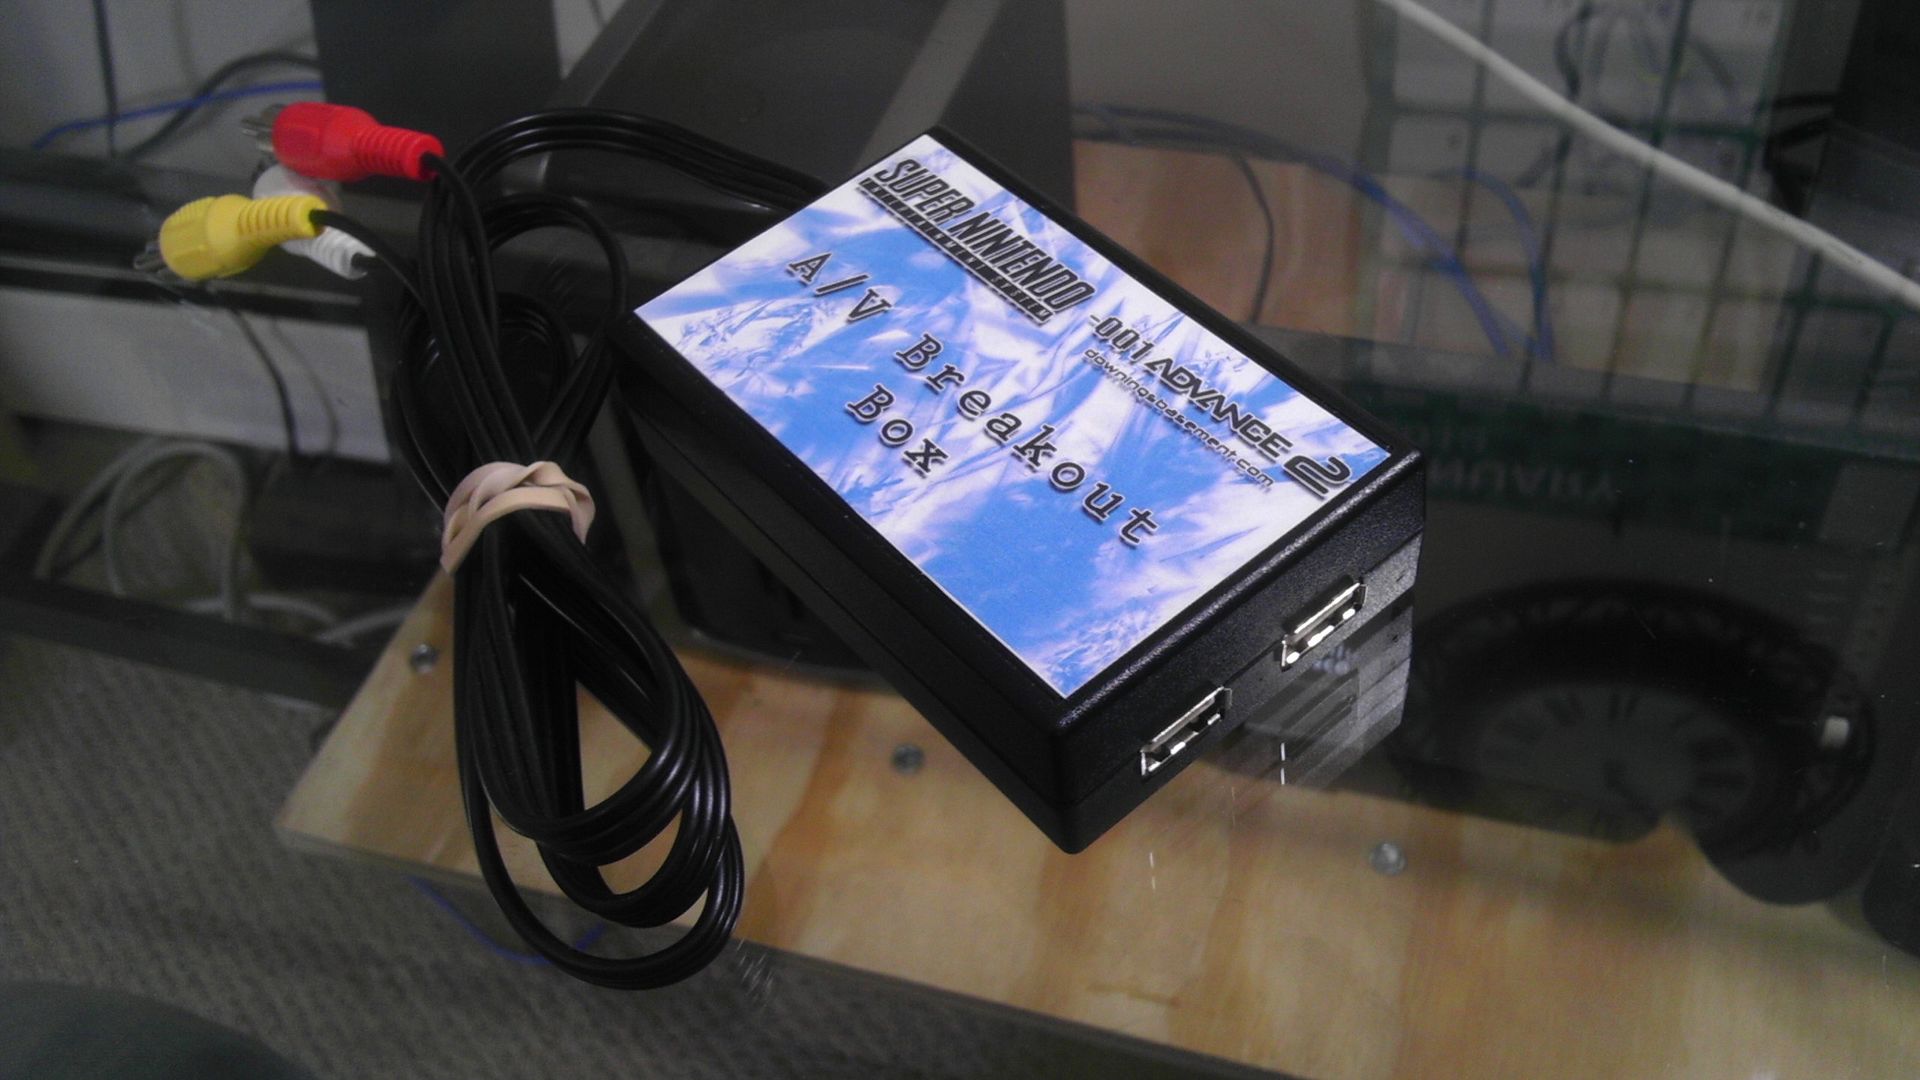
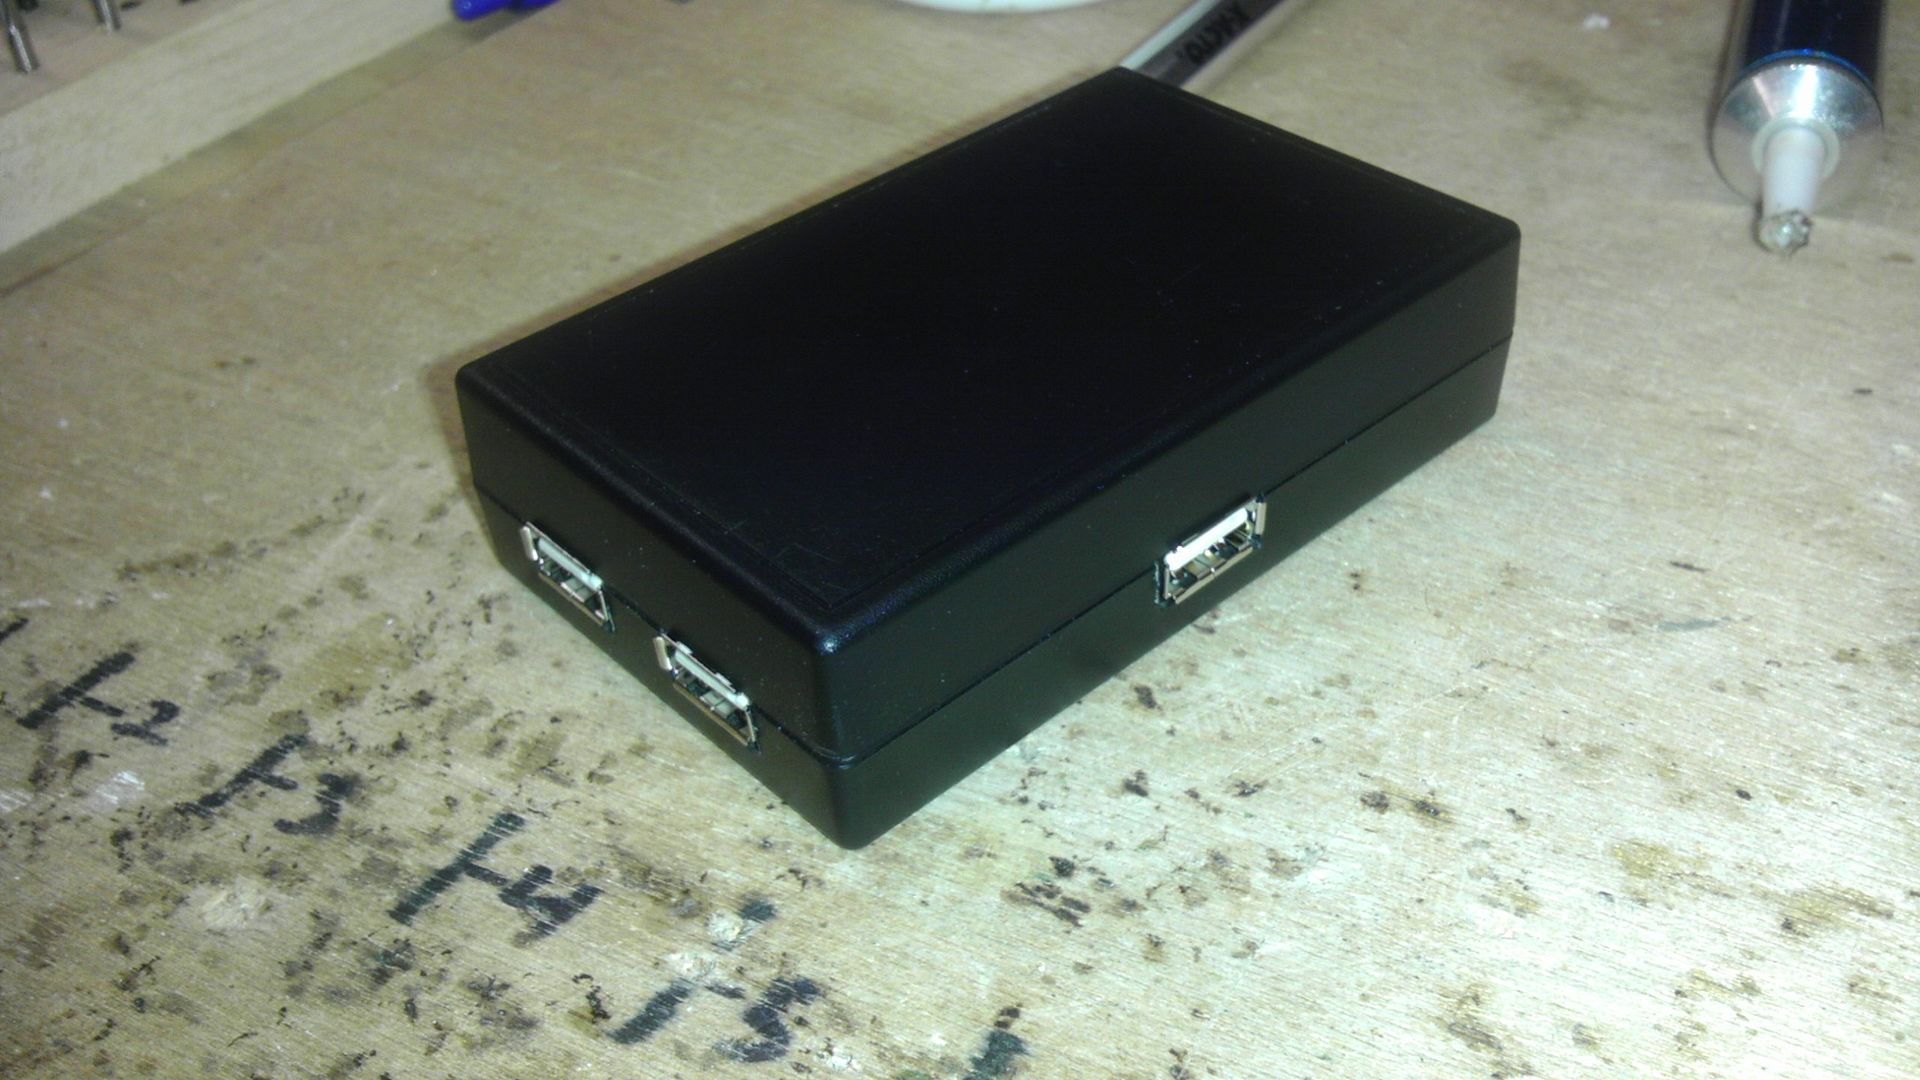
And last, you're looking at the reason why the SNES does not need to be modded. I'm not going to get to far into this yet as I've got some plans that I want to try out for it first, but I will keep you updated.
But anyway, that's where I'm at now and I'll try and post more than I have been. Stay tuned for more updates!
And it's done! After nearly 4 months of off and on work and endless hours effort due to new learning curves and experimentation, the second rendition of the SNES-001 Advance is complete!


As the work log has shown, this system was produced while utilizing my new tools I have in my new shop. The small tabletop CNC router that I got back in September has been a pivotal addition to my creations and has allowed me to take these projects to new heights.
Other than a fair bit more precision on this go around, I was actually able to experiment with the design and milling of my own PCBs. Specifically in this project I used them in replacement of the modder's favorite "rubber tipped" tack switch as well as made a central HUB for the A/V, screen and audio inputs to be filtered out accordingly as well as making a tact-switch array for volume control and screen control options.
All in all I'm quite happy with how this one turned out. Again, it's still not perfect and does have a couple issues when all three video outputs are being used, but they are relatively minimal. The images are crisp, clear and the sound works wonderfully. At any rate, I hope you enjoyed this and the video has a bit more in-depth analysis of the project and its capabilities.
This is for sale to, so please let me know if you're interested. Or, if you can promote this a bit and get a buyer interested in the system and they buy it, there might just be a small commission in it for you! Contact me for details!
*Start Original Post*
Alright guys, it's been quite awhile between posts for me and I'm sorry, I've just been super busy with another project and working a couple part time jobs in between. Like I mentioned in my commission's post, I started doing another SNES-001 Advance for a customer, but it appears that the deal may have fallen through. However, I was this far into it so when it get's done I'll throw it on eBay or something.
Below are some pics of the progress so far and some demostrate vast improvements over the original design, i.e. CNC and a un-modded SNES other than the paint job. I'll explain in the pics.
A slightly reversed paint job from the first one, this time the system includes a nice varnish to help protect it better. Notice the big difference here is that there are no additional ports or any kind of alterations to the system other than the paint. I'll explain in a minute.

Here is an example of the controller cut. Though you can't see the engraving on this so much, I'll post pics later when it's done so you get the feel for what CNC can do for a project like this. That said, everything on this controller was cut/drilled using my new machine and the cutting only took about 5 minutes. However, the designing phase tool well over 10 hours to get just right as when you design in CAD, you can't just design the face cuts, you have to design everything underneath it if you're going to be using custom PCB's like I did and I'll show you in the next pic. You pretty much have to have your whole project planned before you make the first cut and you'll see why.

This PCB is the main junction where all the parts of the project come together. The 12v power line along with Video/Audio and Ground all meet up here and are sent to their proper destinations. The audio amp and a 7805 regulator are glued to the back. The 5 tact switches on the top control audio volume +/- and the screen options menu, +/-. The video signal is taken from the right and moved to the left as that's where the input is on the screen. The screen is powered off the input and ground of the 7805 and the audio amp is powered form the output of the 7805 and ground. The start and select pads are also located on the bottom right.

The other big difference is that I'm not using an actual SNES controller for this, I'm building my own using a series of 4021 Shift Registers and 10K Ohm resistors which is what the NES controller used. This apparently is not that difficult though I'm not quite far enough into the project to test it yet. Once I do though I'll post my findings as this combined with making my own PCB's mean's I won't have to hack old controllers anymore. Now if I could only find a source for replacement contact pads I'd be golden!

And last, you're looking at the reason why the SNES does not need to be modded. I'm not going to get to far into this yet as I've got some plans that I want to try out for it first, but I will keep you updated.

But anyway, that's where I'm at now and I'll try and post more than I have been. Stay tuned for more updates!

