Downing
Well-Known Member
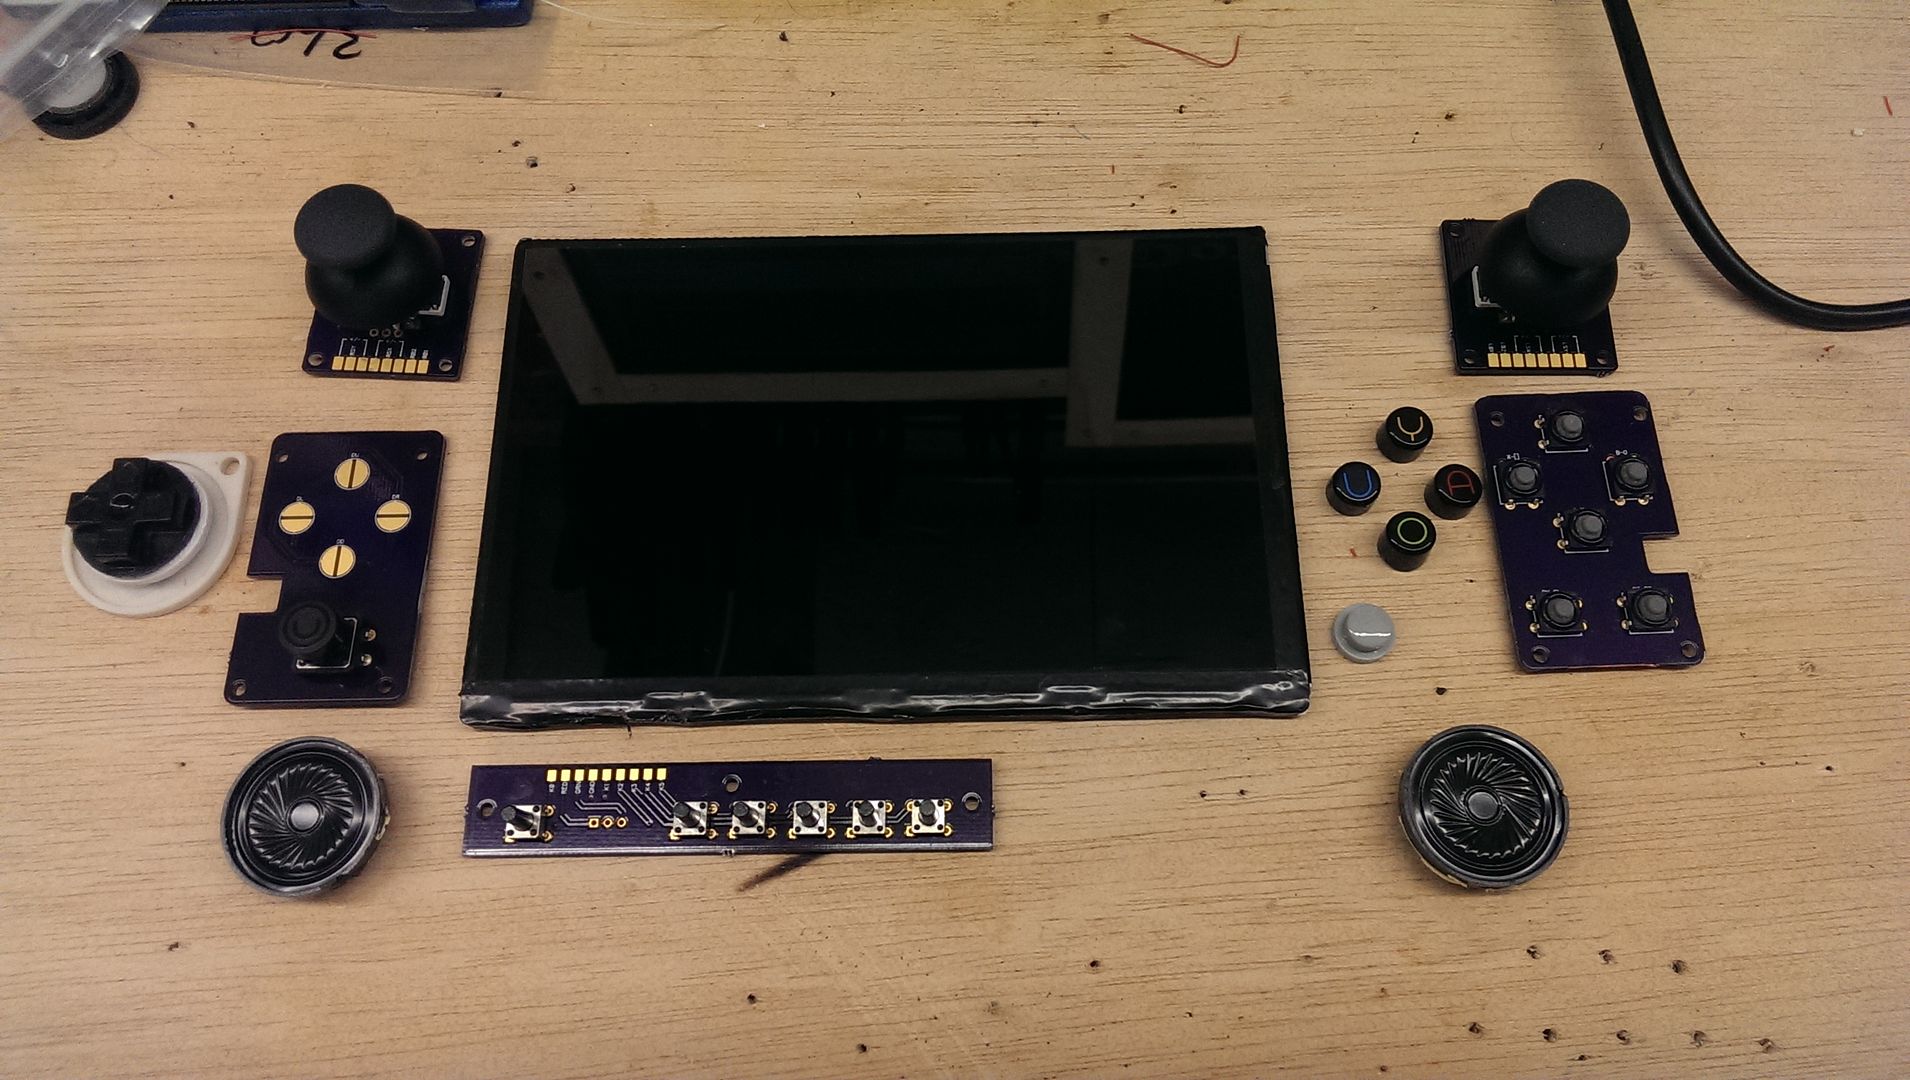
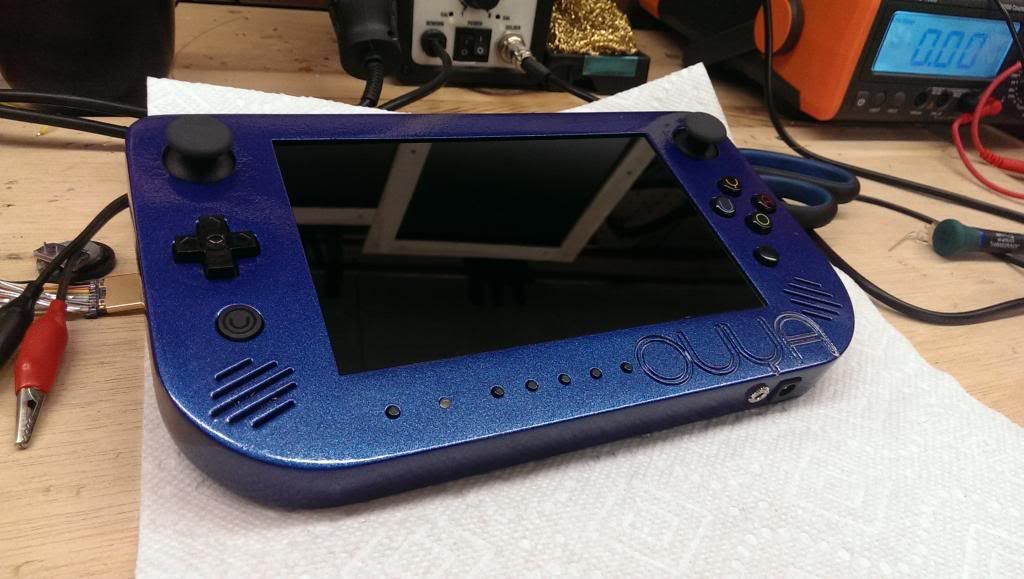
Yup, decided to bite the bullet and make myself an OUYA portable (and doesn't look like I'm the first over here on MR anyway). Why? Isn't it kinda pointless? Why not get a smart phone? Yes I understand it's pretty pointless as there are other options out there, but honestly, I like my OUYA. I like what it stands for and I like a lot of the games on it. On top of this, I also had a lot of left over parts, including an HD 7" Screen and batteries from my original Cross Plane prototype, as well as a couple Cross Plane cases which I wanted to use up.
So I figured why not, it's not gonna cost much and I think I'd actually play this portable as I'm in love with Final Fantasy III and Pin Ball Arcade.
With that said, on to the progress!
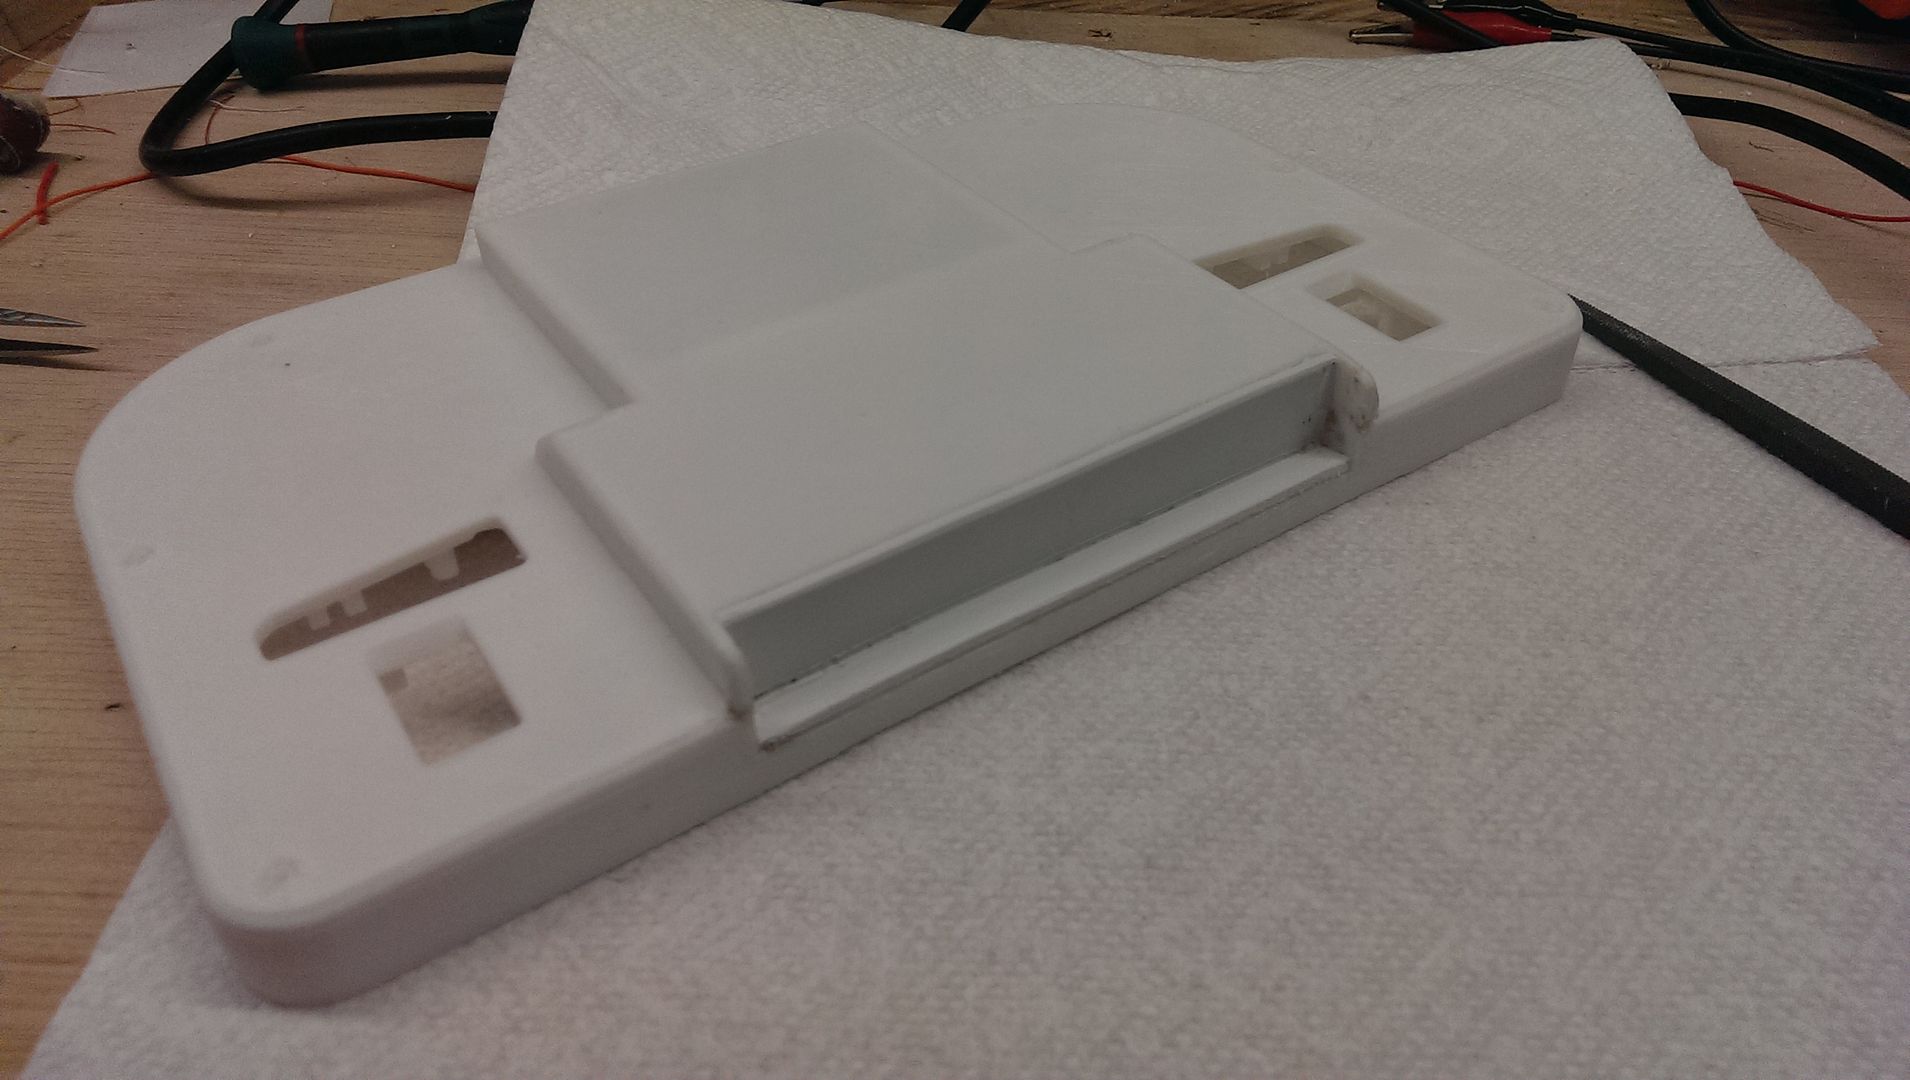
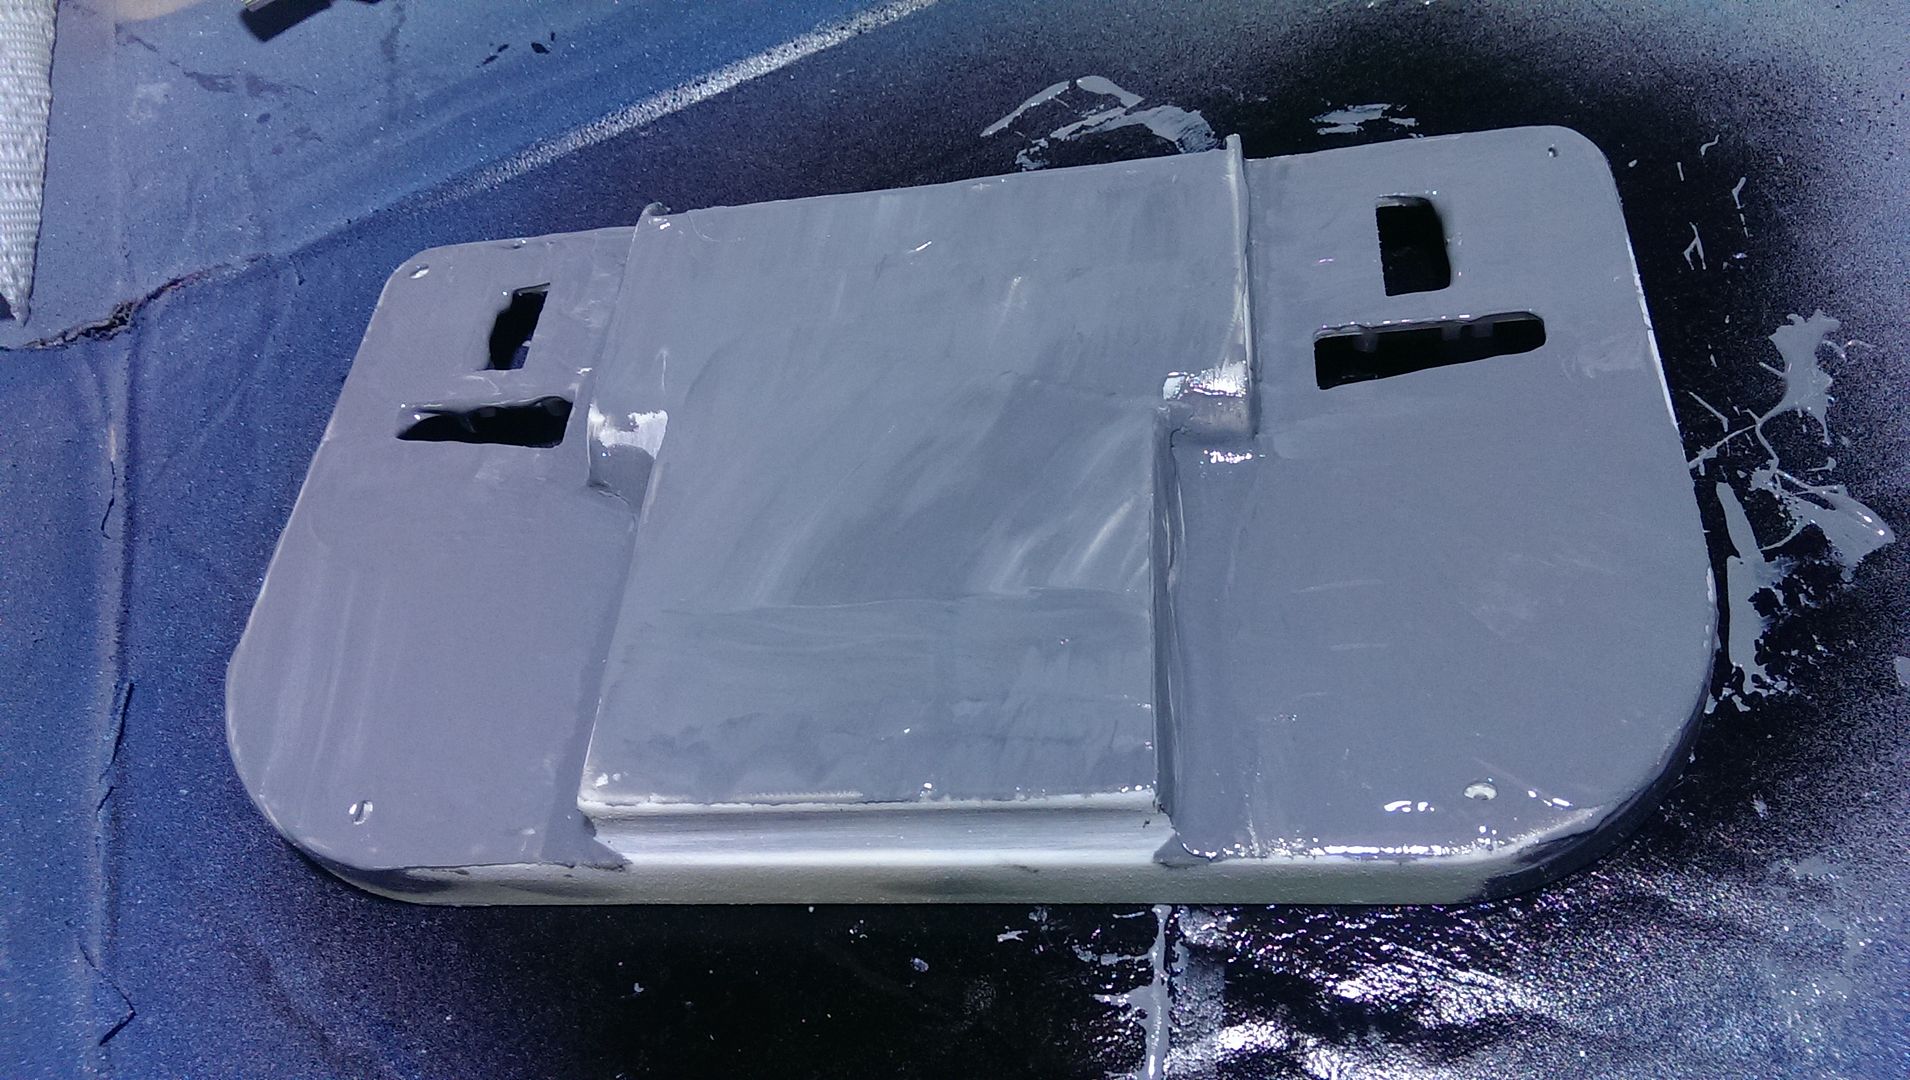
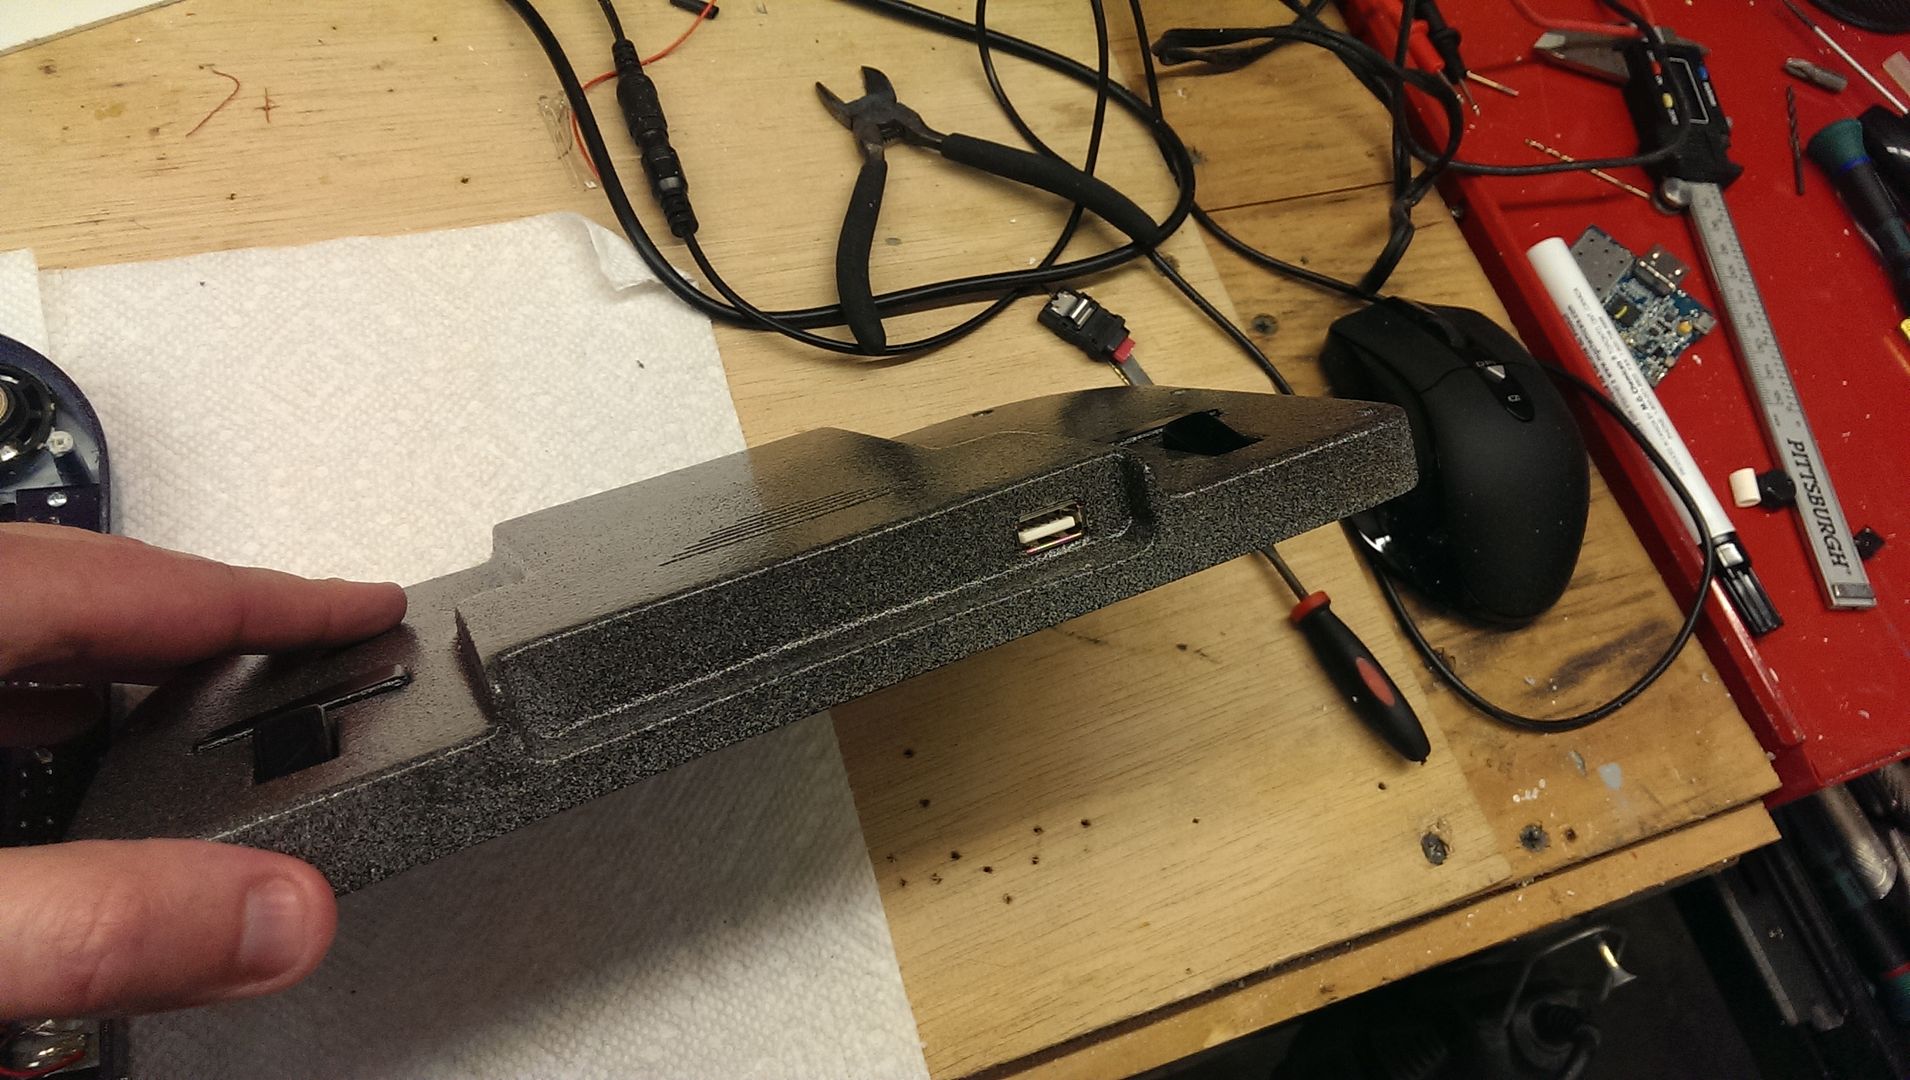
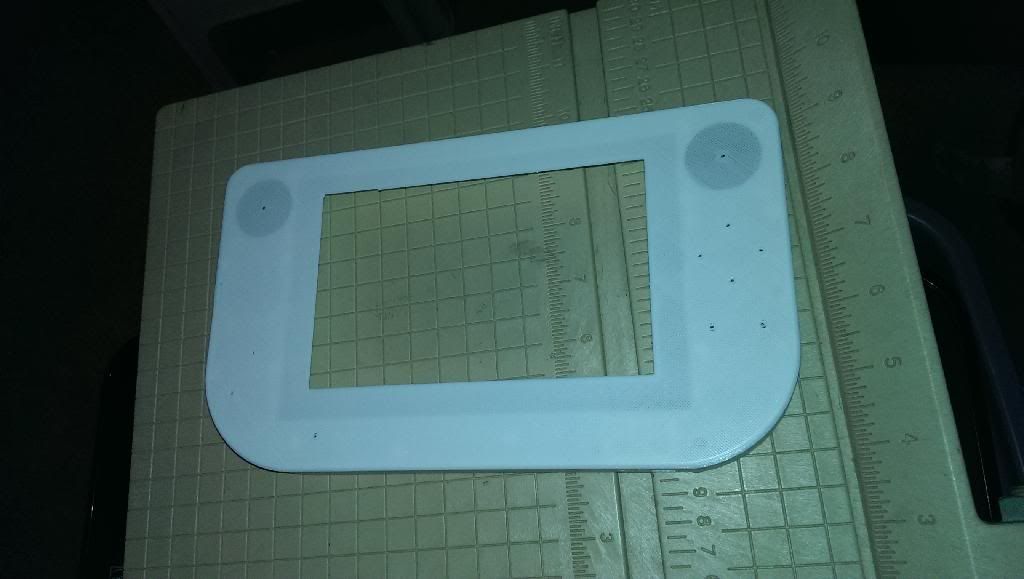
So this is what a Cross Plane case front looks like when it comes off the 3D printer. Because 3D printing isn't nearly on par in terms of quality with circles and clean openings, I make a file from the original and leave .0625 holes in place of the button, screen and speaker cuts. This allows me to have accurate starting points when it goes onto the CNC machine which does an amazing job making perfect cuts.
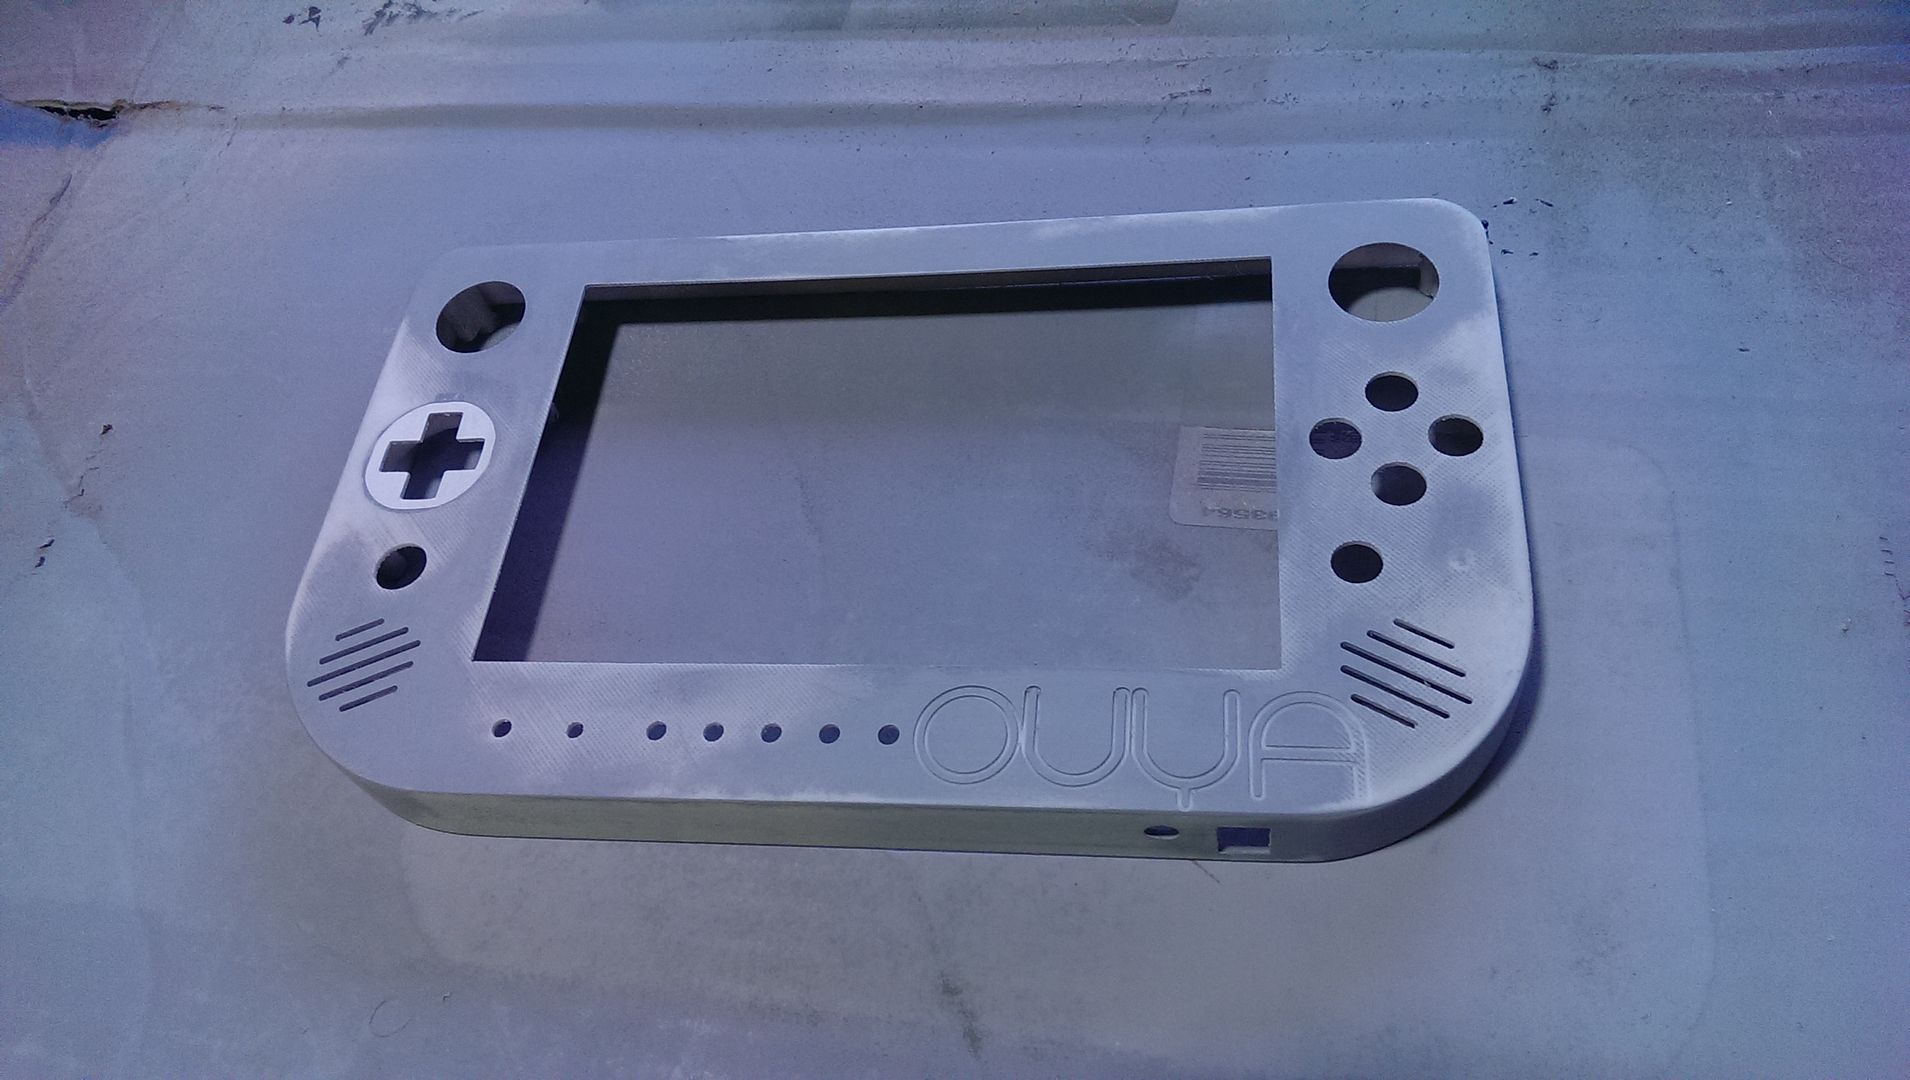
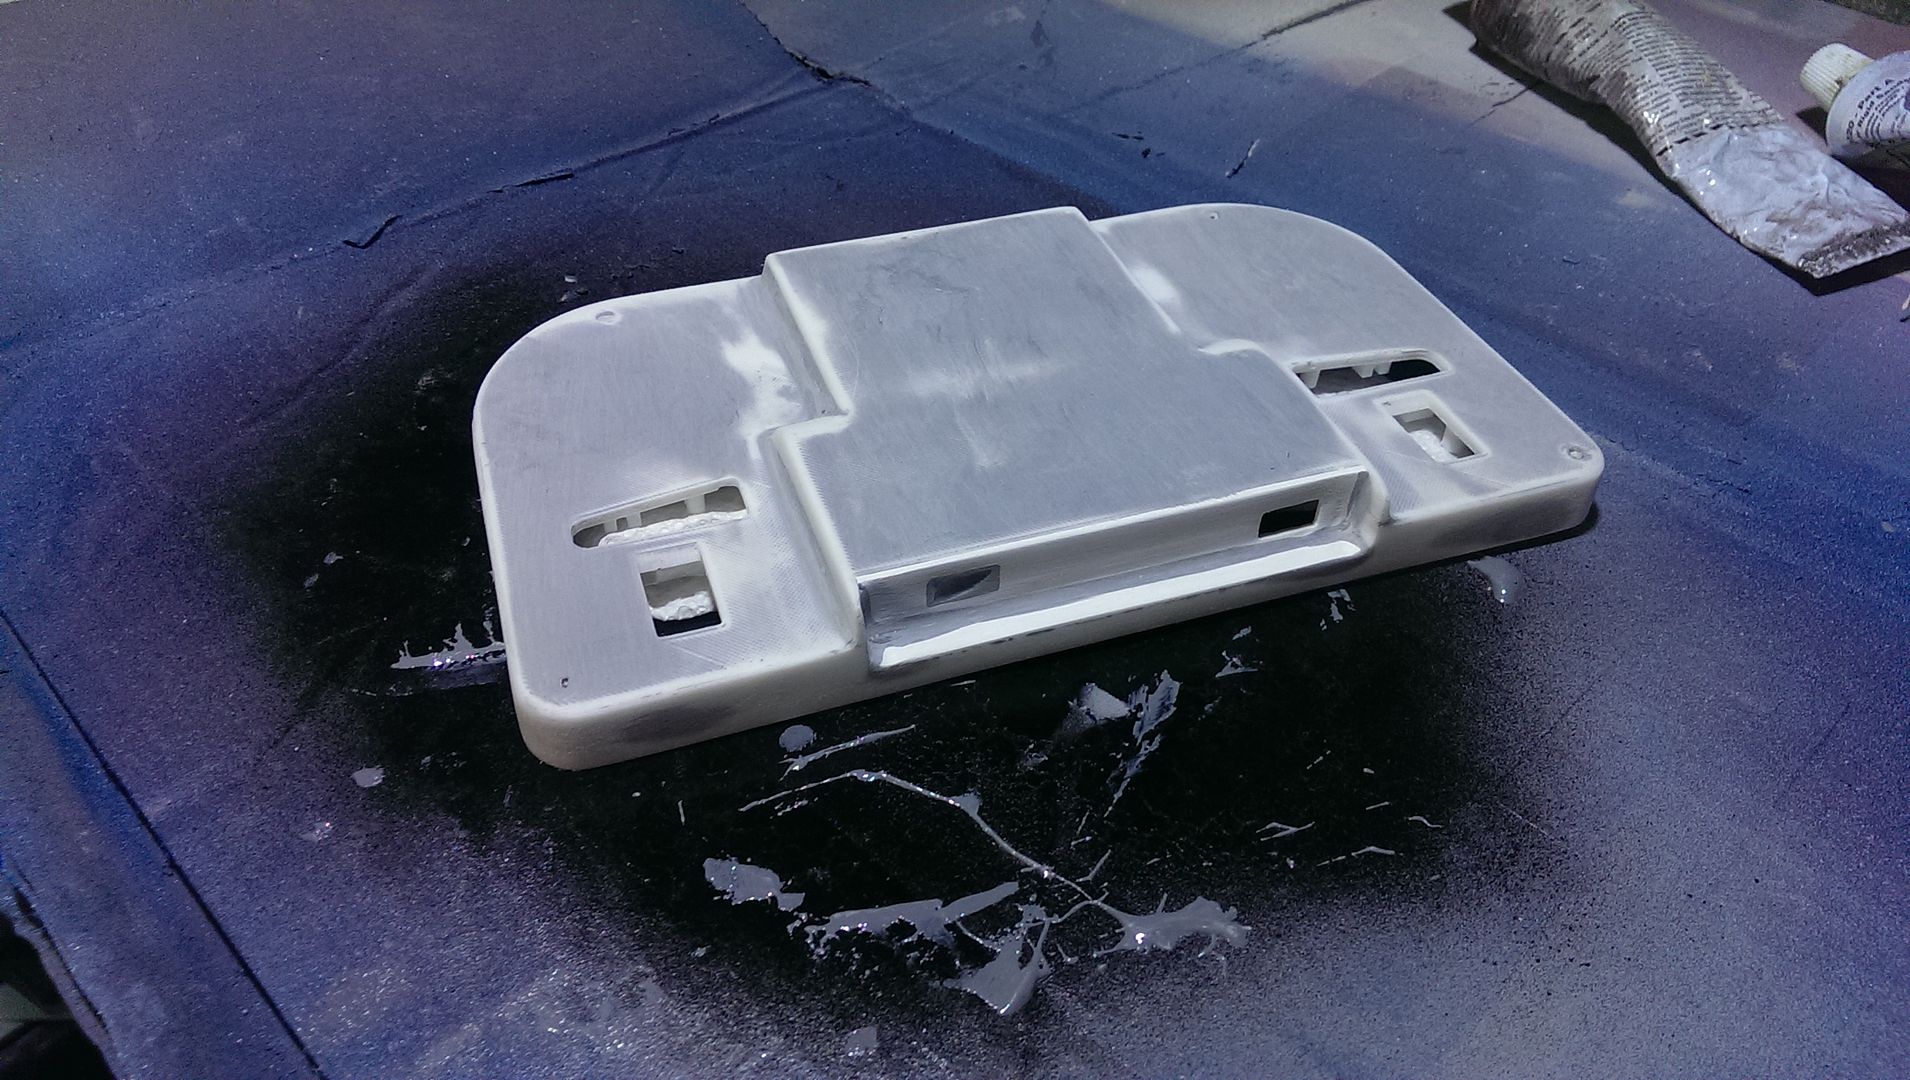
This is what the case looks like after the entire case has been filled and sanded. This has to be done because the gaps in between the strands of the 3D printed casing will show up if it's not done this way. Pain in the ass, and if it weren't for the fact that all the screw posts and mounting layout in terms of a structural integrity didn't make assembly so much more secure, I probably would just still stick to vacuum forming. But that is enough to justify the cosmetic work that needs to be done. After it's filled and sanded, I then spray on a few coats of the Rustolum Filler/Primer which takes care of all the small imperfections.

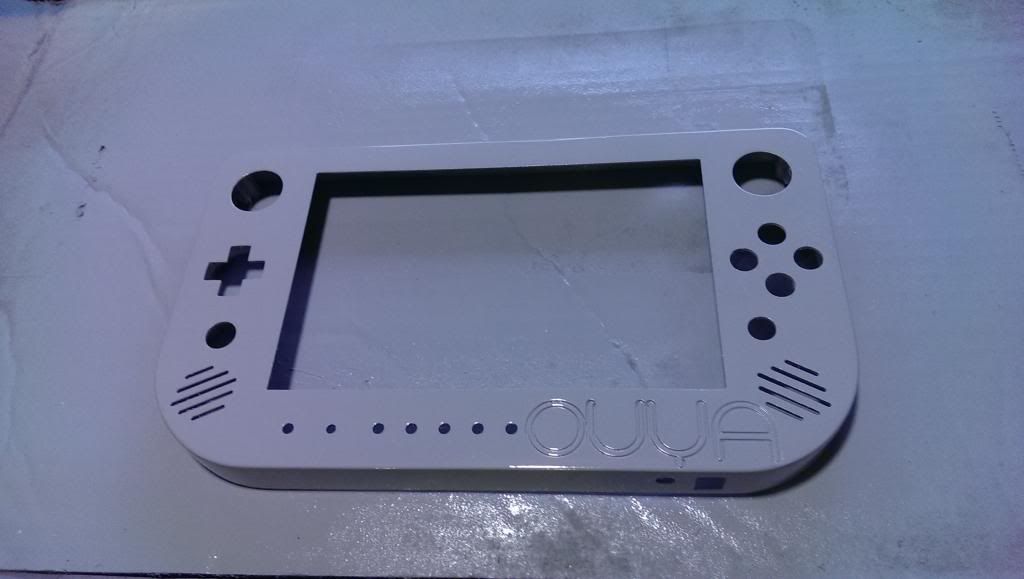
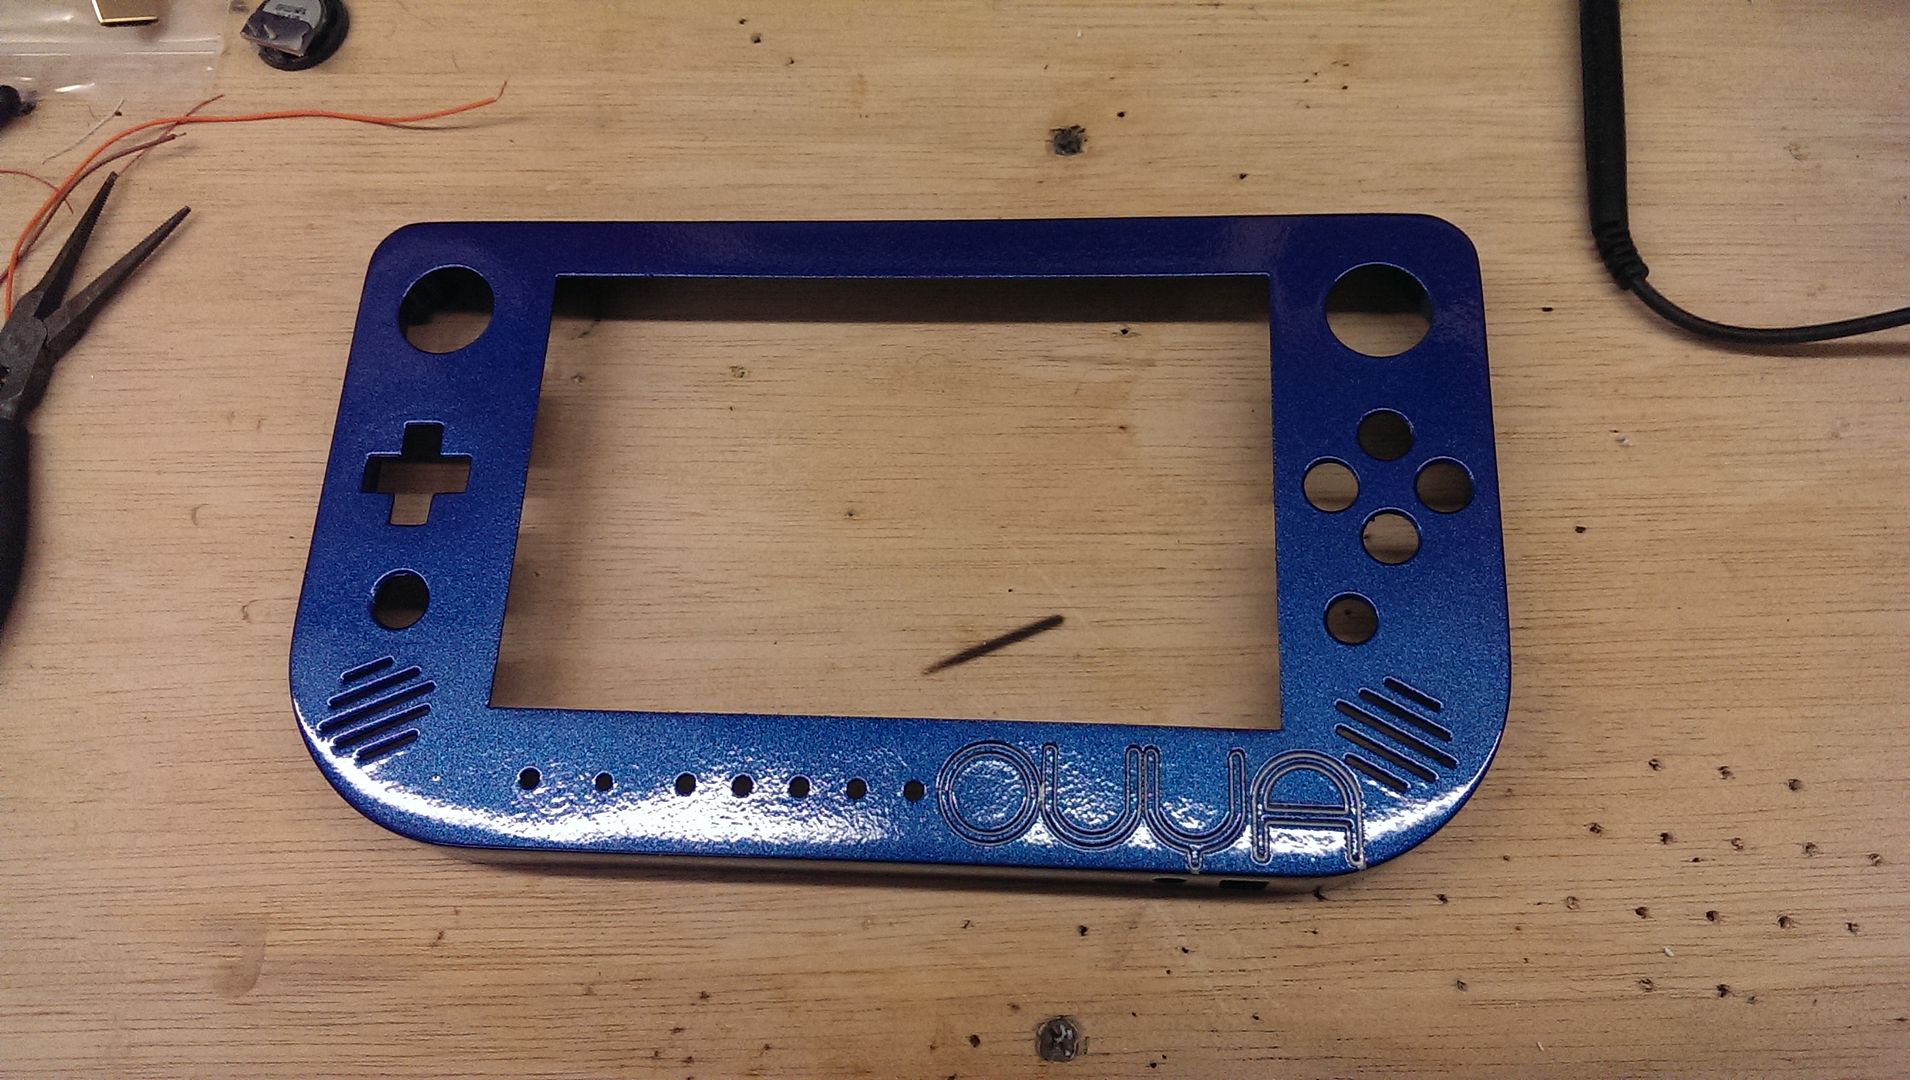
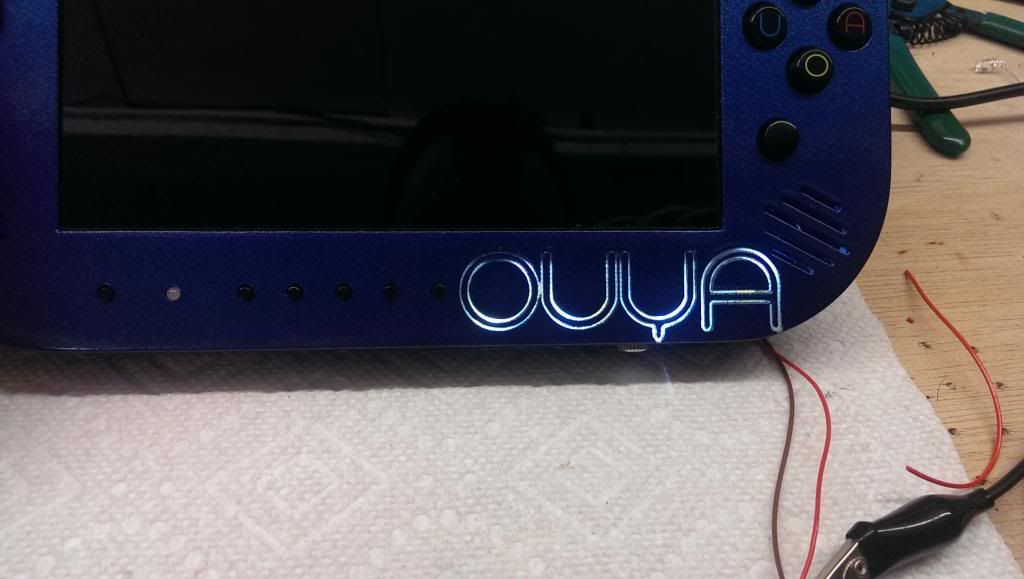
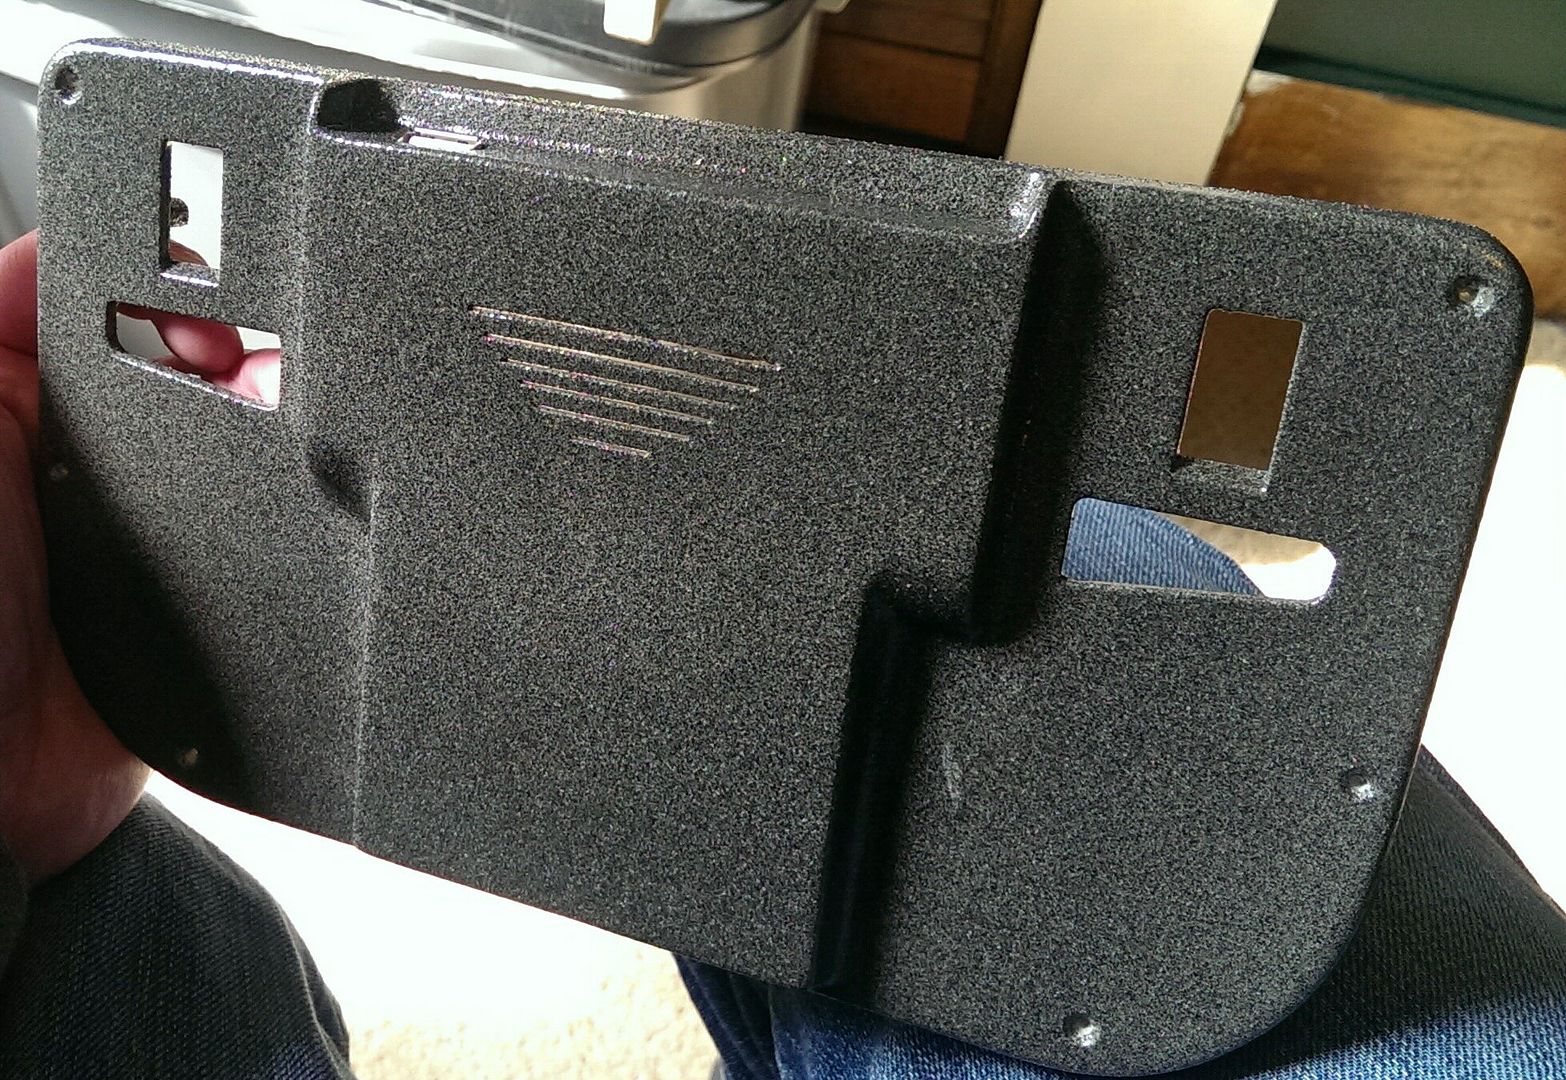
And here it is after the machining process. You will notice though, I screwed up pretty badly with the Dpad because when I calibrated my machine, I made the stupidest mistake I've made in awhile. When you calibrate this machine, essentially you take a ruler, and set the center of the end mill on a starting line, tell the machine how far you want to move it and then tell it how far it actually moved. This way it can calculate the step of the motors and everything is good to go. Well, the machine works in millimeter units. I grabbed the wrong ruler which was in standard 1/32nds of an inch. Well, as you can imagine, that didn't go over so well and the D-Pad was cut 2mm too small and 2mm too high on the face. So, I had to cut out a replacement face plate and frankencased the plate into the face of the case. I also engraved the OUYA logo into the face as you can see, but I had to make the logo manually in SolidWorks. I think it came out alright for that.
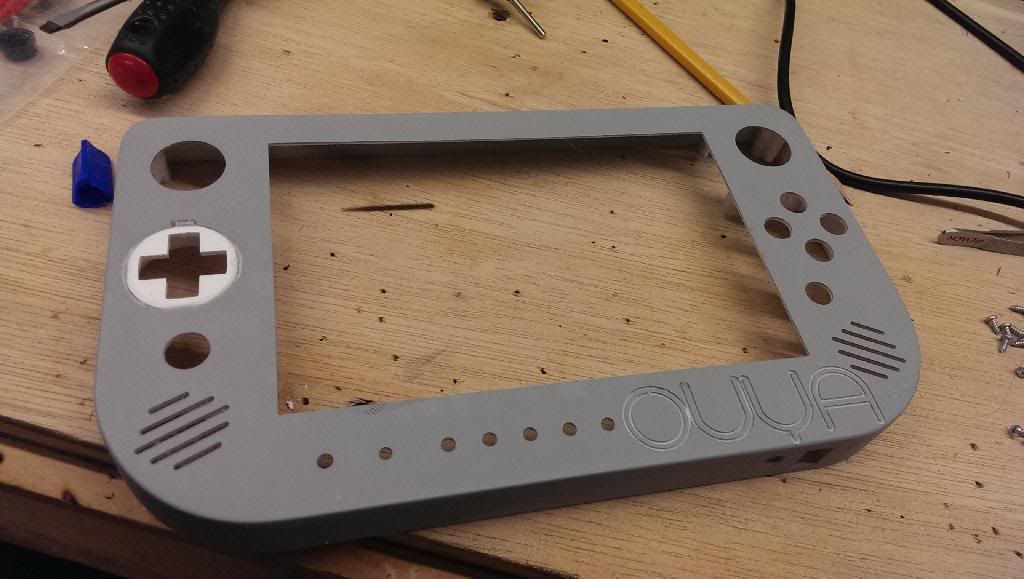
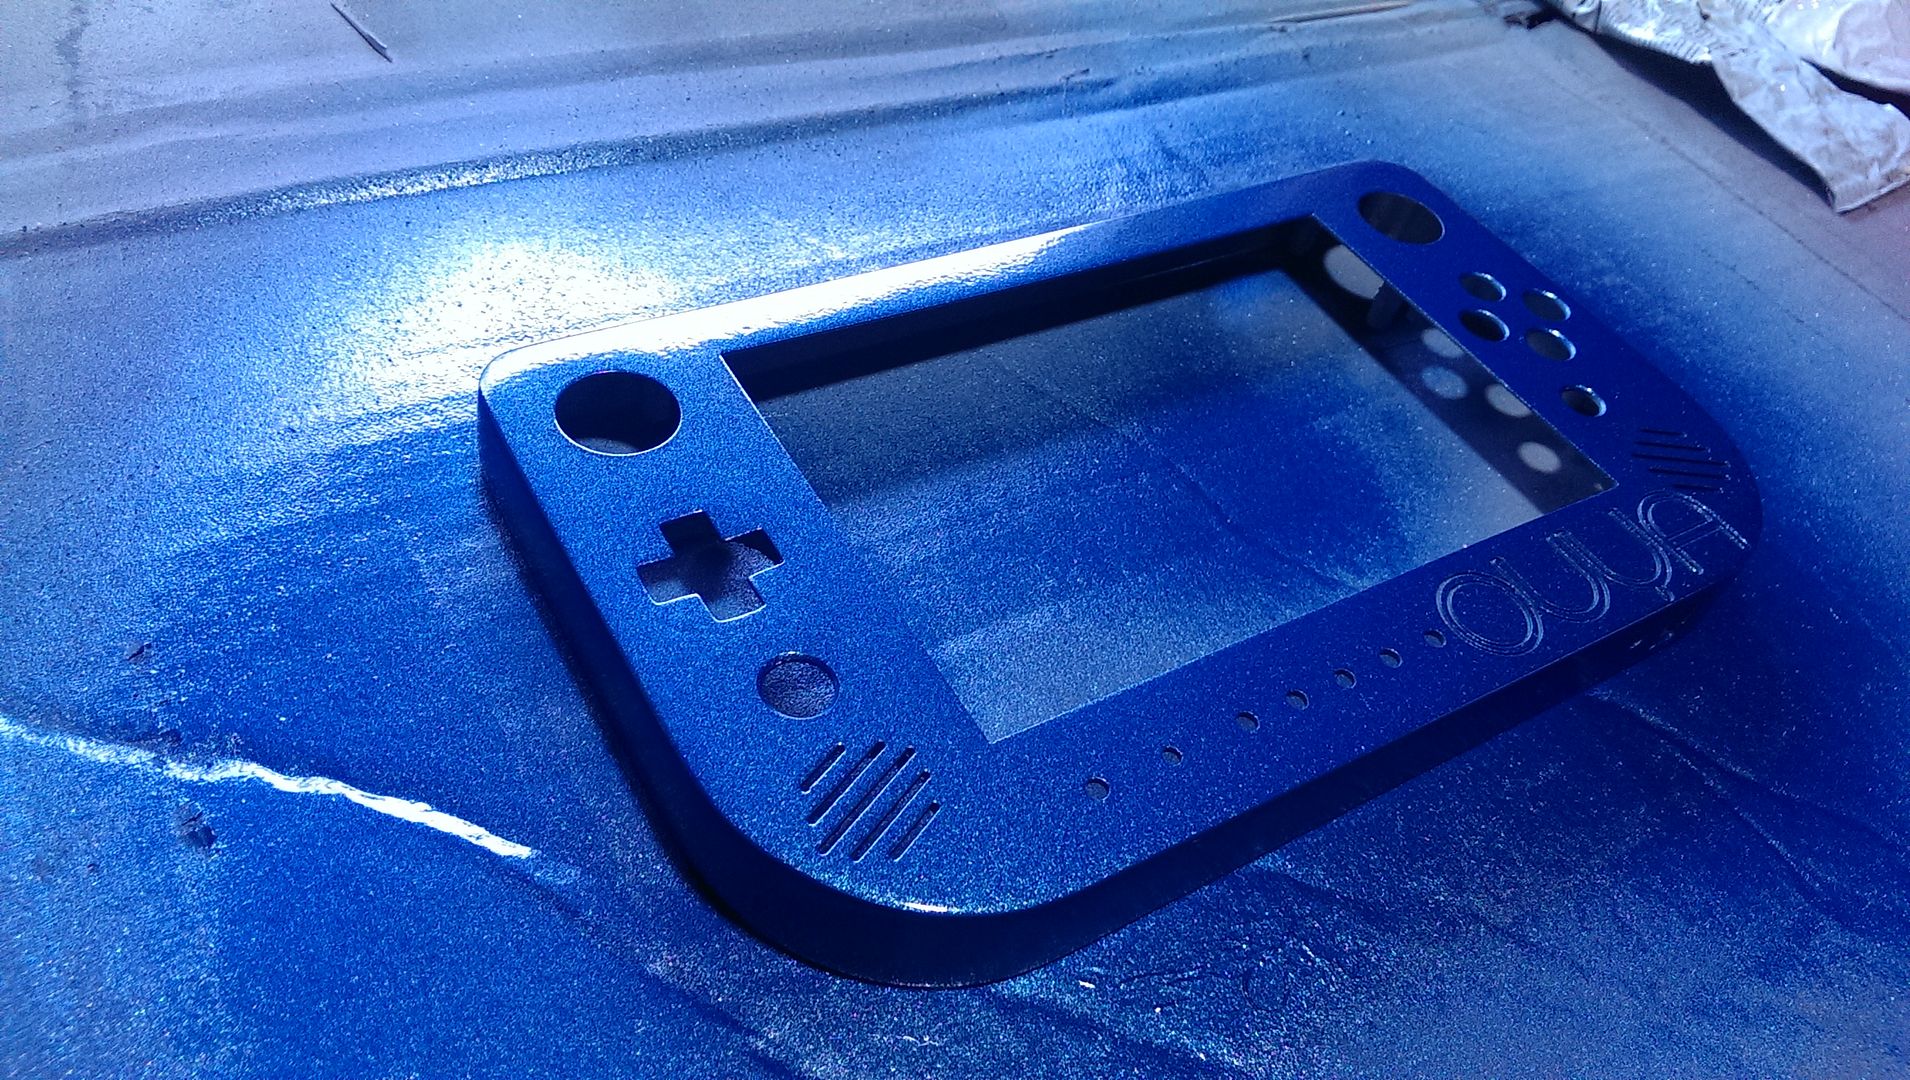
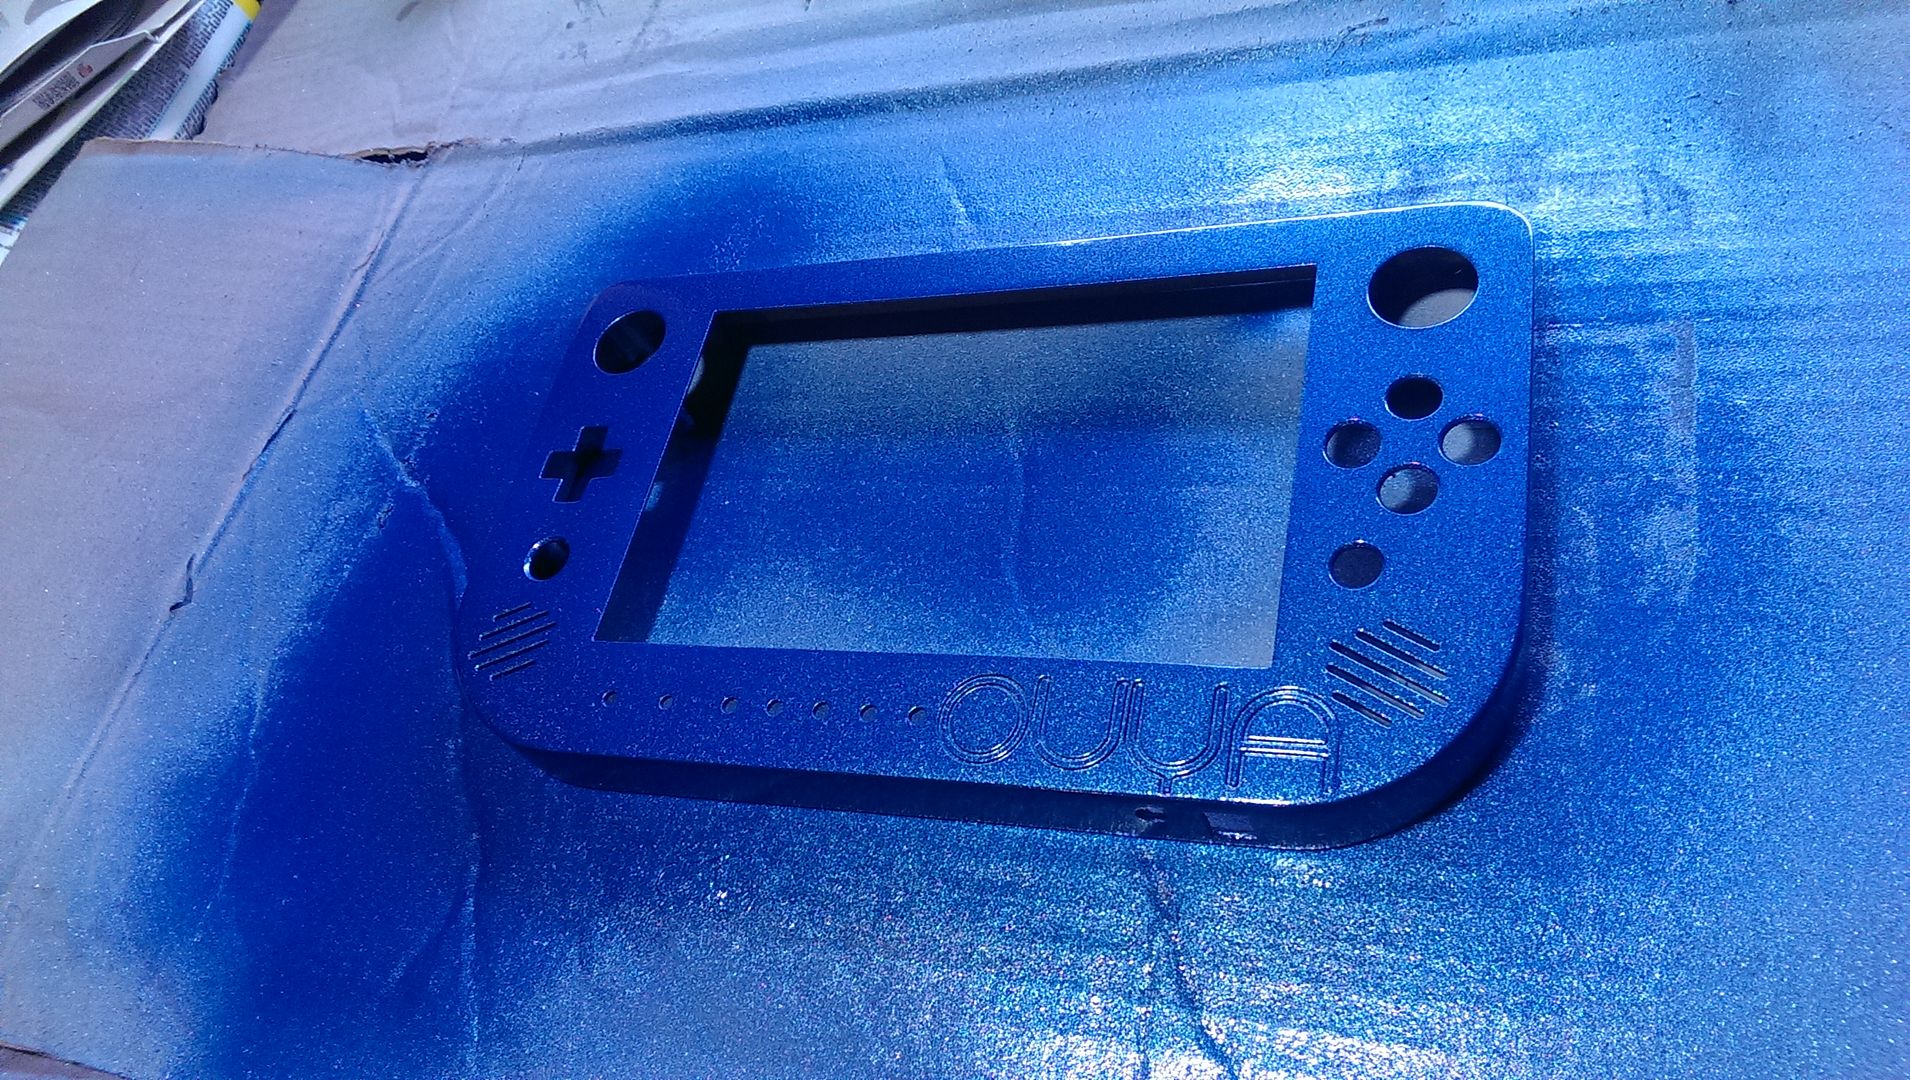
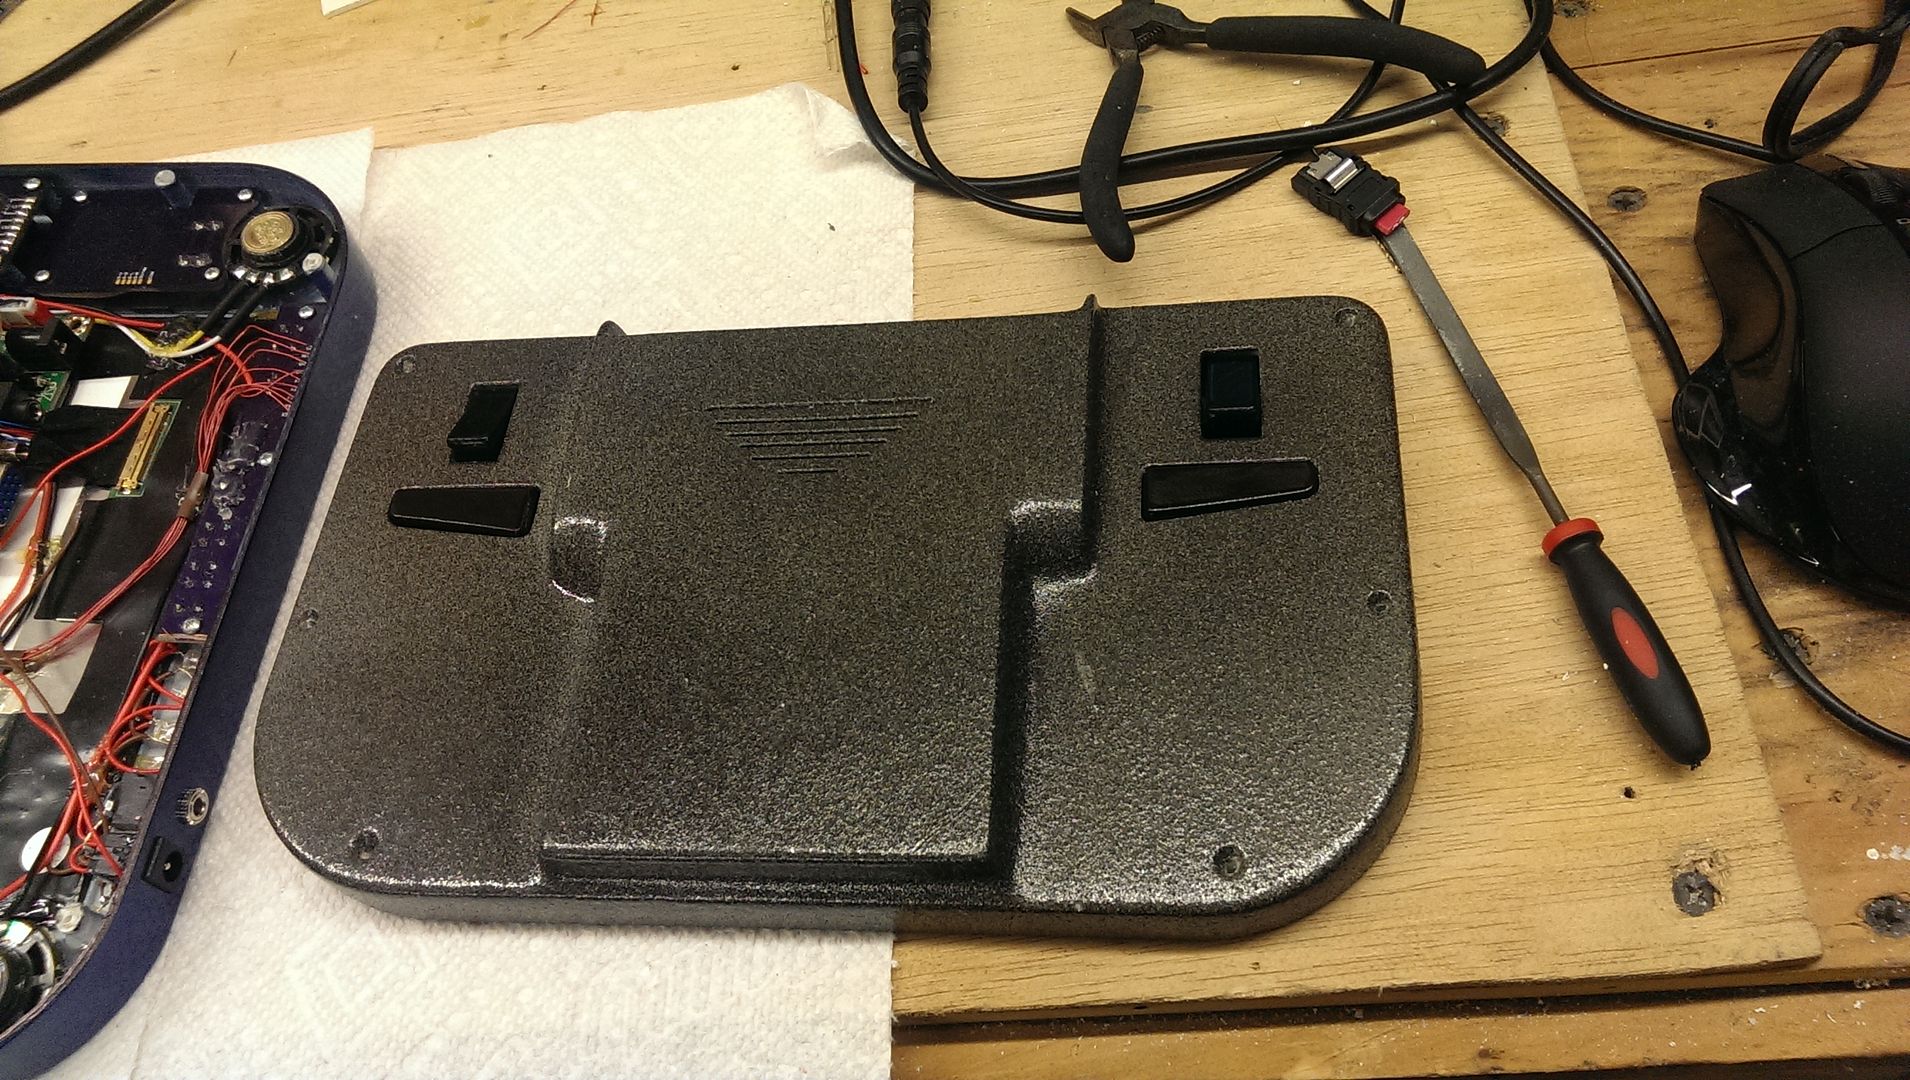
After that was complete, I sanded the whole thing down, found the imperfections that weren't cut out by the mill and filled them in place. Tonight when I get home from work I'm going to sand down the face again, hit it with another coat of primer and it should be ready for painting.

Now, some of you may notice that Ben Heck did an OUYA portable a few weeks ago (I know Gman did as his printing style on his latest project is very reflective of it) that looks very similar in size and shape. However, I hold a strong belief that Ben may have borrowed the idea from The Cross Plane and our OUYA semi-portable we made from it.
https://www.youtube.com/watch?v=rF3pegaKpuY
So with that, I stand by the notion that I'm not copying him as I in fact had this in place well before he did.
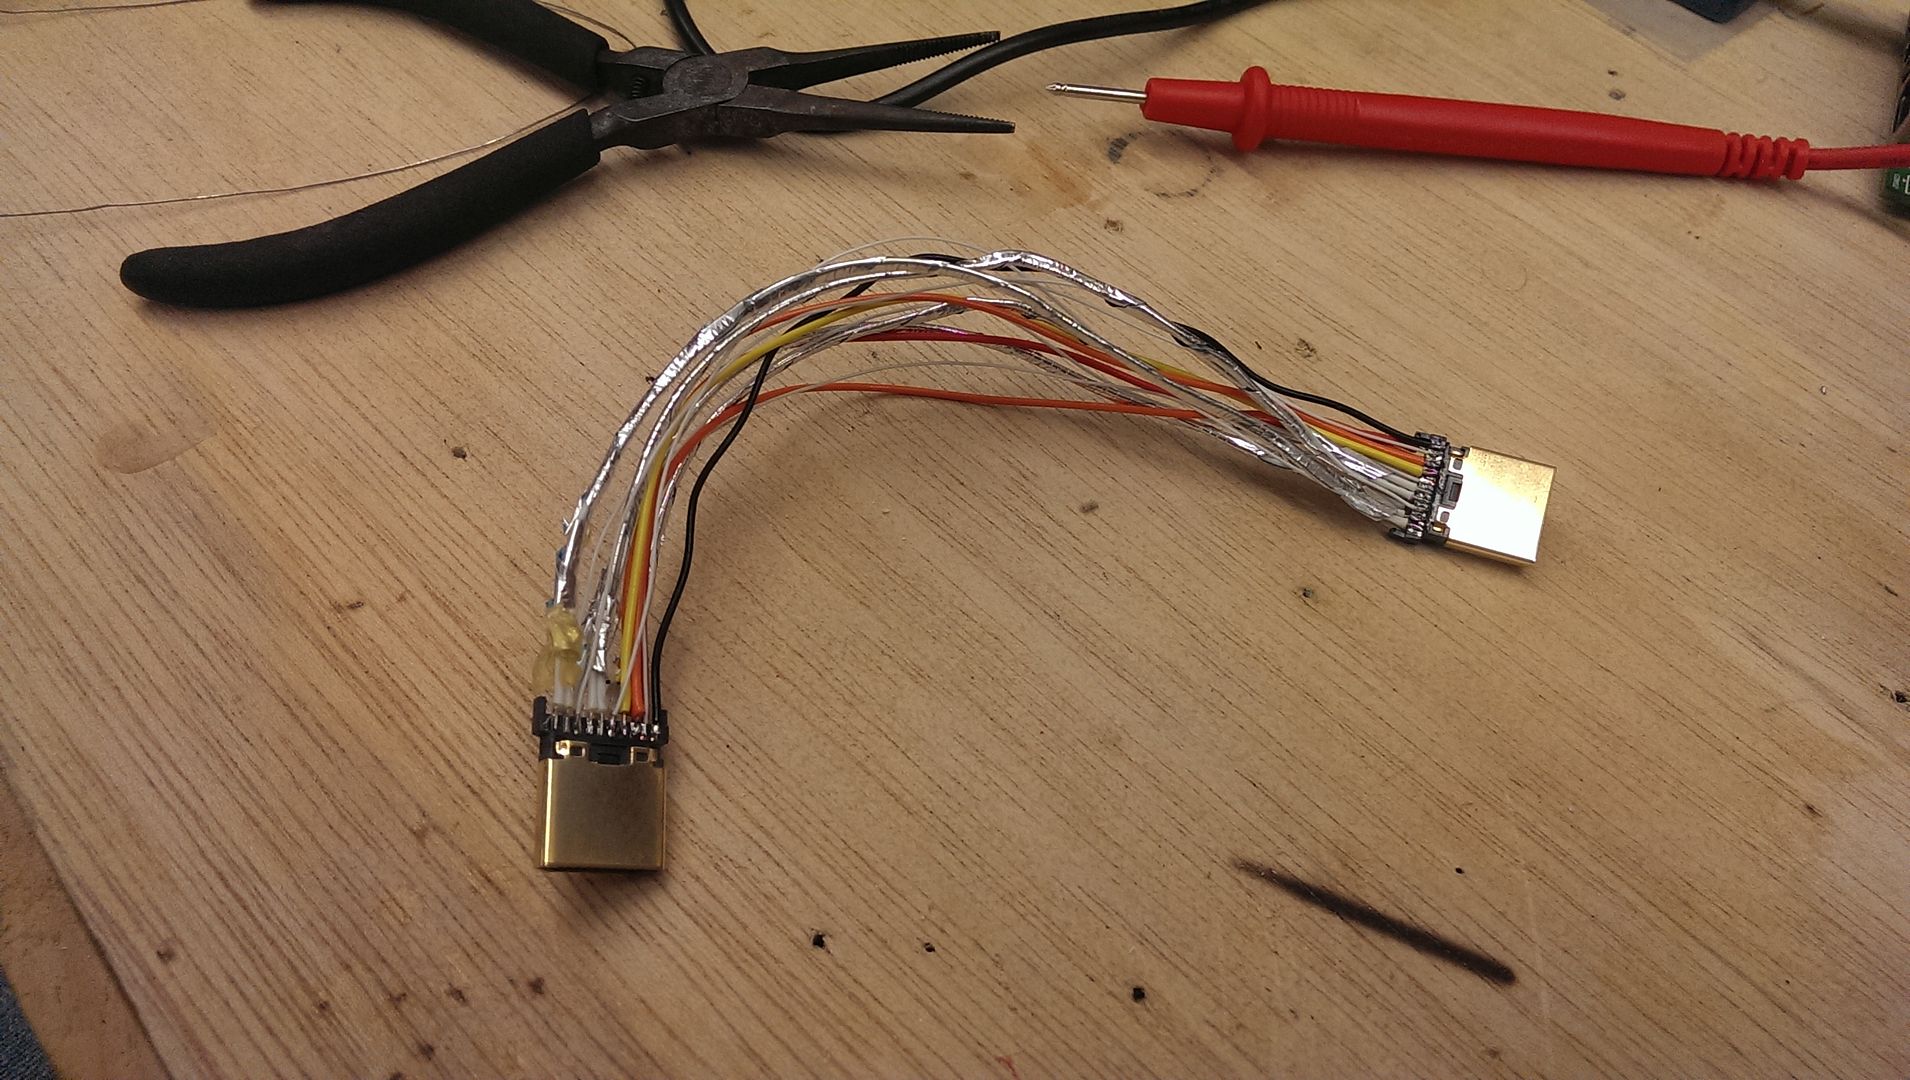
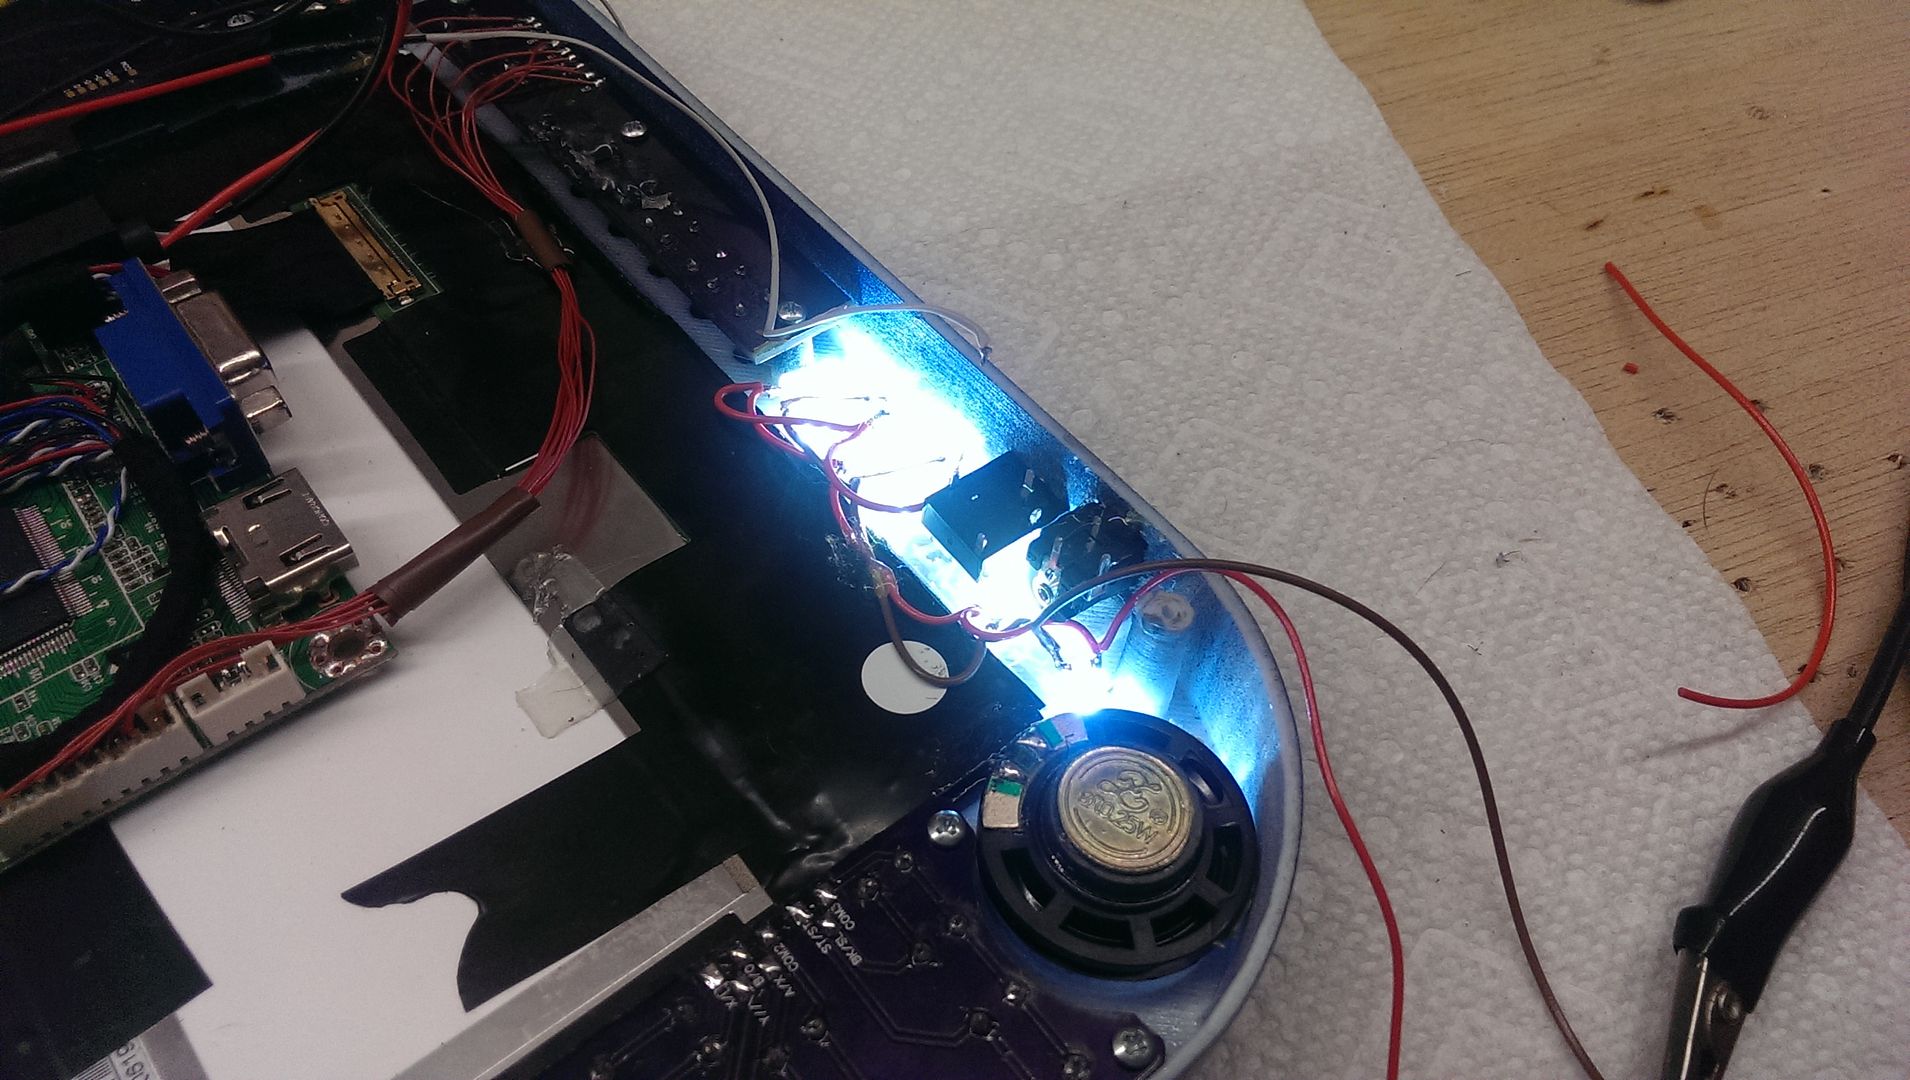
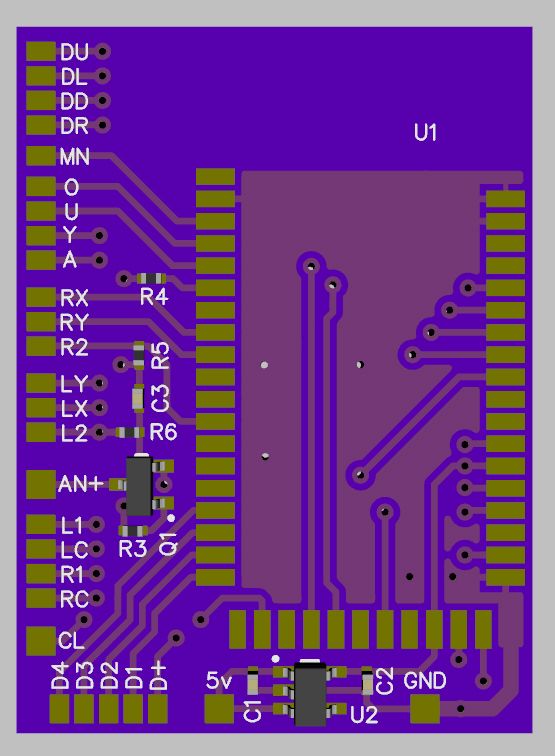
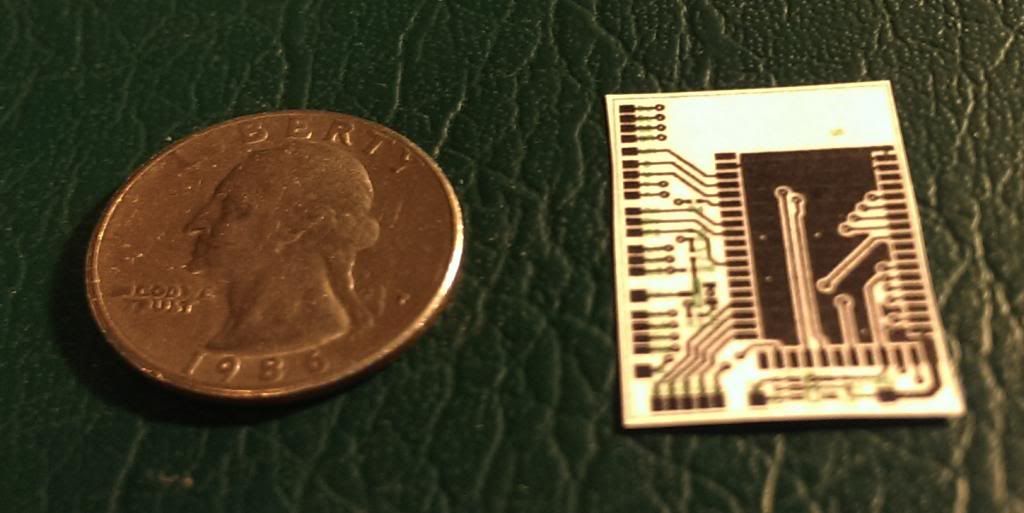
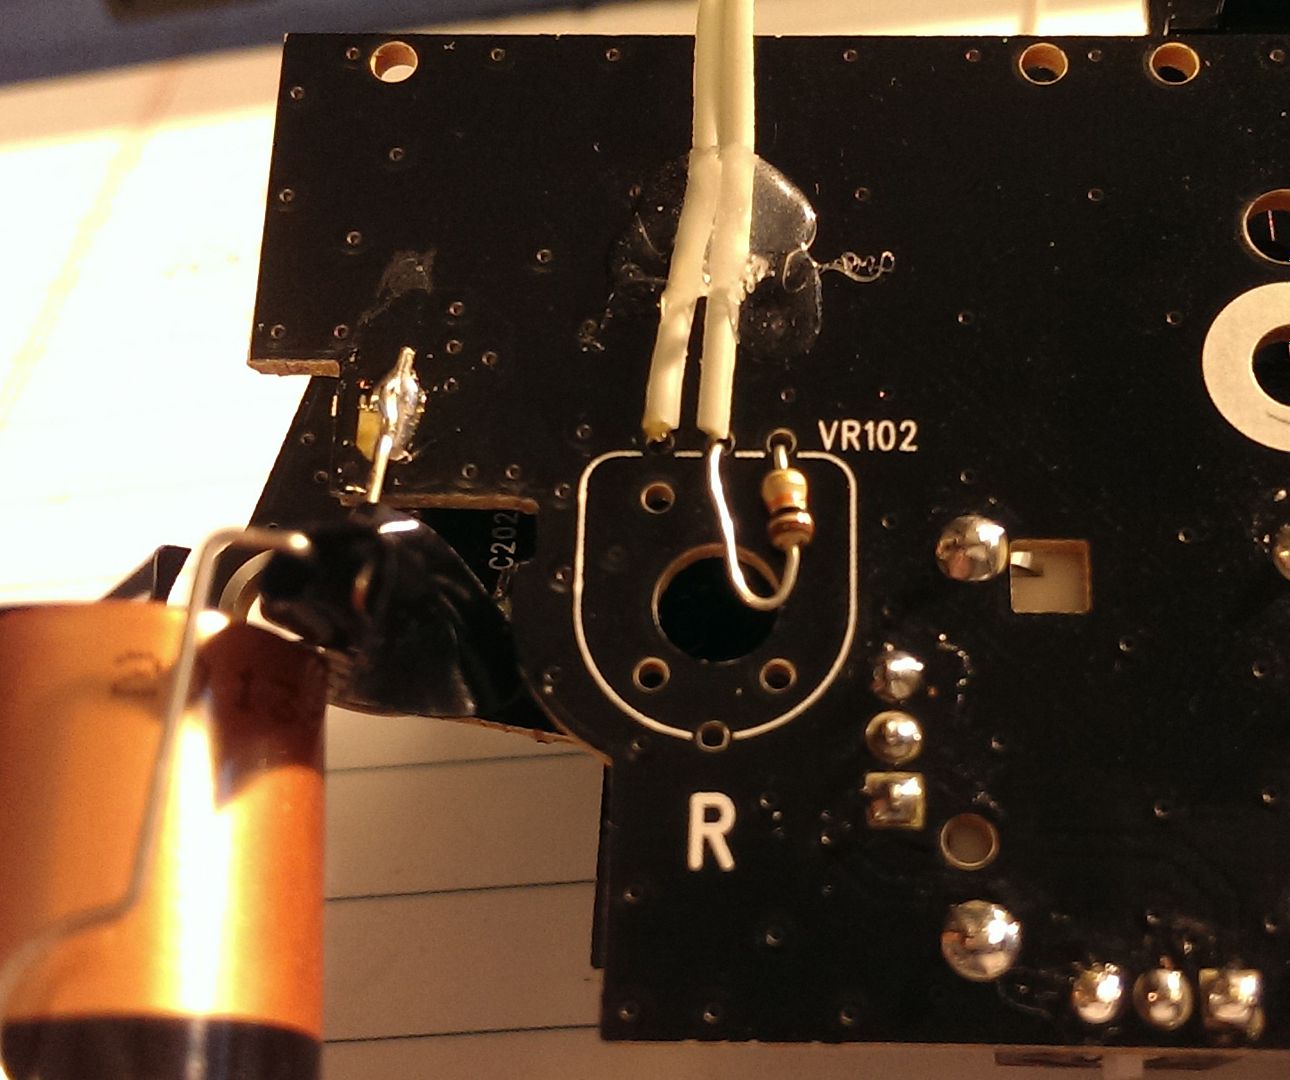
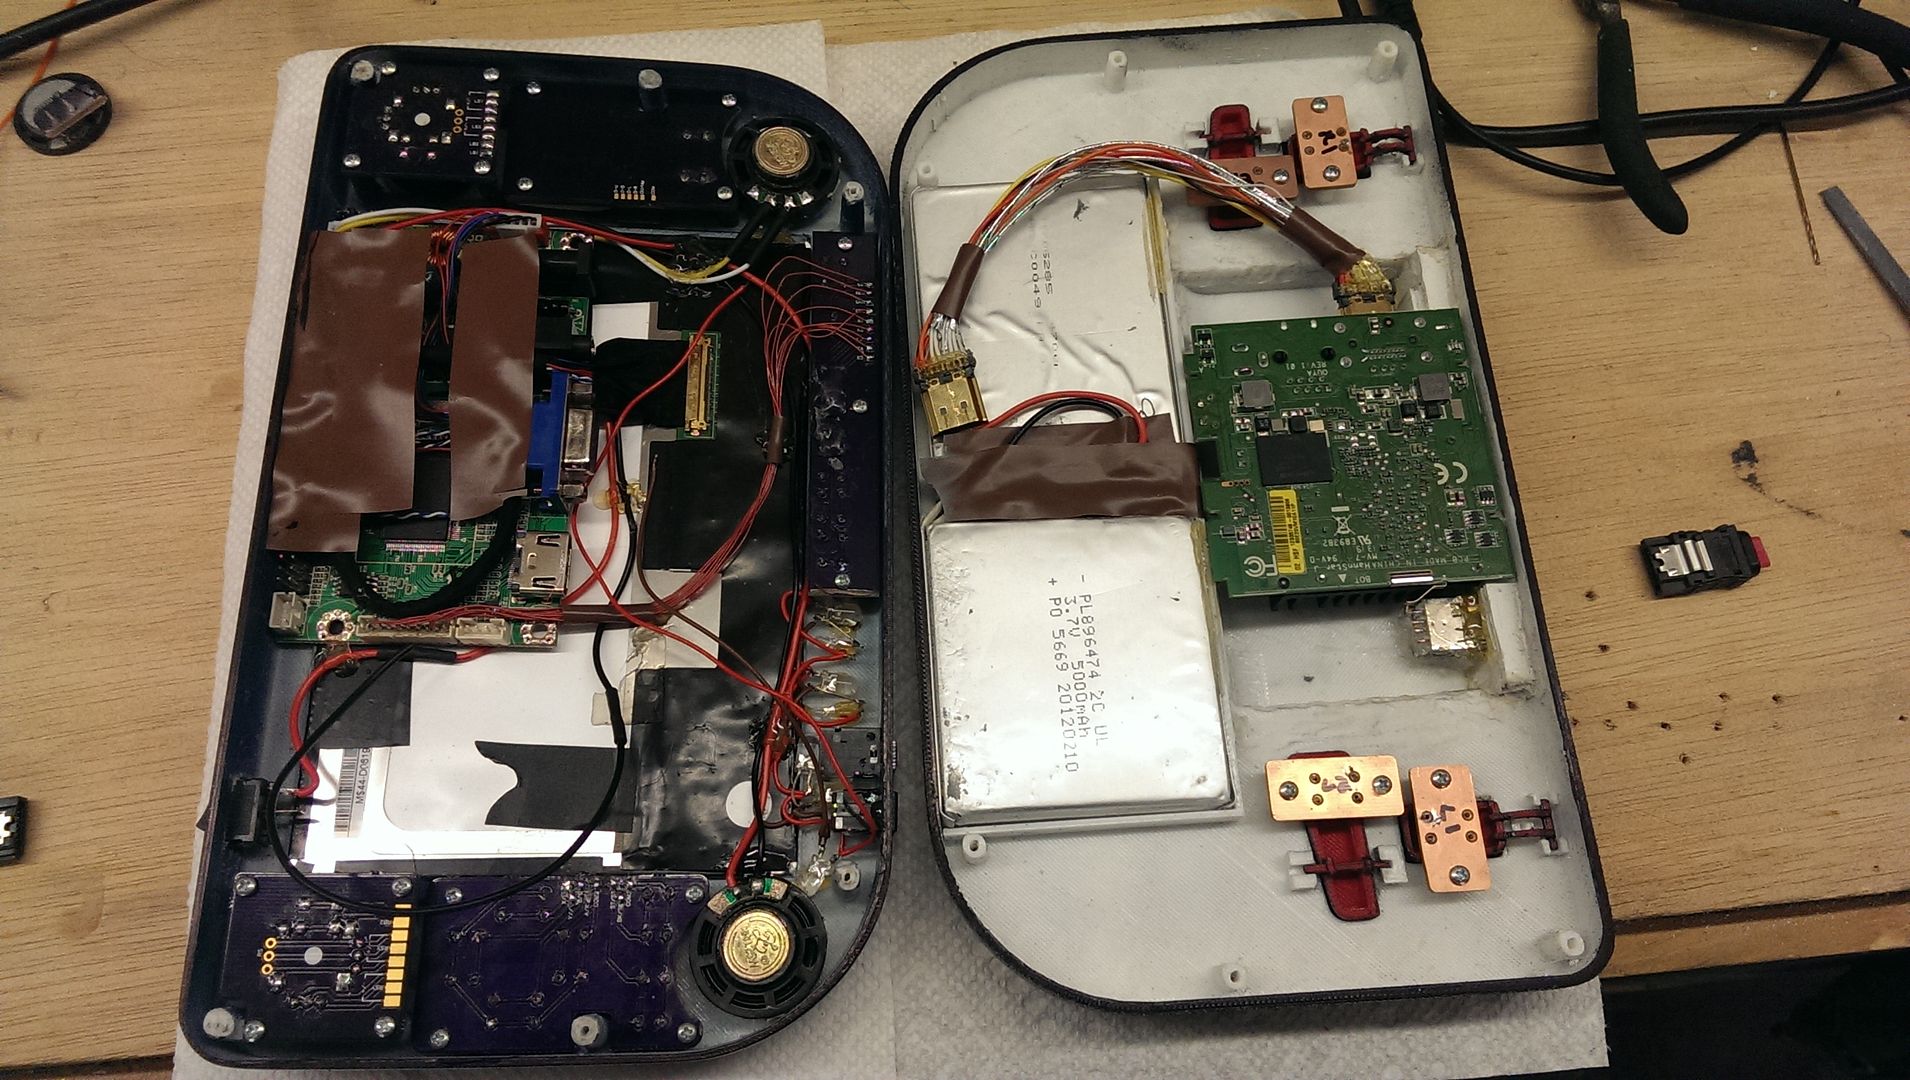
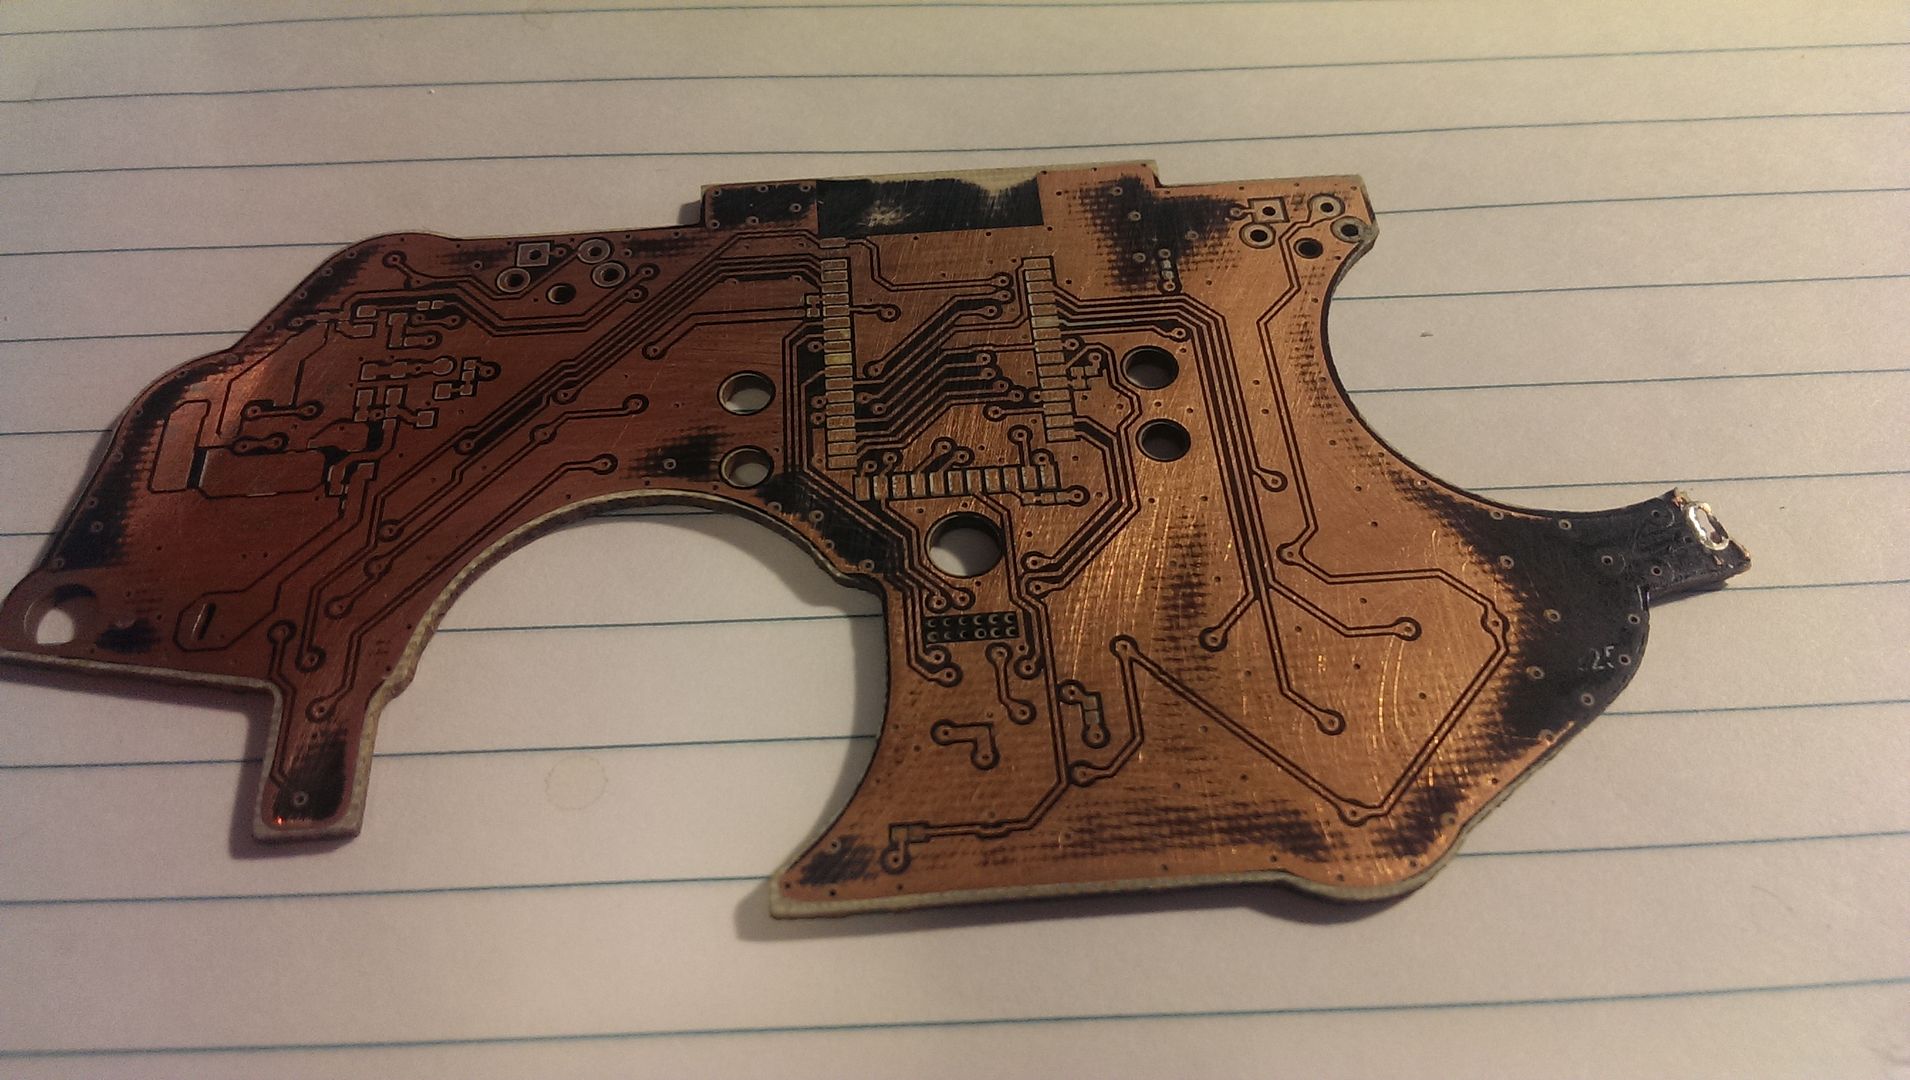
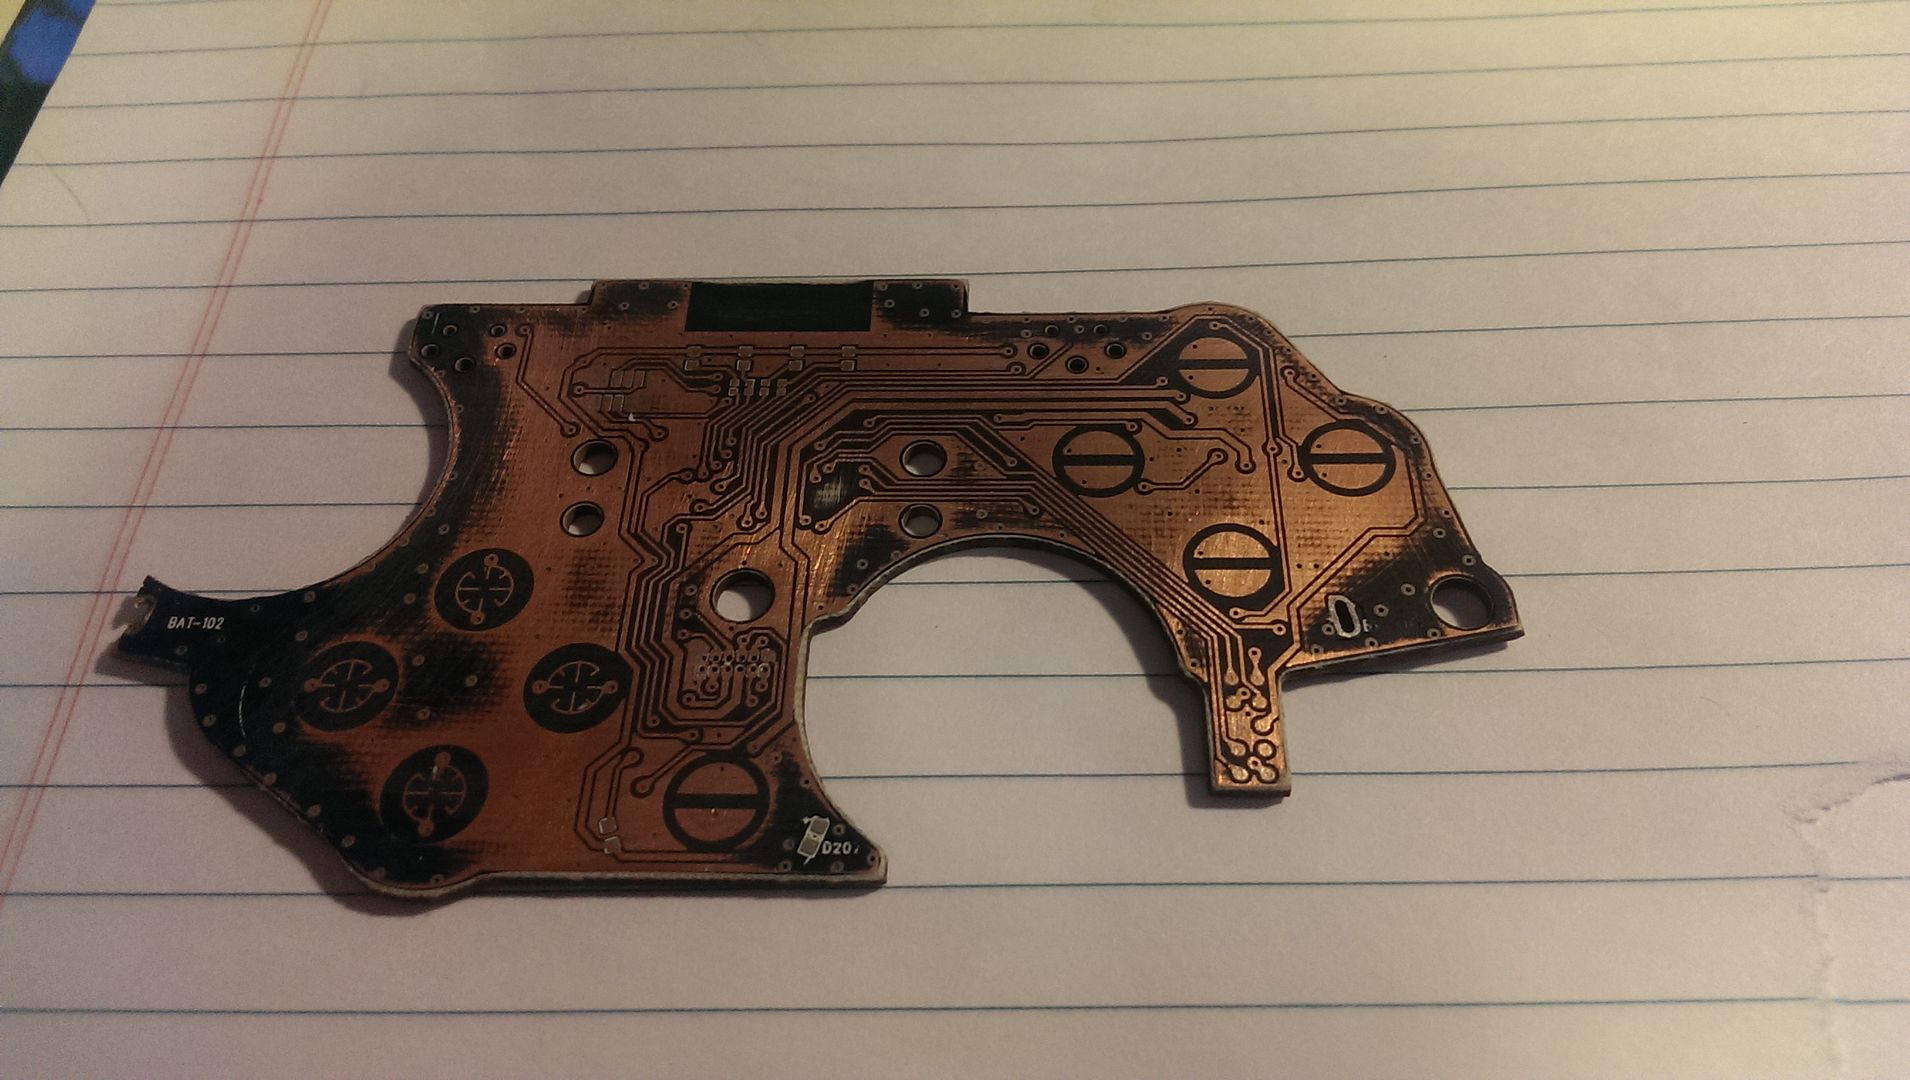
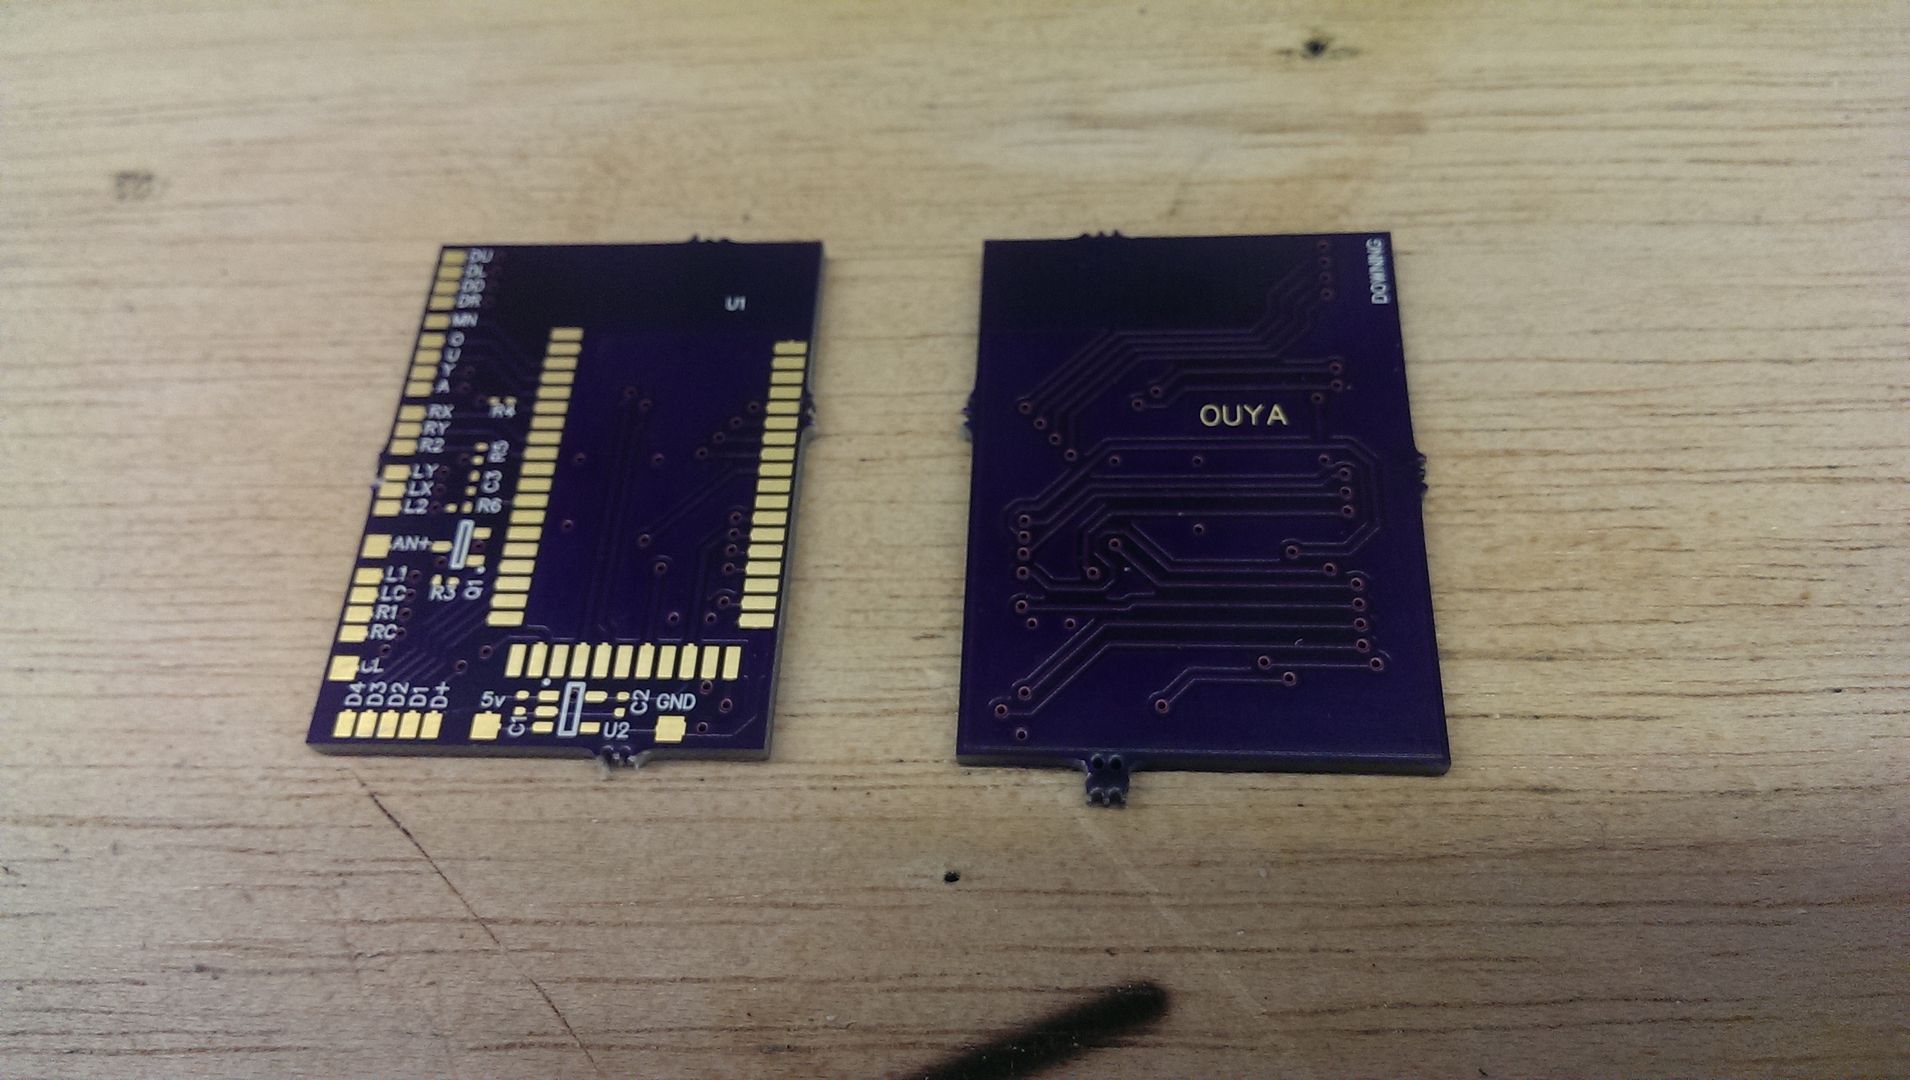
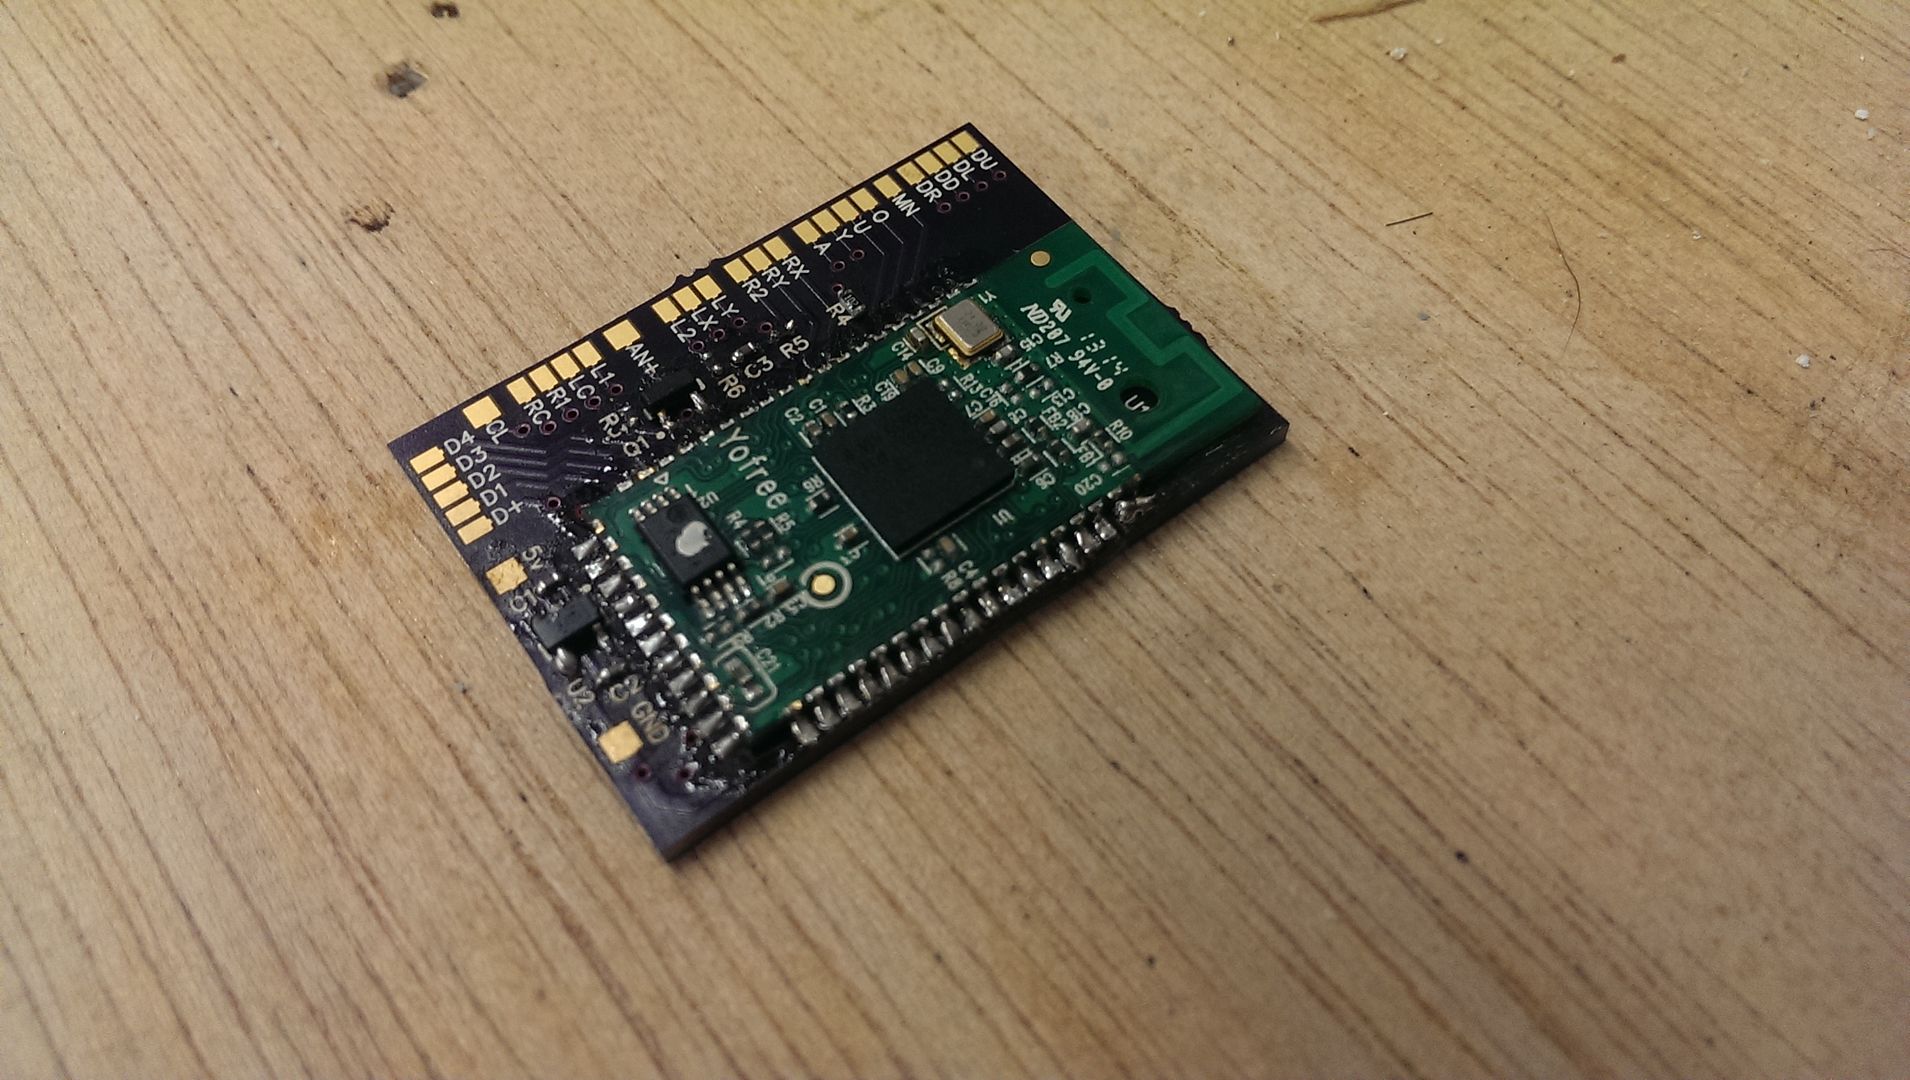
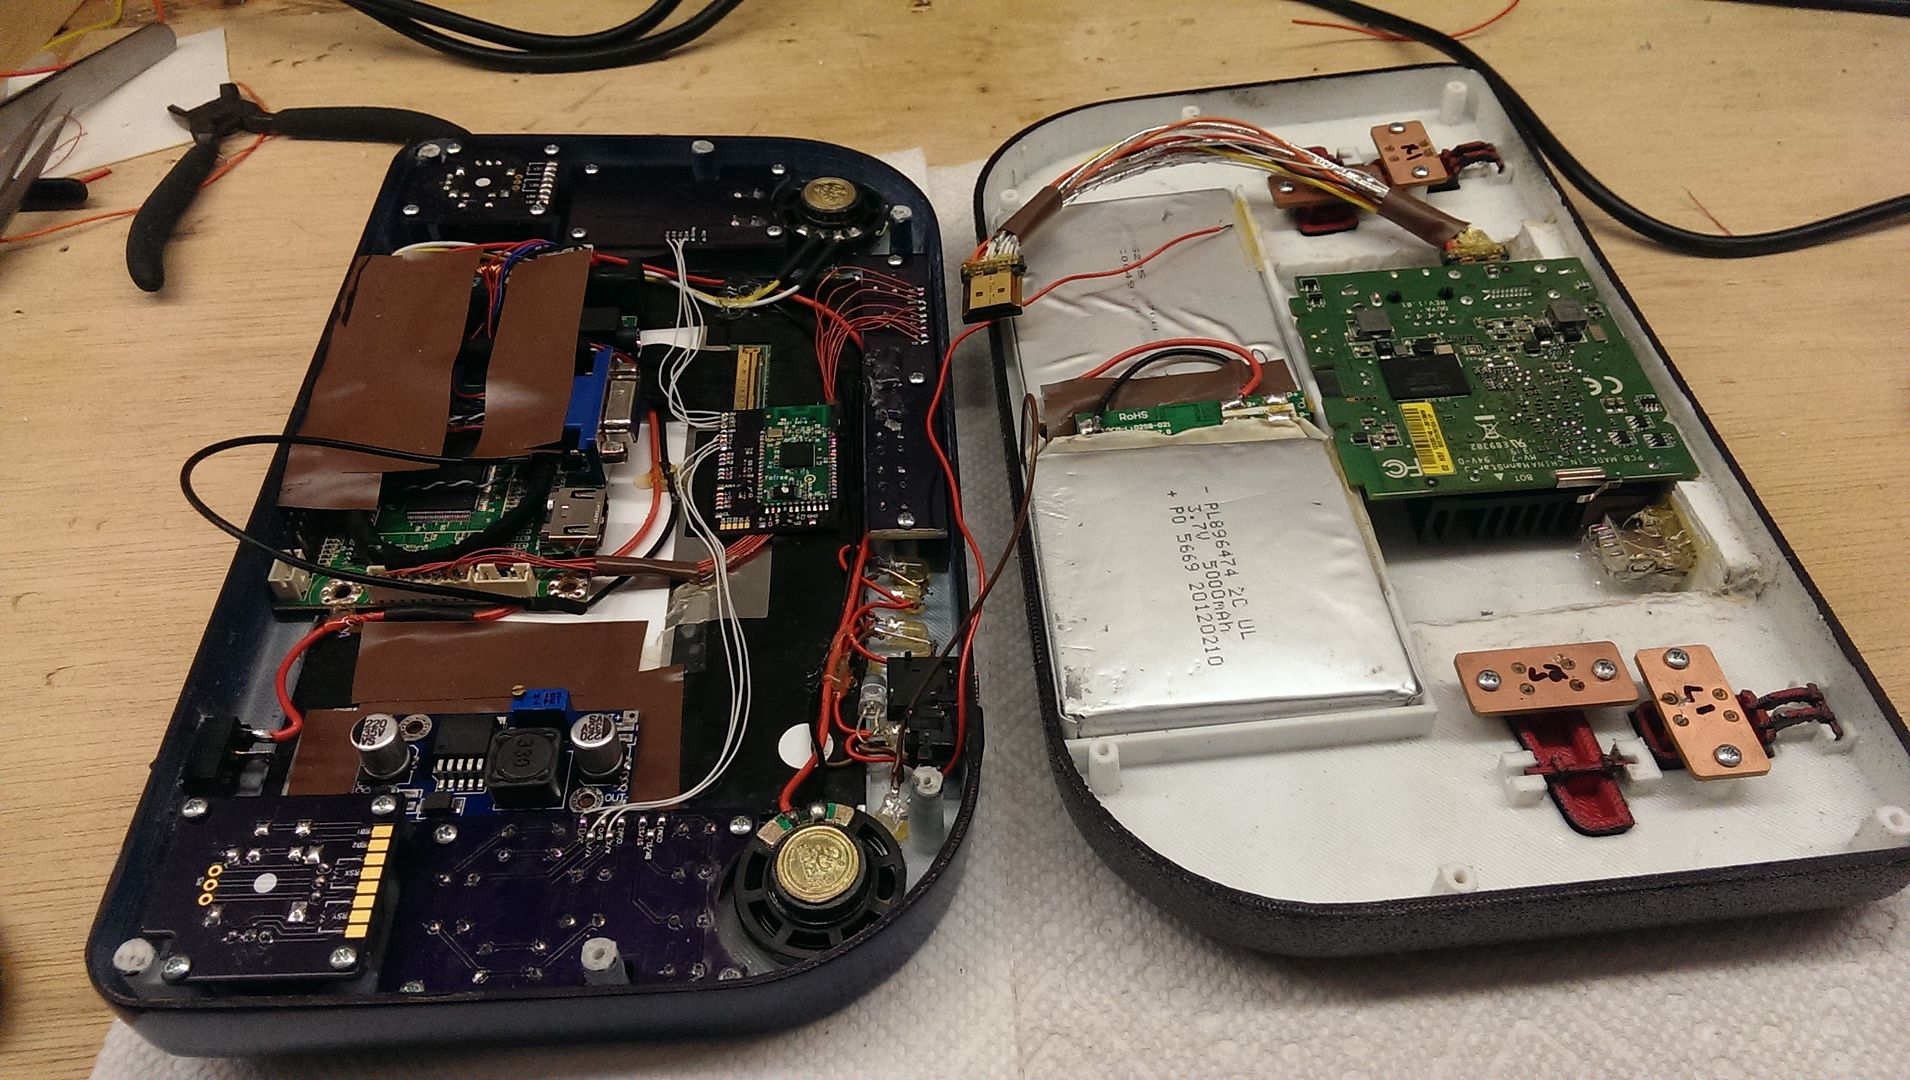
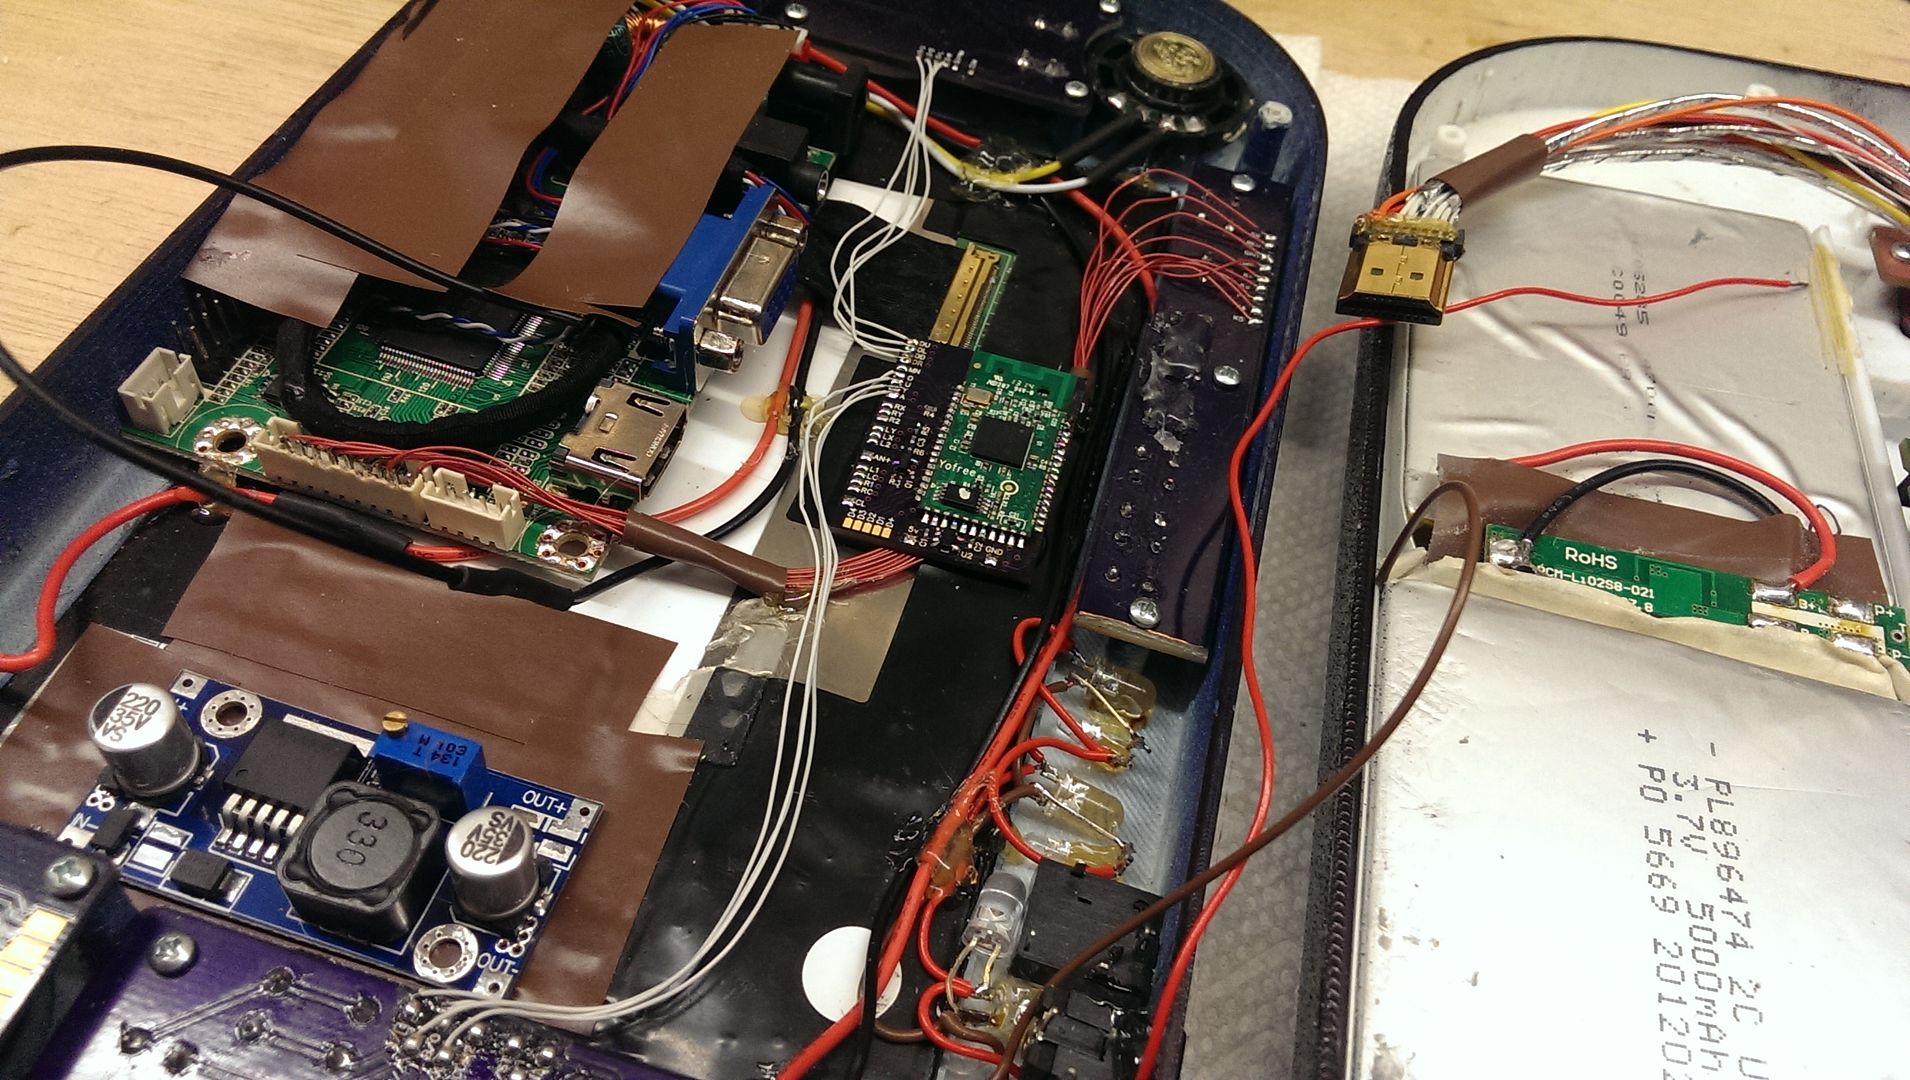
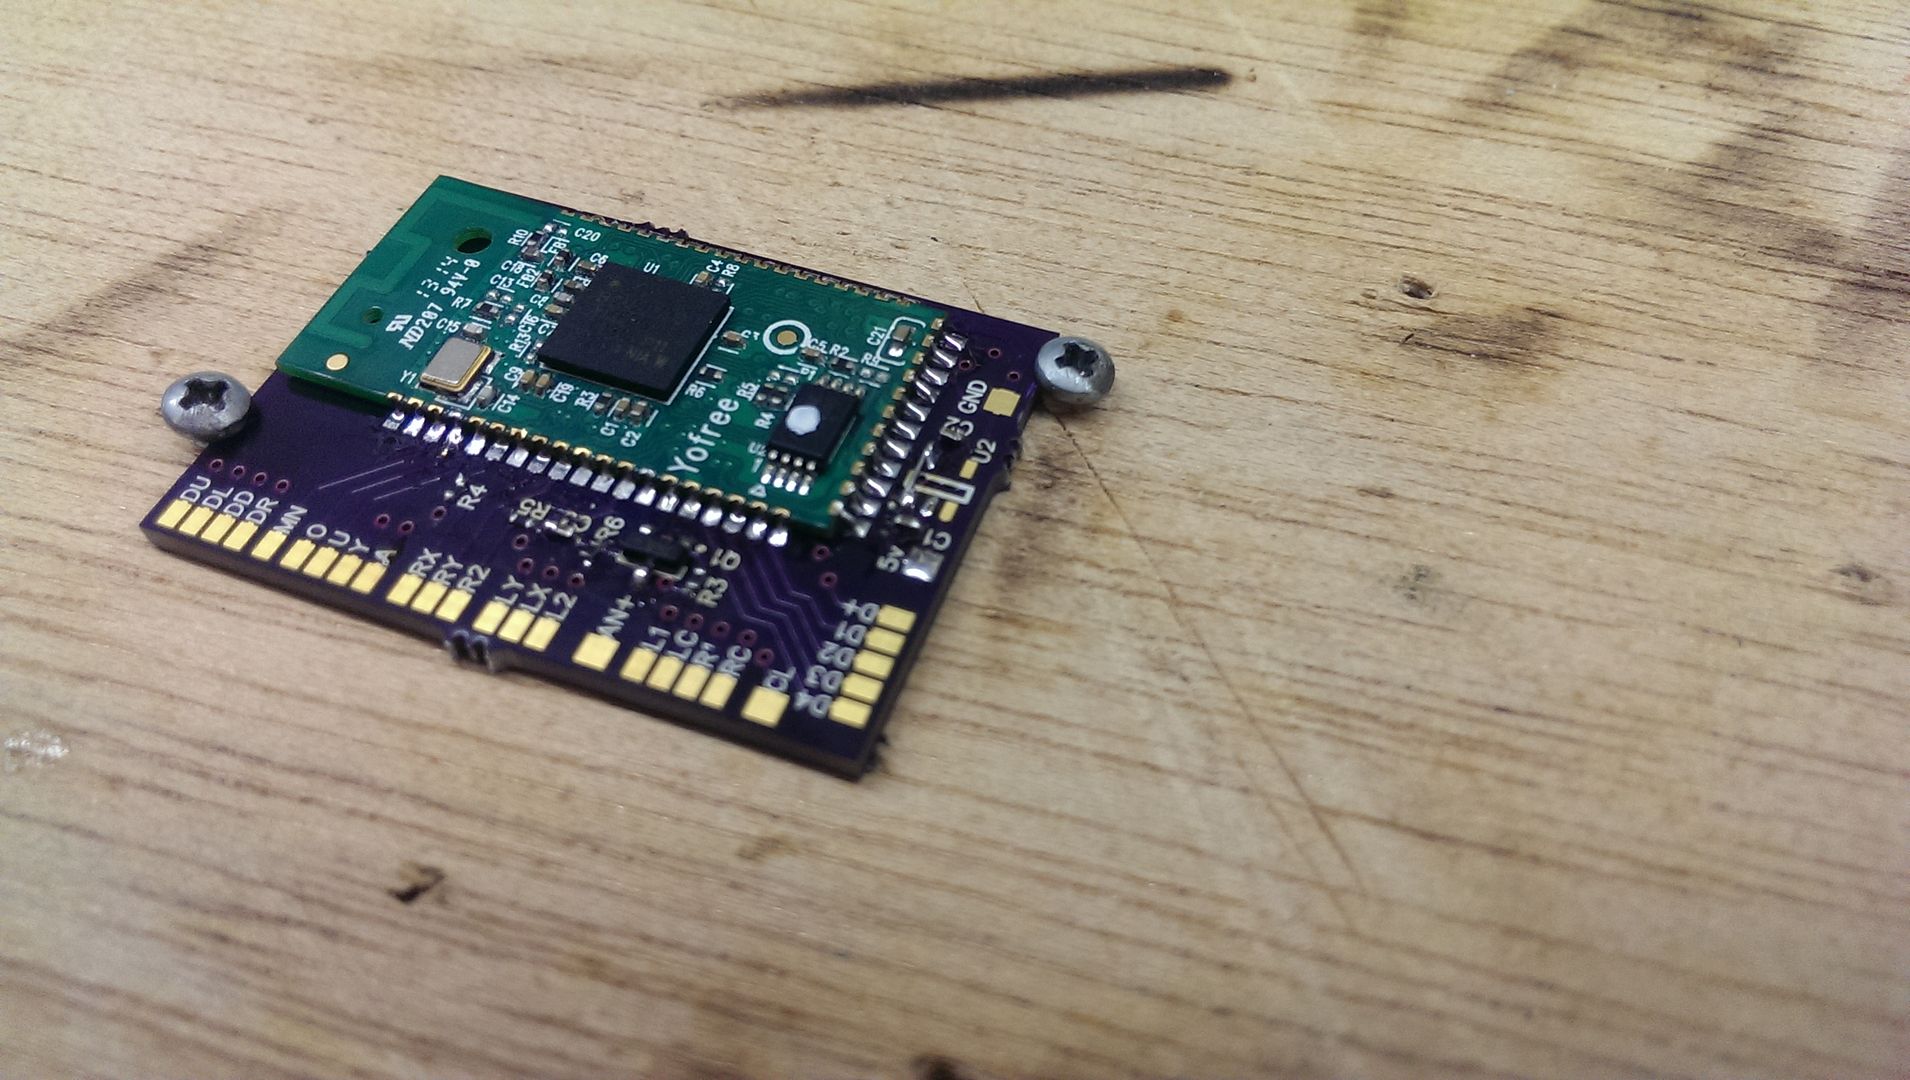
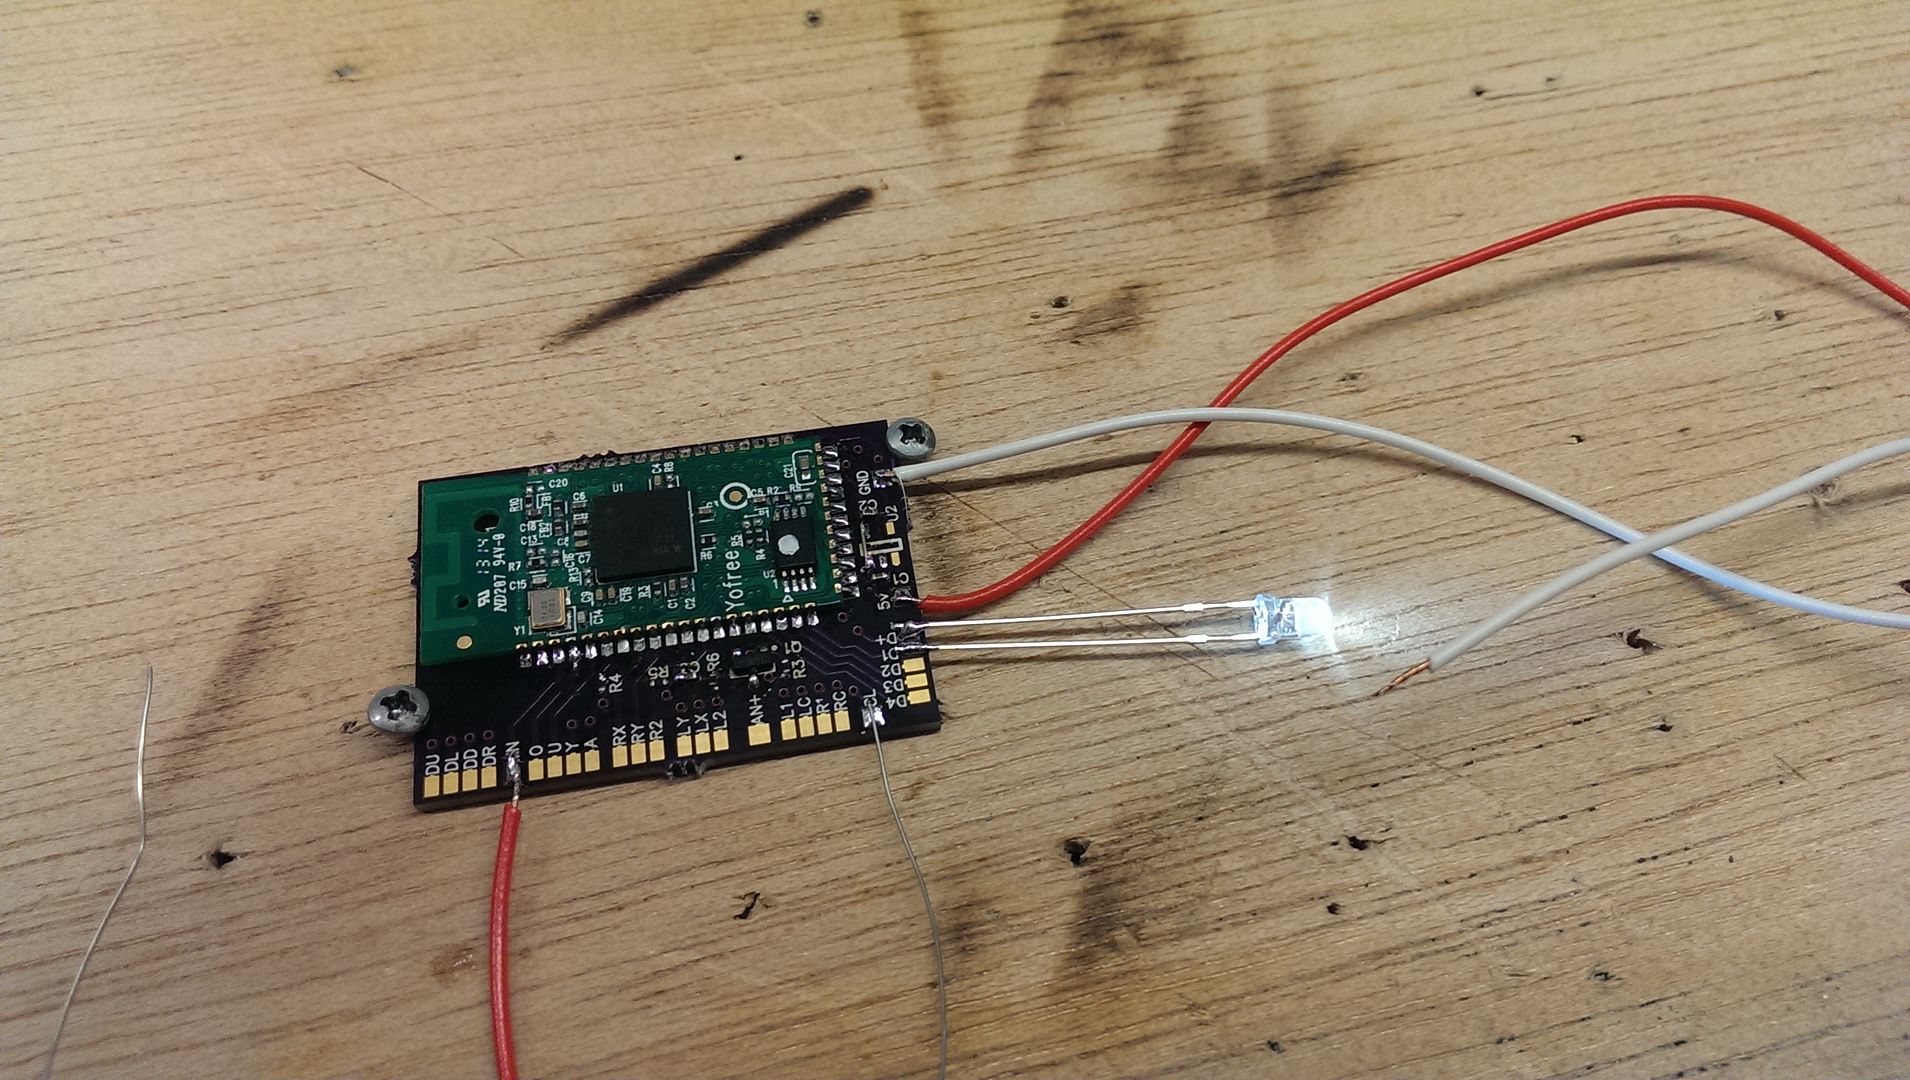
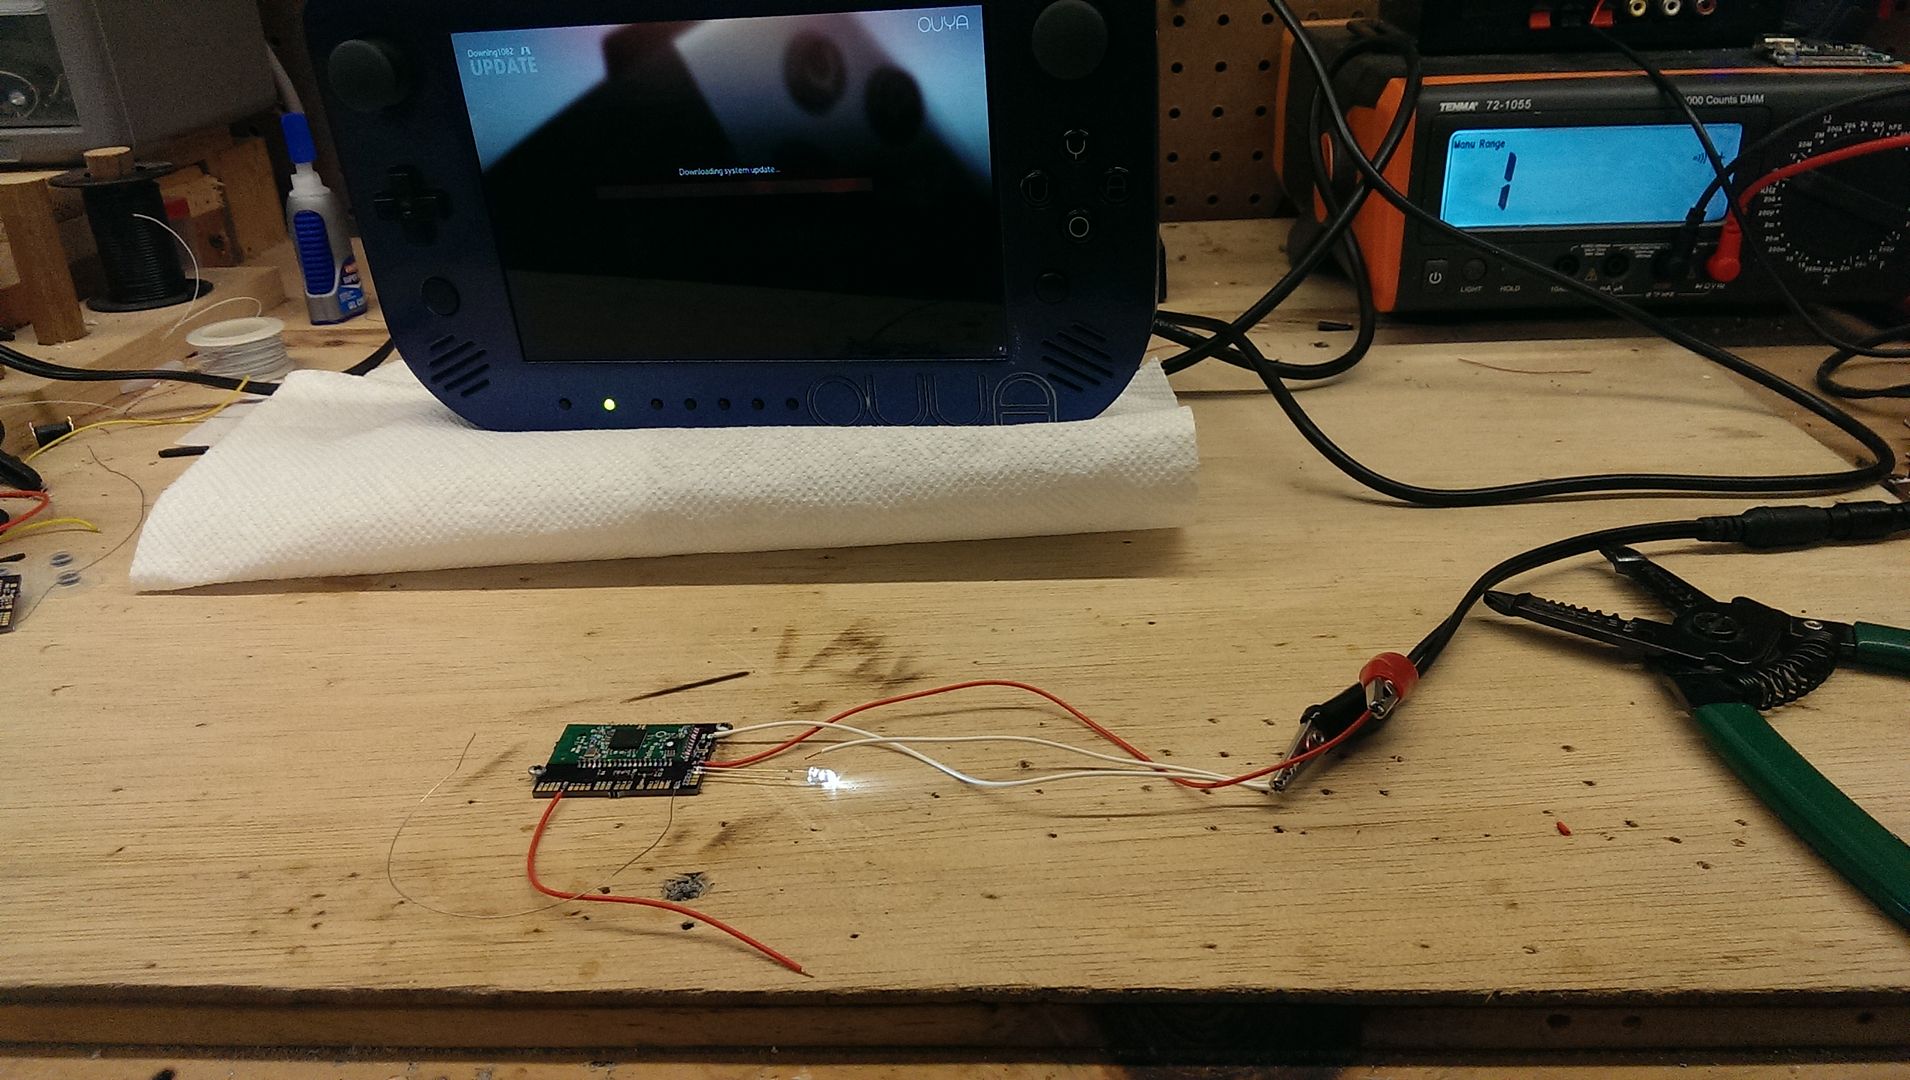
Now as far as the guts go, most I already have, but my good friend RDC is working on a break down and schematic of the OUYA controller and working on a way to make the controller run off the Bluetooth module and not have to shove the whole controller board in there. We're working on a making a breakout board for the module so soldering right to the module won't be necessary and all the components that are needed to run it can be centrally located. So far he has everything traced and now just needs some testing but it's coming along nicely.
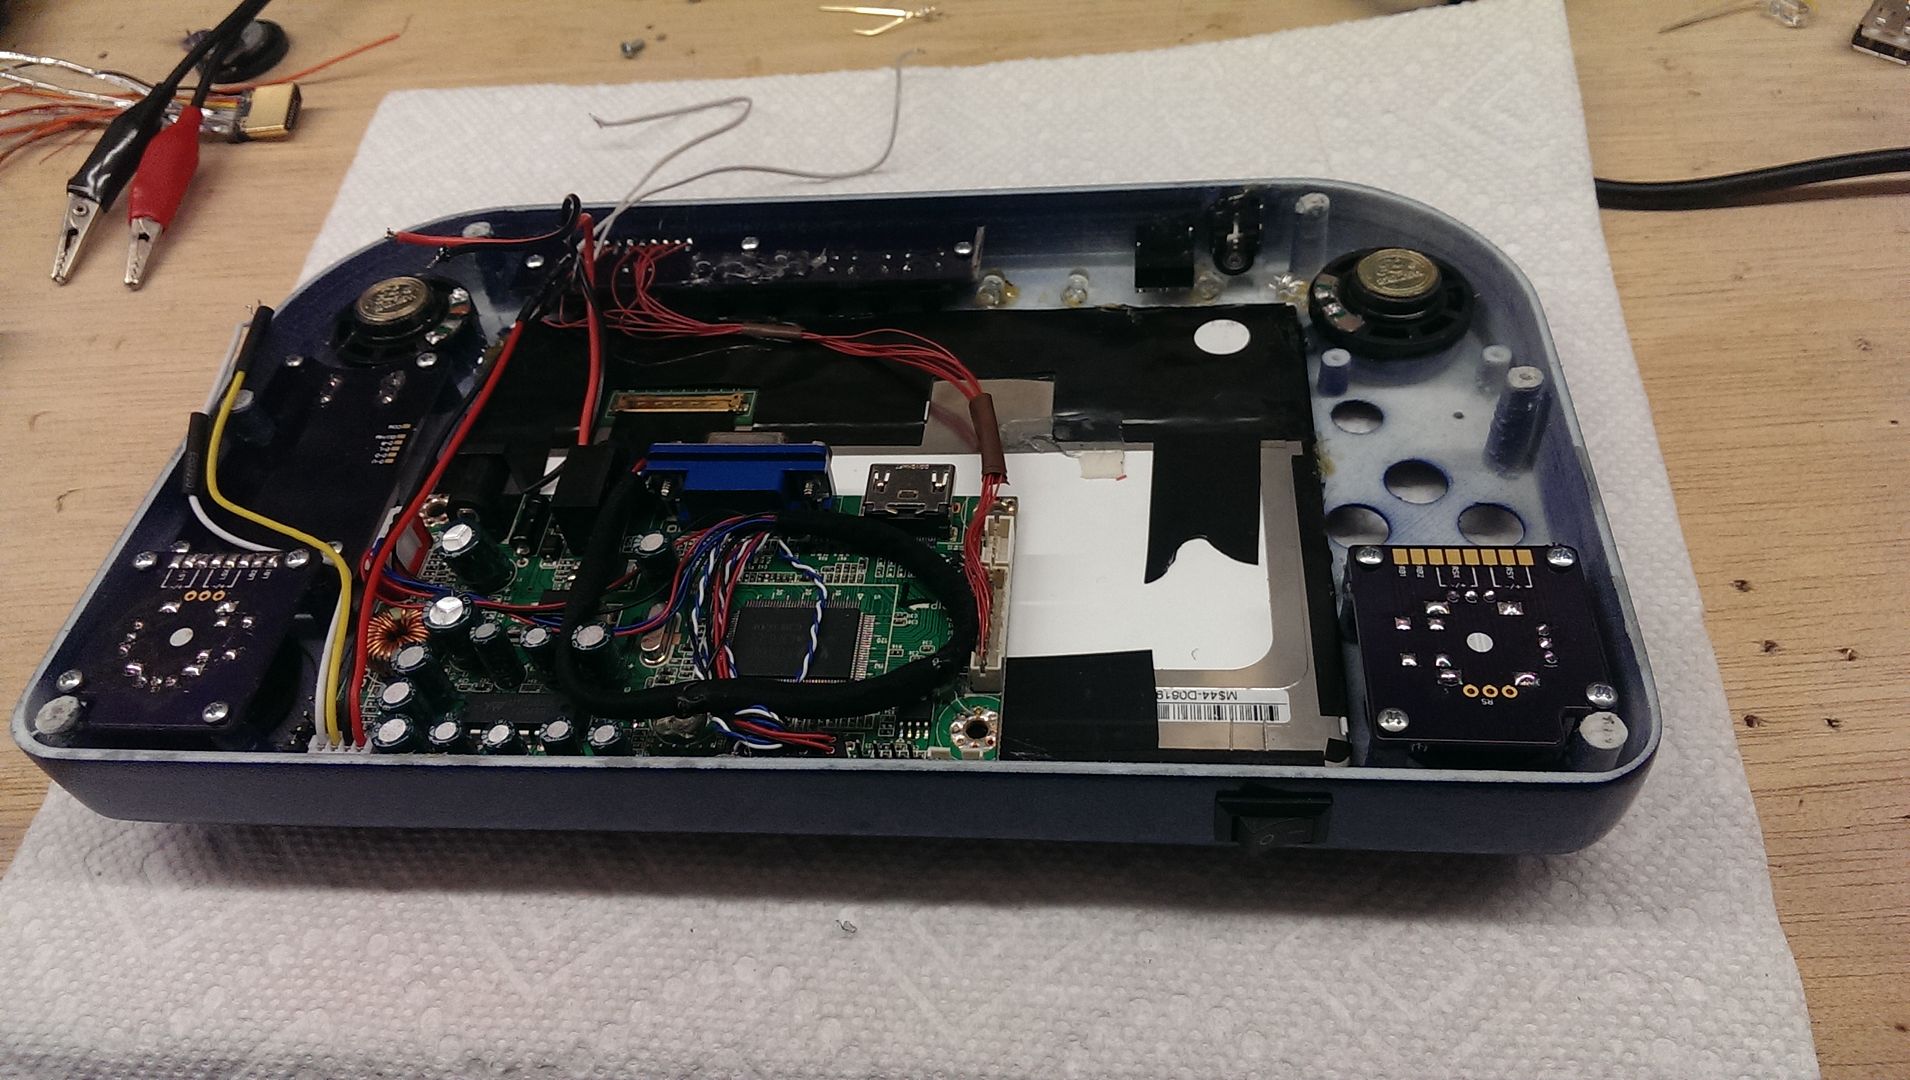
Lastly, the back of the case from the original Cross Plane had cutouts for the control paks that wasn't needed here. As such, I'm having Hail print me a re-worked back half which I should hopefully have in the next week or so, depending on how much he's dragging his feet. :XD So that will be the next step in terms of case work when that arrives.
More updates will be coming soon, so keep an eye out!
So I figured why not, it's not gonna cost much and I think I'd actually play this portable as I'm in love with Final Fantasy III and Pin Ball Arcade.
With that said, on to the progress!
So this is what a Cross Plane case front looks like when it comes off the 3D printer. Because 3D printing isn't nearly on par in terms of quality with circles and clean openings, I make a file from the original and leave .0625 holes in place of the button, screen and speaker cuts. This allows me to have accurate starting points when it goes onto the CNC machine which does an amazing job making perfect cuts.

This is what the case looks like after the entire case has been filled and sanded. This has to be done because the gaps in between the strands of the 3D printed casing will show up if it's not done this way. Pain in the ass, and if it weren't for the fact that all the screw posts and mounting layout in terms of a structural integrity didn't make assembly so much more secure, I probably would just still stick to vacuum forming. But that is enough to justify the cosmetic work that needs to be done. After it's filled and sanded, I then spray on a few coats of the Rustolum Filler/Primer which takes care of all the small imperfections.

And here it is after the machining process. You will notice though, I screwed up pretty badly with the Dpad because when I calibrated my machine, I made the stupidest mistake I've made in awhile. When you calibrate this machine, essentially you take a ruler, and set the center of the end mill on a starting line, tell the machine how far you want to move it and then tell it how far it actually moved. This way it can calculate the step of the motors and everything is good to go. Well, the machine works in millimeter units. I grabbed the wrong ruler which was in standard 1/32nds of an inch. Well, as you can imagine, that didn't go over so well and the D-Pad was cut 2mm too small and 2mm too high on the face. So, I had to cut out a replacement face plate and frankencased the plate into the face of the case. I also engraved the OUYA logo into the face as you can see, but I had to make the logo manually in SolidWorks. I think it came out alright for that.

After that was complete, I sanded the whole thing down, found the imperfections that weren't cut out by the mill and filled them in place. Tonight when I get home from work I'm going to sand down the face again, hit it with another coat of primer and it should be ready for painting.

Now, some of you may notice that Ben Heck did an OUYA portable a few weeks ago (I know Gman did as his printing style on his latest project is very reflective of it) that looks very similar in size and shape. However, I hold a strong belief that Ben may have borrowed the idea from The Cross Plane and our OUYA semi-portable we made from it.
https://www.youtube.com/watch?v=rF3pegaKpuY
So with that, I stand by the notion that I'm not copying him as I in fact had this in place well before he did.
Now as far as the guts go, most I already have, but my good friend RDC is working on a break down and schematic of the OUYA controller and working on a way to make the controller run off the Bluetooth module and not have to shove the whole controller board in there. We're working on a making a breakout board for the module so soldering right to the module won't be necessary and all the components that are needed to run it can be centrally located. So far he has everything traced and now just needs some testing but it's coming along nicely.
Lastly, the back of the case from the original Cross Plane had cutouts for the control paks that wasn't needed here. As such, I'm having Hail print me a re-worked back half which I should hopefully have in the next week or so, depending on how much he's dragging his feet. :XD So that will be the next step in terms of case work when that arrives.
More updates will be coming soon, so keep an eye out!

