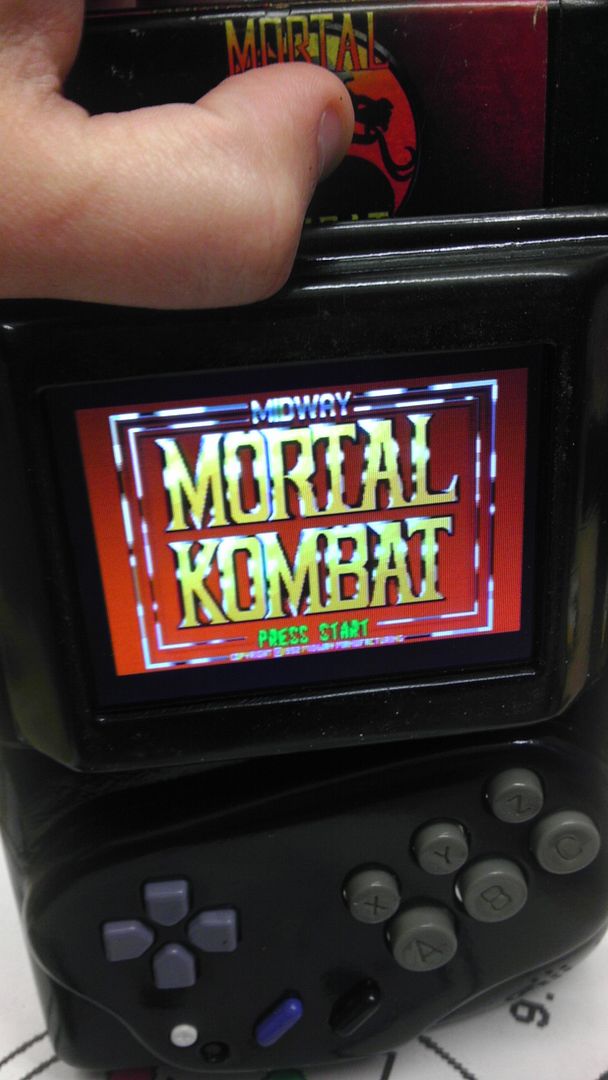
Downing's Genesis Portable, "The GeneBoy" It's Done!

Downing

Well-Known Member
Update 3-11-2012! Finished pics and video in the Finished section!

Started up a new portable today. It will be a portable Sega Genesis 3. Never was much into Sega but the games and the systems are so dirt cheap that it's hard to pass up on eBay!

With that said, this is the latest model Genesis Sega made and was dubbed the "poor man's Genesis". As such, the features are quite lacking, but the trade off in size of the unit is a great help when it comes to portable making.

Specs as follows.

1- Sega Genesis 3 Core System
1- 3.5" TFT Back Up Screen
2- 7.4v, 2000mAh Li-Ion Camcorder Batteries
1- 3rd Party Genesis SuperPad Controller
1- 20mm Speaker
1- Pop-Up speaker Amp
1- Custom DMG Style Vacuum Formed Casing (Same as The Mario/Zelda Tribute)
1- A/V and Wall Power Jack

This will be a very basic system as the core system really can't be much else, but it will suit the purpose. The 3.5" screen was cheap and for the size of the screen and the resolution of the Sega, I thought it best to keep it 4::3: aspect ratio.

Here are some pics of the progress.

A few of the components laid out after disassembley.
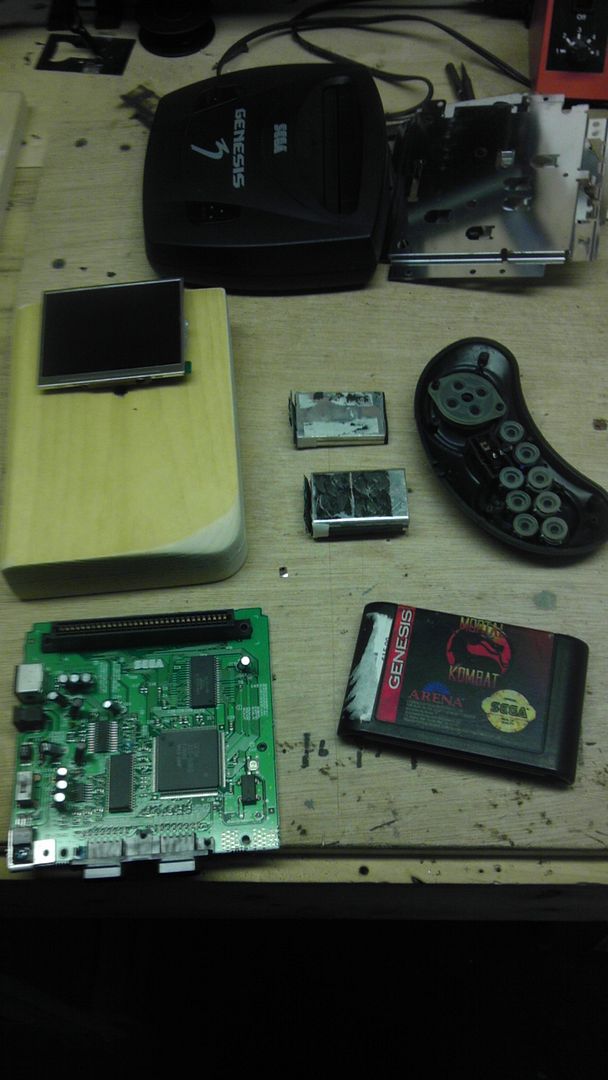
IMAG0414.jpg


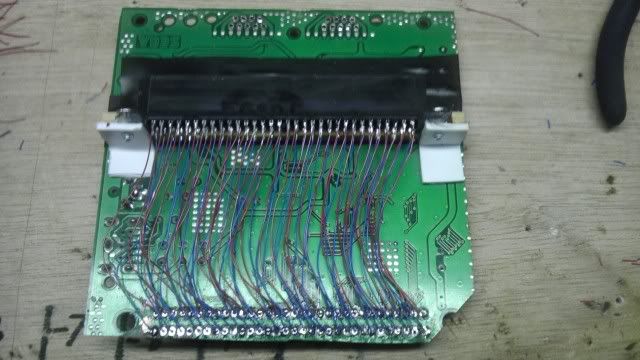
The cart slot de-soldered, which I might add was the biggest pain in the ass of any system I've done. I'm going to assume Sega used a different kind of solder than Nintendo because this took forever!
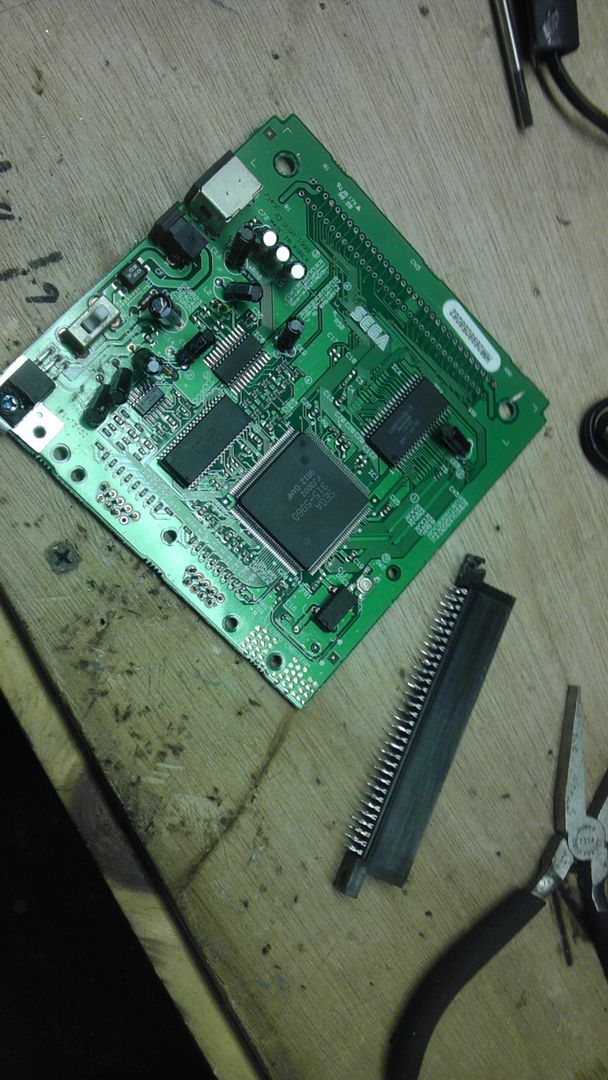
IMAG0415.jpg


Cart slot roughly mounted with homemade plastic L brackets.
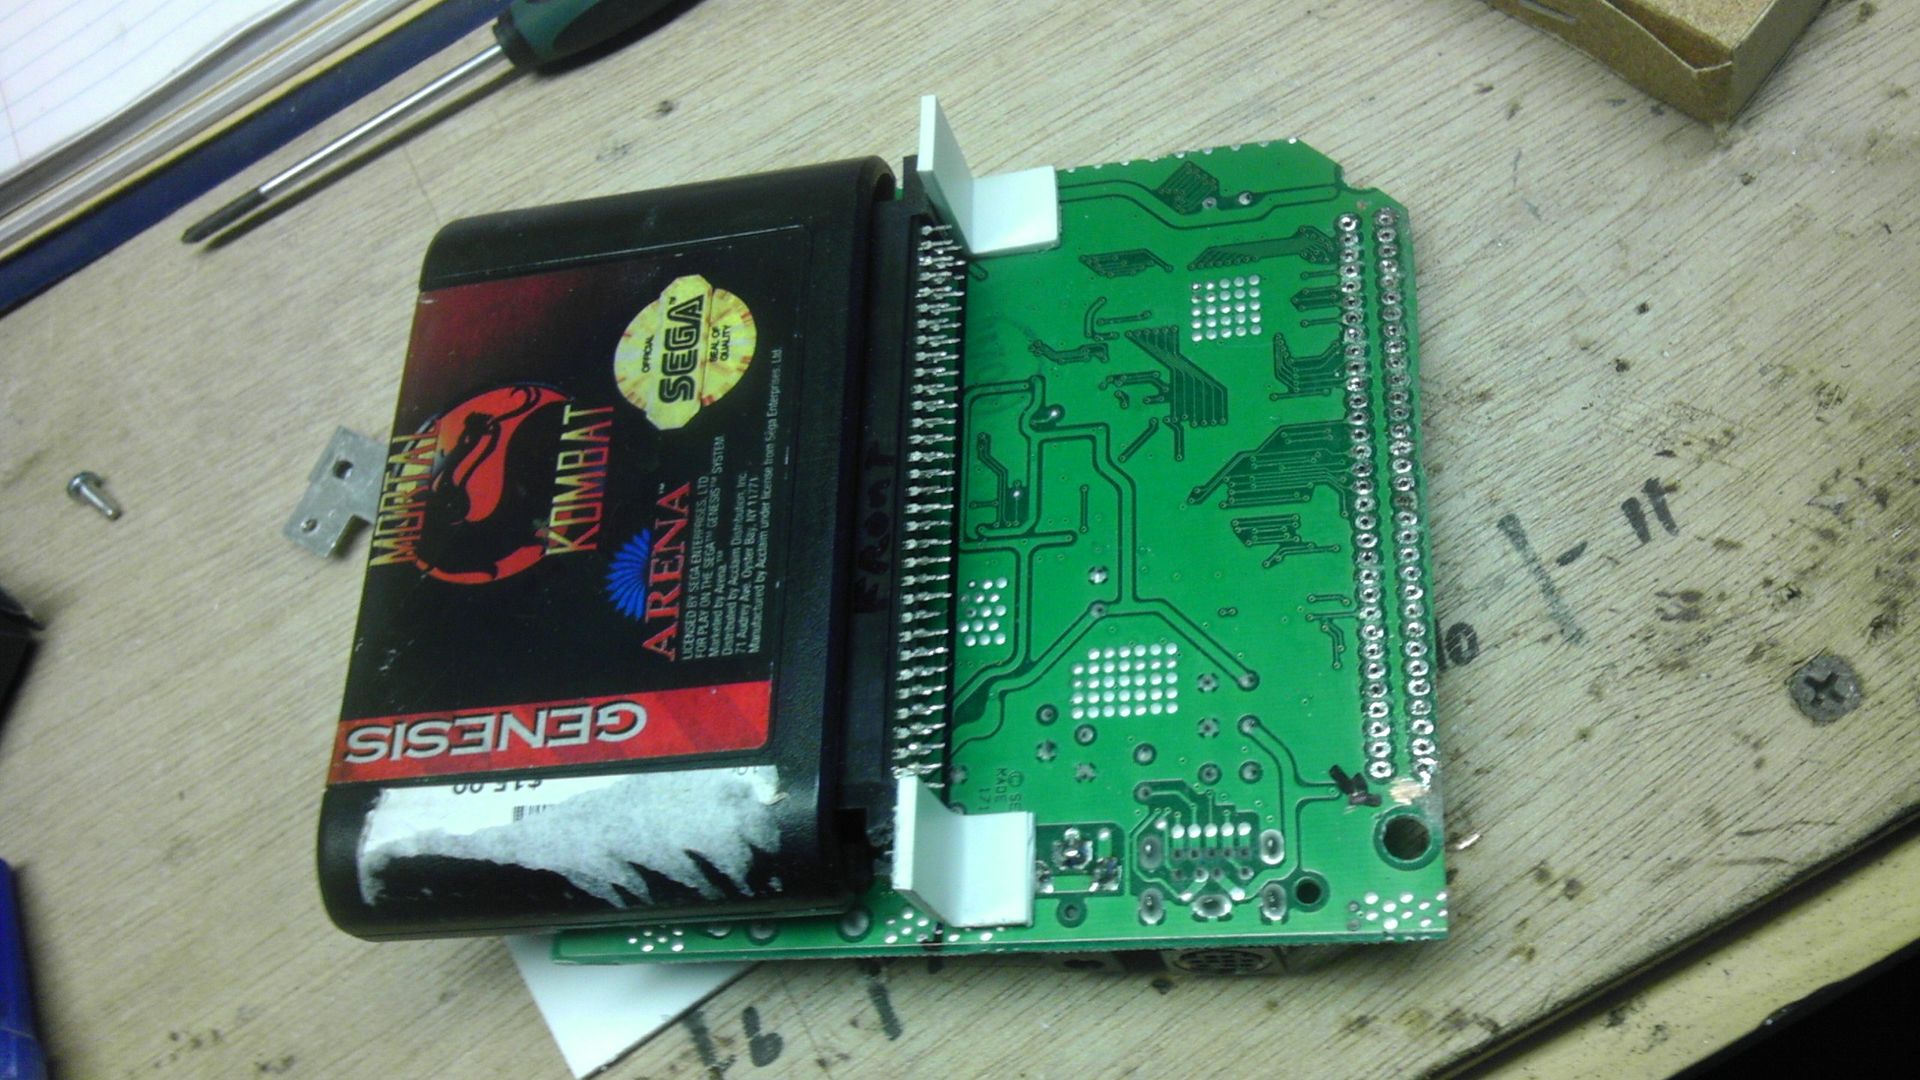
IMAG0416.jpg


The cart slot fully mounted and in place with super glue, wood, plastic and tapped in screws.
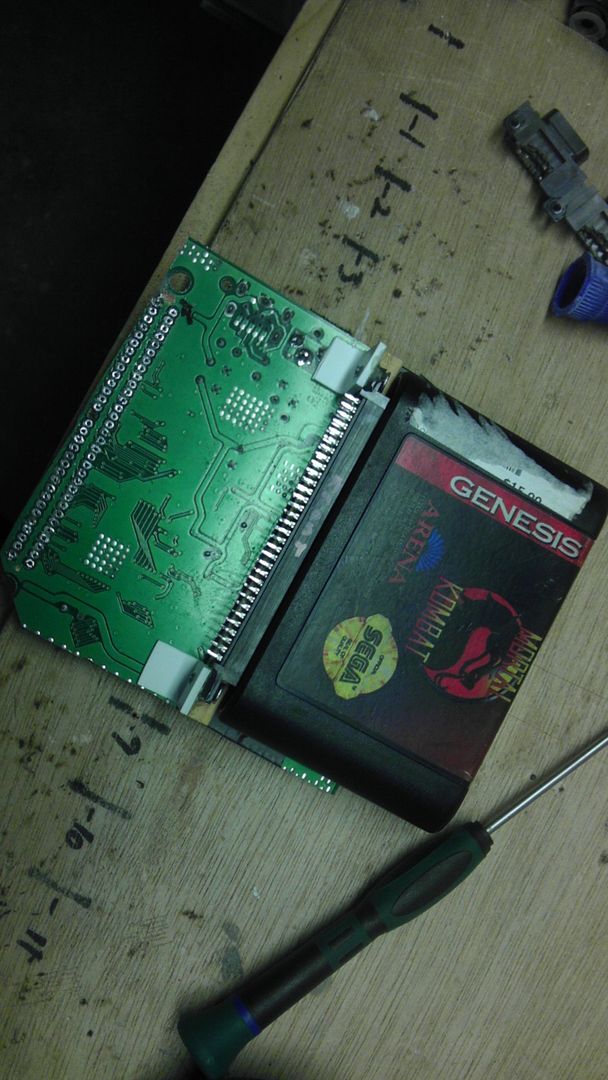
IMAG0417.jpg


All in all I'm off to a good start and I might vacuum form the case tomorrow with the thicker plastic I have as I'm out of my preferred white .080 stock. Should have it in this week, but I'd rather use this black styrene up anyway.

Anyway, this one I don't anticipate to be as difficult as an N64p or as time consuming as my desk so hopefully in a couple weeks I'll have some work done on this! Keep ya posted!
 
Re: Downing's Genesis Portable, "The GeneBoy"

Sega is awesome. You should feel proud to be working with such an amazing system.
 
Re: Downing's Genesis Portable, "The GeneBoy"

Good luck, I was gonna make one, but accidentally fried the only Genesis 3 I had :p
 
Re: Downing's Genesis Portable, "The GeneBoy"

I am proud. I was Nintendo all the way growing up and my parents never let me have more than one system so now the fun begins nearly 20 years later.

Anyway got the second most tedious job done on the system tonight, the cart relocation. 64 pins for this one and the stripping and the soldering of one at a time is mind numbing, but quite easy on the Genesis as the pins are pretty far apart from each other. (Not like an N64 expansion pak)

That's all the updates I have at the moment. I used 30AWG wrapping wire as the distance in this case was only 2.5" and interference really isn't a concern.

IMAG0419.jpg


Tomorrow I'll wire up the batteries and the screen and give it a test, or if the electricians in the house are done, I might vac-form my case because the new power layout will make it much easier and less of a concern of shorting my house out.
 
Re: Downing's Genesis Portable, "The GeneBoy"

Progress!!!

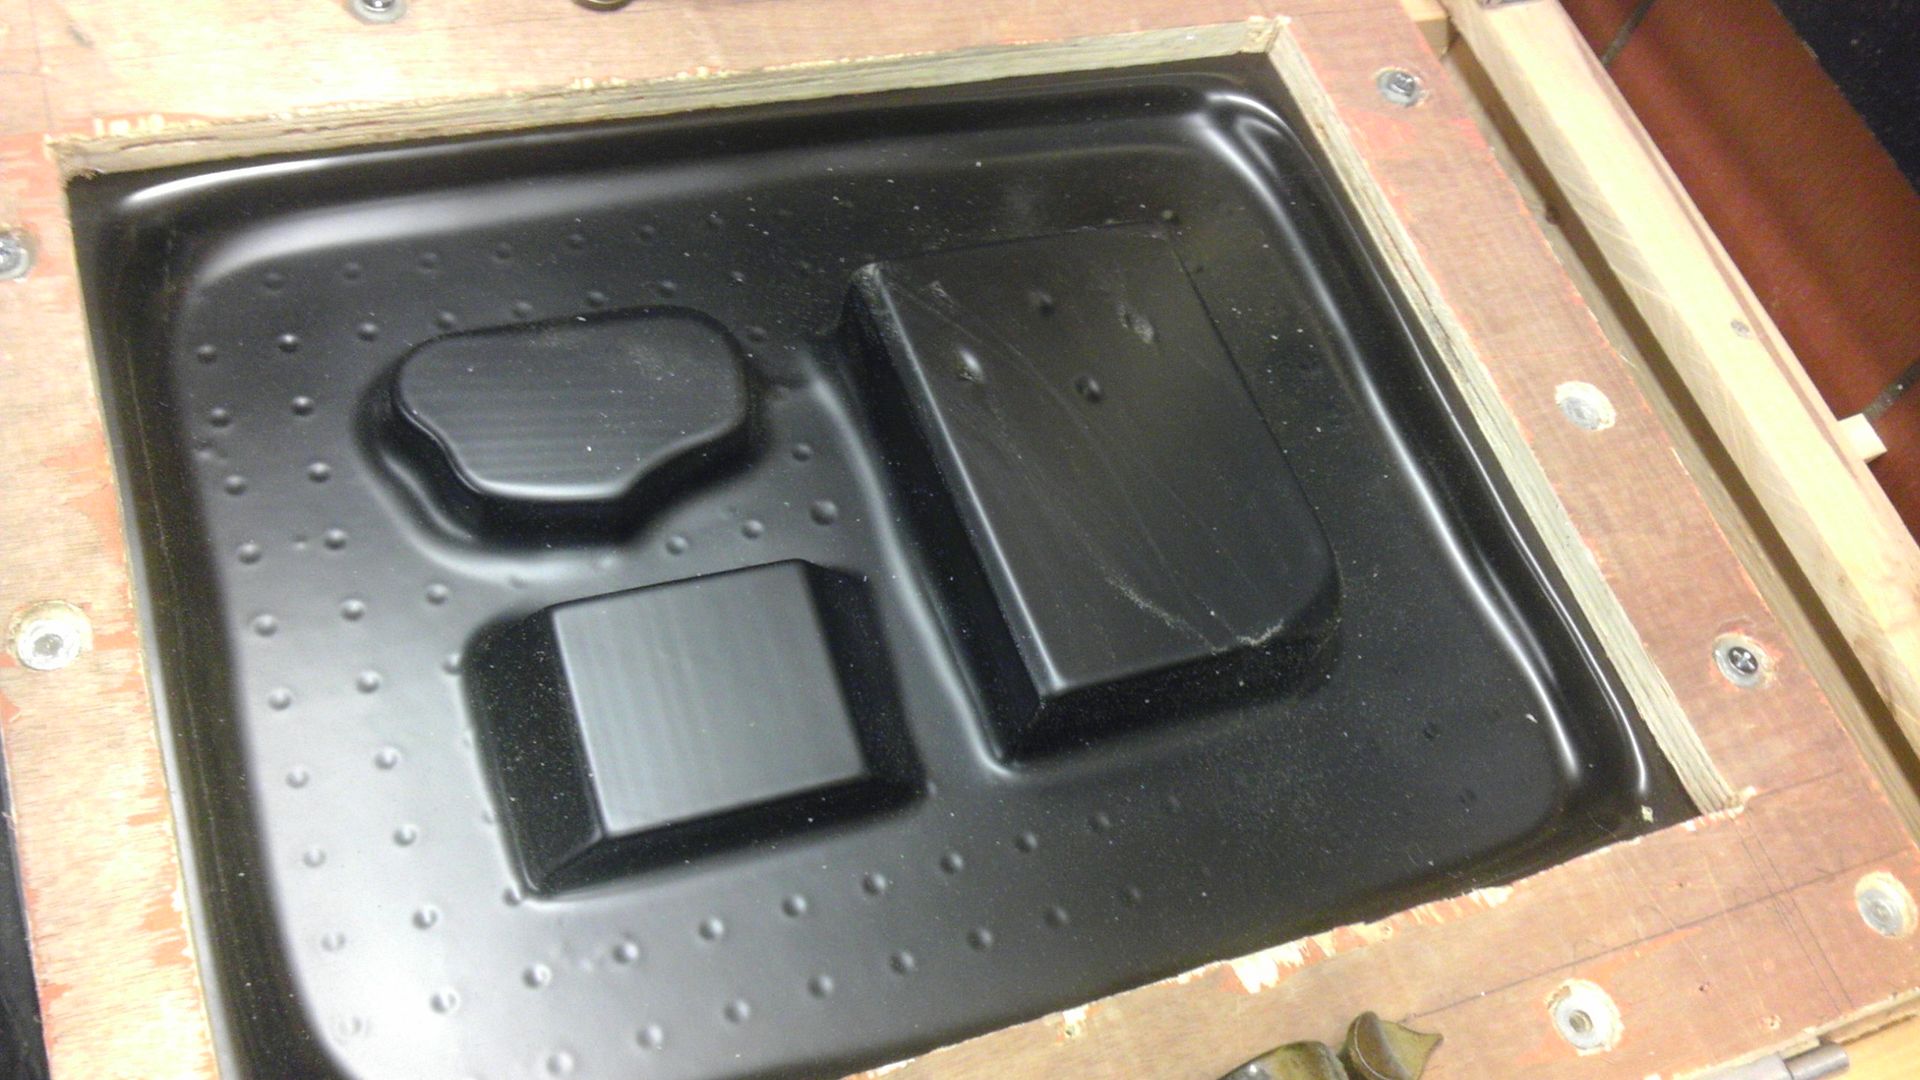
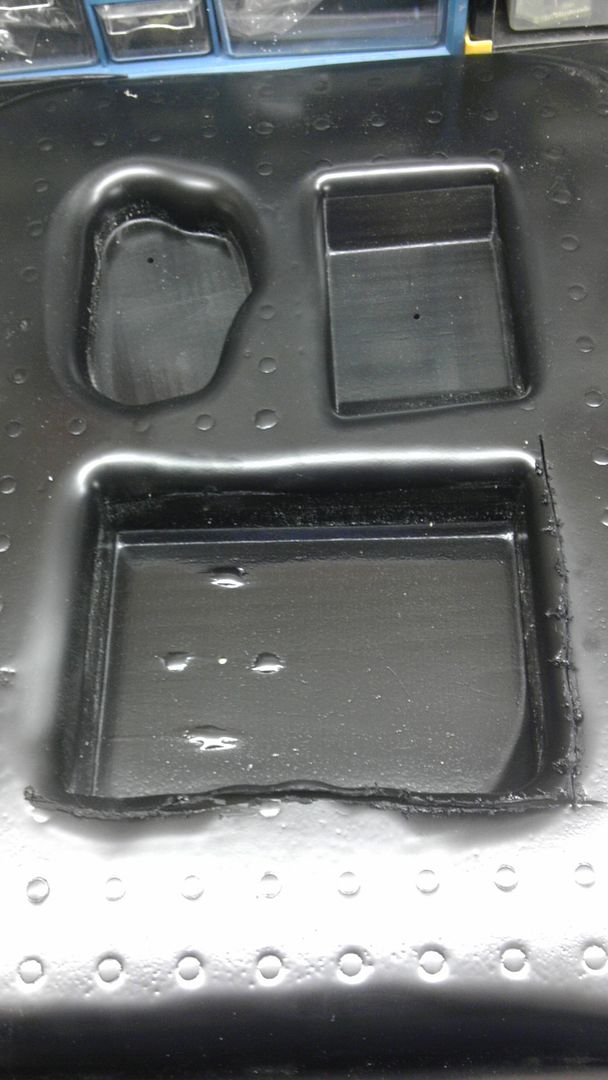
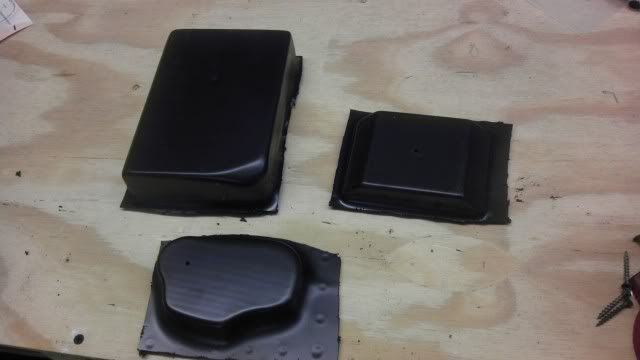
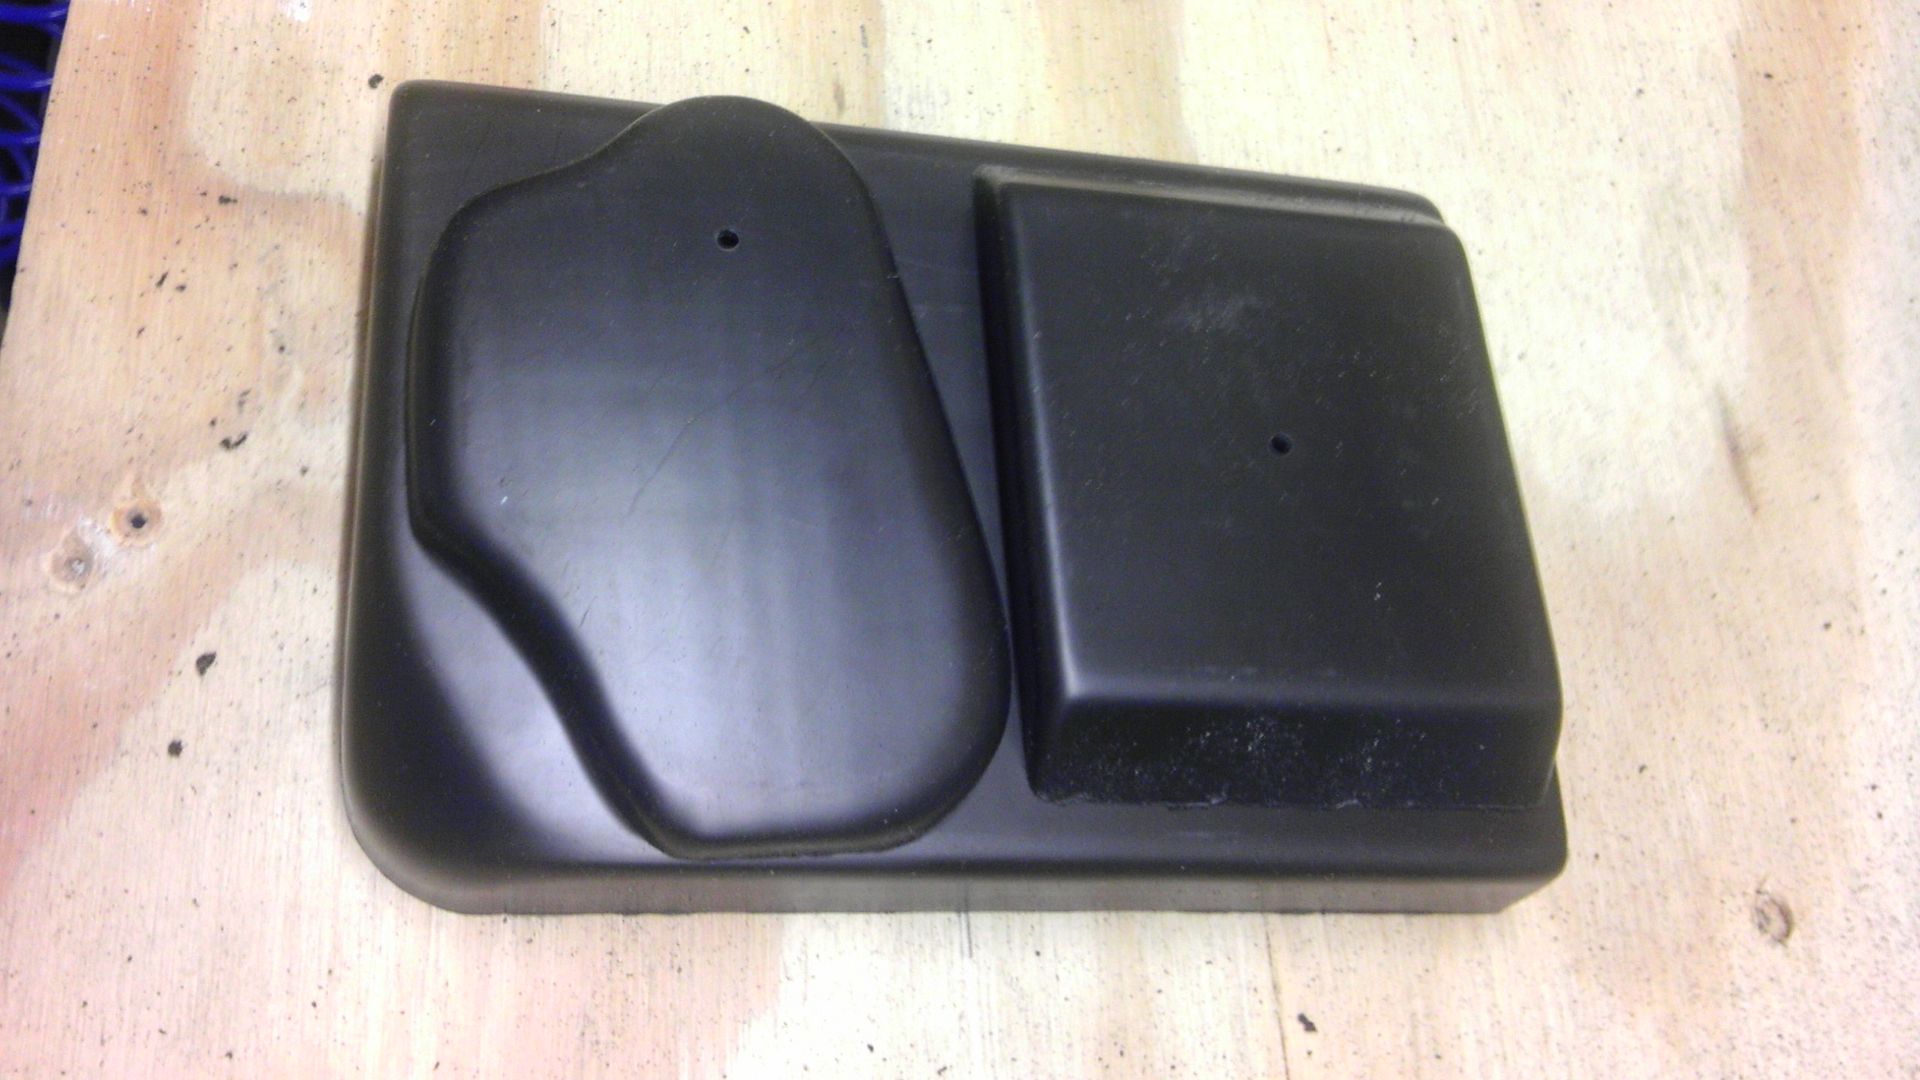
Man I love my new set-up! Got the top half of my case formed and cut and ready to be attached to the base! I decided that a three part top half would work better than trying to vac-form all three pieces due to how close they are to each other. But that won't be bad as I can attach and then cut in from the back and give me all the room I need while keeping the outside edges smooth and allow for a little filling a possible.

Below are some pics of the concept and then the finished product!

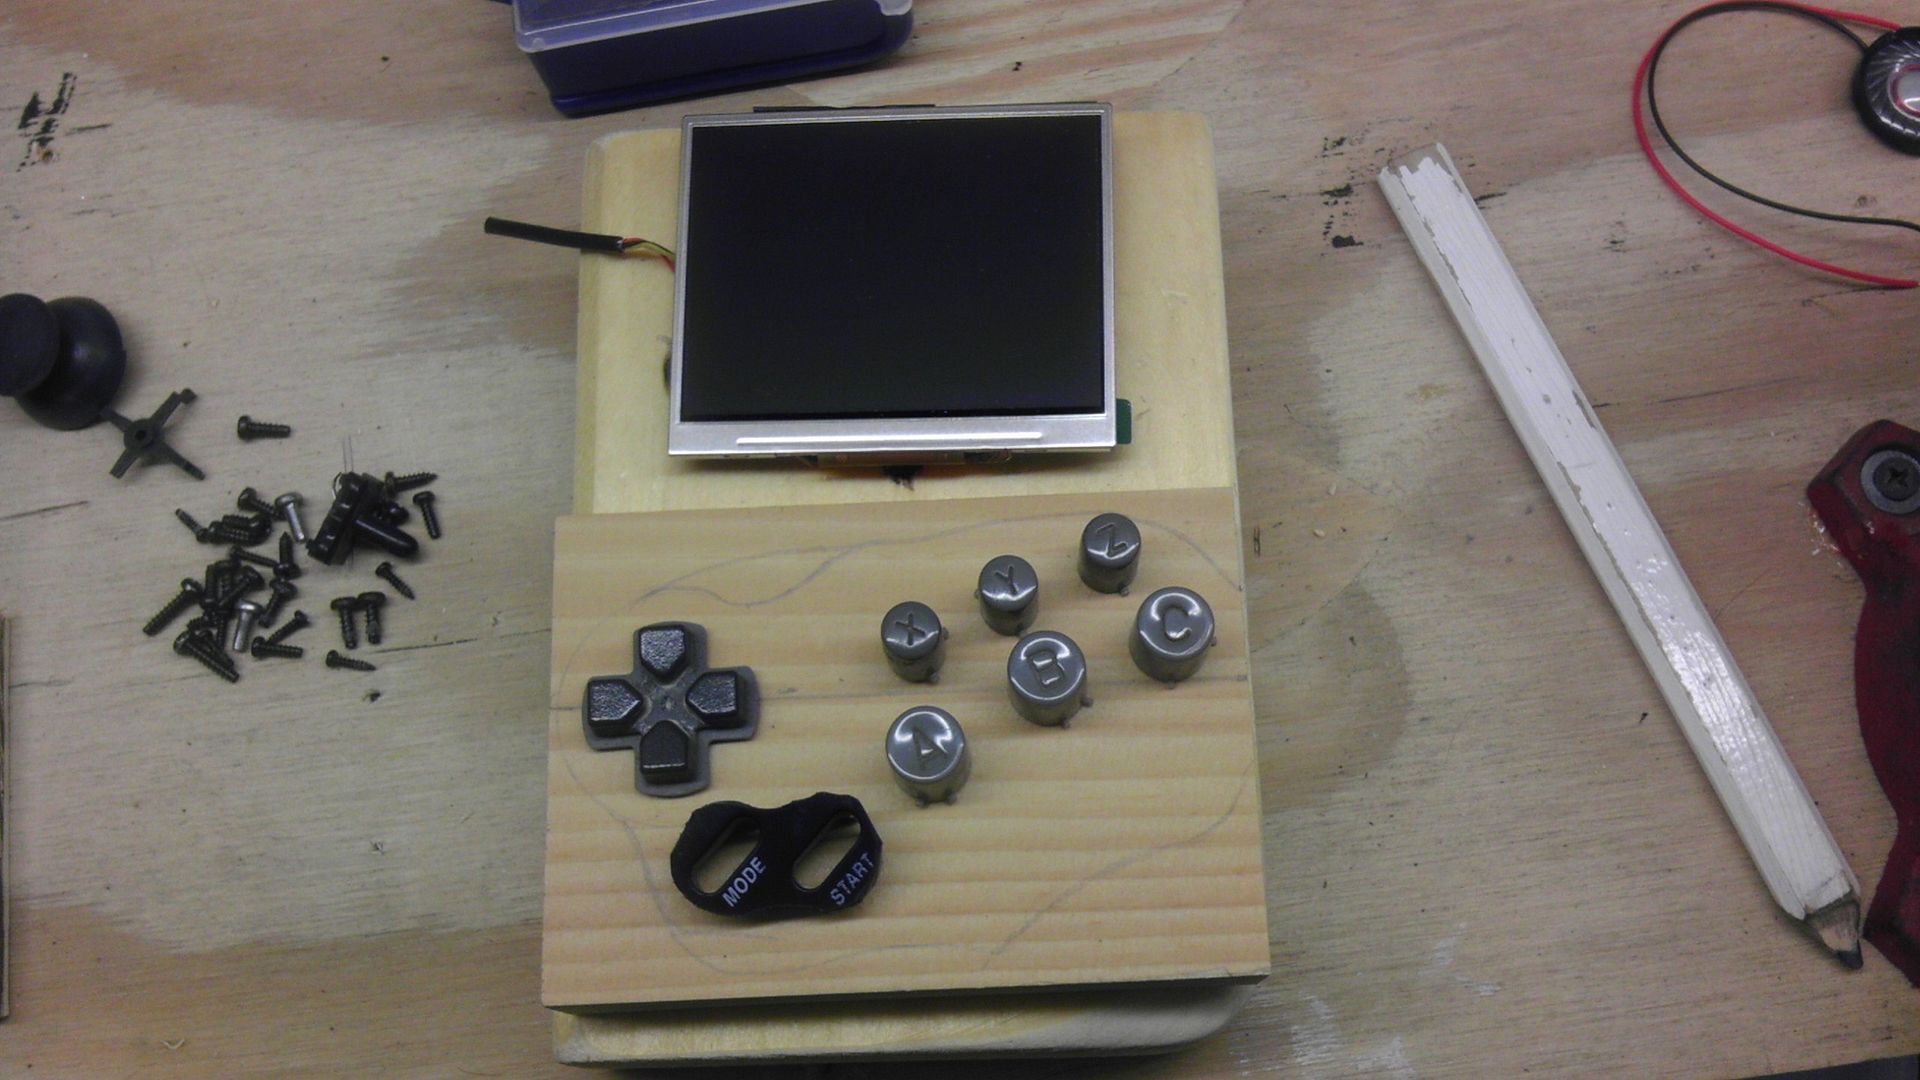
The layout
IMAG0422.jpg


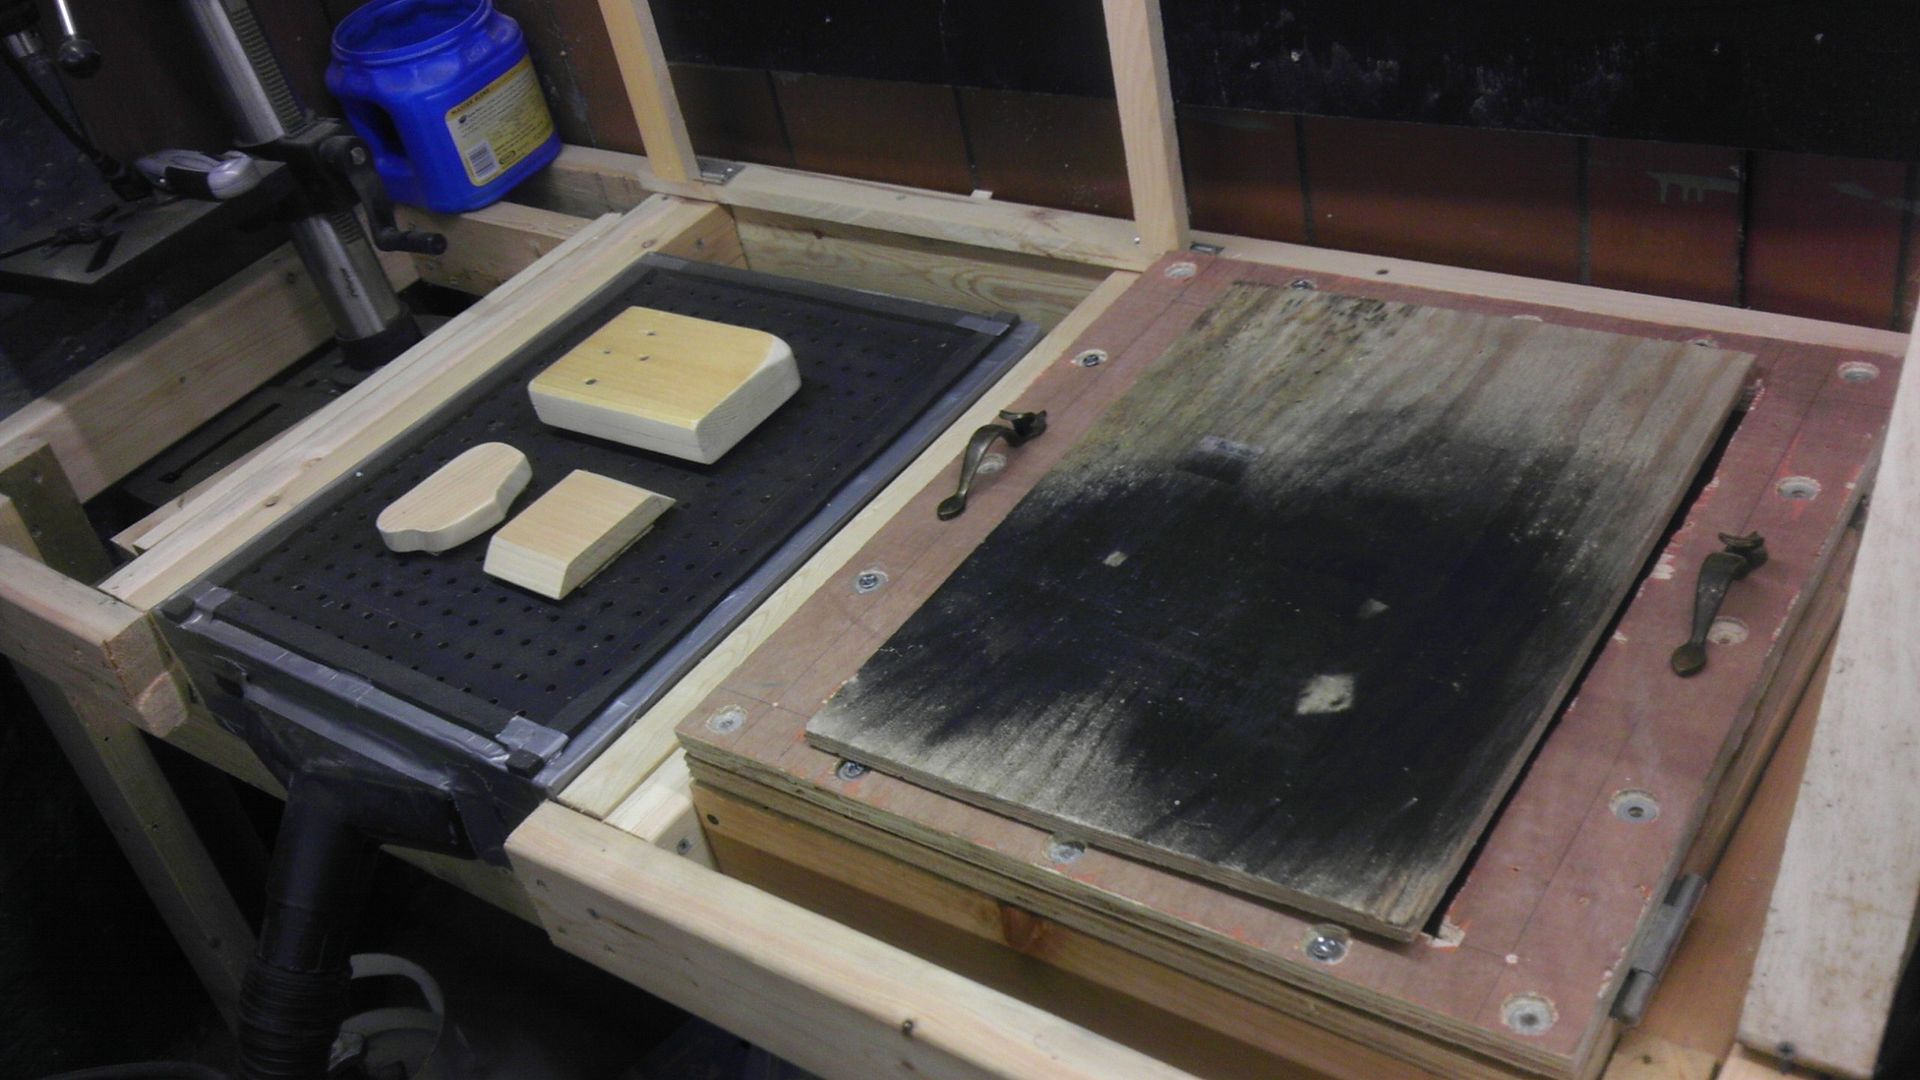
Molds waiting for the hot plastic.
IMAG0423.jpg


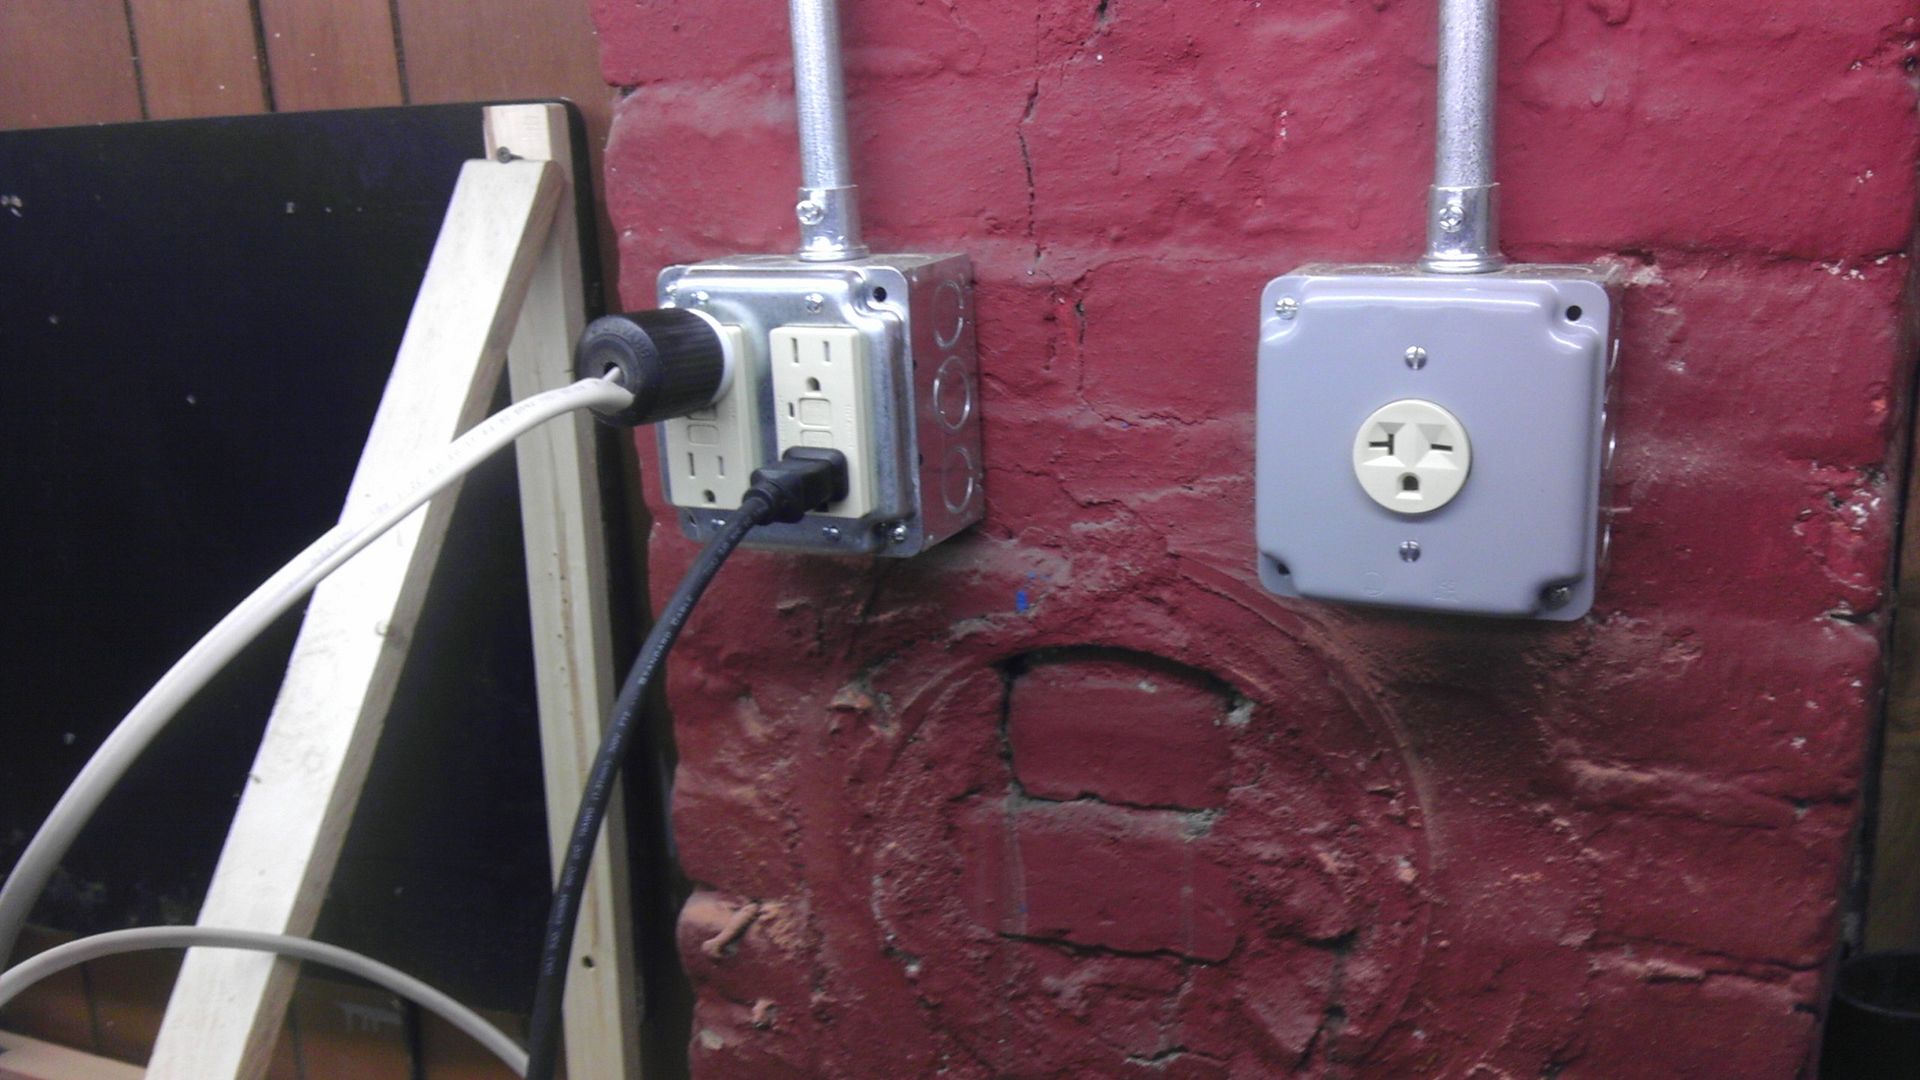
Power nearby finally!
IMAG0424.jpg


The Perfect Form!
IMAG0425.jpg


Pieces indents with molds out of the plastic.
IMAG0426.jpg


Rough Cut
IMAG0427.jpg


Final Trim
IMAG0428.jpg


Final layout with components.
IMAG0429.jpg


By adding these panels, I take away from the overall thickness that your hand has to reach and will allow for the back half of the body to be much slimmer. Besides I'm going to need the room for the tact switchs and their mounting brackets and this little 1/4" will help greatly with that. Lemme know what you think!
 
Re: Downing's Genesis Portable, "The GeneBoy"

Looks nice!

Not too many people do Genesis Portables nowadays. Glad to see it getting some love, though!
 
Re: Downing's Genesis Portable, "The GeneBoy"

More progress tonight! I got the screen bezel and the control bezel cut and ready for filler. Control bezel didn't come out quite right as apparently my math was slightly off it I put it a bit too close to the start button but I don't think that's going to cause any issues. If need be I can fill it and drill it again, but that's a last resort. Pics of the progress as their isn't much to say. I'm happy with how the screen bezel came out though, not so much with the control but we'll see if I can make it work.

IMAG0430.jpg

IMAG0431.jpg
 
Re: Downing's Genesis Portable, "The GeneBoy"

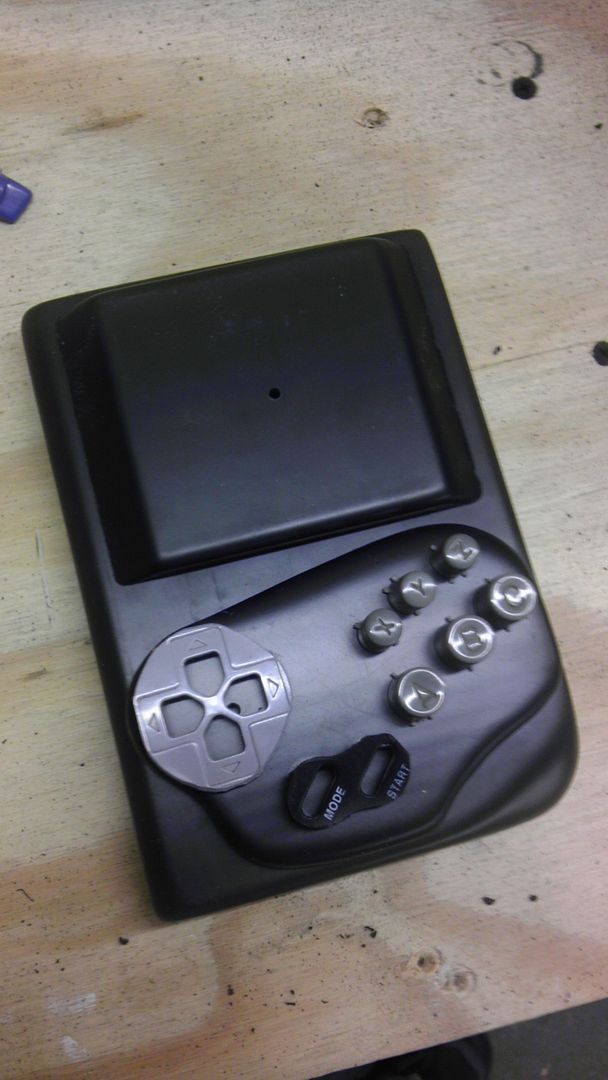
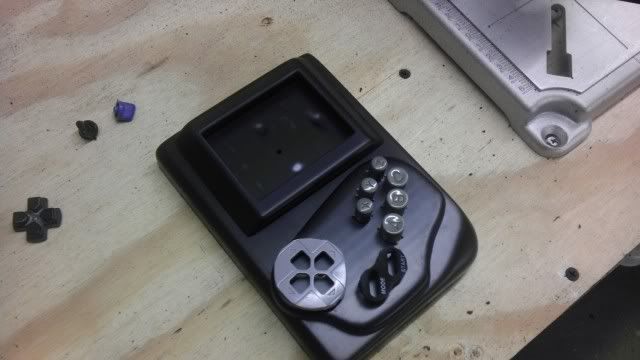
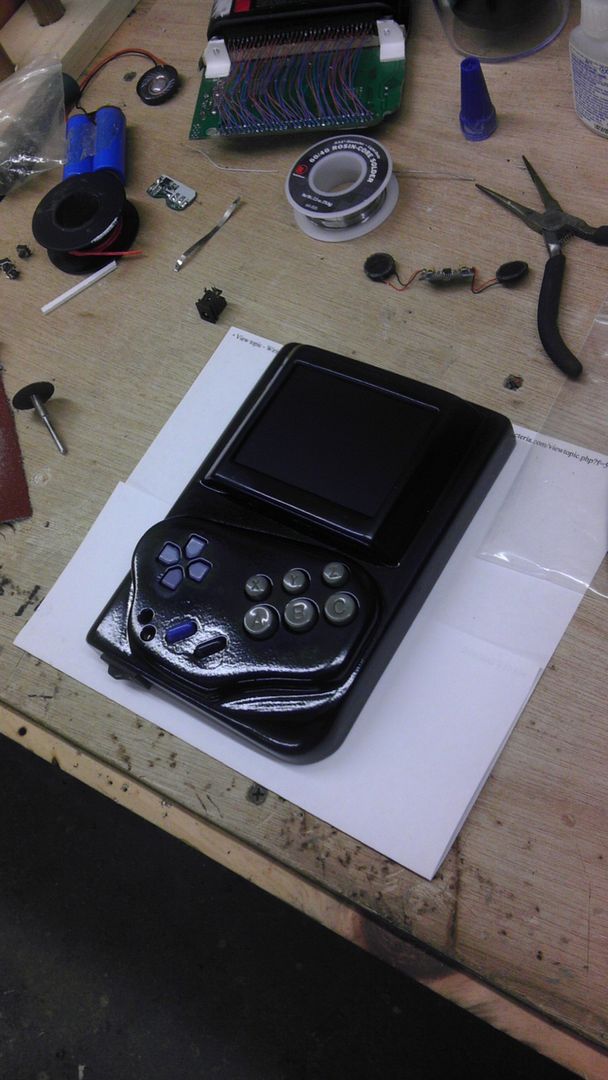
OK! So after a very very productive weekend, the casing is finished and the clear coat is hardening nicely. Though I'll admit that I still don't have the painting/finishing skills of others, I'm quite happy with how this has turned out regardless. Yes you can still see some scratches and component outlines, but this is the most beautiful case I've done to date so things are improving.

Anyway, I'll tell the rest through a picture log.

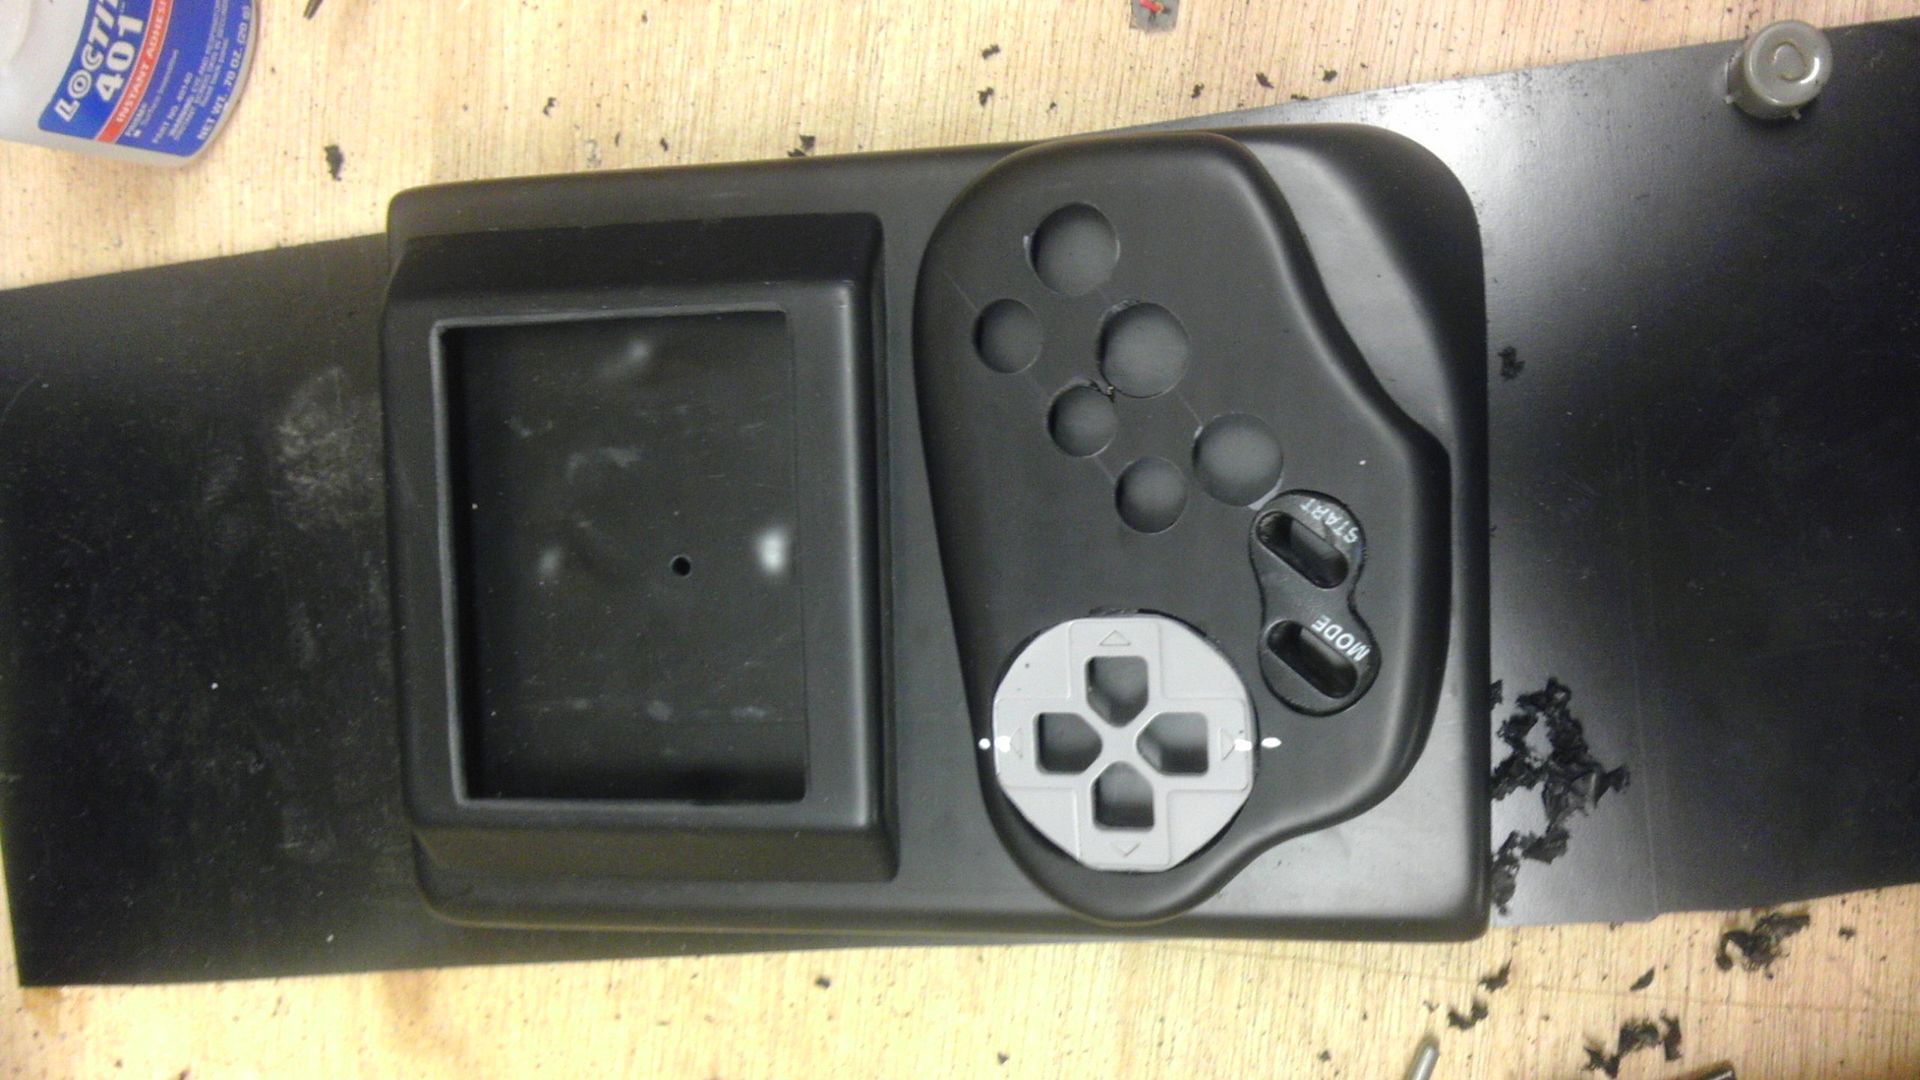
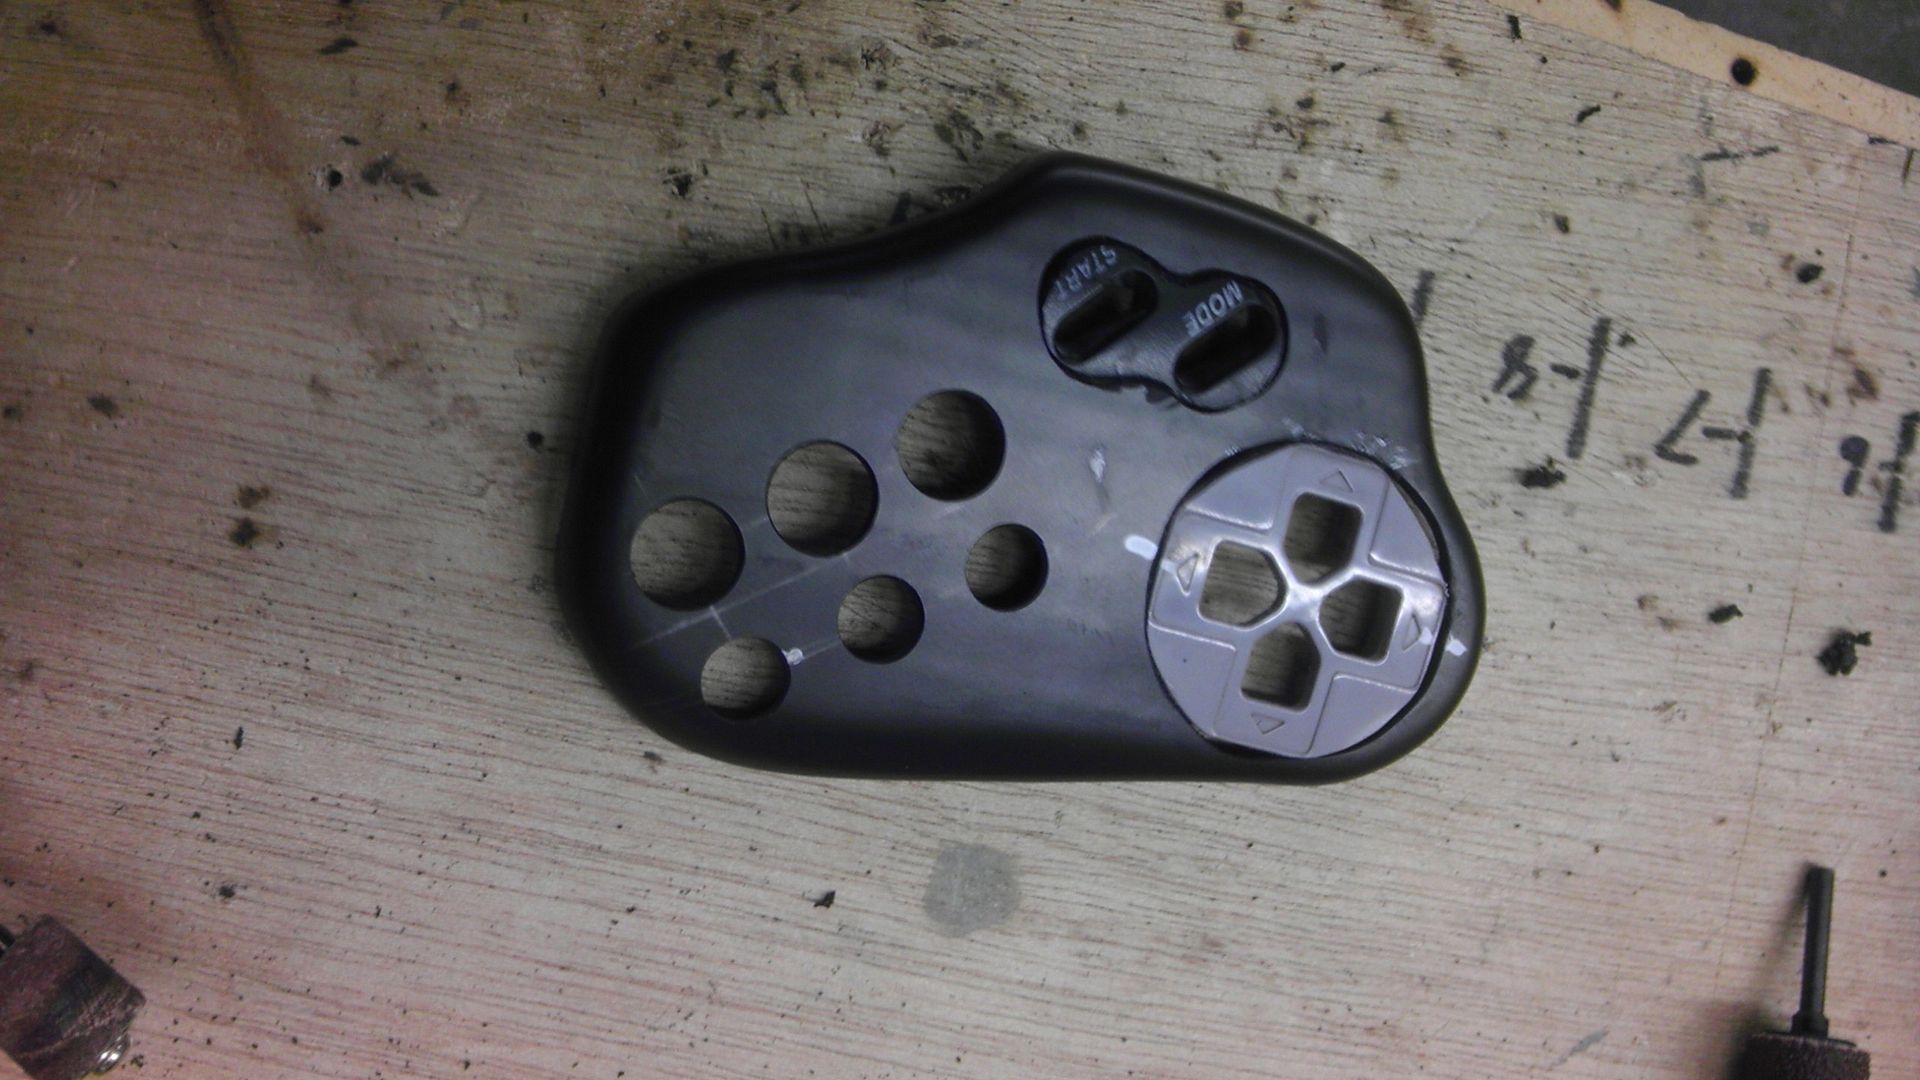
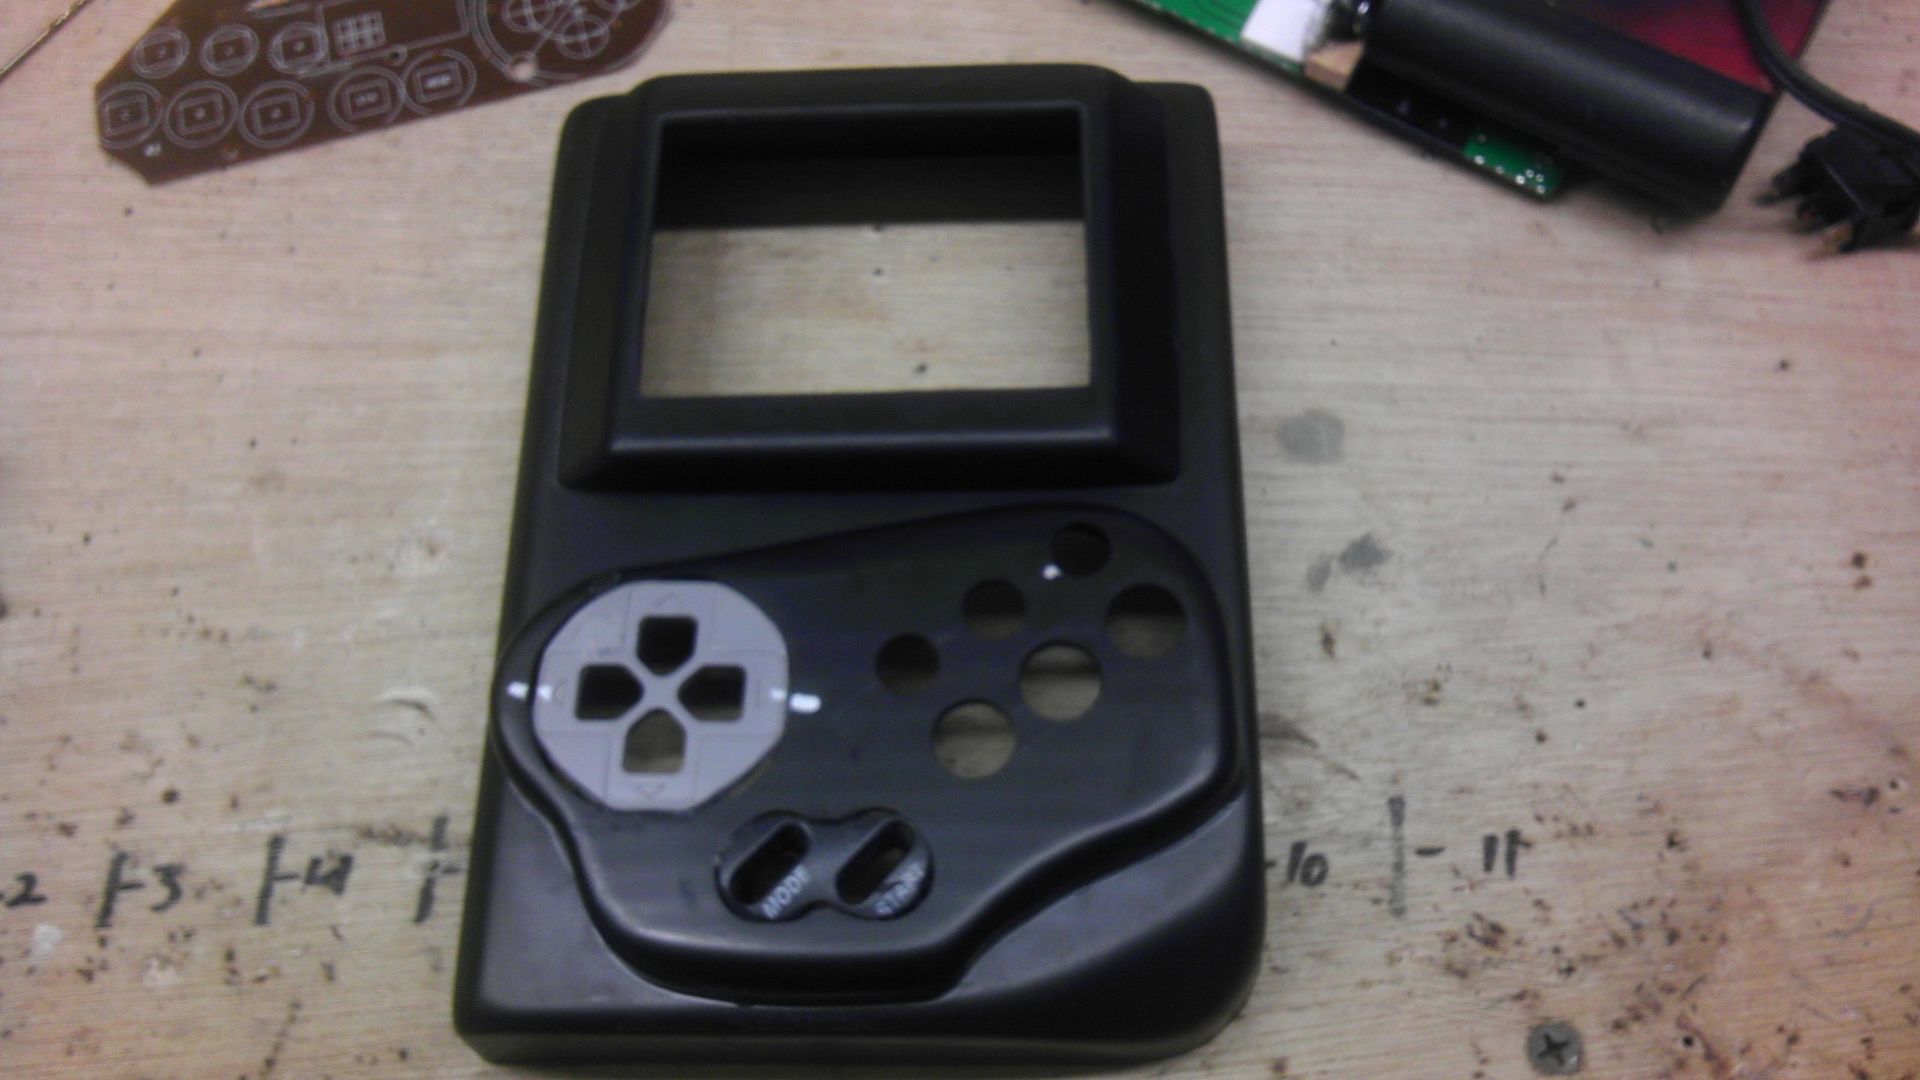
I reformed the control bezel because I wasn't liking the layout of how close the buttons were together. The big problem though was my drill bits attacking and snapping my plastic instead of drilling it. Well I found the answer to pretty much all my plastic hole drilling problems in the next photo. But as you can tell, the layout is much cleaner and more user friendly.
IMAG0432.jpg


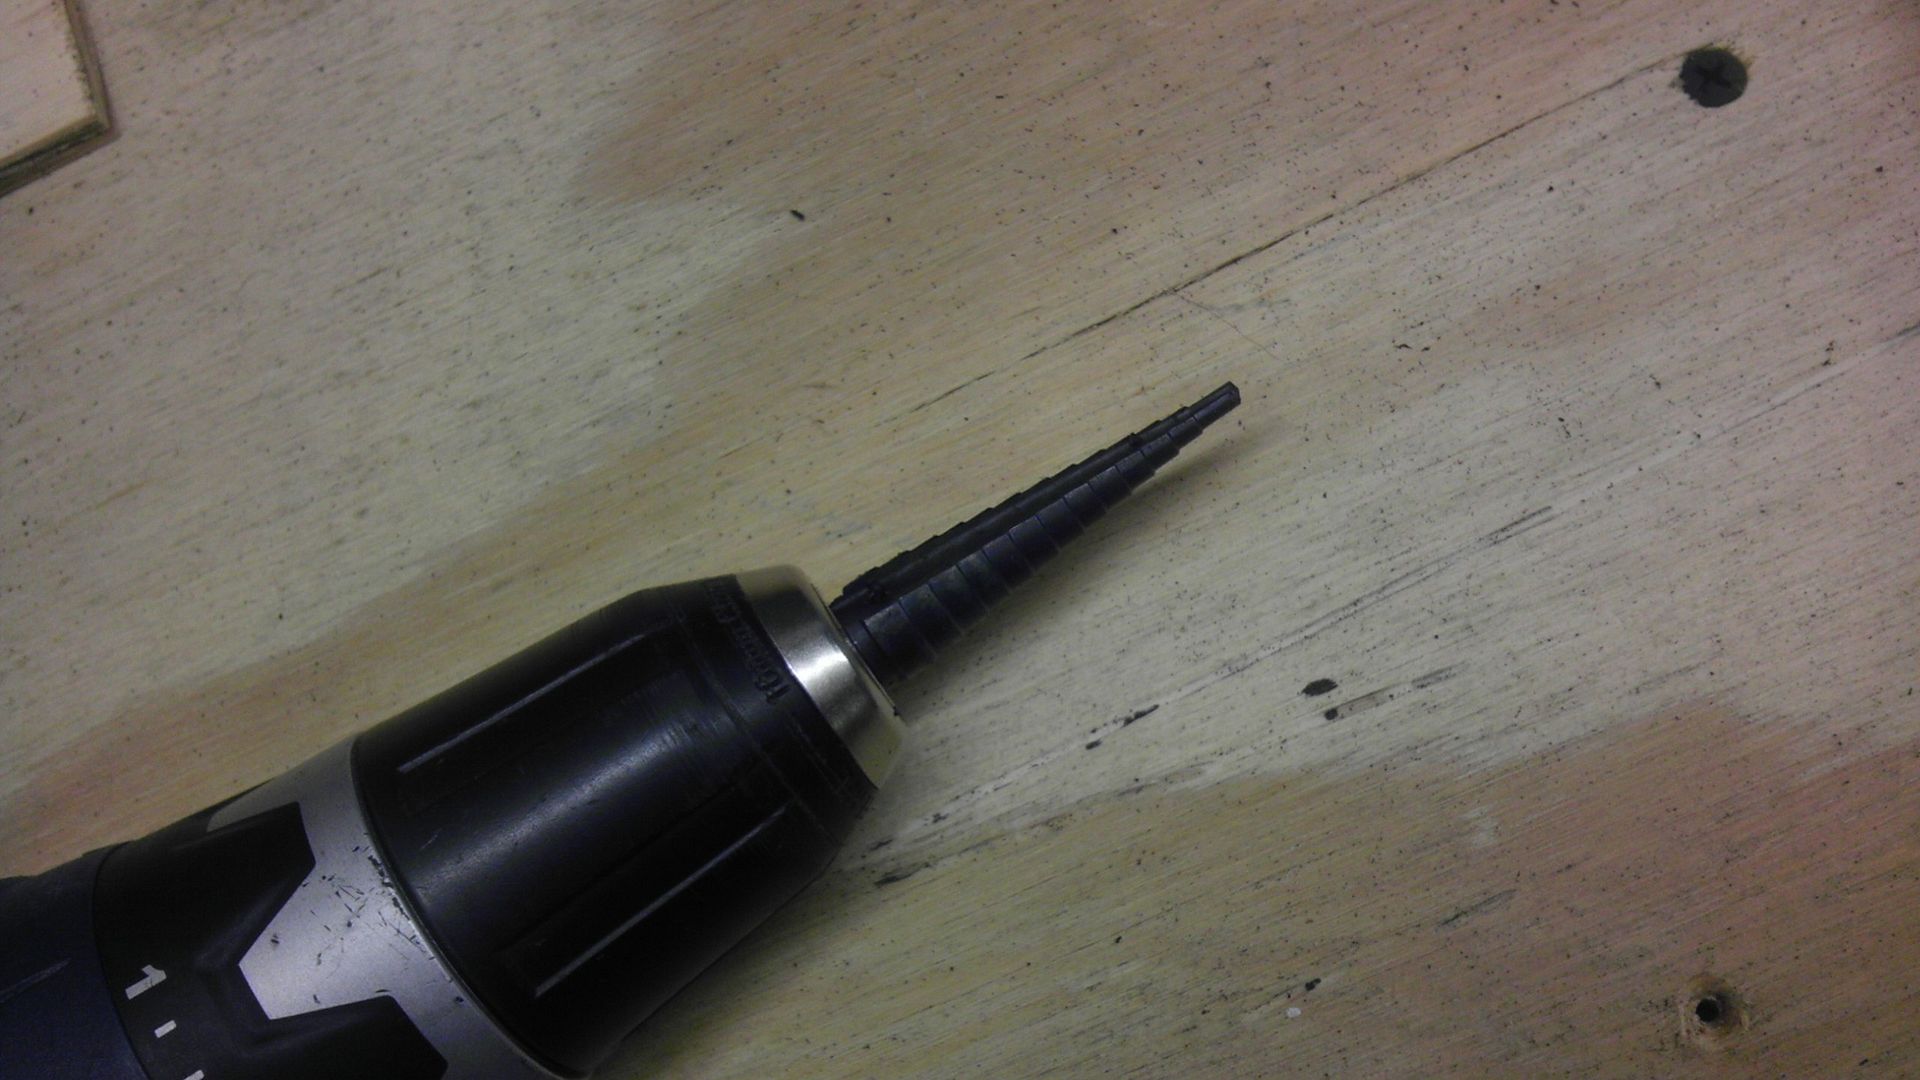
This is what's called a stepper-bit. This one goes from 1/8th inch to 1/2. By starting a small centering hole with a regular drill bit, placing this one in the drill takes just little shavings of plastic away at once in increments, smoothly and gently. Get one of these and you'll never have problems with making drill holes again!
IMAG0433.jpg


The Screen and Control Bezel PVC cemented in place. For this, I placed these on before I cut out the back sides of them. This allowed me to draw an outline of both bezels and load up on the inside of the line, a lot of PVC cement. This in turn allowed for a solid bond to the surface without the need for massive amounts of filler to fill in the edges because the bezels are actually sitting on a solid flat surface. This is how it looked "After" applying the cement and cutting out the back. Not too shabby.
IMAG0434.jpg


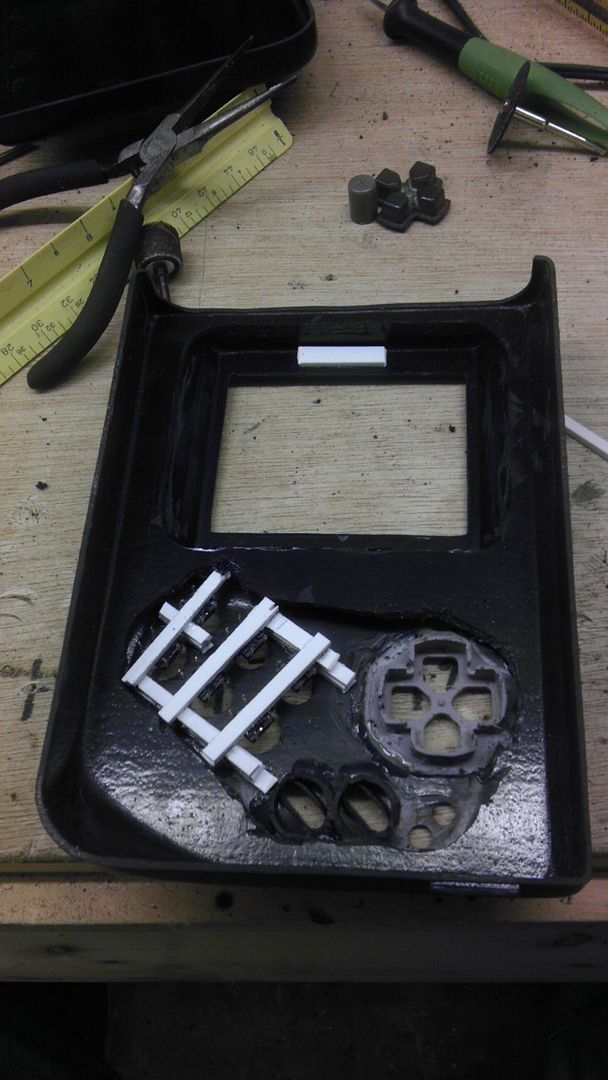
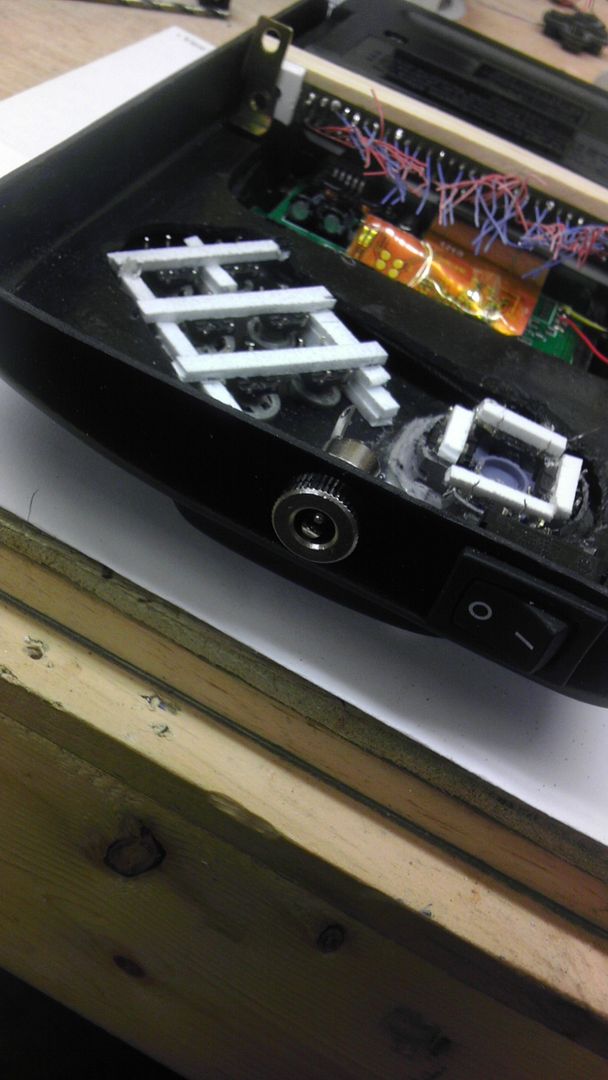
The next two pics show the mounting system for the tact switches for the ABC XYZ buttons. Just little strips of styrene built up and super glued in-between layers to promise a tight and strong hold. The buttons will then be glued to the tact switch tips therefore preventing rotation and keeping them in place.
IMAG0435.jpg


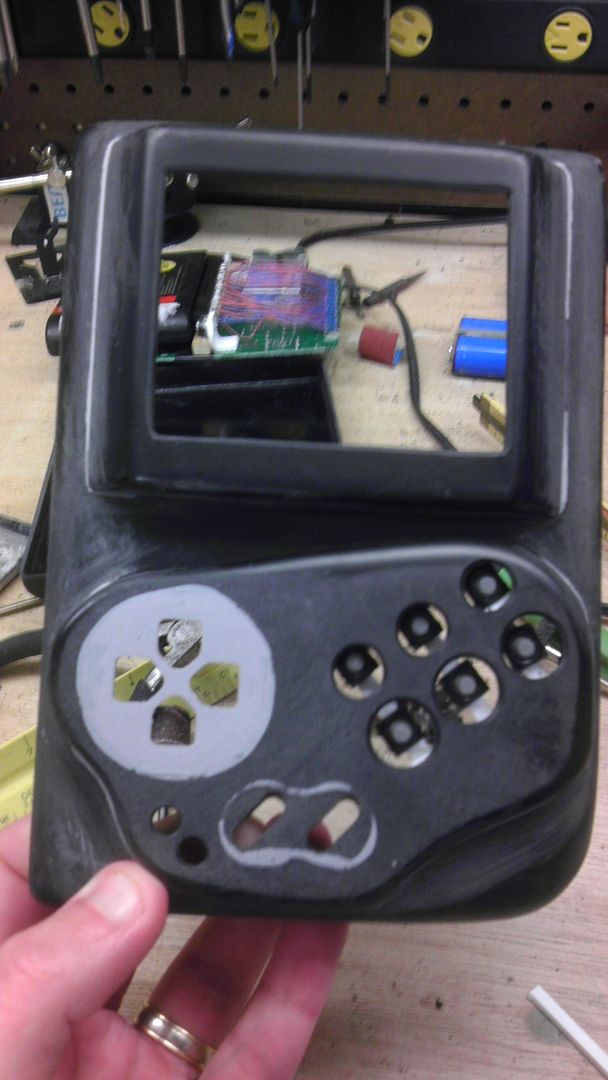
Readjusted the alinement as you can see in the later pictures so the tact buttons will hit center. The two small buttons on the bottom left are for volume control, using that mini amp that Hail showed us in the Reference Section.
IMAG0436.jpg


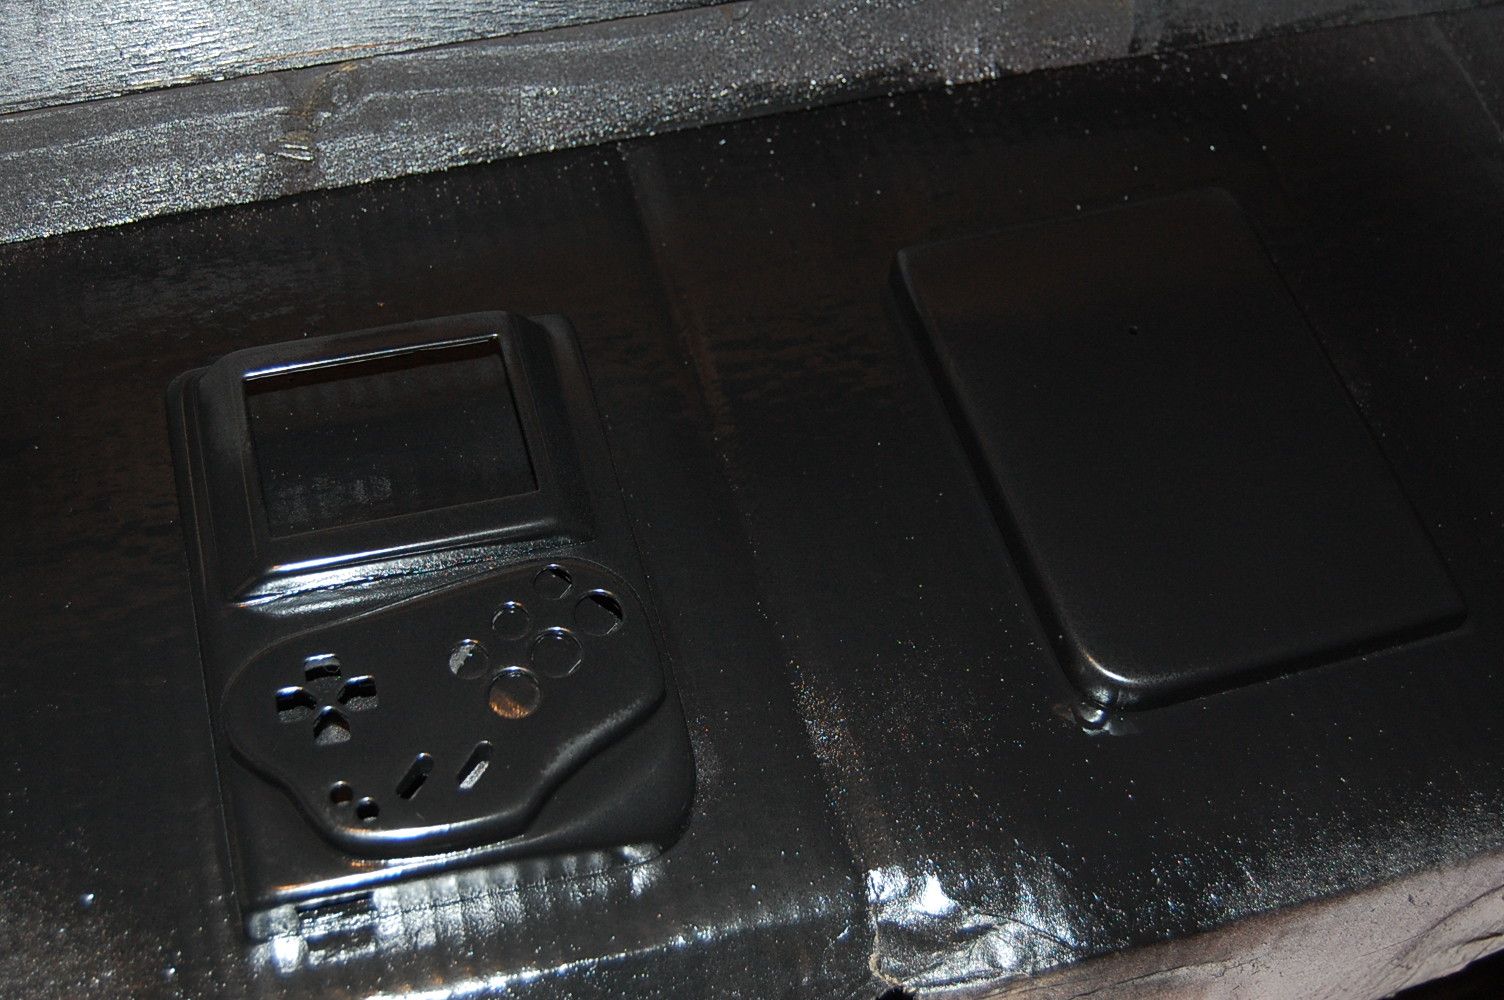
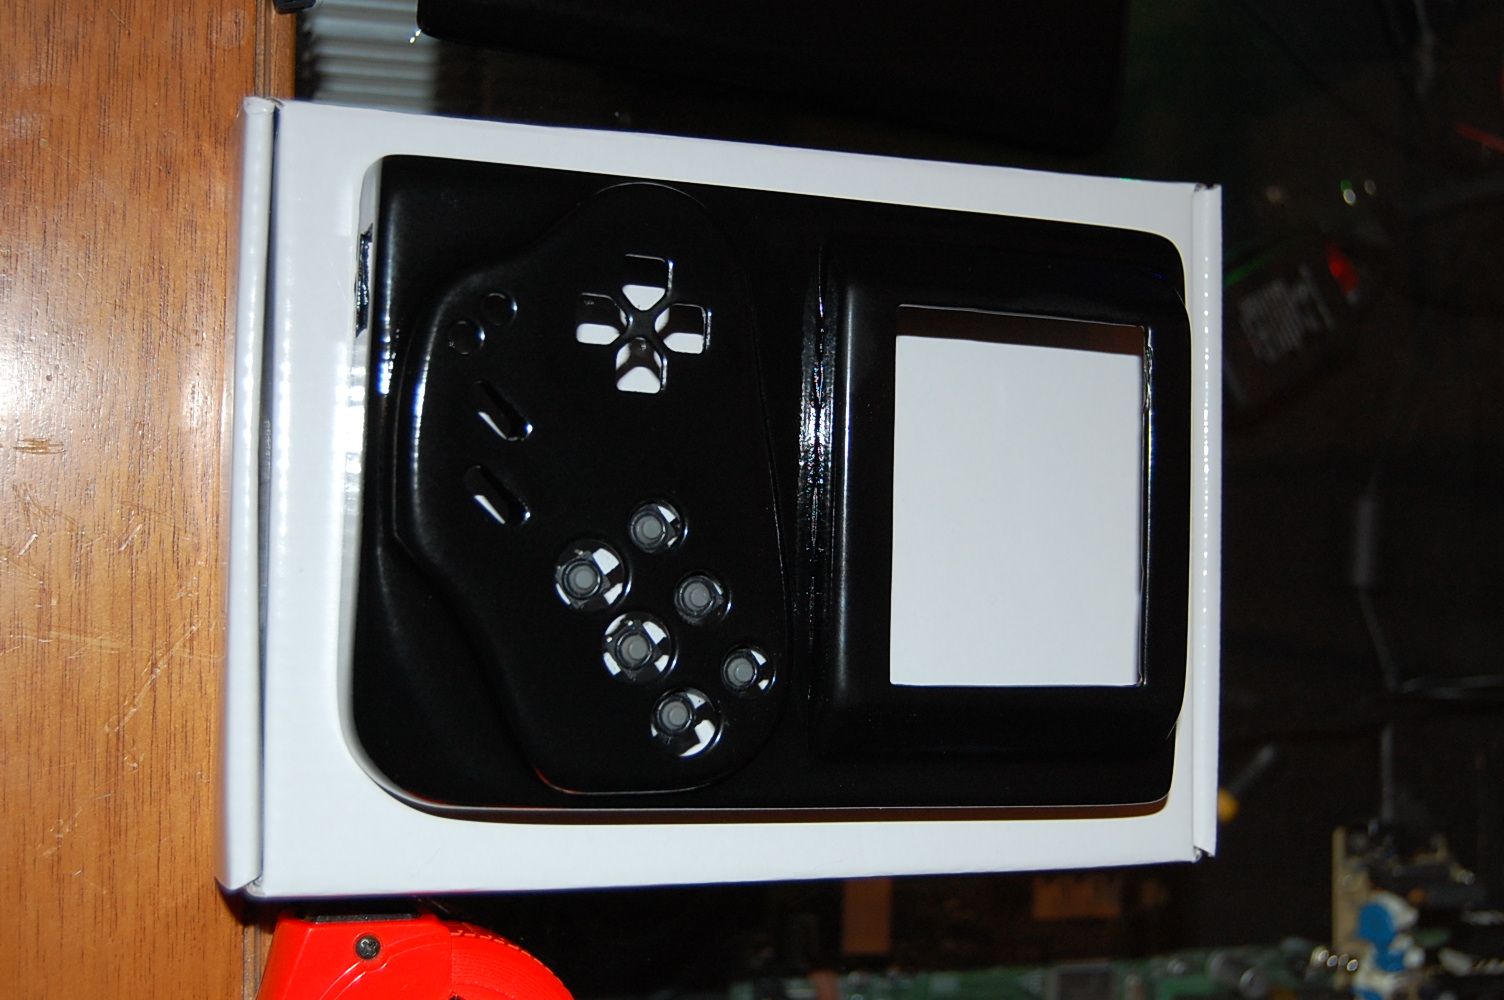
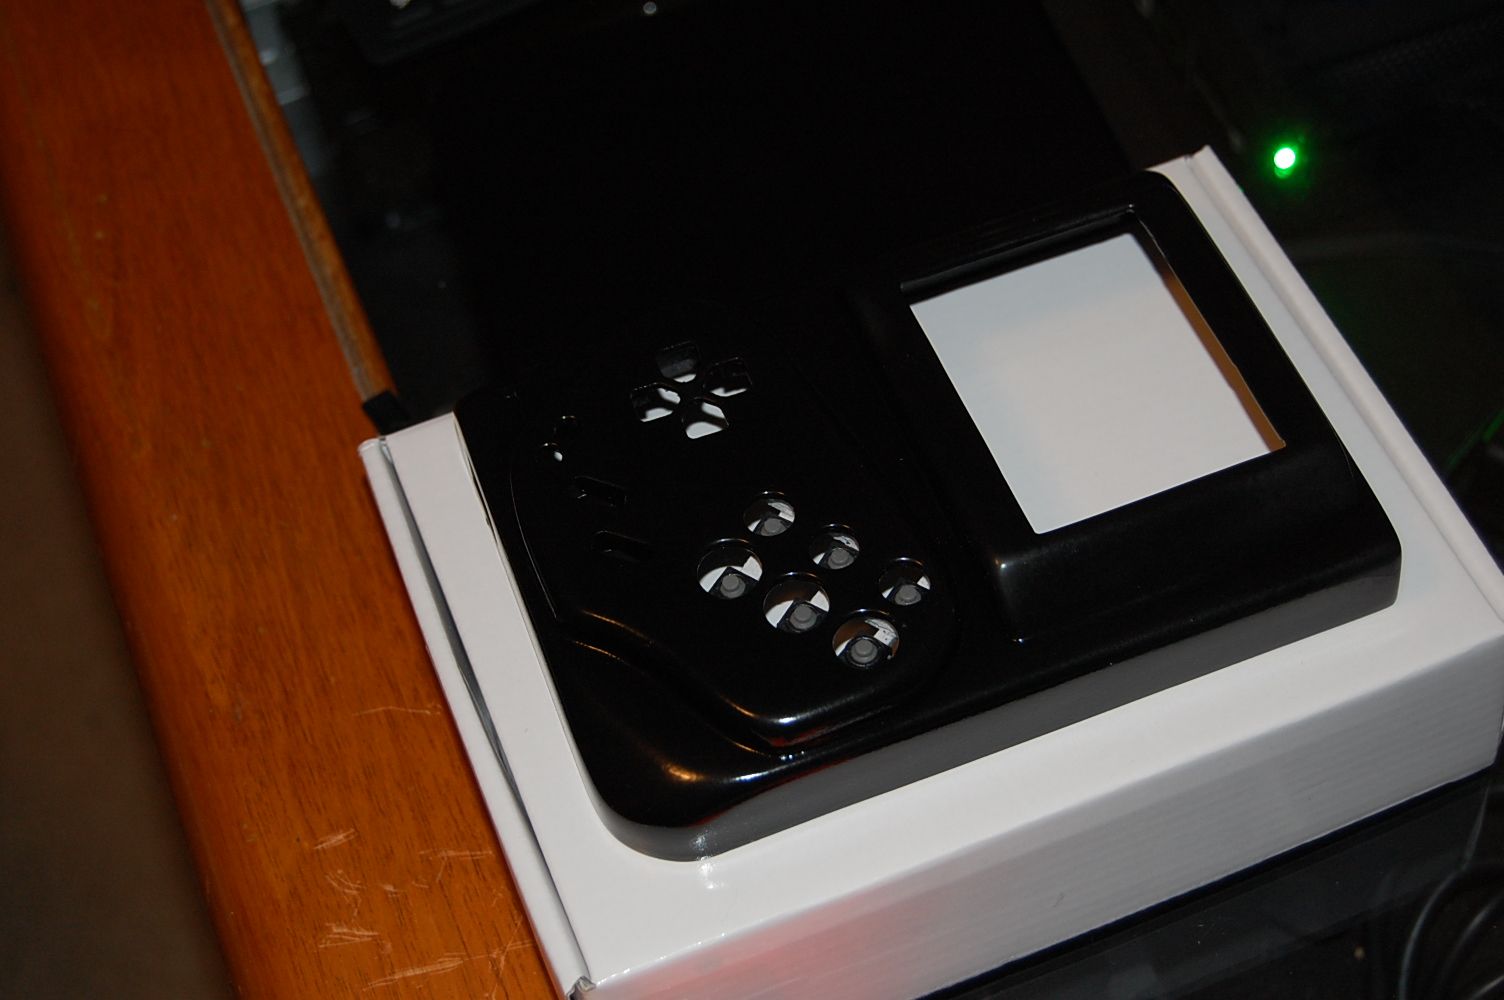
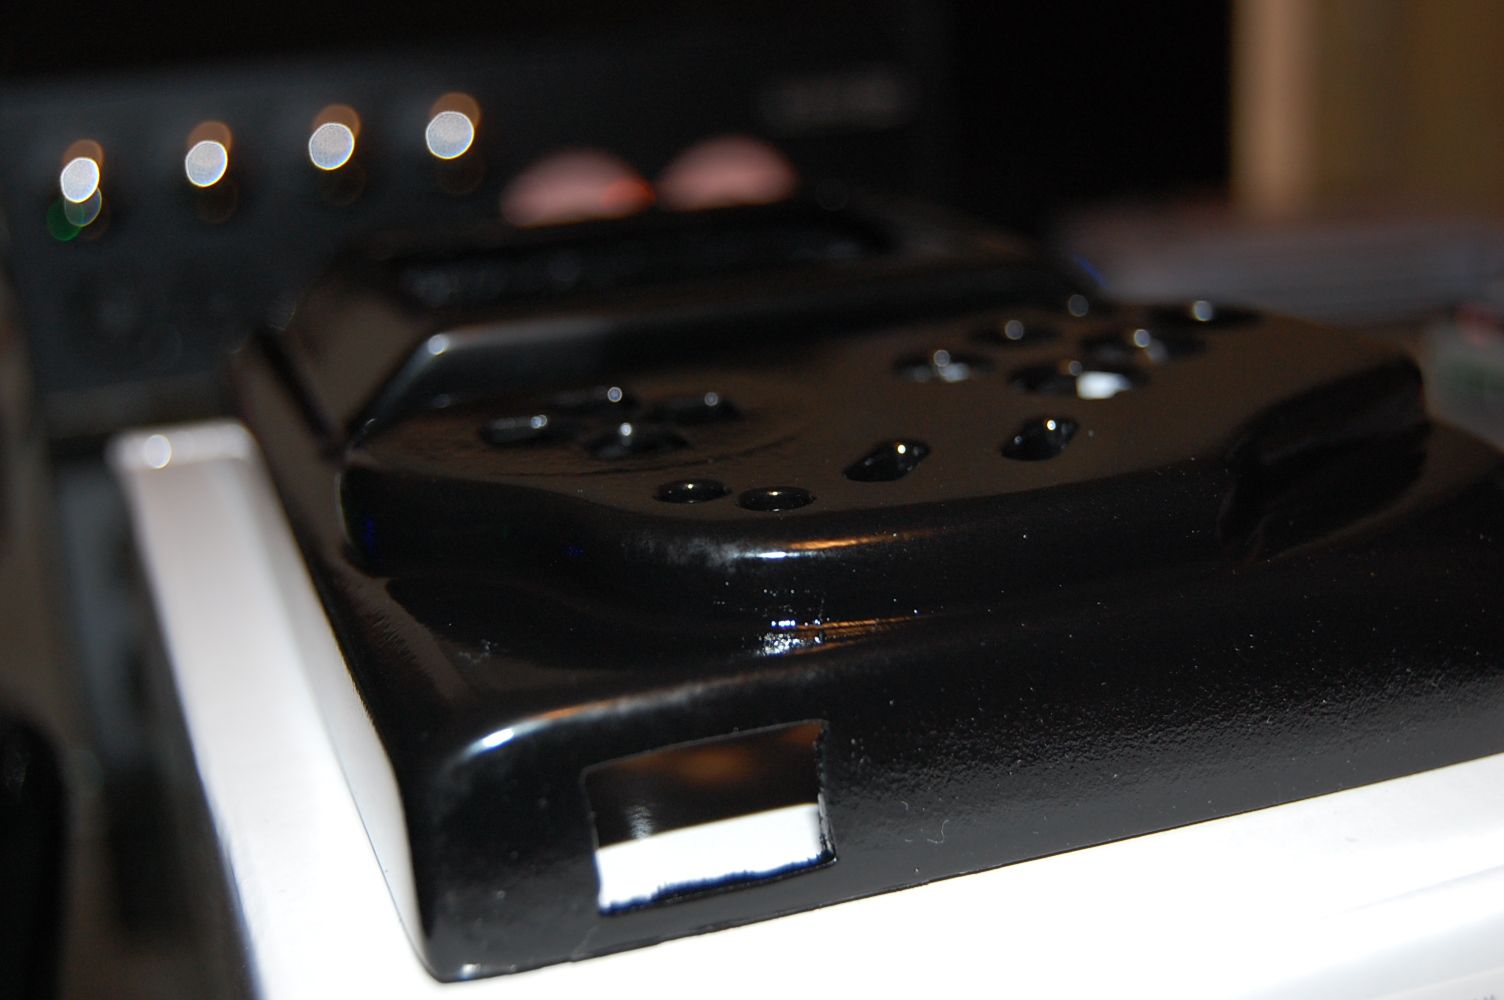
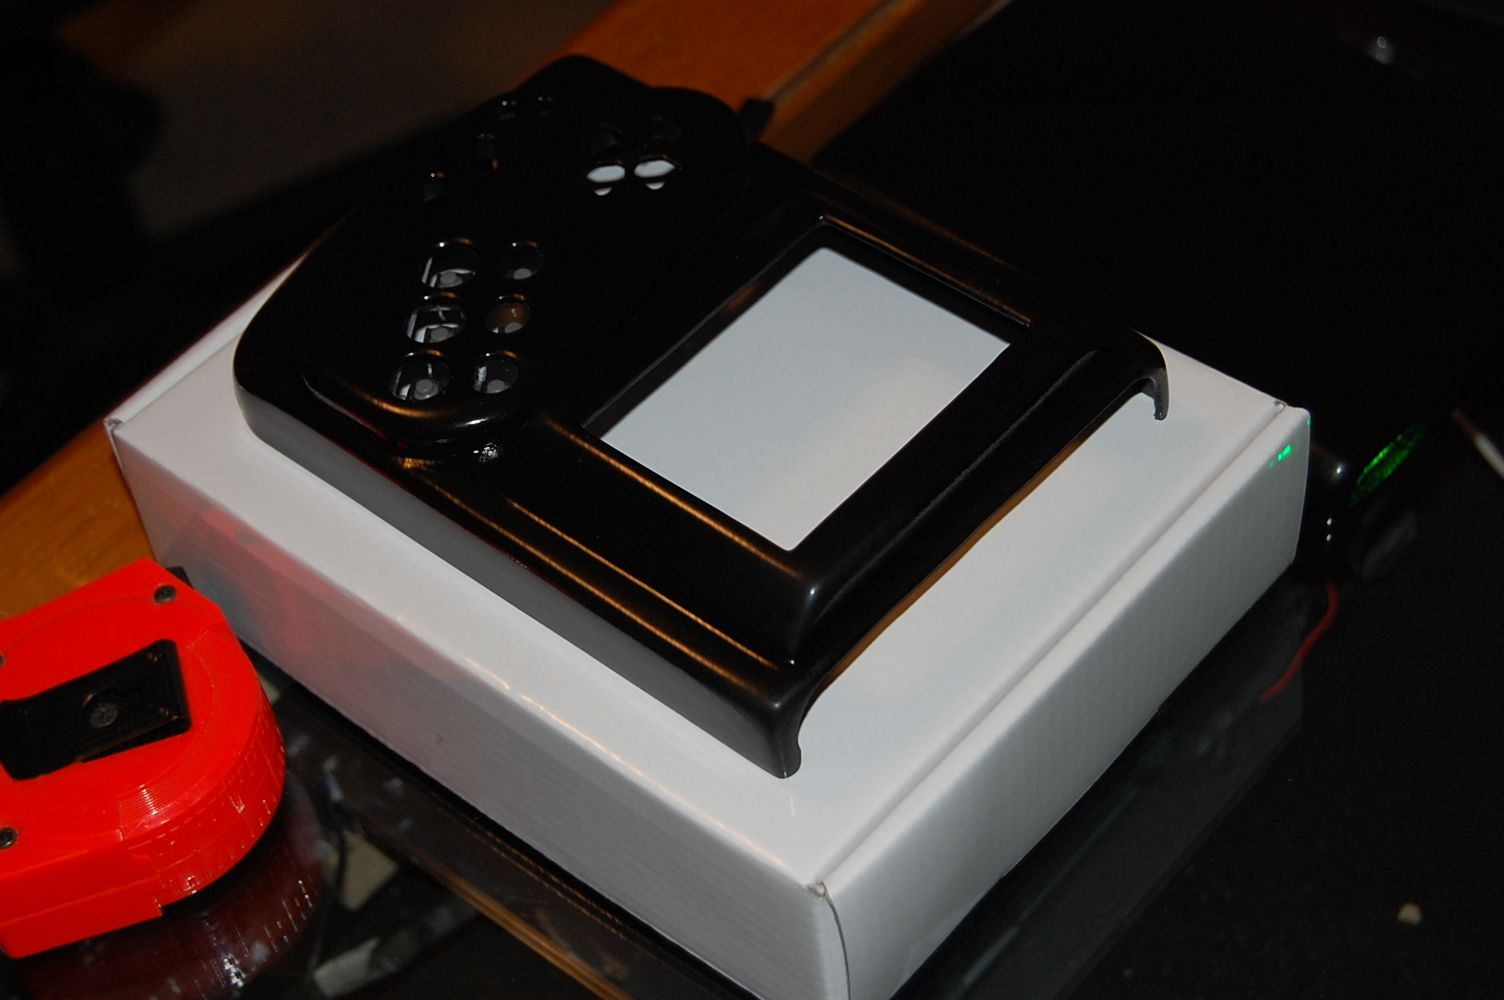
The rest are all dark pictures of the paint job. I put three coats of Satin Krylon Fusion and three coats of clear. Once these harden it will prevent finger prints and hide some of the imperfections which are quite apparent, but still beautiful in my eyes!
DSC_0351.jpg


DSC_0352.jpg


DSC_0353.jpg


This is where the rocker power switch is going. Was a tight fit and will be again now that there is a few layers of paint, but that will clear up with a bit of filing.
DSC_0355.jpg


And the top where the game is going to fit into the cart slot. Had to change my original design because of space issues, so the game facing the front now instead of the back is how it's going to work. But that's not a bad thing. I'm going to try and retro-fit the Genesis 3 doors into the system so the top isn't exposed when no game is in place, but we'll have to see if there is room.
DSC_0356.jpg


Anyway, all that's left is to wire up they system, tacts, batteries and mount the system securely in place. Have a feeling I'll be redoing the cart slot again though because of how my batteries need to be laid out, but we'll see where that lands next weekend!
 
Re: Downing's Genesis Portable, "The GeneBoy"

I will certainly tune in next week. :D
 
Re: Downing's Genesis Portable, "The GeneBoy"

Small update.

Got the D-Pad and the ABC XYZ buttons mounted as well as the screen. Forgot to take pics of the inside, but not much had changed other than how I mounted the tact switches on the D-pad. Not particularly feeling the tactile feedback from the D-pad as it feels like I need to push the rocker down into the case before it trips the switch. However if this is the fact, it will be an easy fix just to add spacer between the d-pad and the tact switch as those are not glued to each other like the buttons are.

Here's a pic. Started wiring the battery as well, just have to connect the 4 cells to the protection circuit. Did manage to send 8.145V at 2000mAh through my finger and up my arm though. When you take apart these BP-915 batteries at 2000mAh, they are rectangle cells, not round like in Bac's video. And, the are wrapped in a conductive foil. Well I didn't know that and by slight accident I touched the flat battery pad to the foil with my finger, made a spark and swore like a sailor!

Anyway, I put it down after that and figured I'd screw with that another day.

Here is the pic of progress so far.

IMAG0441.jpg
 
Re: Downing's Genesis Portable, "The GeneBoy"

Ok, didn't make much progress tonight, but I redid the D-pad and now I think it's too tight...finding this sweet spot is becoming a bit of a pain. Though there is enough free space so the D-pad can move a bit, I'm just concerned that when I'm pushing one direction, it might trigger another one inadvertently. We'll see though.

I also cut the hole out for the charger jack and mounted that in place.

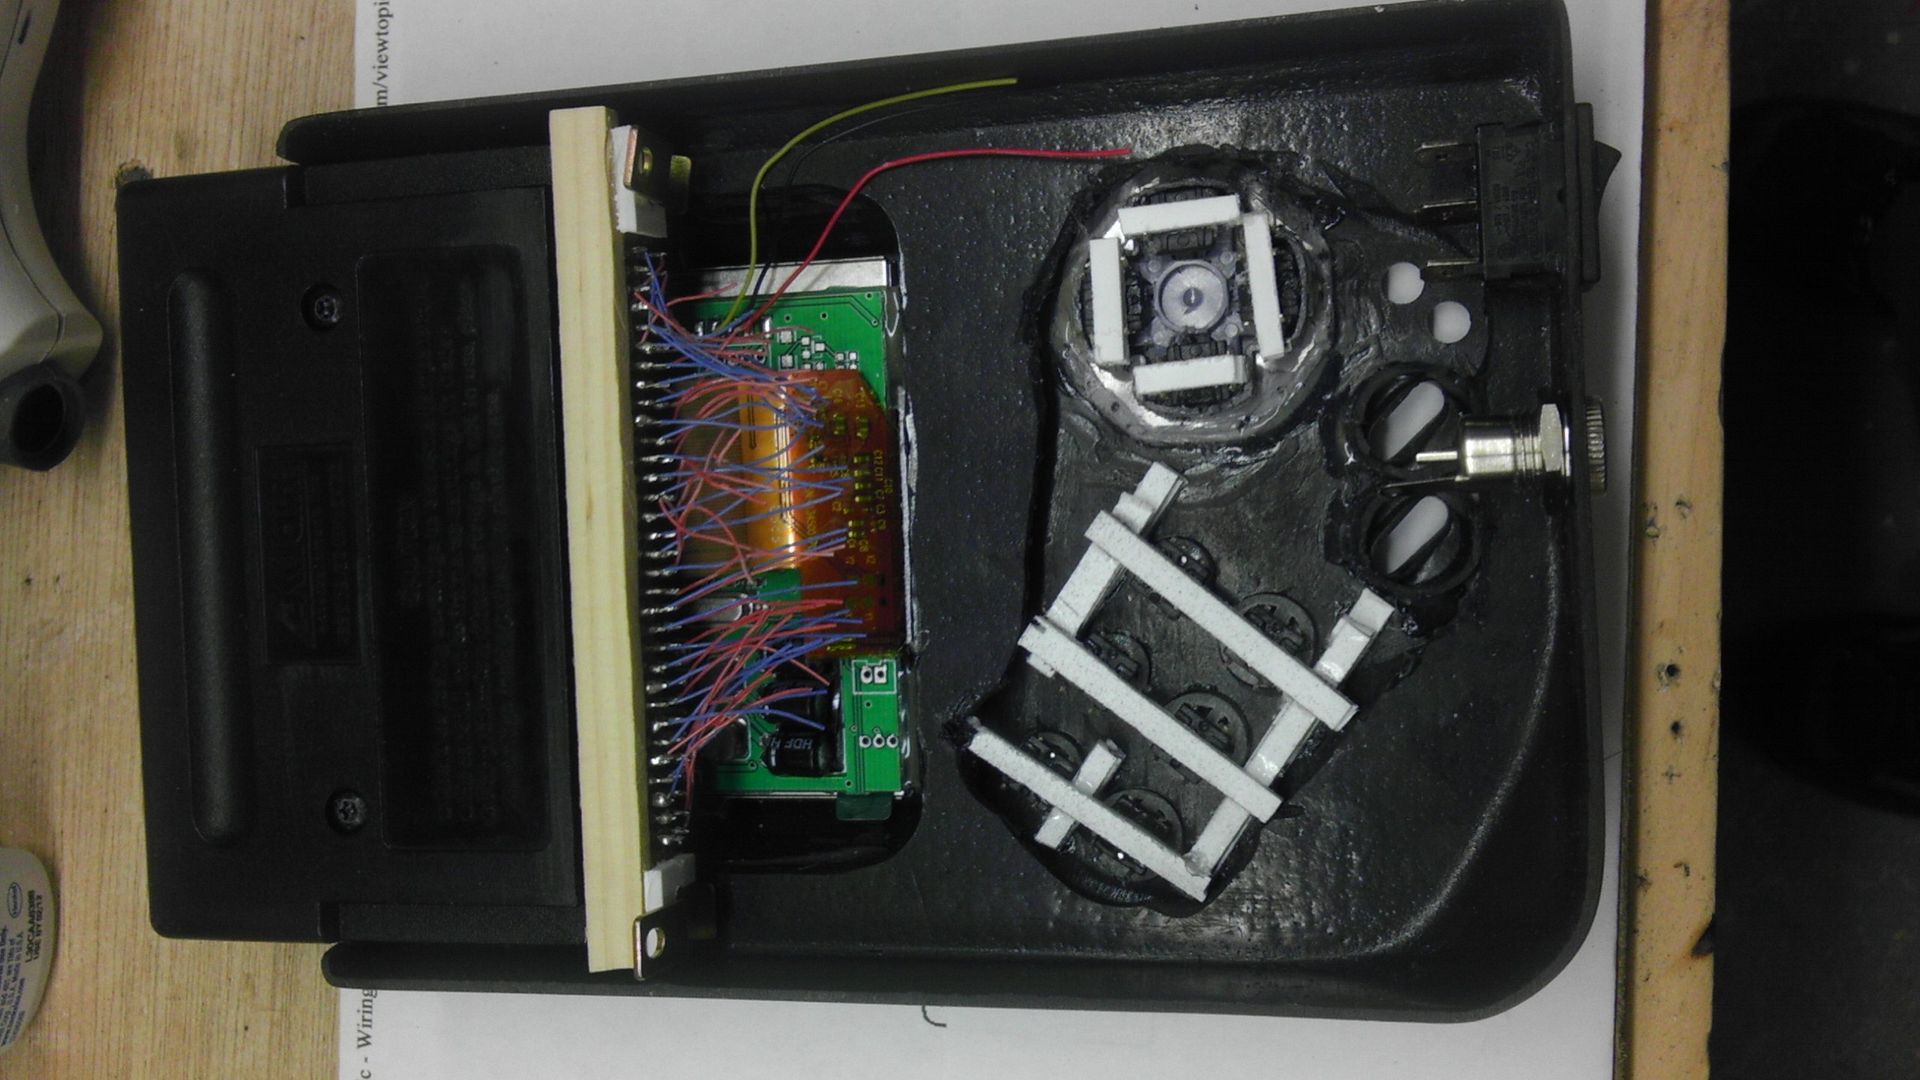
Now I'm working on actually mounting the cart slot to the inside of the casing instead of the actual Sega PCB. This will allow for a finer adjustment when I permanently mount it because when it was glued to the PCB, I could only adjust so far before the board itself would hit the side of the case and not allow for the game to be properly alined.

The system will still sit on top of the cart like it did before and the room underneath will now house the controller PCB and the batteries. Trying to wire this as smart as possible because I hate going to close up the system and because of the wires it ends up being another take-it-apart and try again deals. Here are a couple of pics.

IMAG0444.jpg


IMAG0445.jpg
 
Re: Downing's Genesis Portable, "The GeneBoy"

Thanks! Now if I could make a Dang portable work to fit into the case I'd be on to something! haha.
 
Re: Downing's Genesis Portable, "The GeneBoy"

Game Back On!!!! IT WORKS!

Was missing a ground wire which caused a small set back, plus I've been hurt and haven't touched this in over a week. Screen and system all boot up just fine which also proves my cart relocation to be flawless! Now I can mount the system to the inside of the case and start wiring up the controller and the sound amp. Gotta review Hails guide a bit to make sure I don't over load the amp with power and I gotta figure out how to take the tact switches off the amp and wire them to the mounted ones! All in all, the hard part is over and I might be able to have this finished by the weekend, if not, definitely after!

For composite, I'm am actually quite impressed with the quality of this screen and it's color balance. Everything is clear and vibrant, even with the anti-glare screen.

We'll see if I can get this done for the weekend!

IMAG0458.jpg
 
Re: Downing's Genesis Portable, "The GeneBoy" It Works!!!

Freaking nice, man! Oh, this makes me wanna get back my old genny parts from BM and work on my genny again. It's looking really good!
 
Re: Downing's Genesis Portable, "The GeneBoy" It Works!!!

Well if you want, I've got a spare Genesis 2 and Genesis 1 that I don't plan on using, however the Gene 2 didn't work right off the bat and I haven't tested the Gene 1. But if you want the parts I'll cut you a good deal :) I'm not gonna use them as I have another Gene 3 and a working Gene 2 which I'll keep for my 32X and Sega CD.
 
Re: Downing's Genesis Portable, "The GeneBoy" It Works!!!

That looks sexy small. I didn't realize until that last pic just how tiny this thing was. Nice work Downing. :D
 
Re: Downing's Genesis Portable, "The GeneBoy" It Works!!!

Yeah the Genesis 3 has a small board, probably about the size of a game cube board. This will be pretty girthy though, about 1-3/4" thick from back to button top, but that's not too bad. It's probably about a 1/4+ the size of a DMG casing. Rough guess anyway.
 
Back
Top