Downing
Well-Known Member
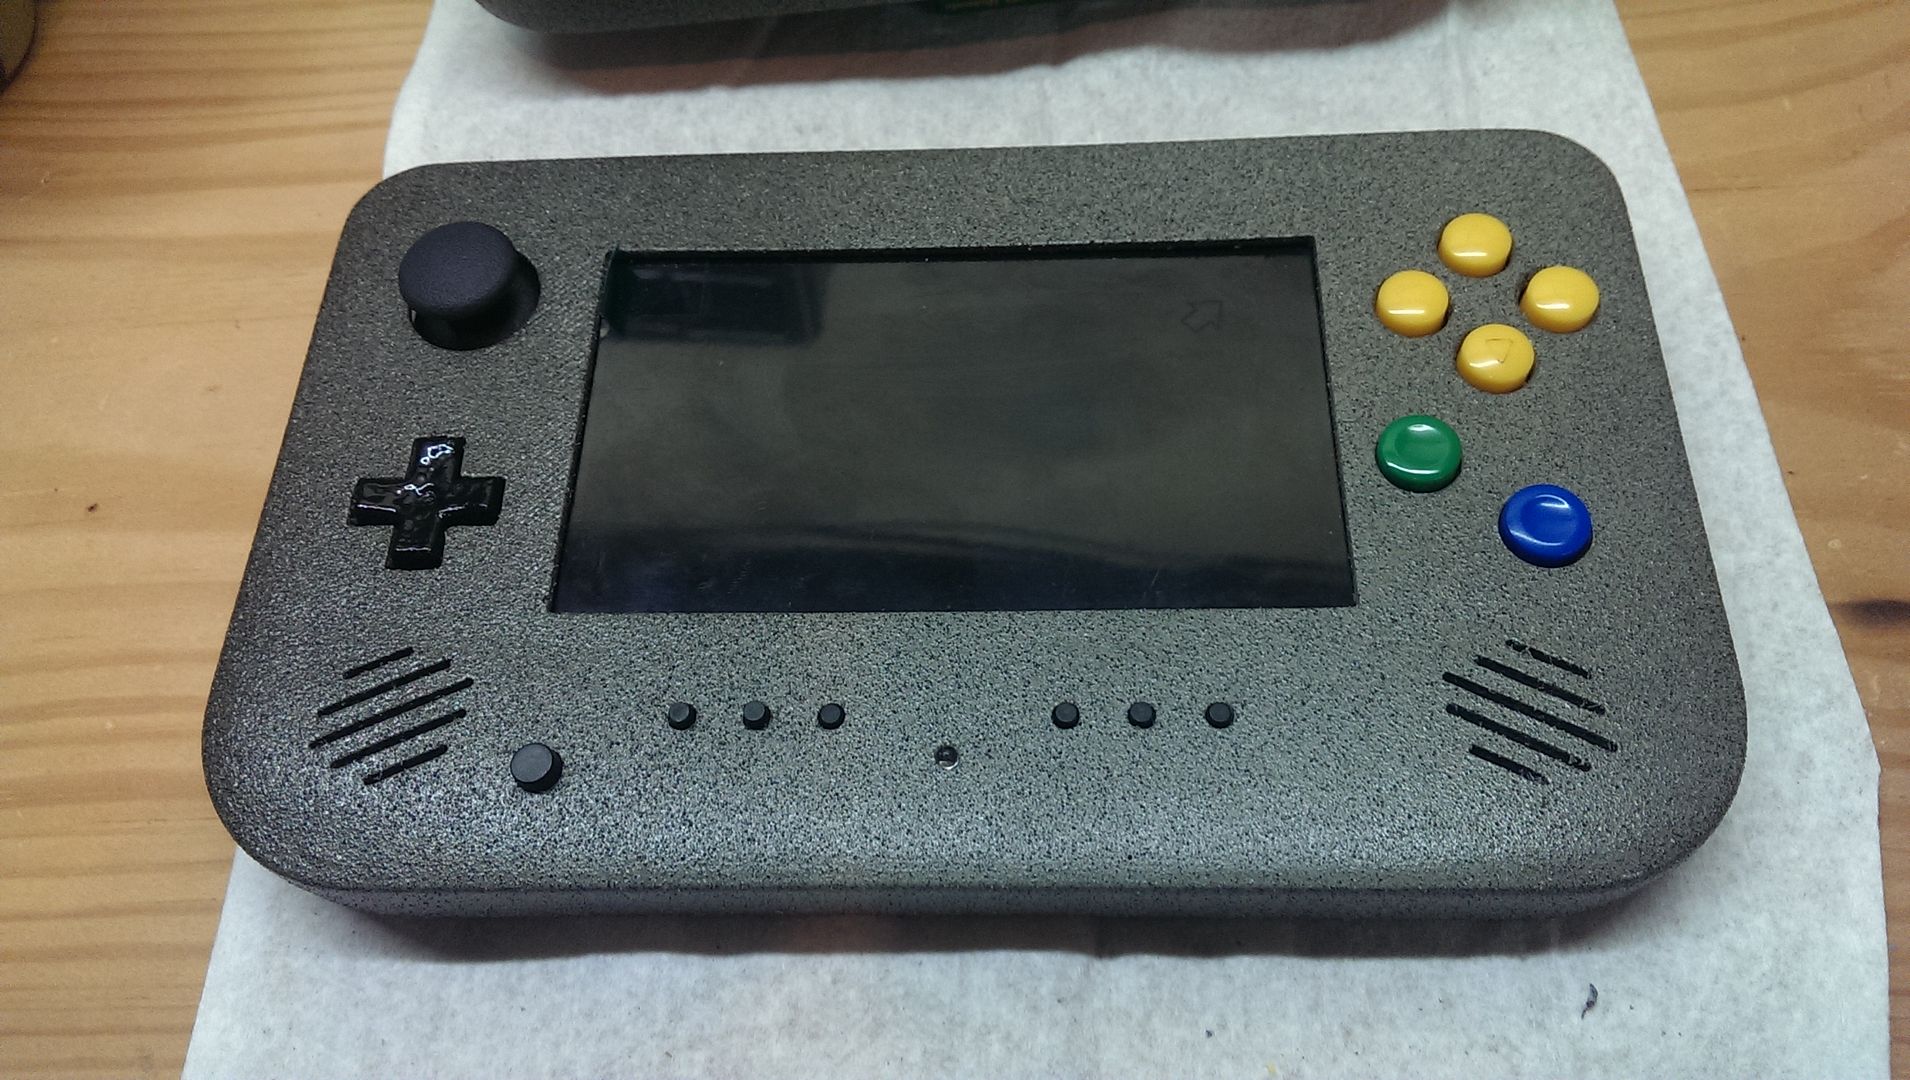
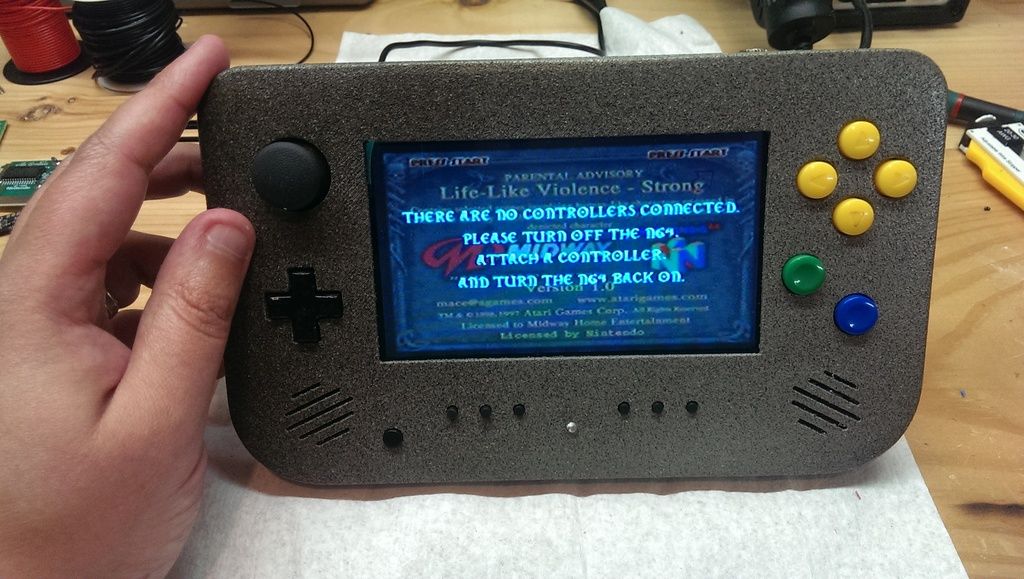
So not more than 2 weeks went by after completing my first N64p commission before I had another one in the works! This was pretty cool because never have I made two of the same style system before, which made for a very improved and tweaked model over the first version.
That being said, I'm also amazed at how fast this one is going, though it's really not that surprising considering it's a second run of the same style system.
This one did however throw a couple of curve balls at me. For one, this is a PAL system as the buyer is in the UK. So I had to order a special wall power adapter and a US to EUR step down converter for the battery charger as the batteries I use require a special smart charger.
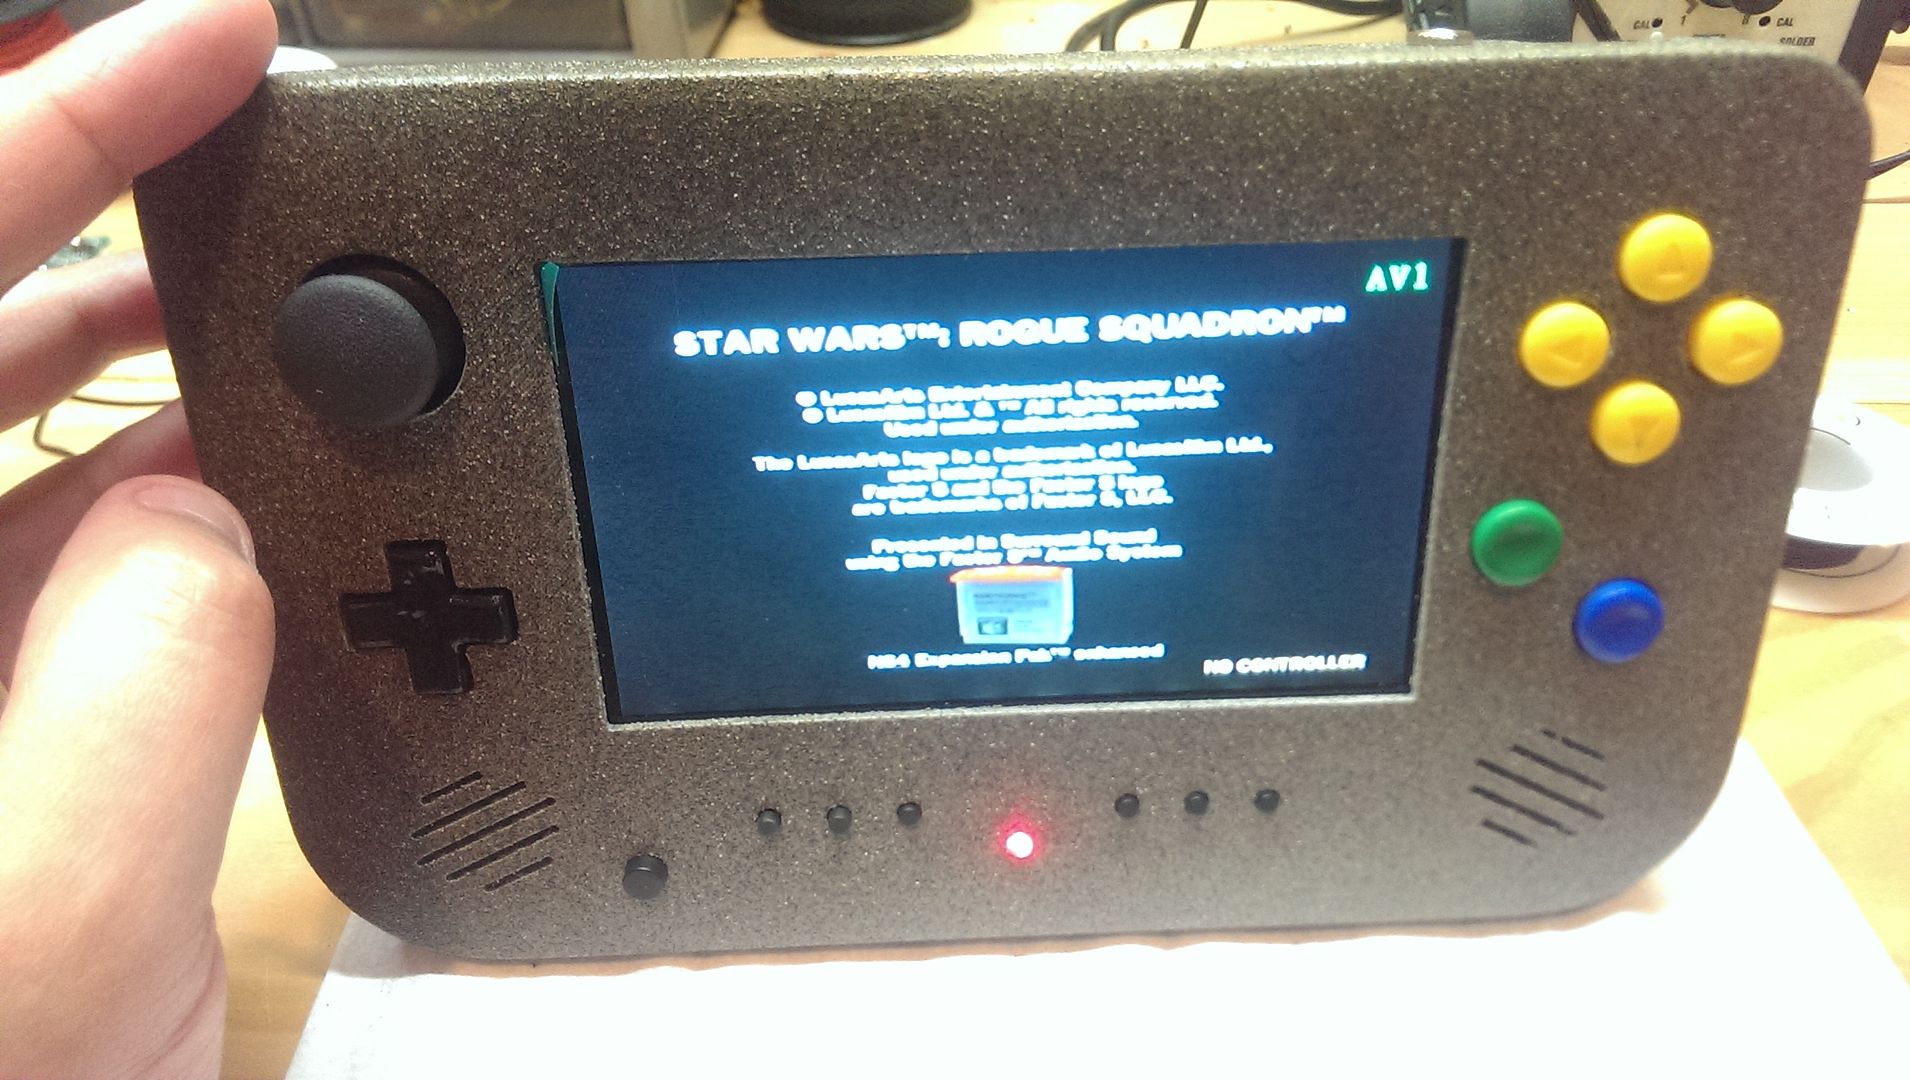
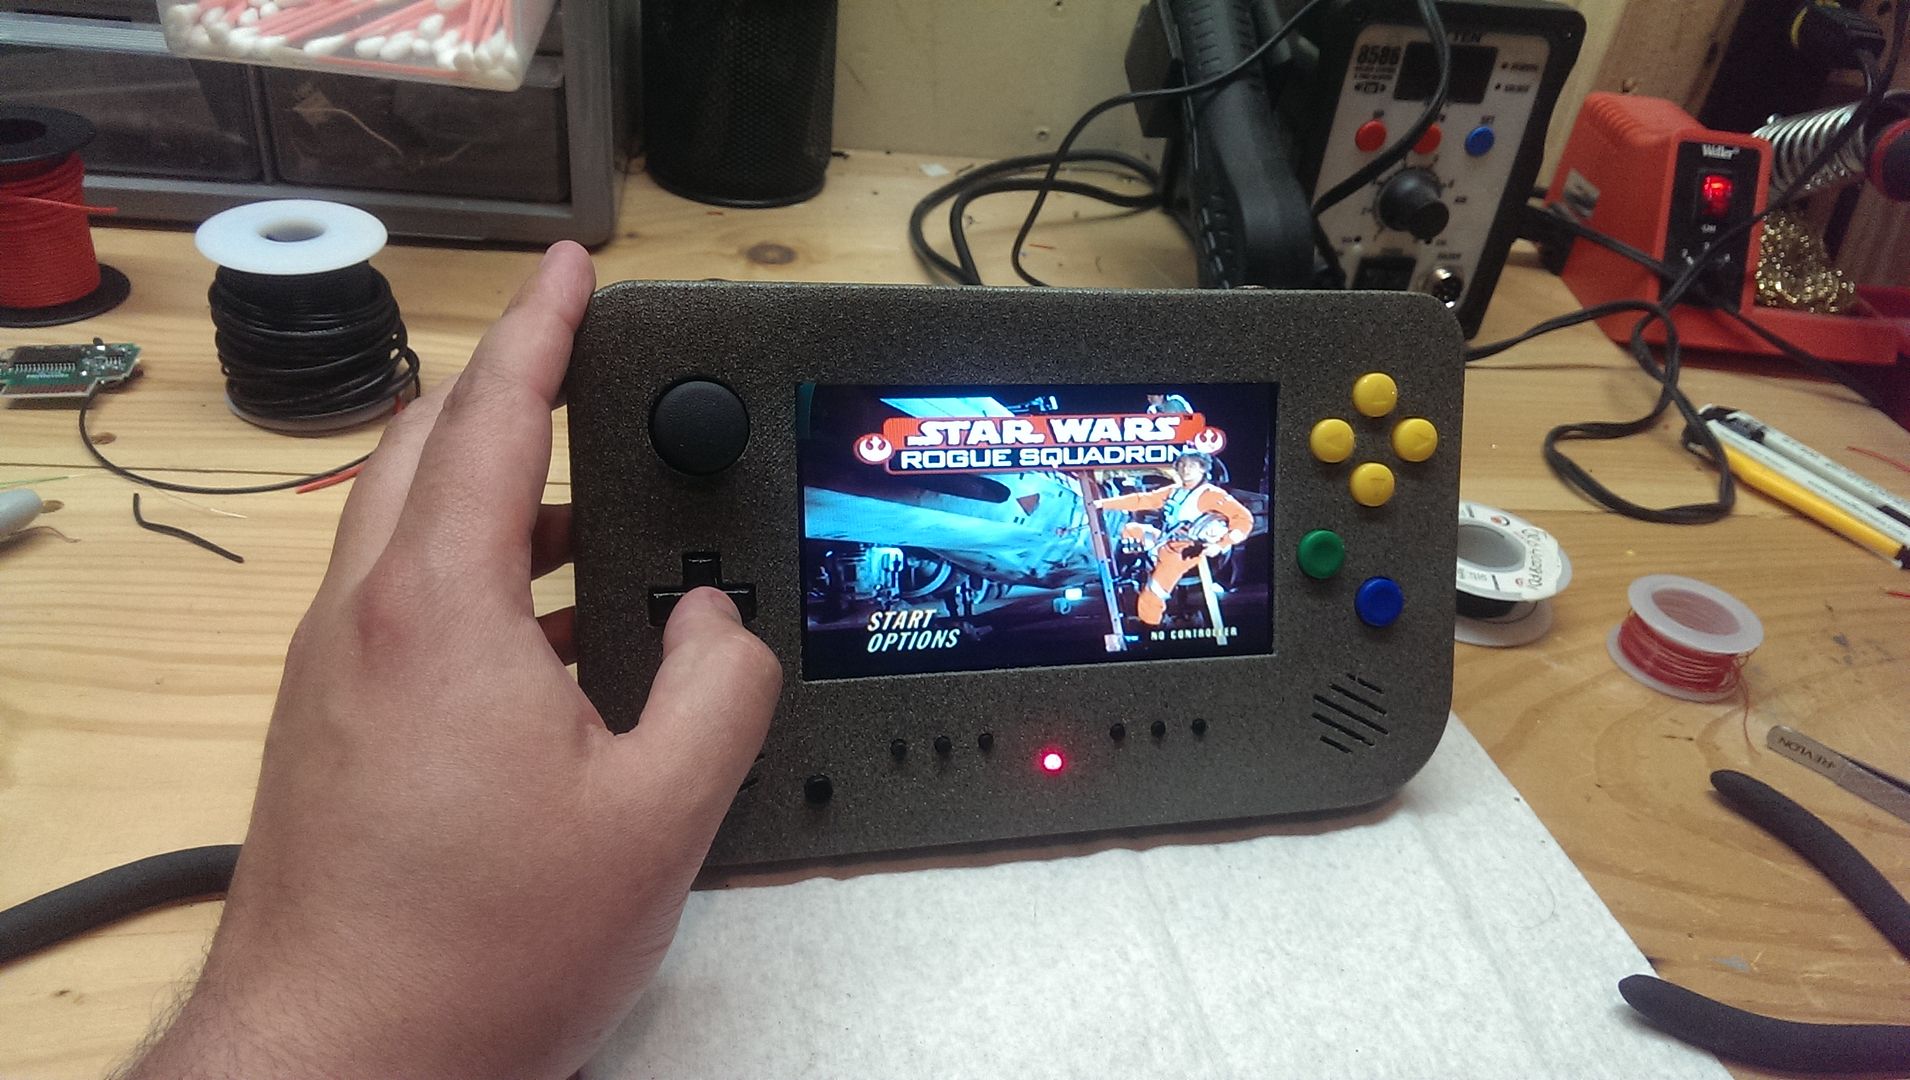
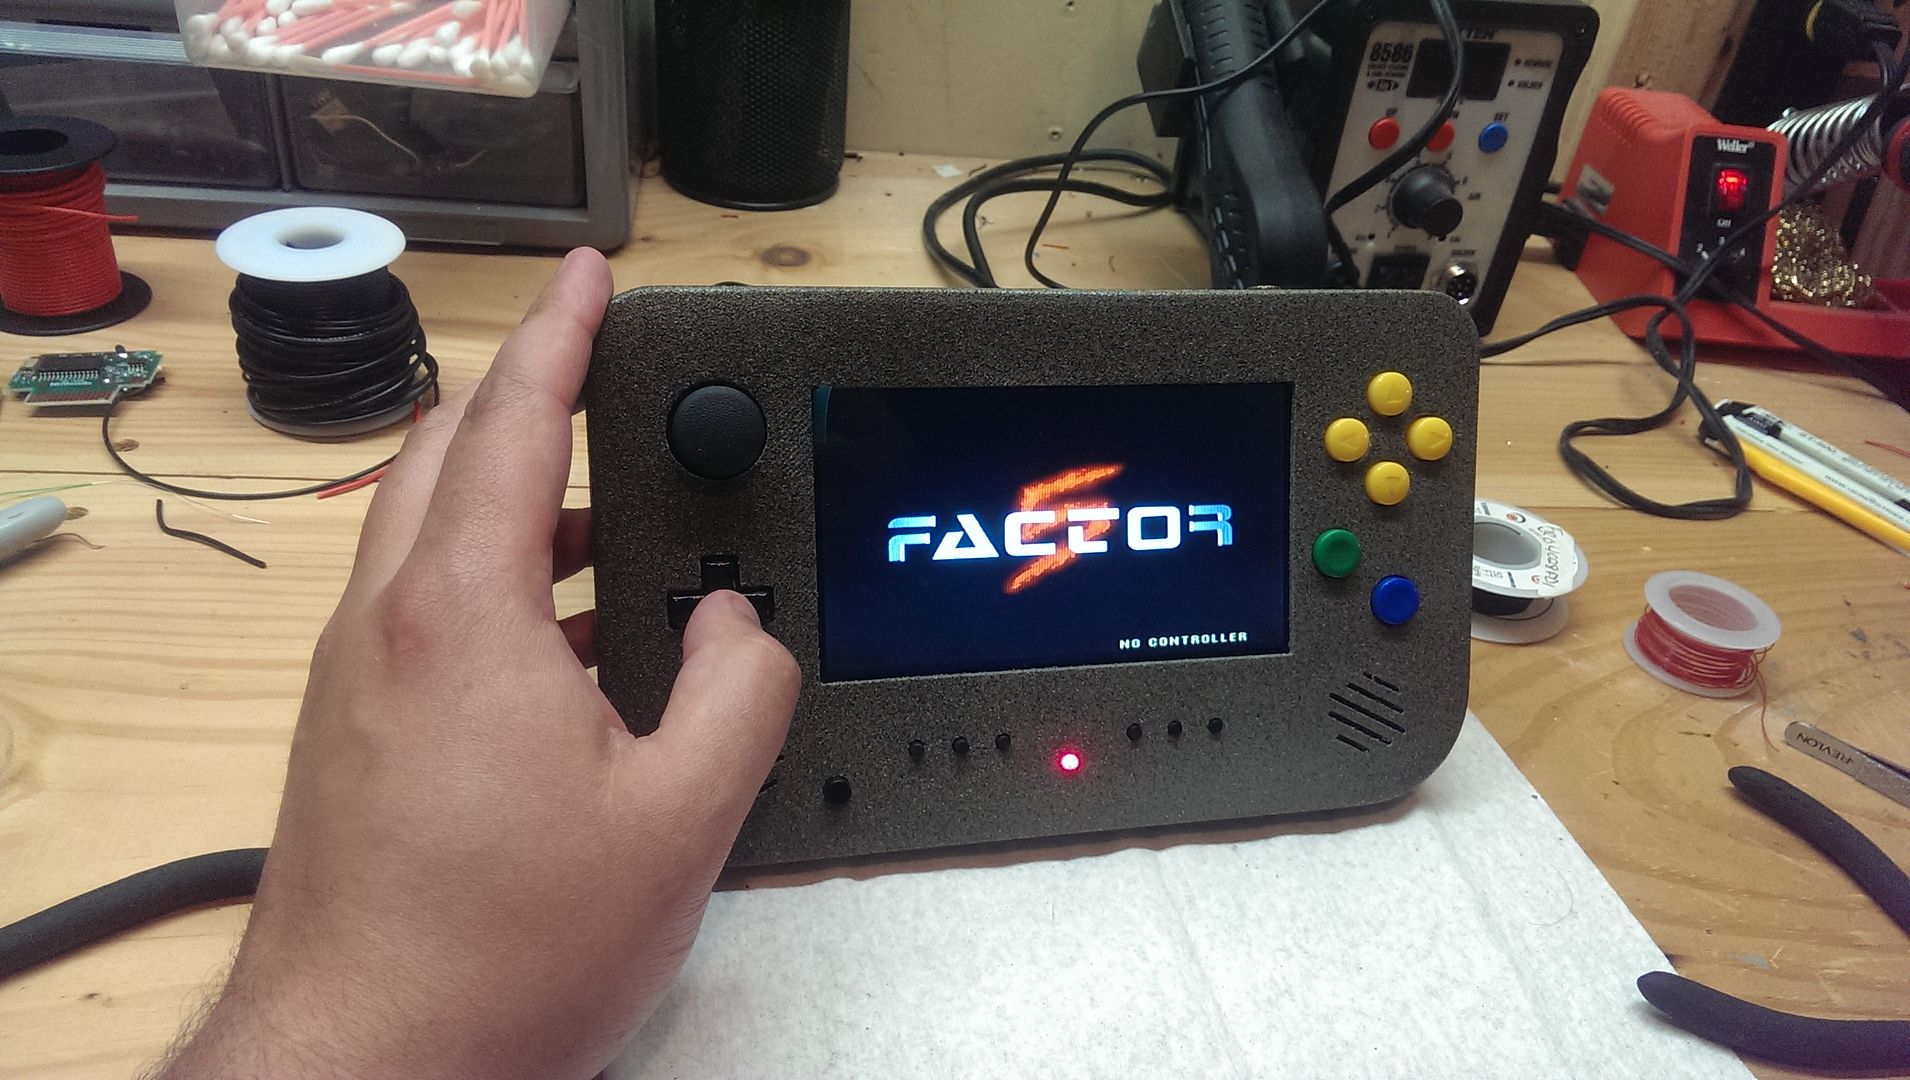
Anyway, here are a bunch of pics show my progress in the past two weeks. As I said, I'm way ahead where I would normally be on a first run so it's all coming together nicely.
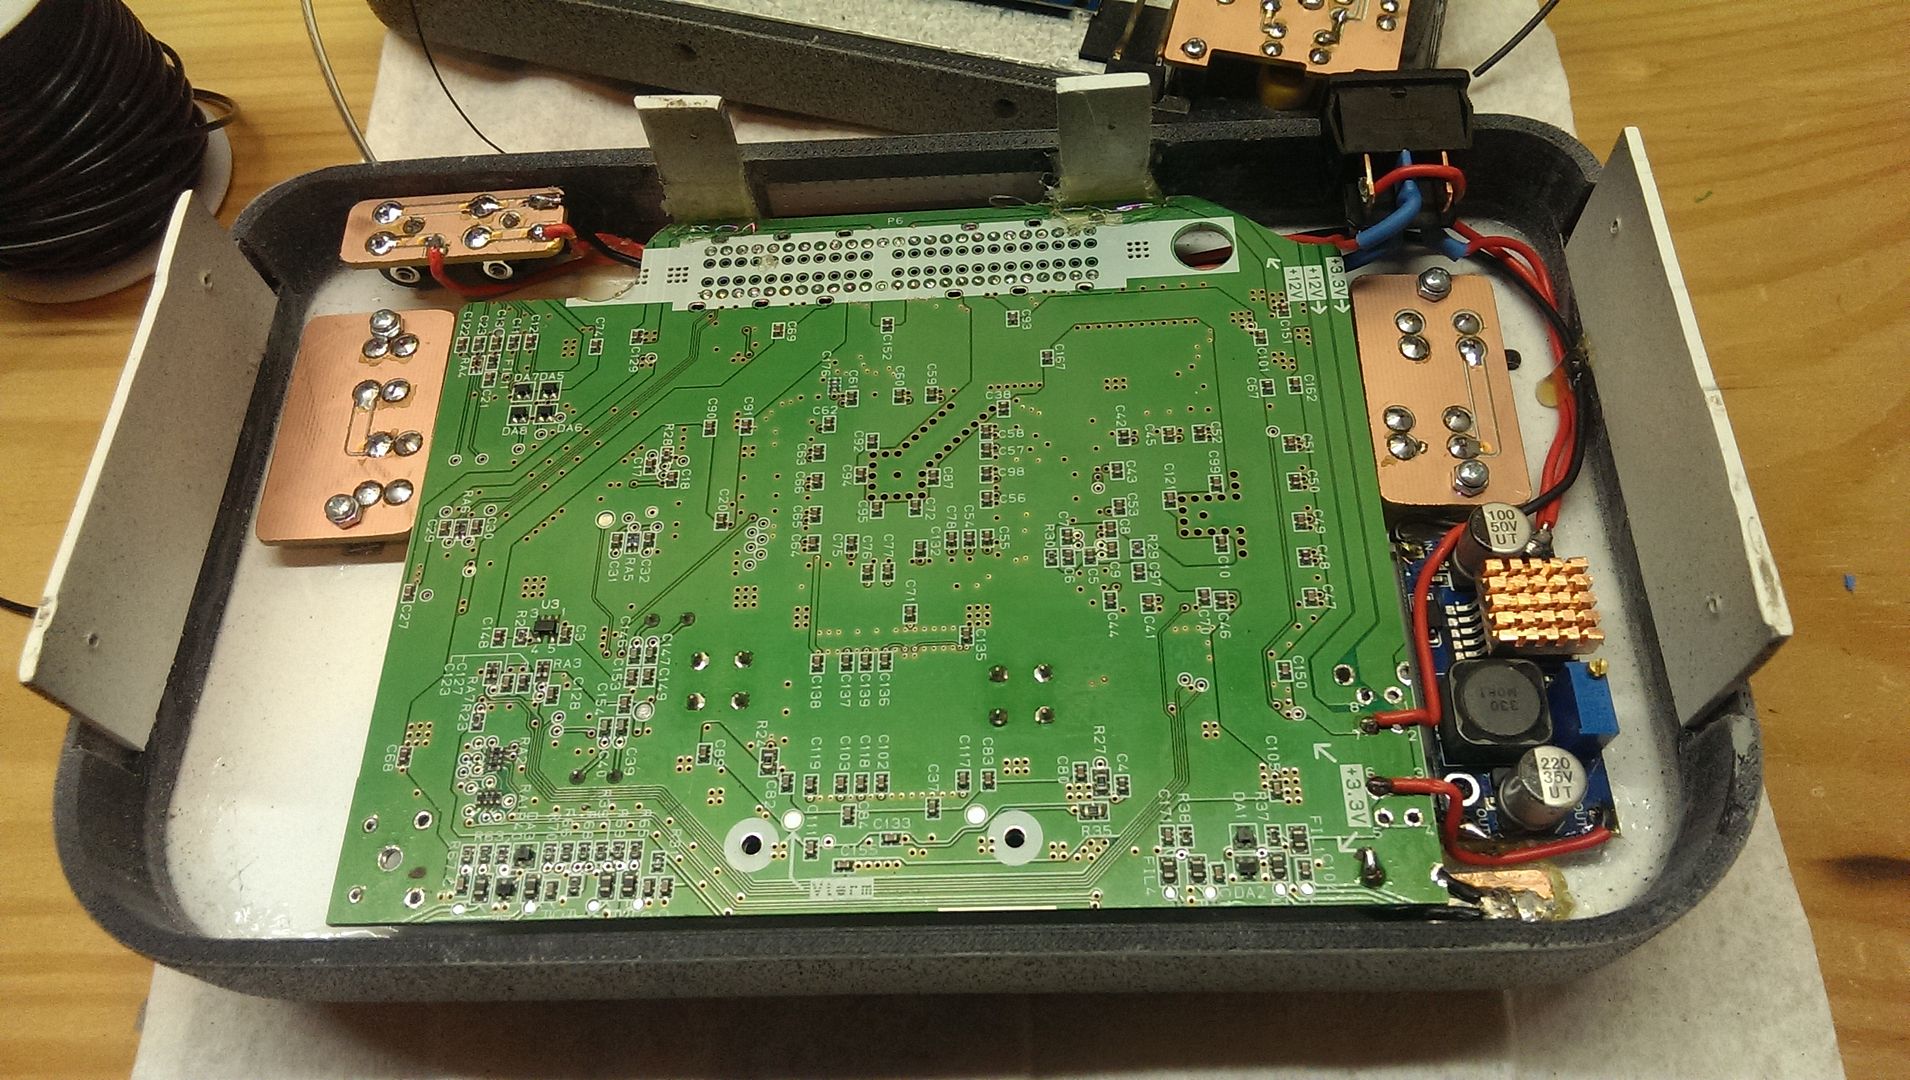
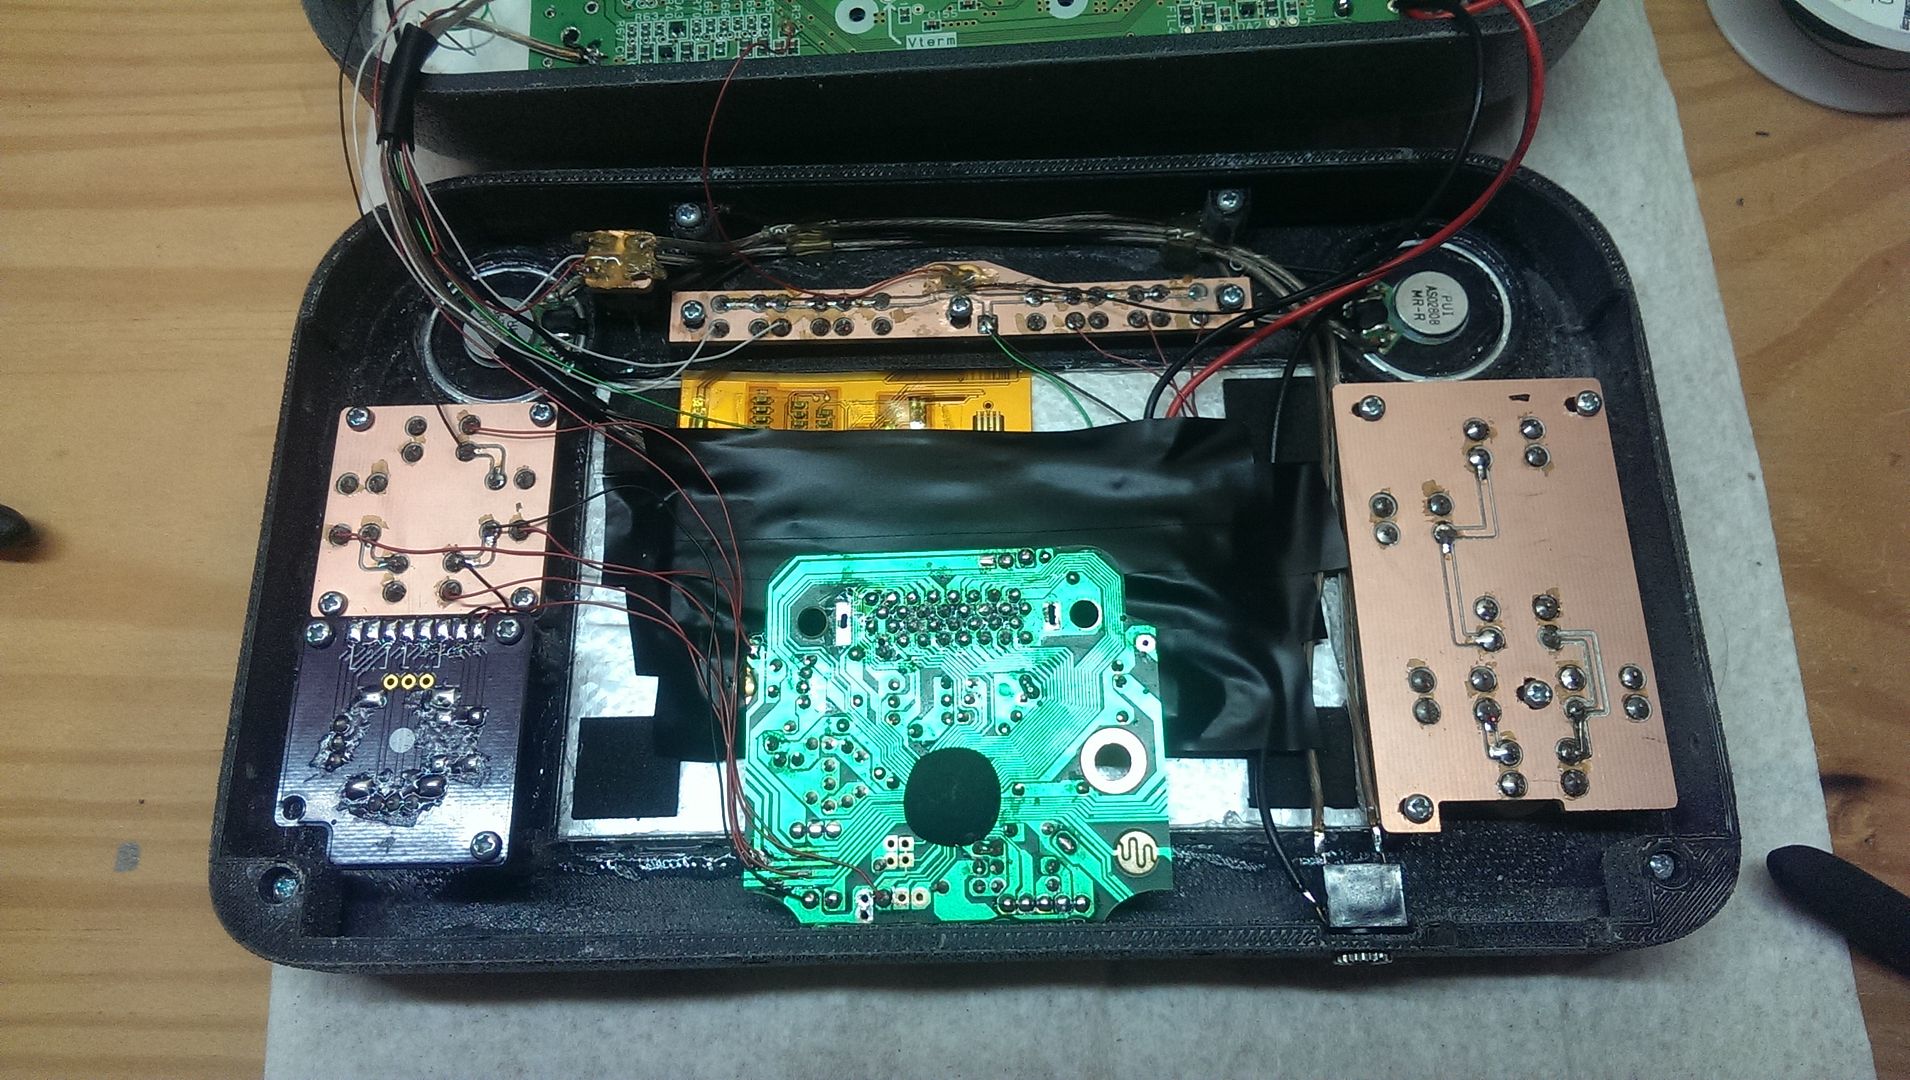
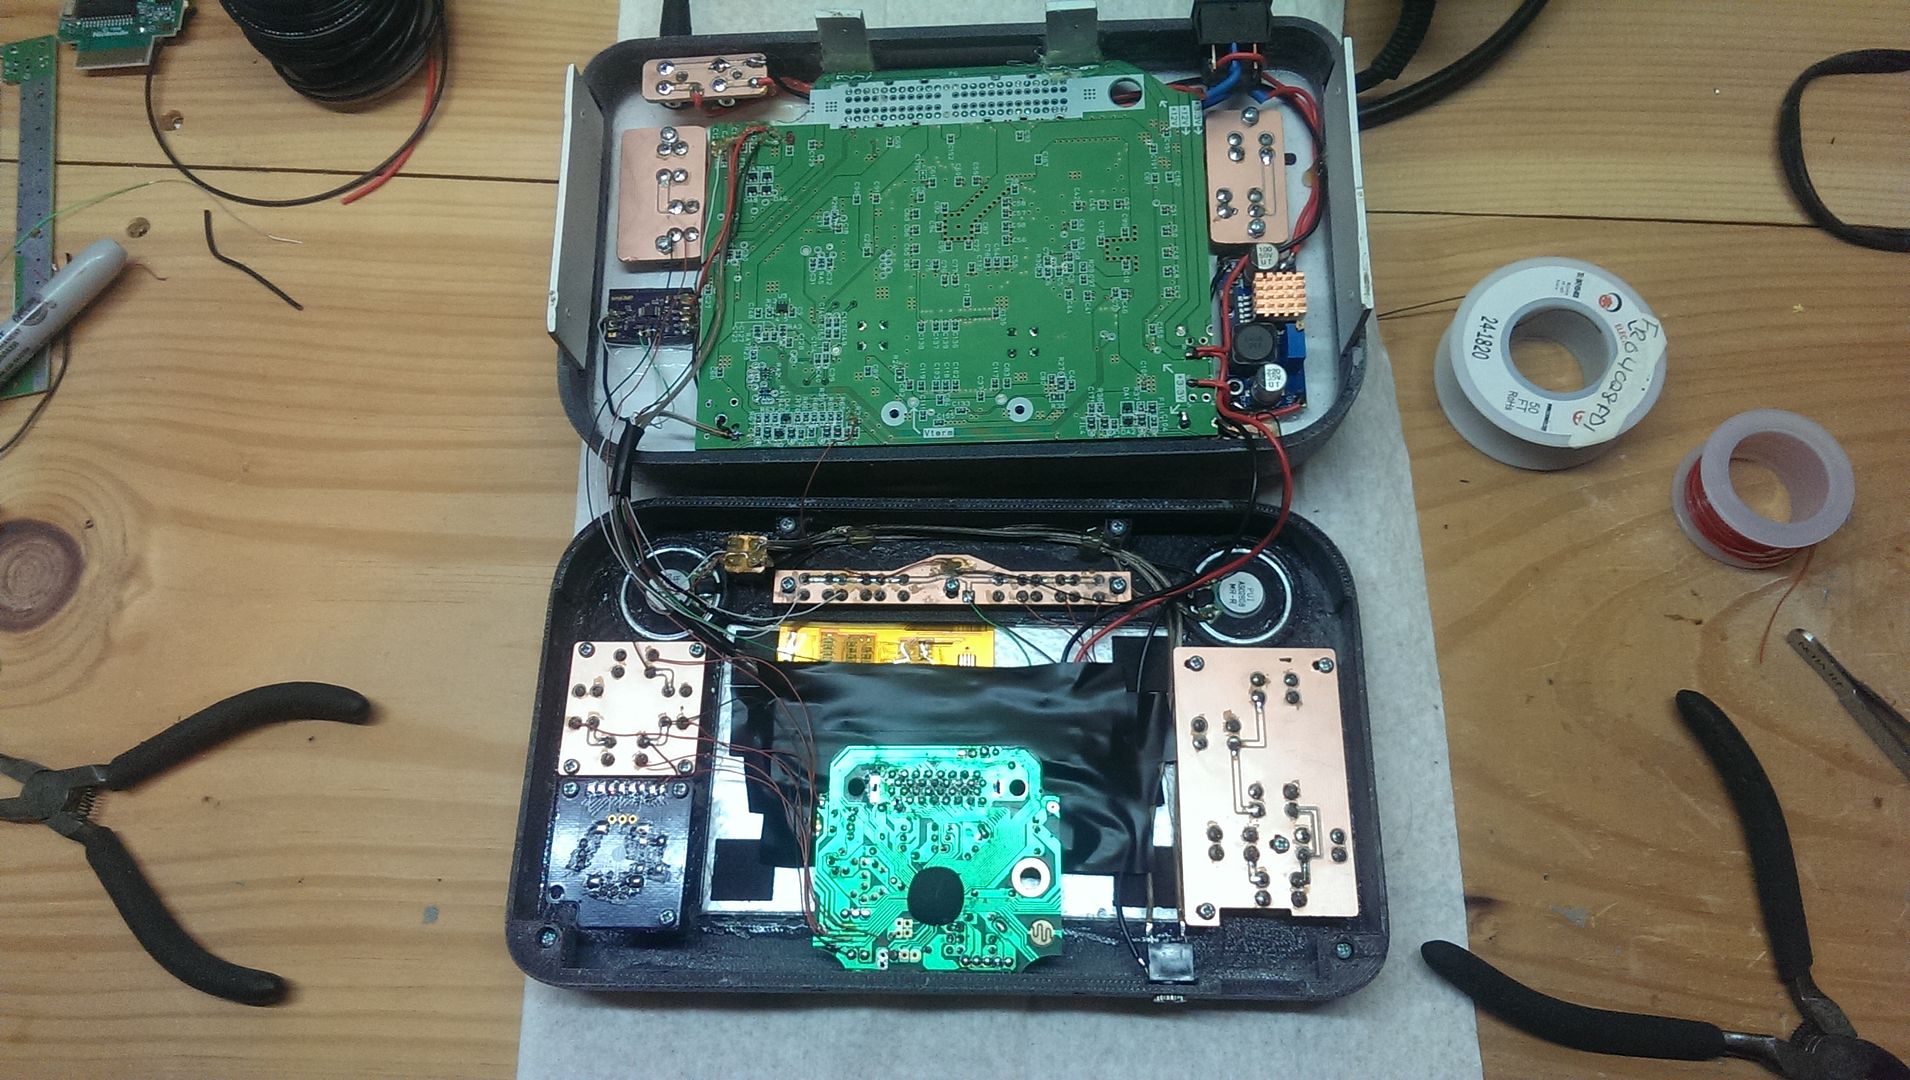
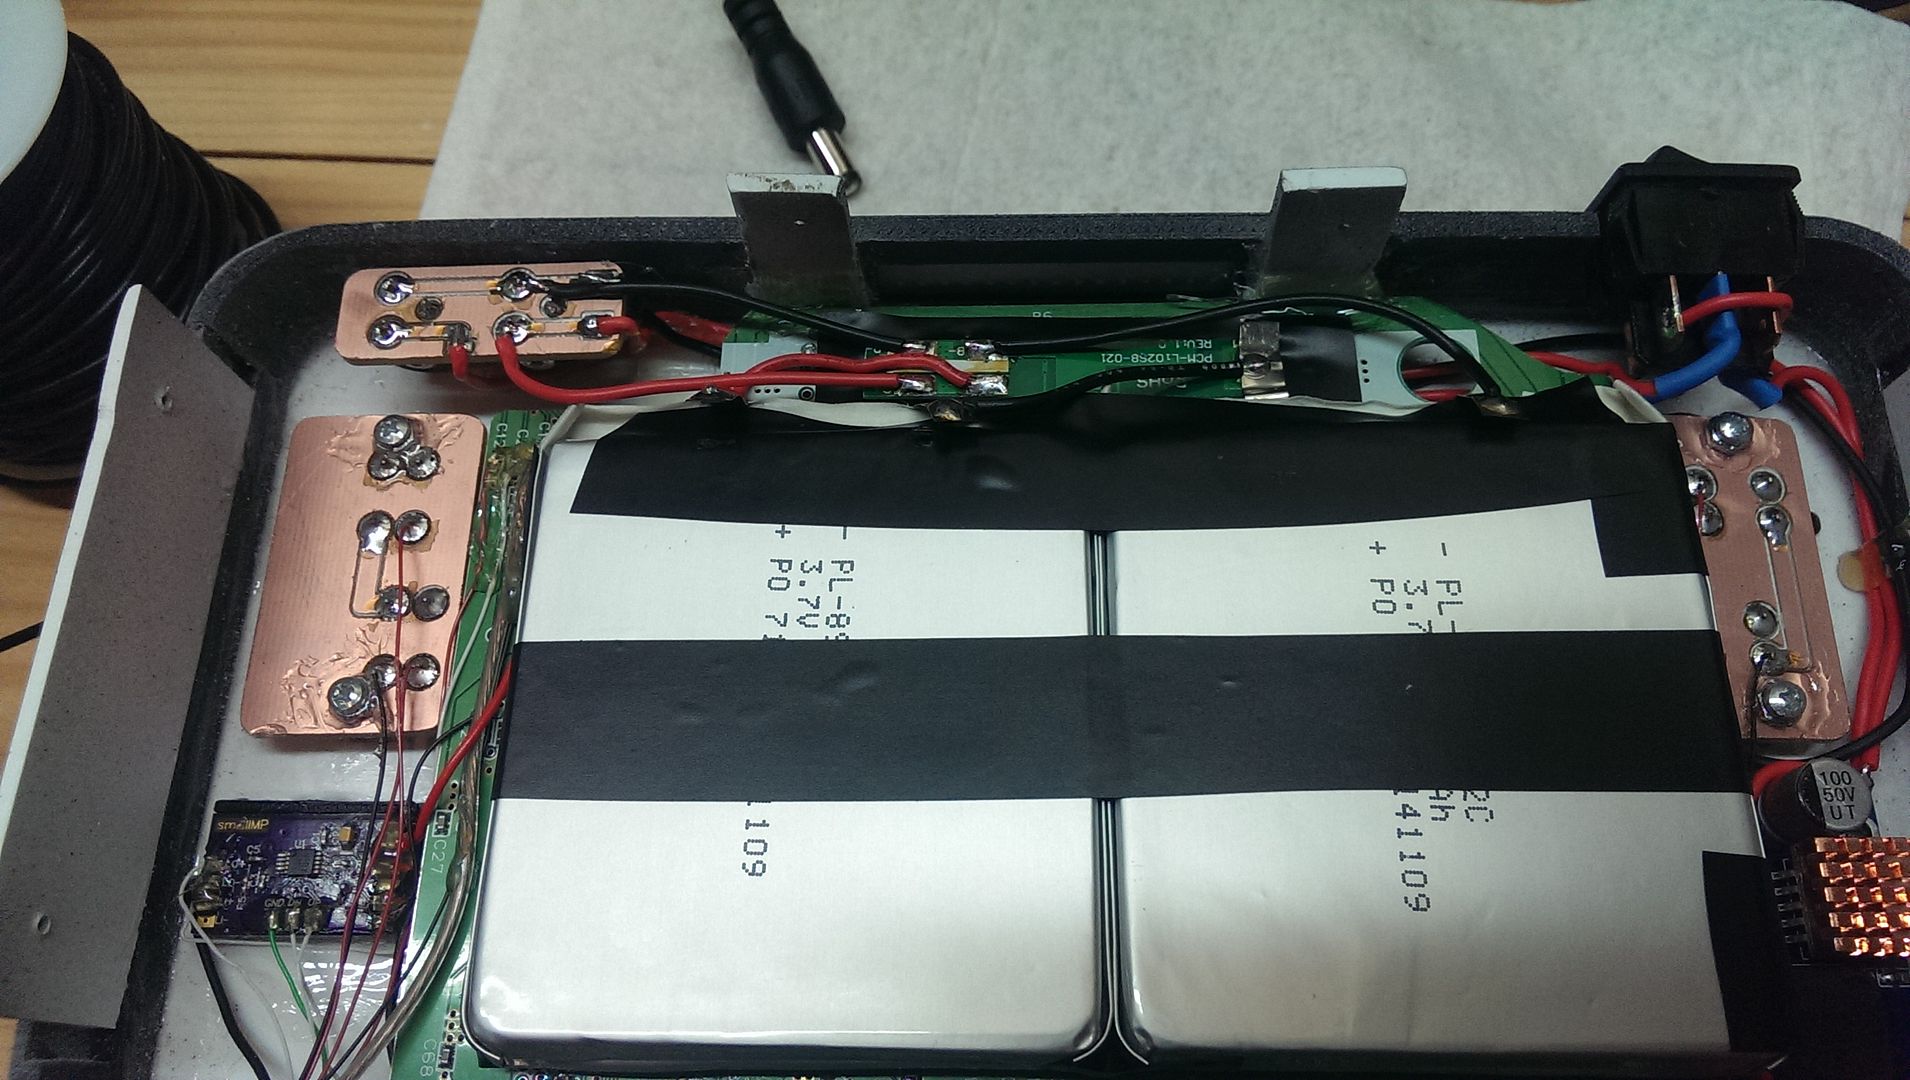
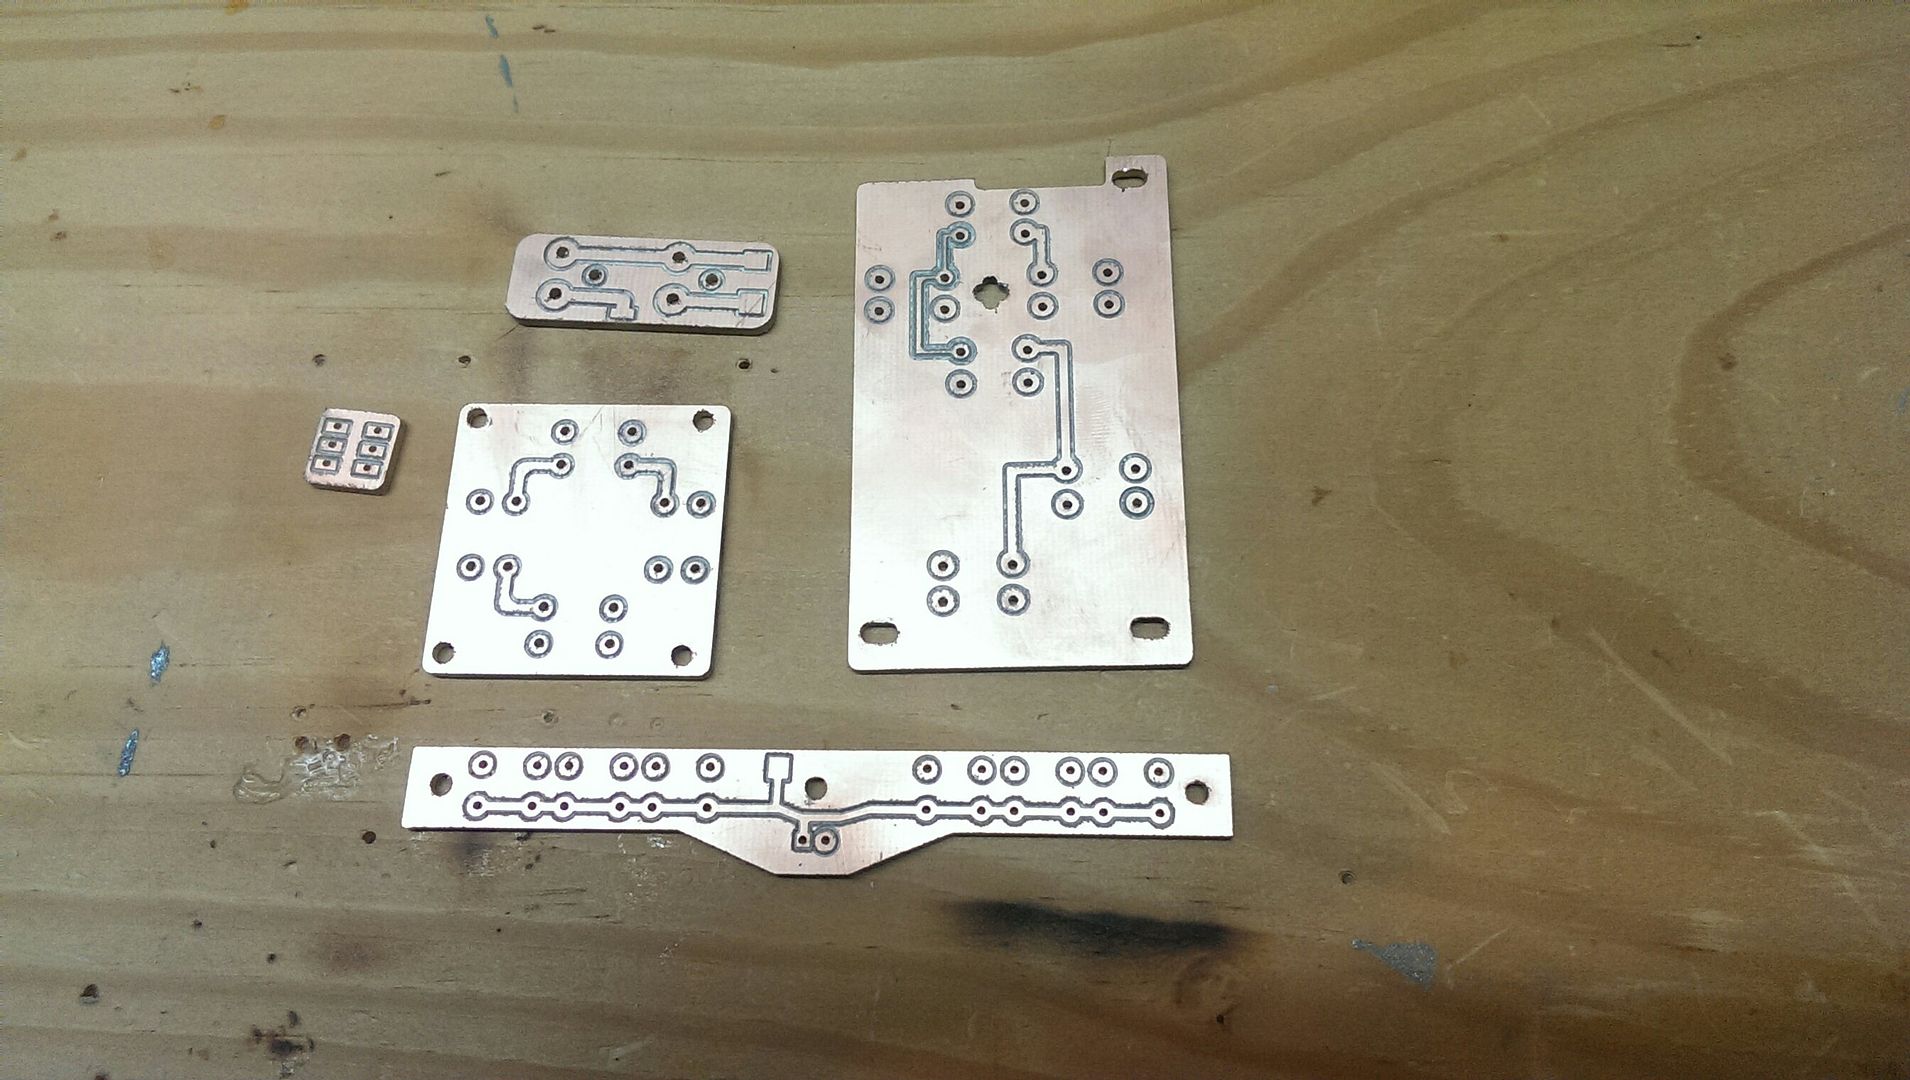
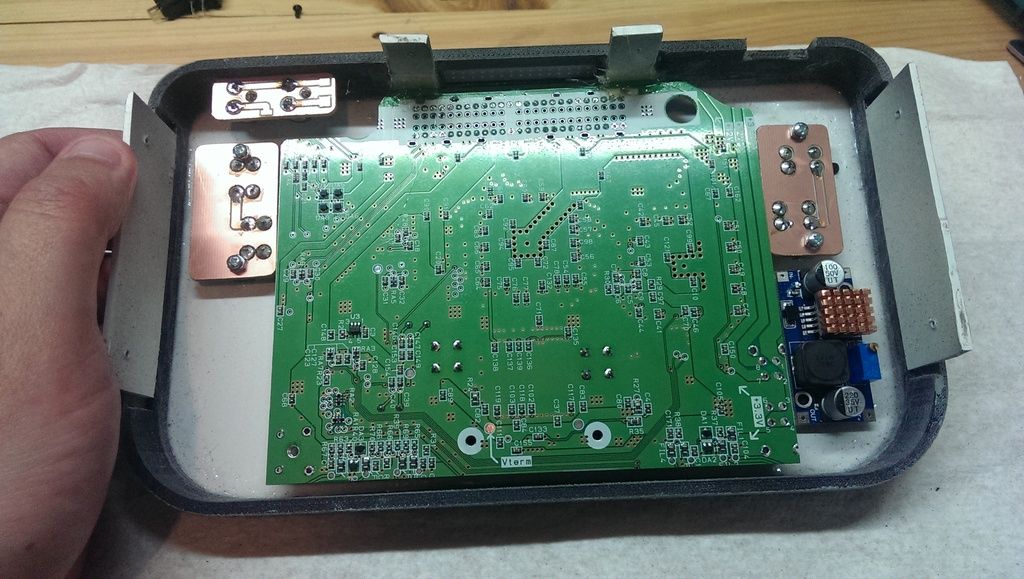
So unlike the first version, this one uses all custom cut PCBs for the buttons and component mounting. Takes a bit more time to mill, but is far stronger and eliminates the need for a lot of extra ground wires.
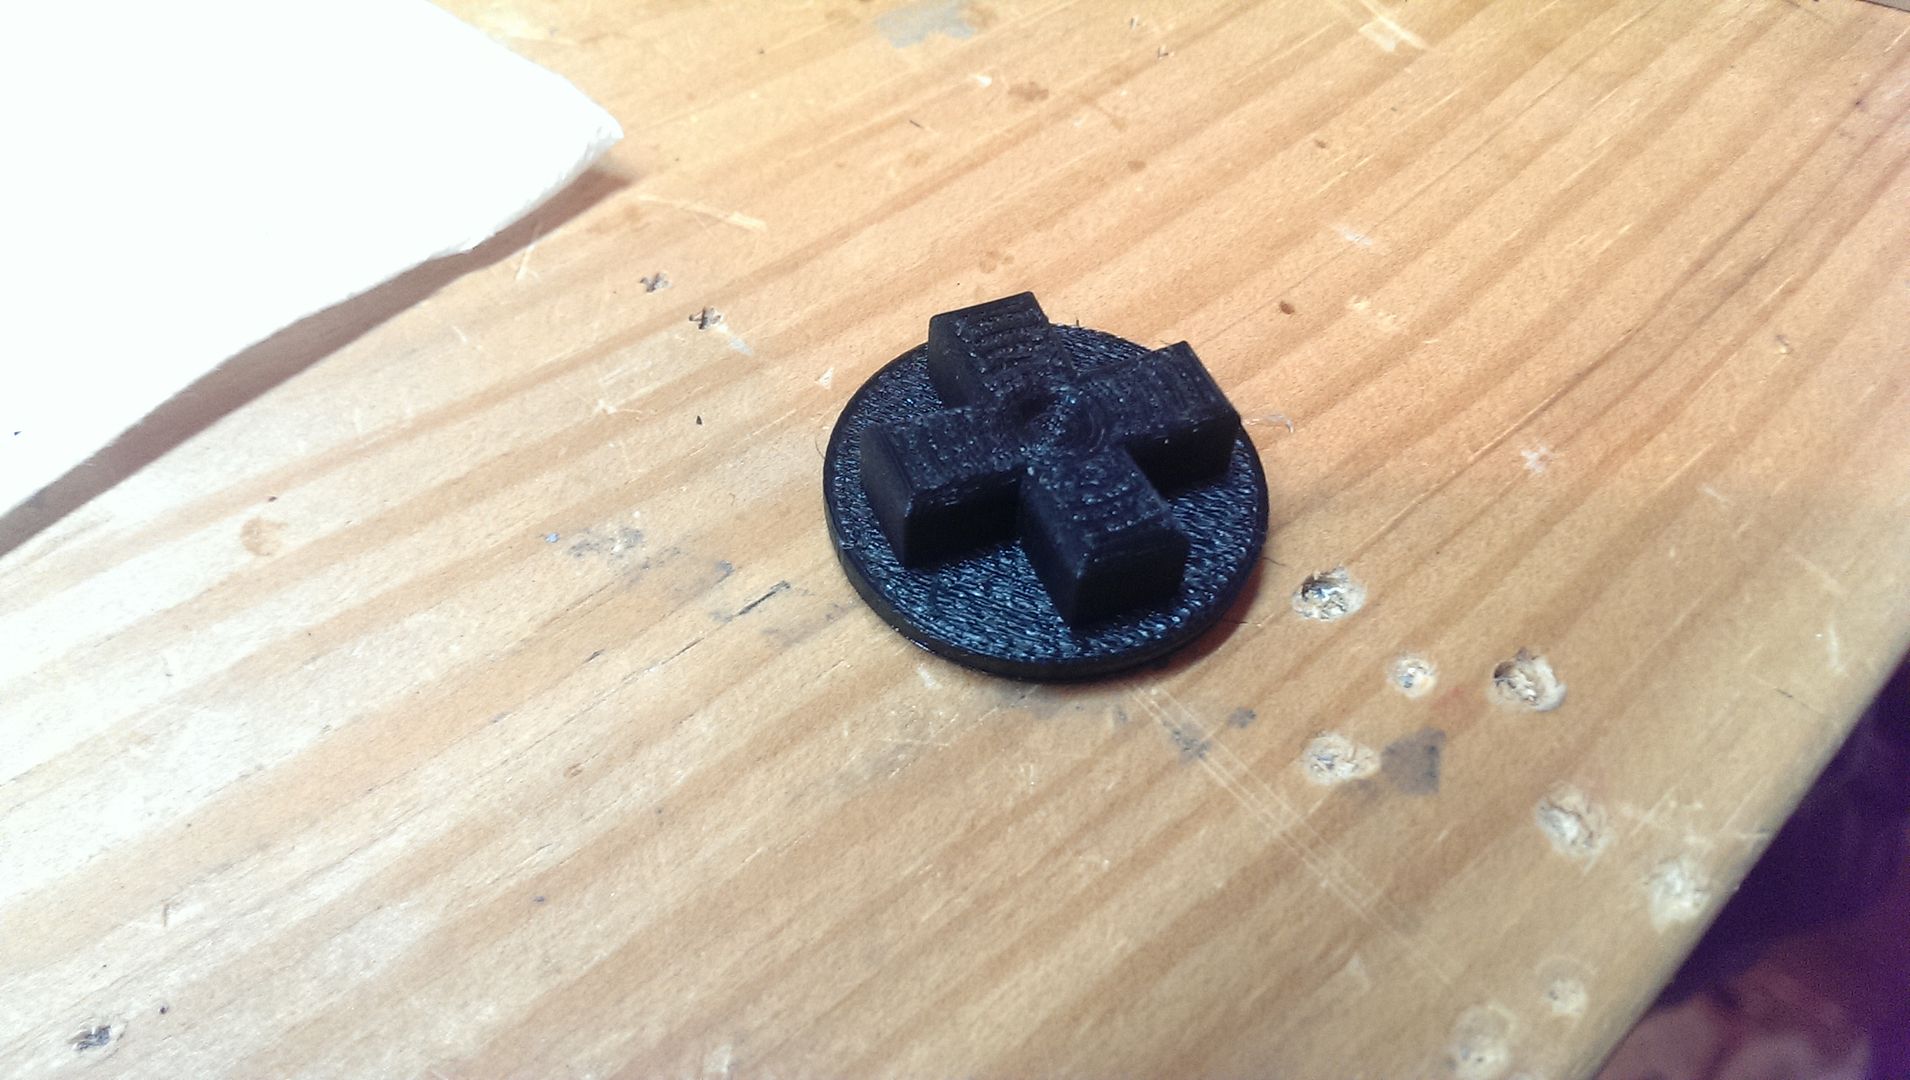
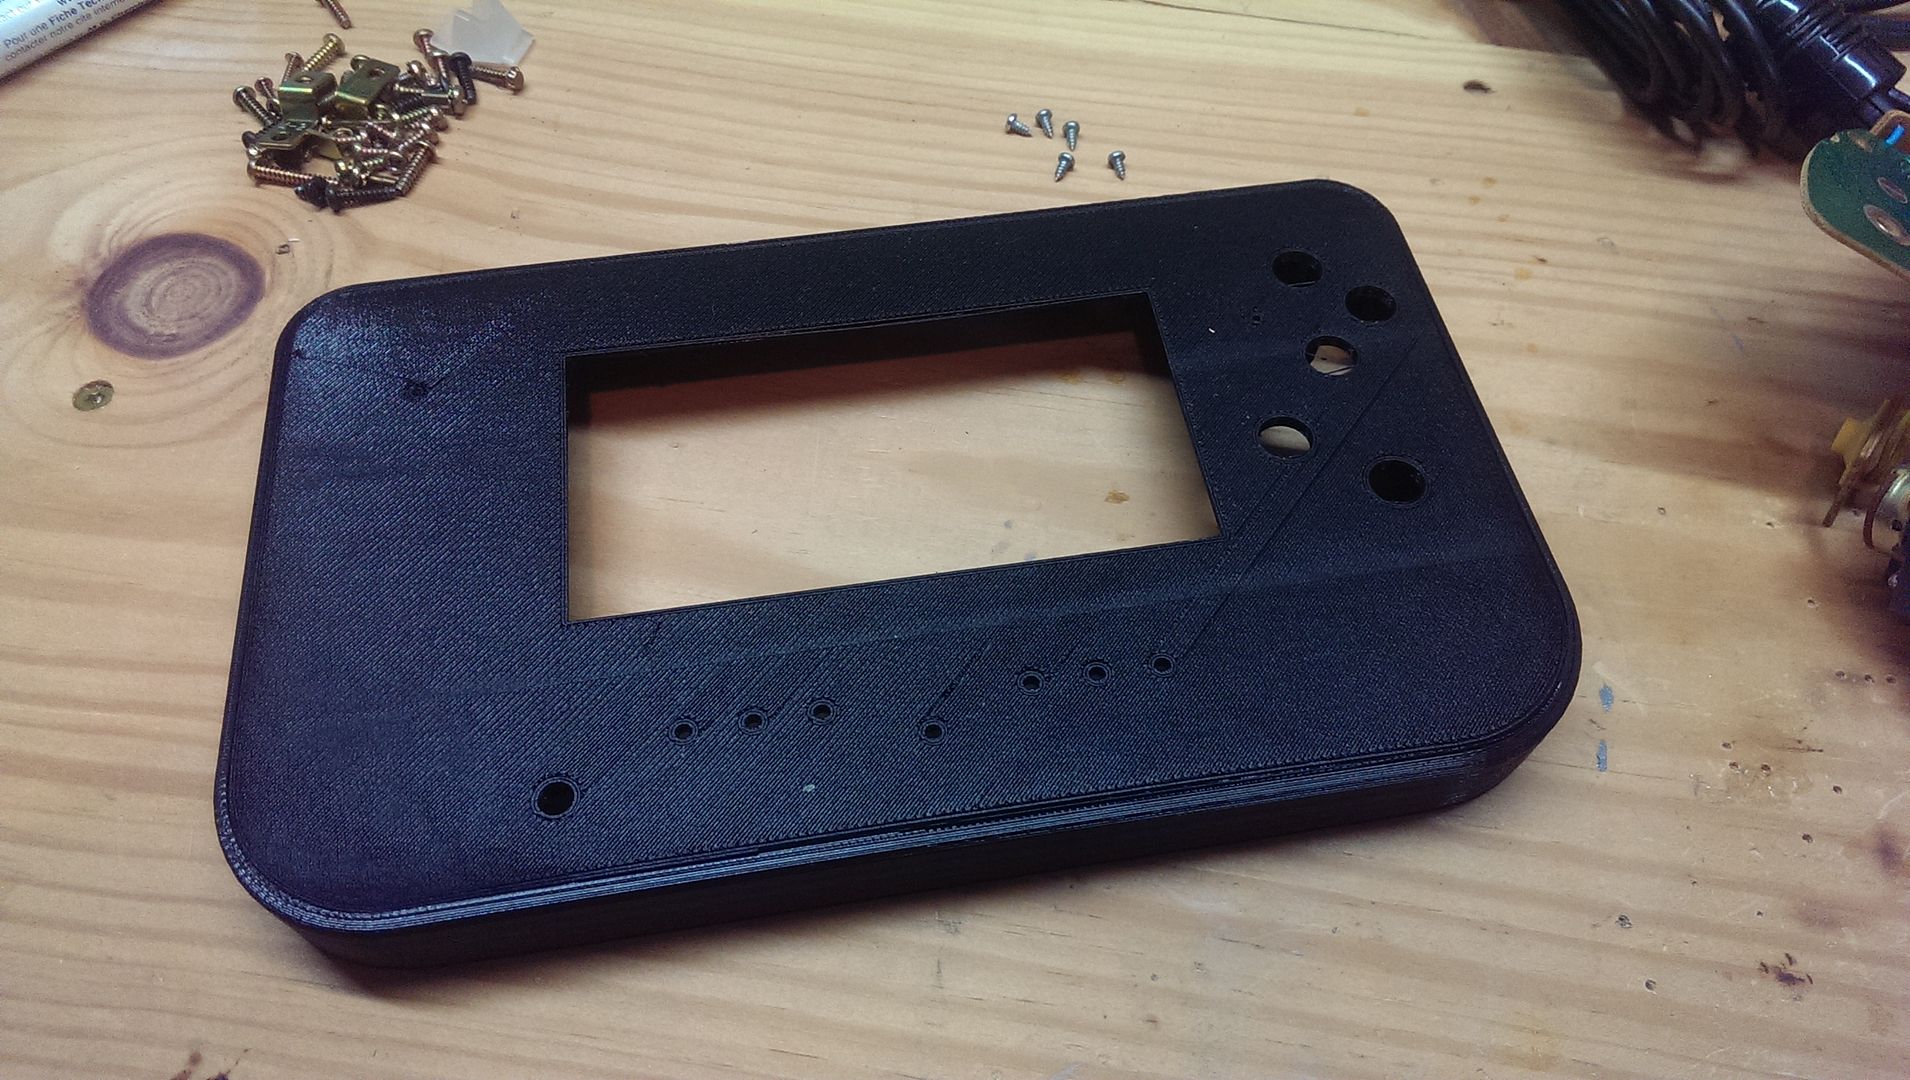
Some pics of the rough 3D printing case work.
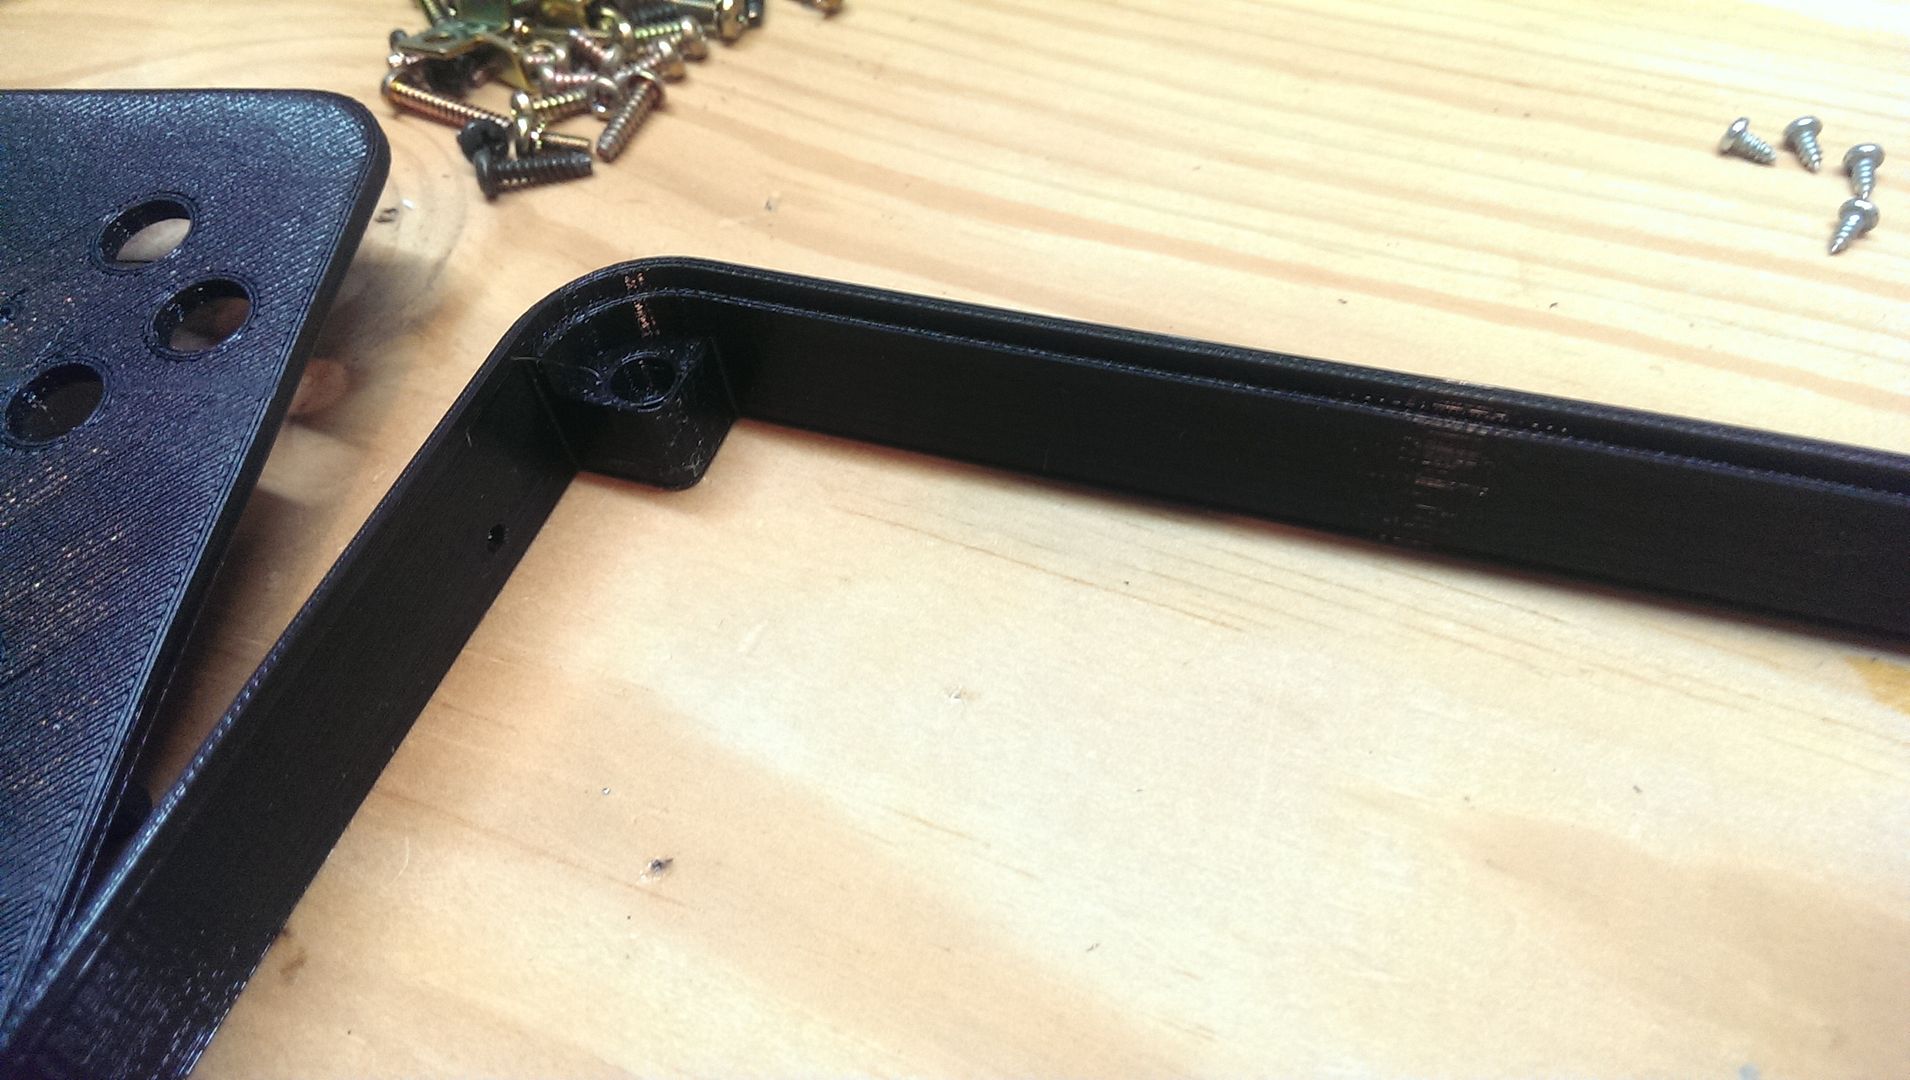
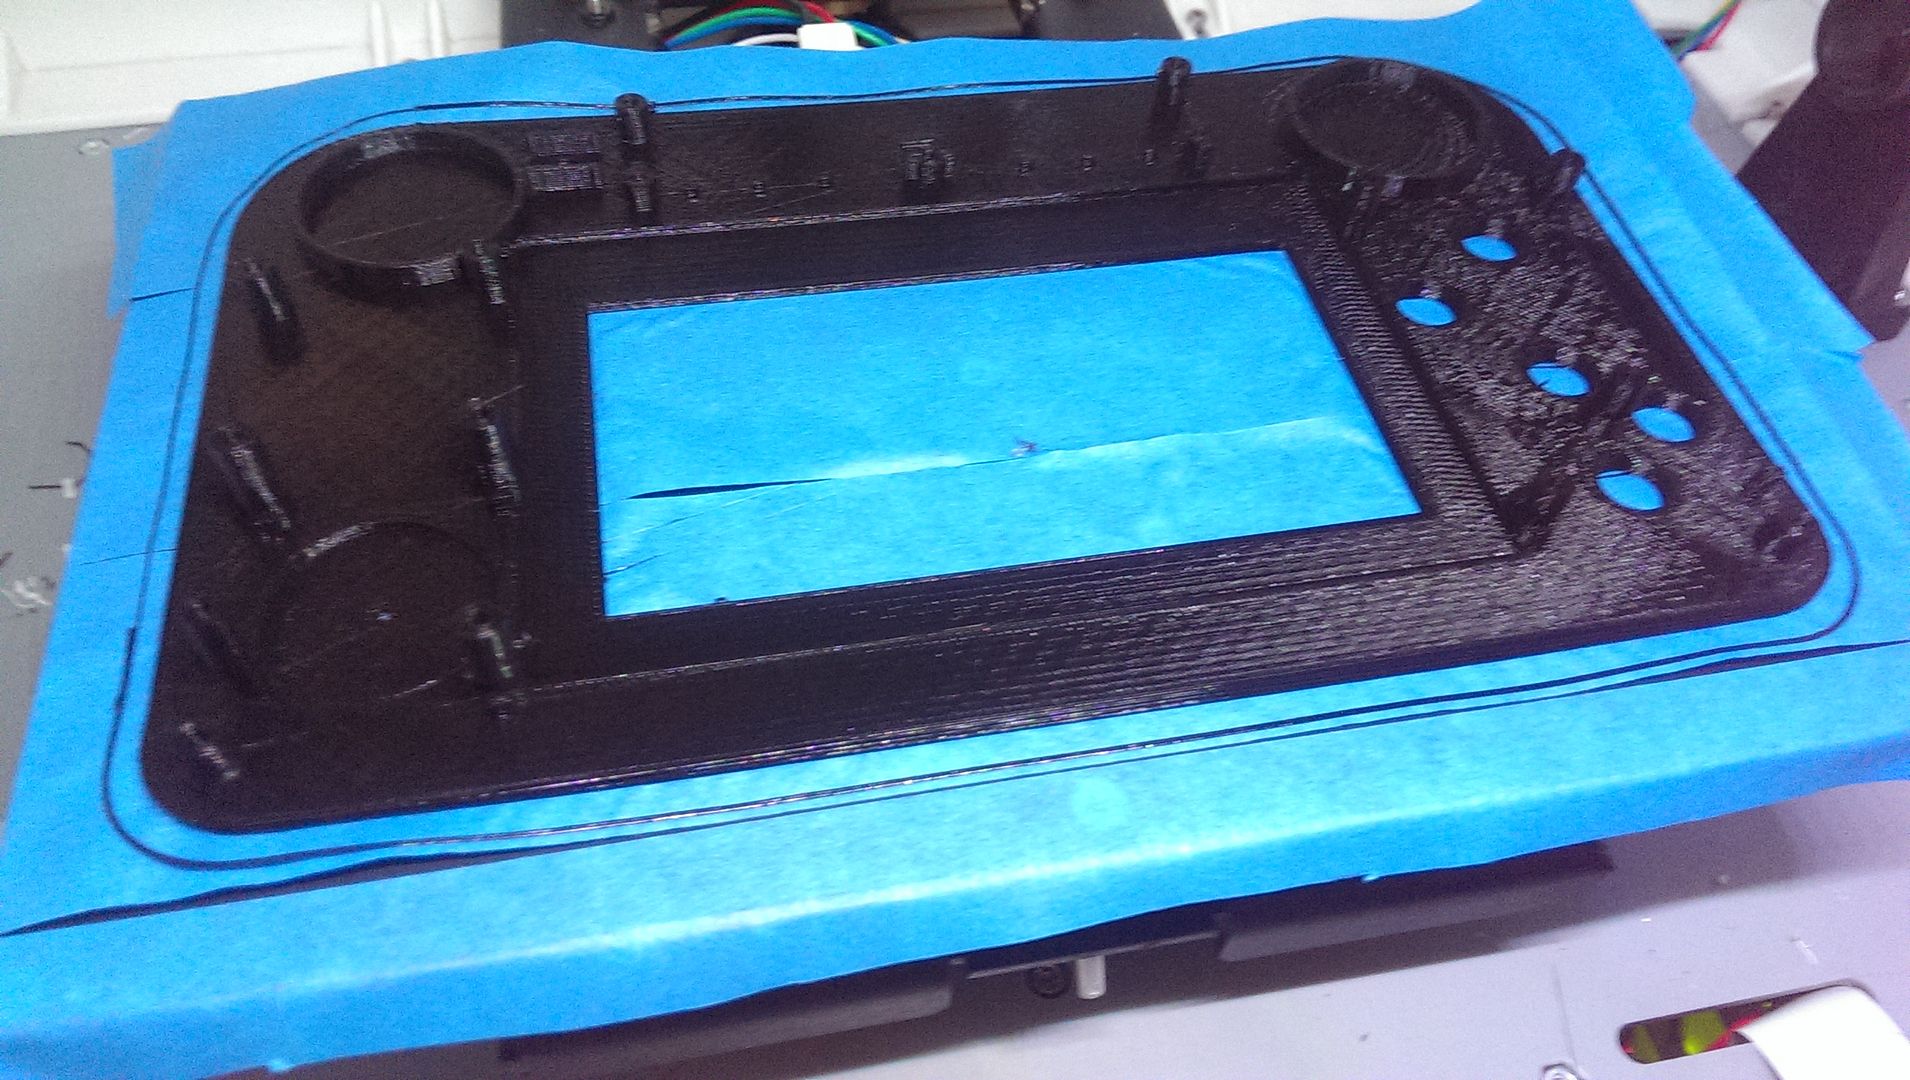
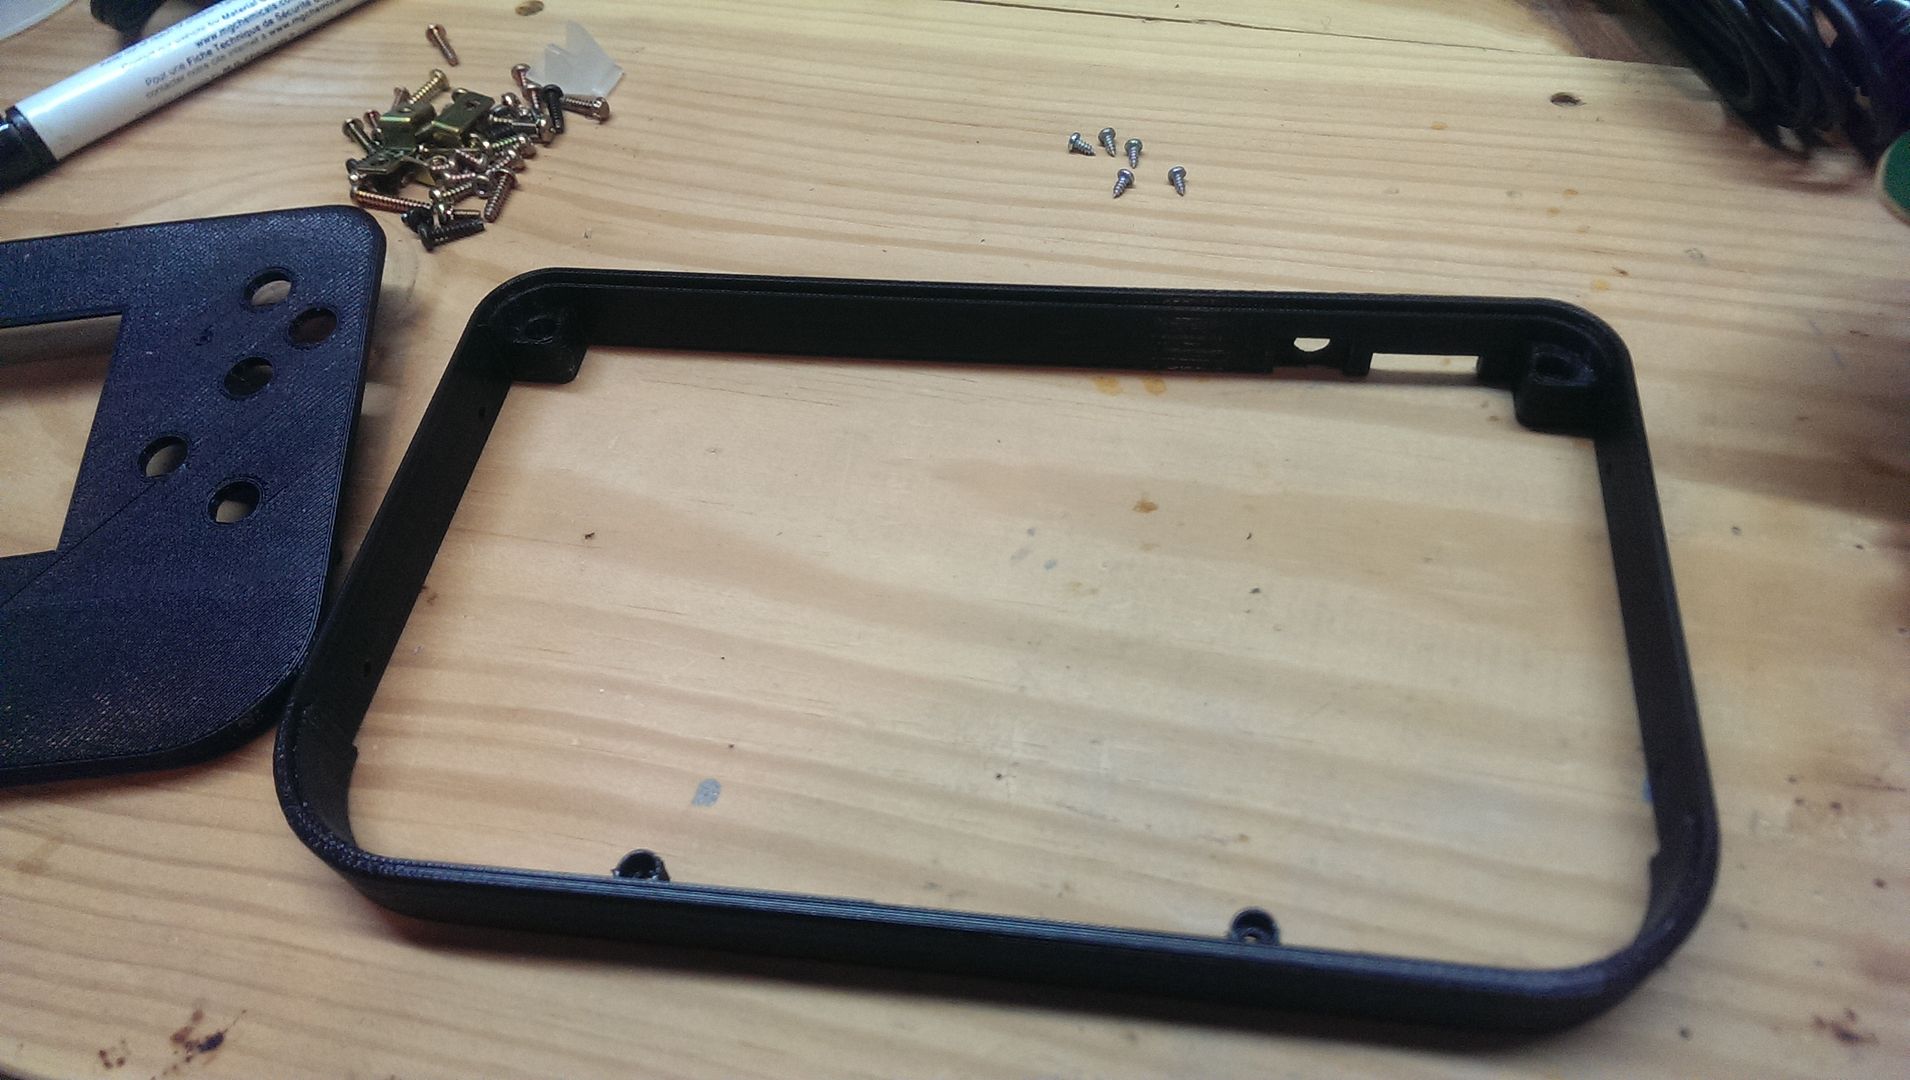
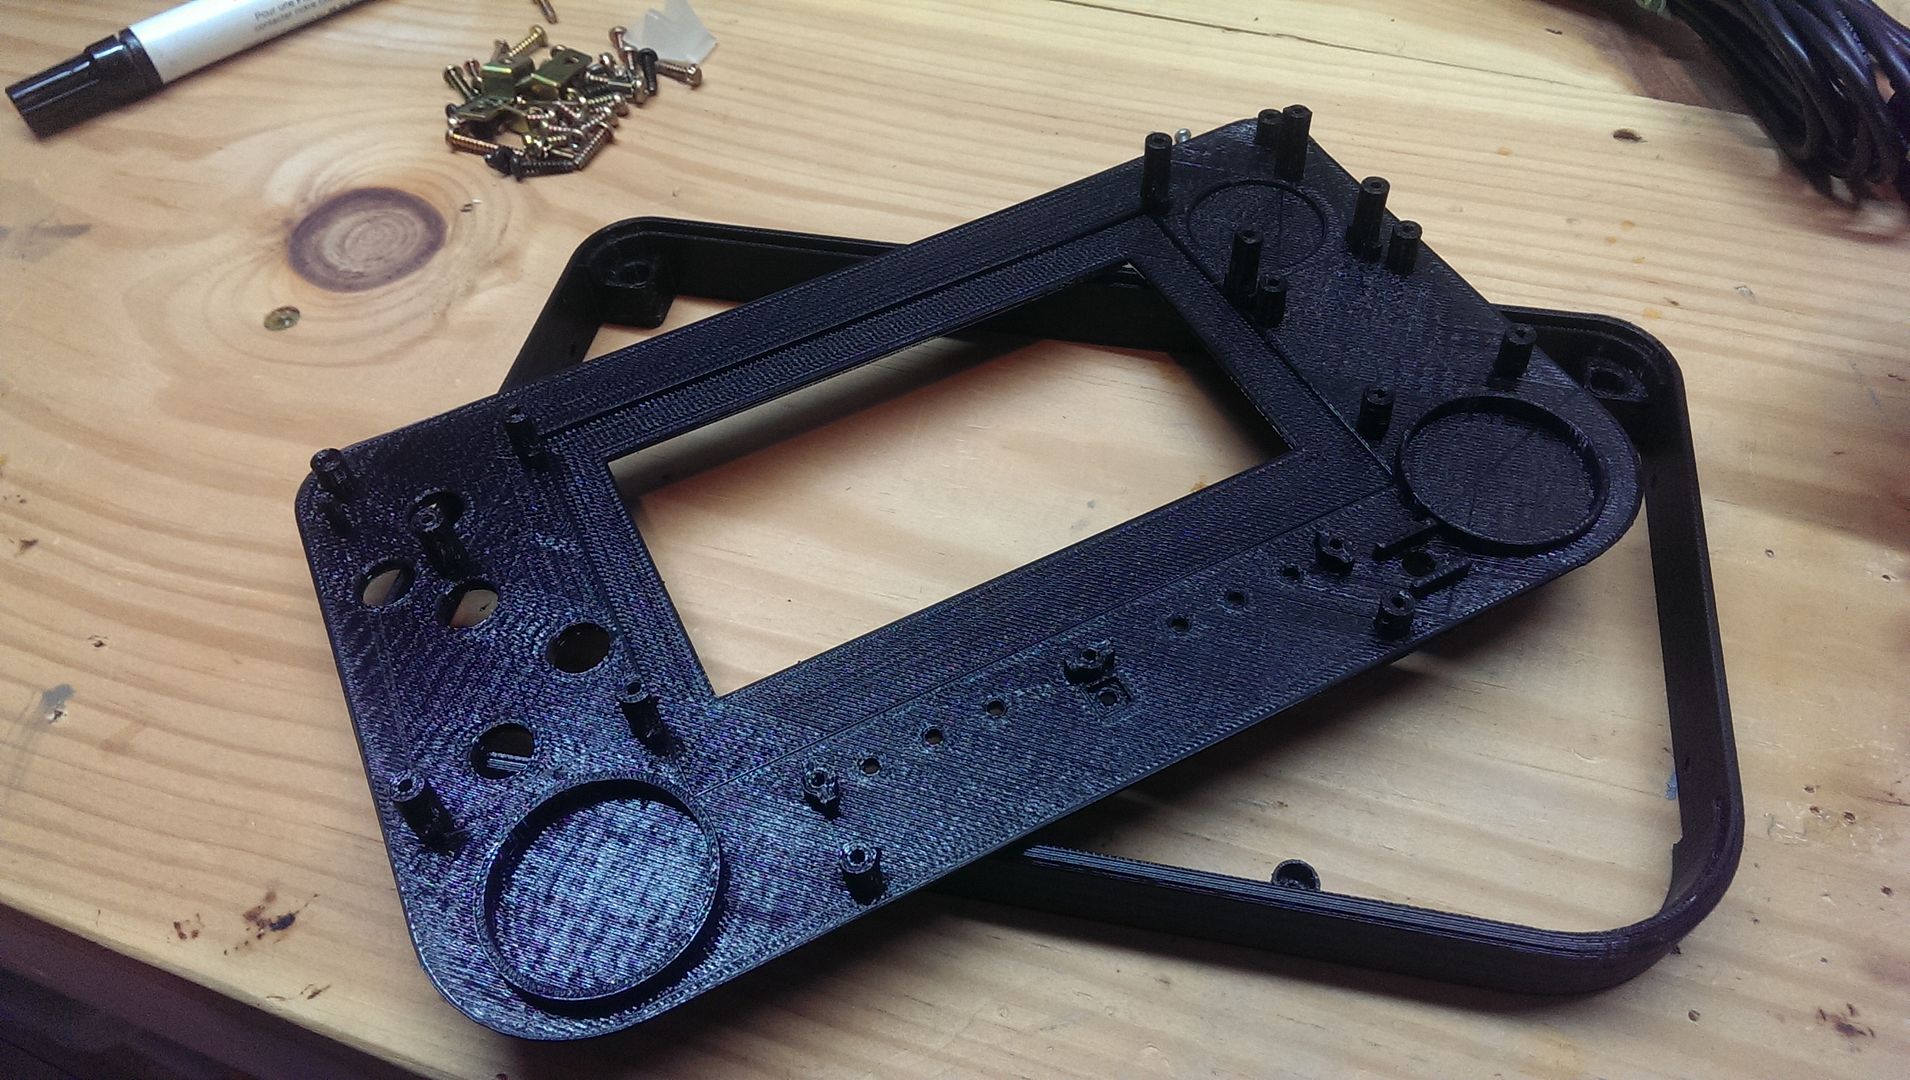
You'll probably notice that the face plate looks a bit odd. The reason I print them this way is because I'll later be running it through the CNC machine as it gives a much cleaner finish than what 3D printing would put out. I did print this face plate out on PLA though which I regretted afterward because for milling purposes, it just doesn't work as well as ABS because of it's low melting point. ABS will make plastic chips when milled. PLA just makes a melted mess and has to be watched constantly to make sure the bit doesn't gum up and cause a real big issue. I'll most likely be changing my methods for this shortly where I'll just print brackets for the buttons & mounting and just use polystyrene like I do for the back half of the casings.
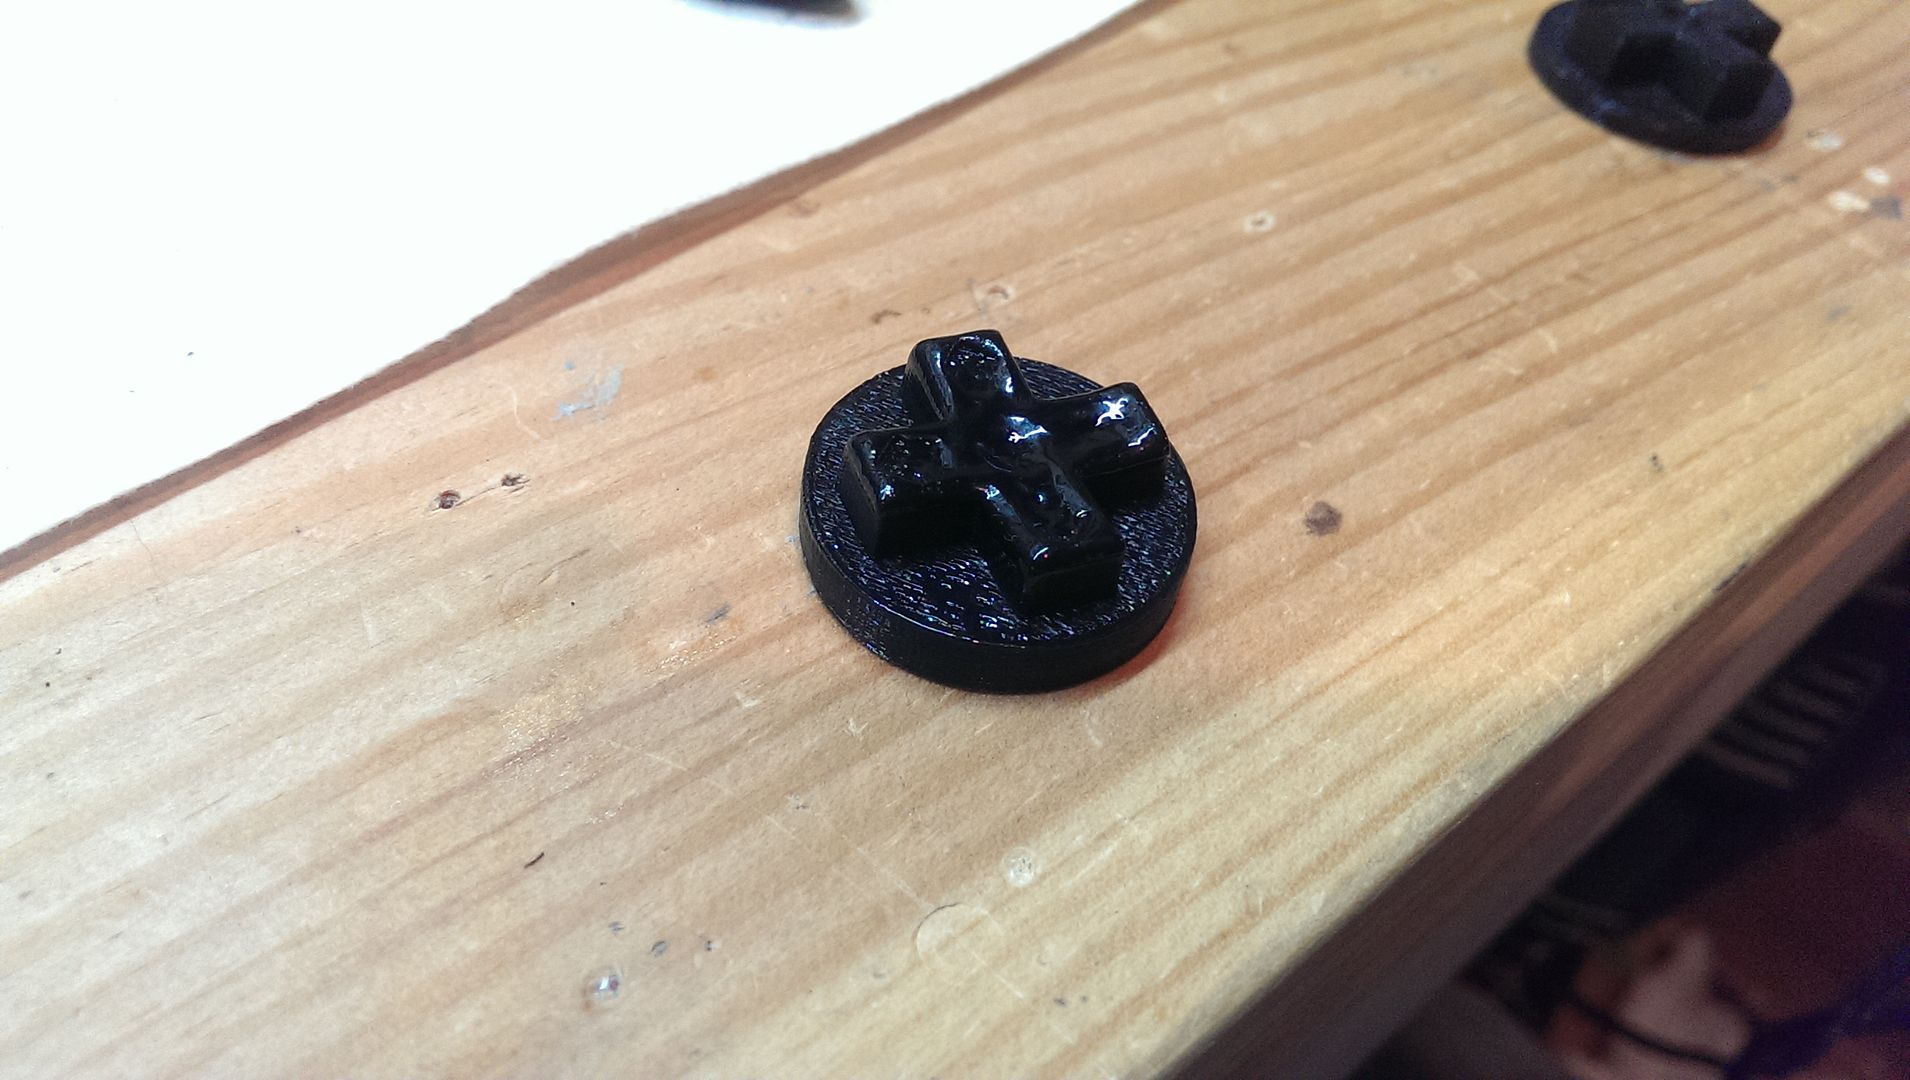
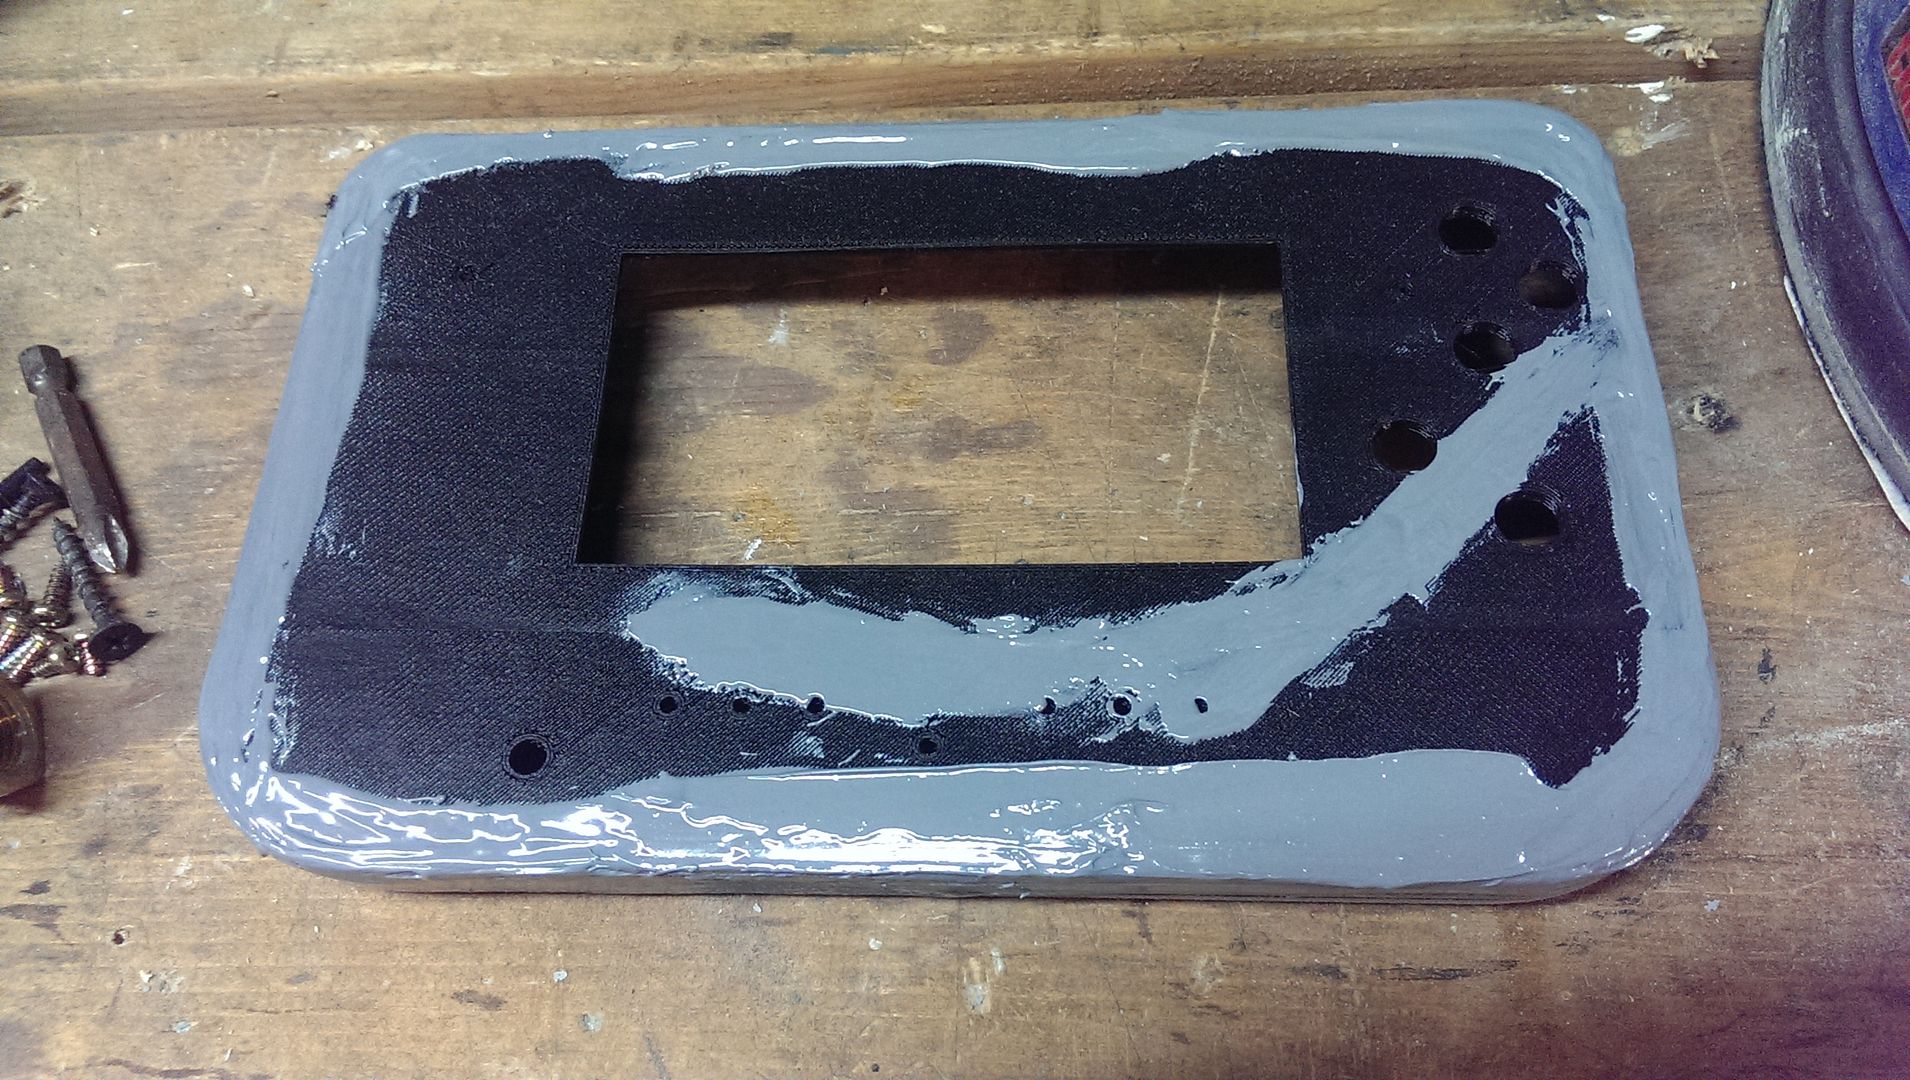
Another reason why I want to start using sheets of Polystyrene for the front plates is because the filling and prep work to make a 3D printed part look good take forever!
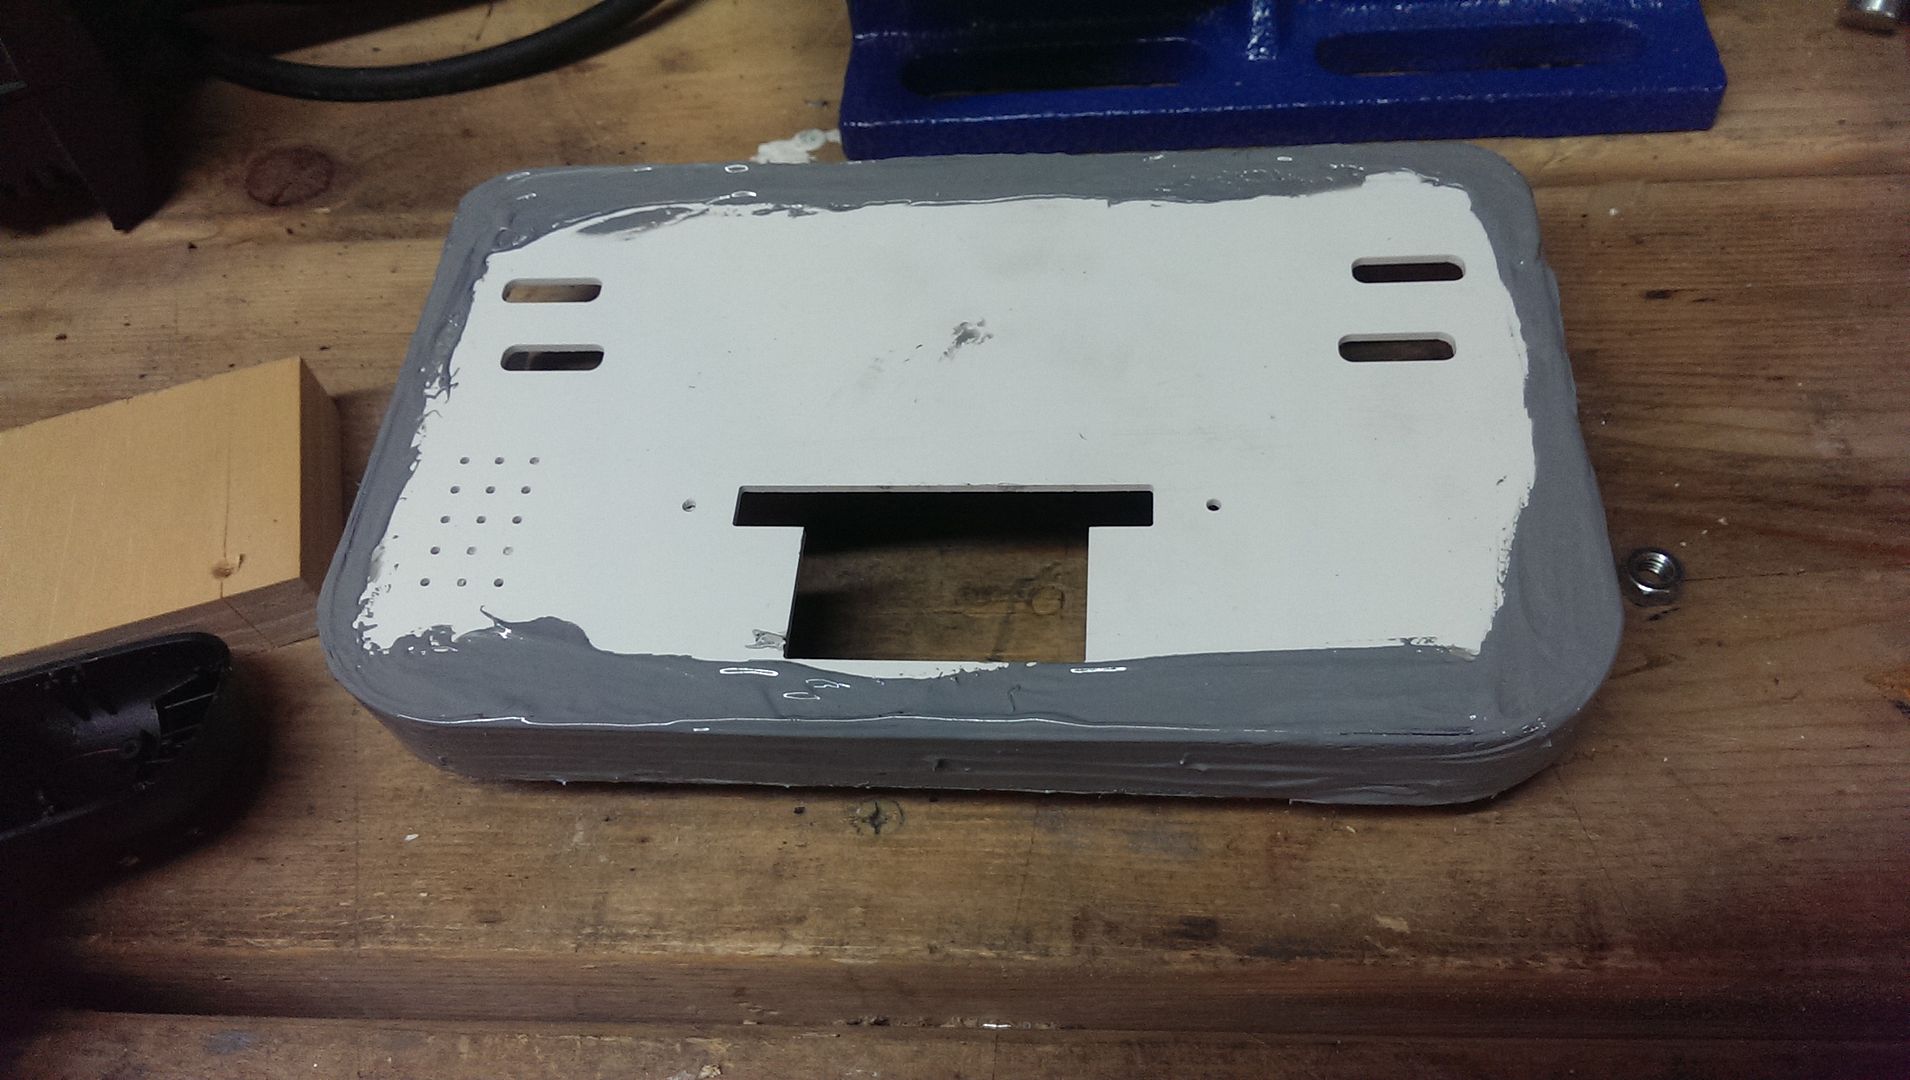
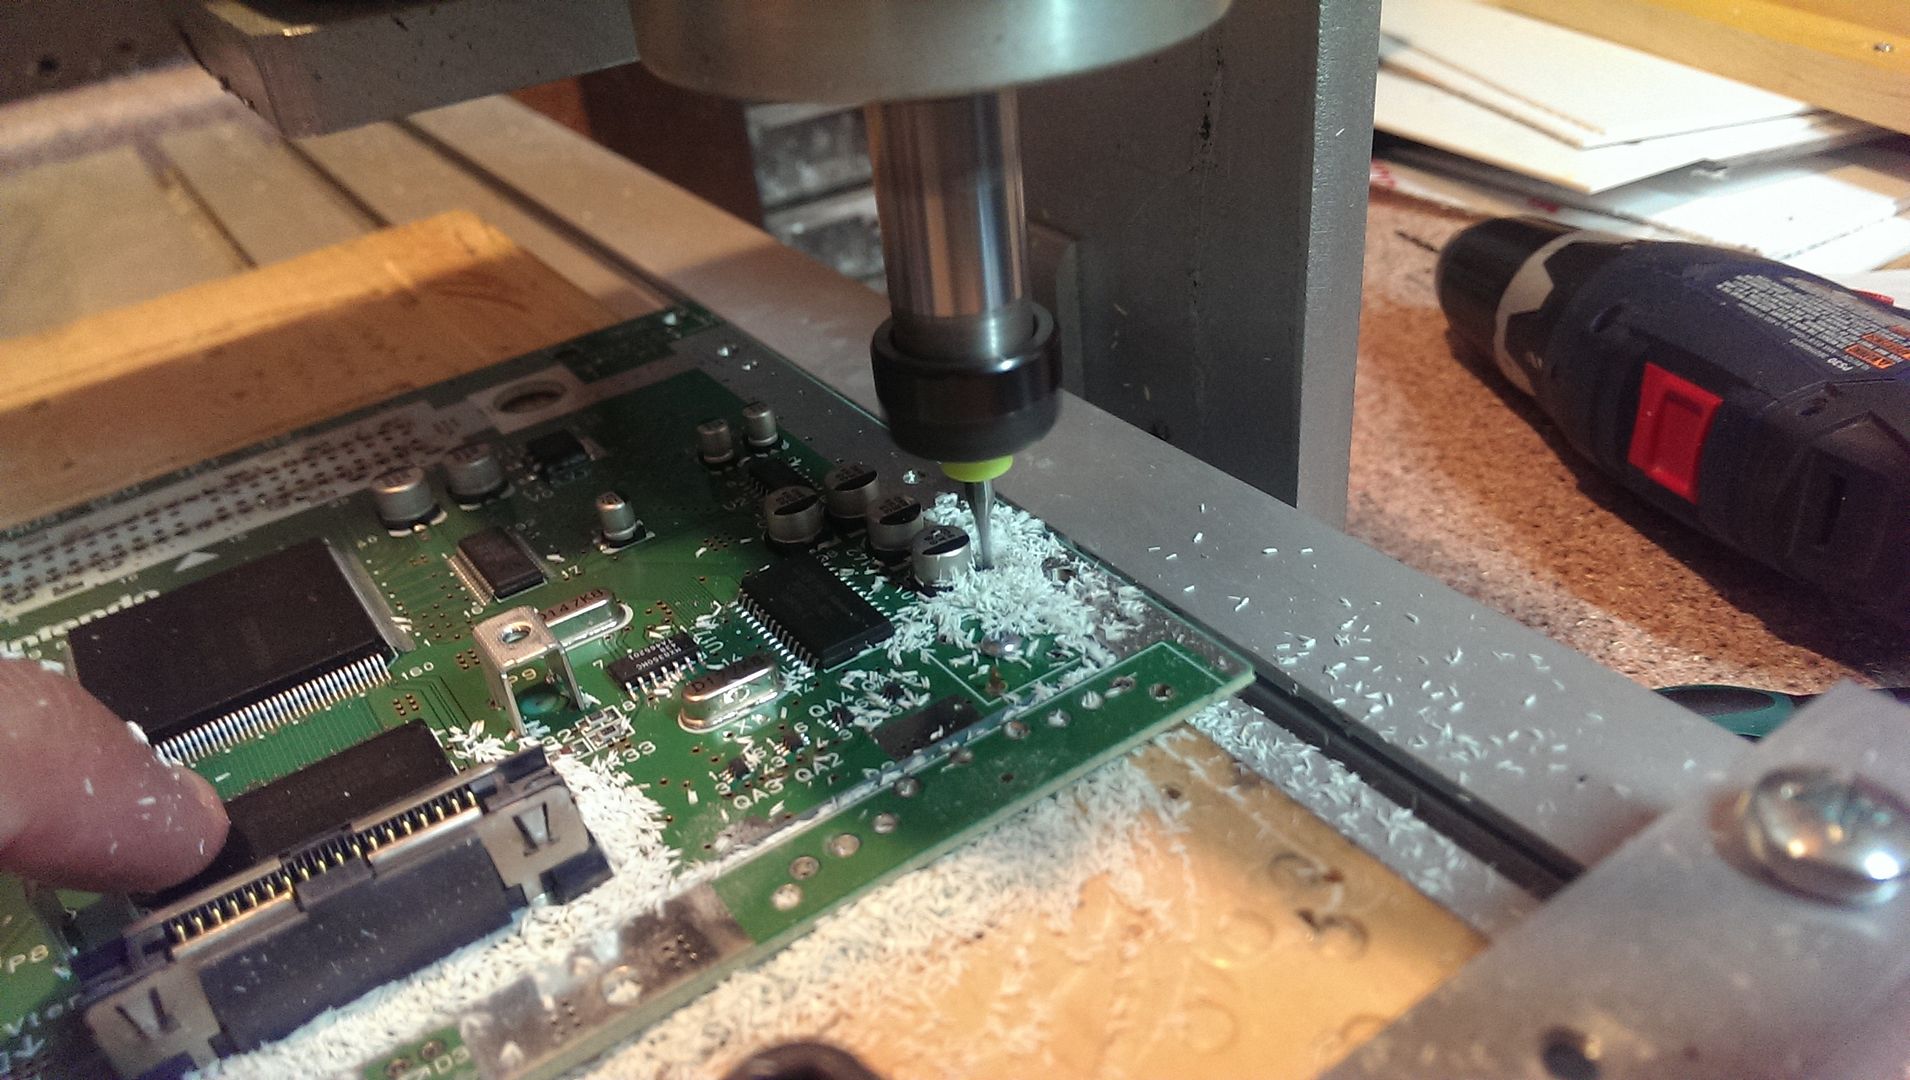
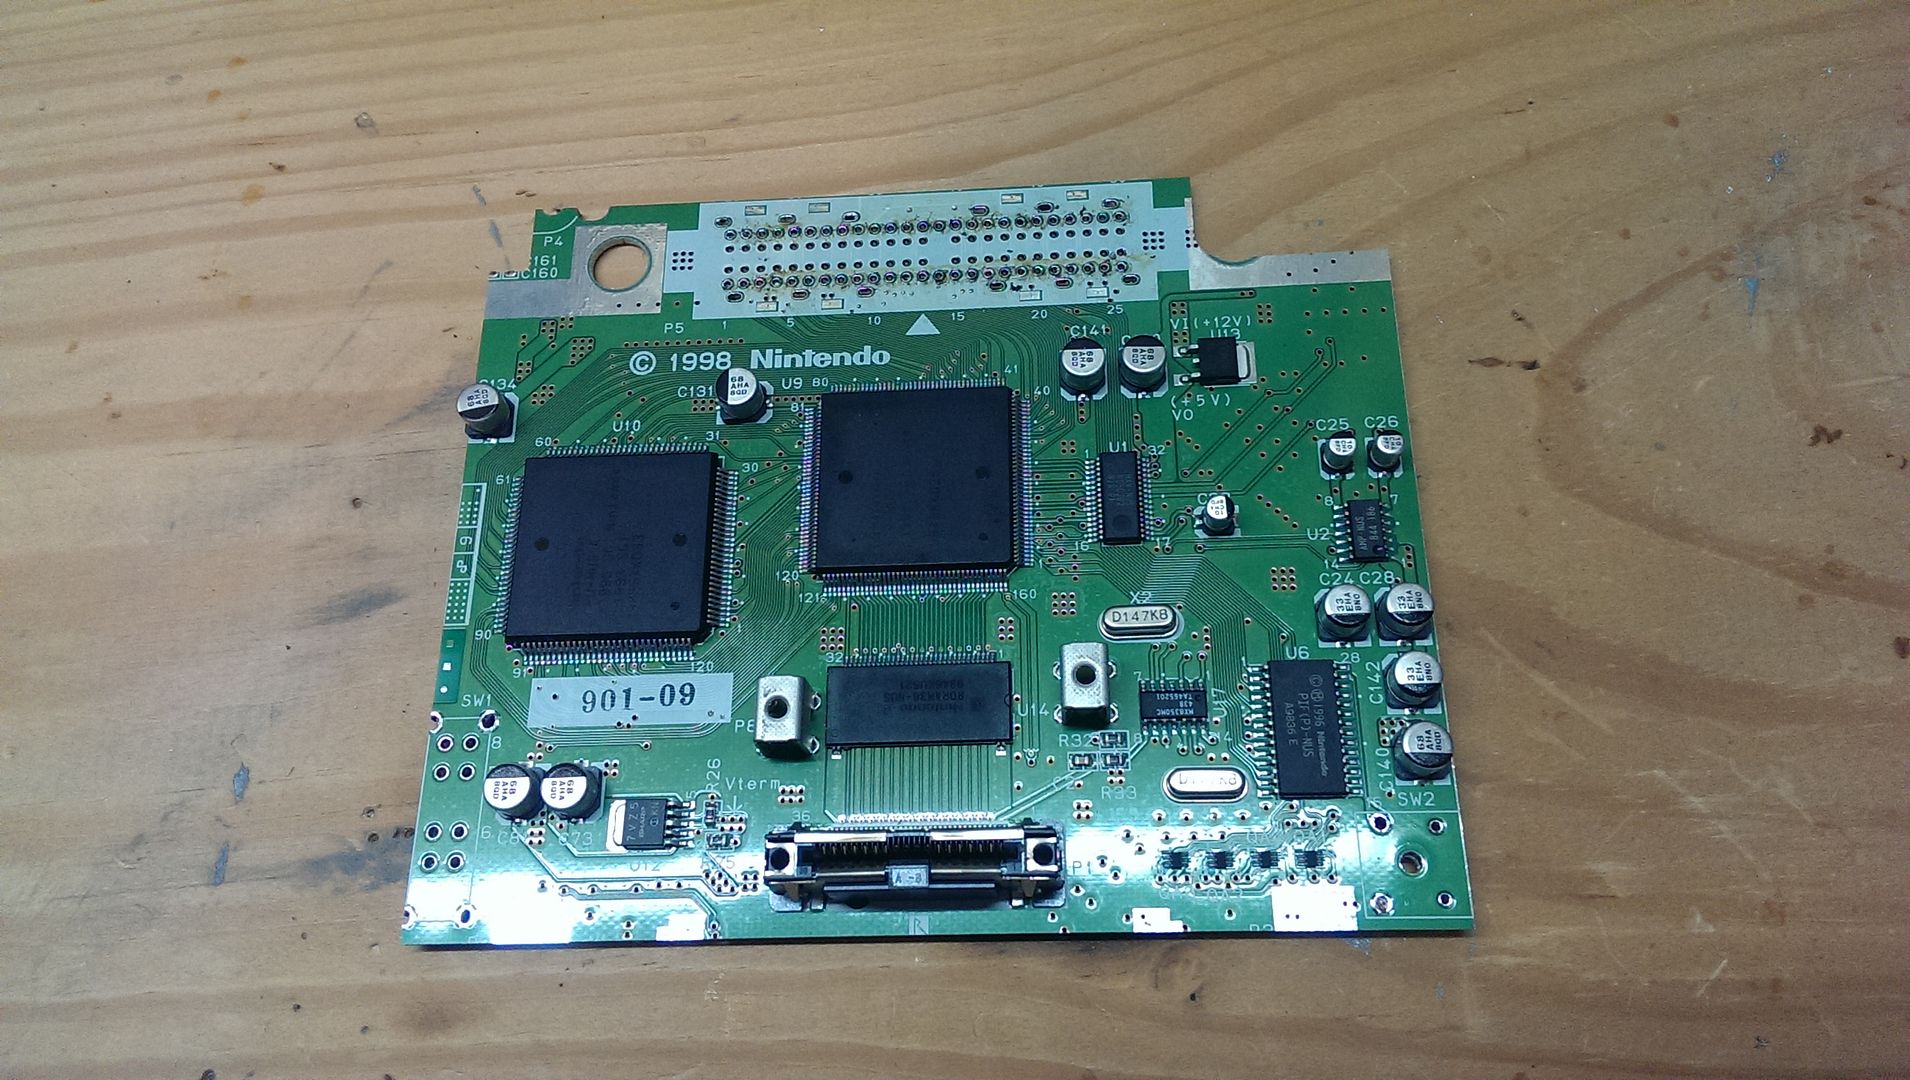
Some beautiful board reduction using the CNC
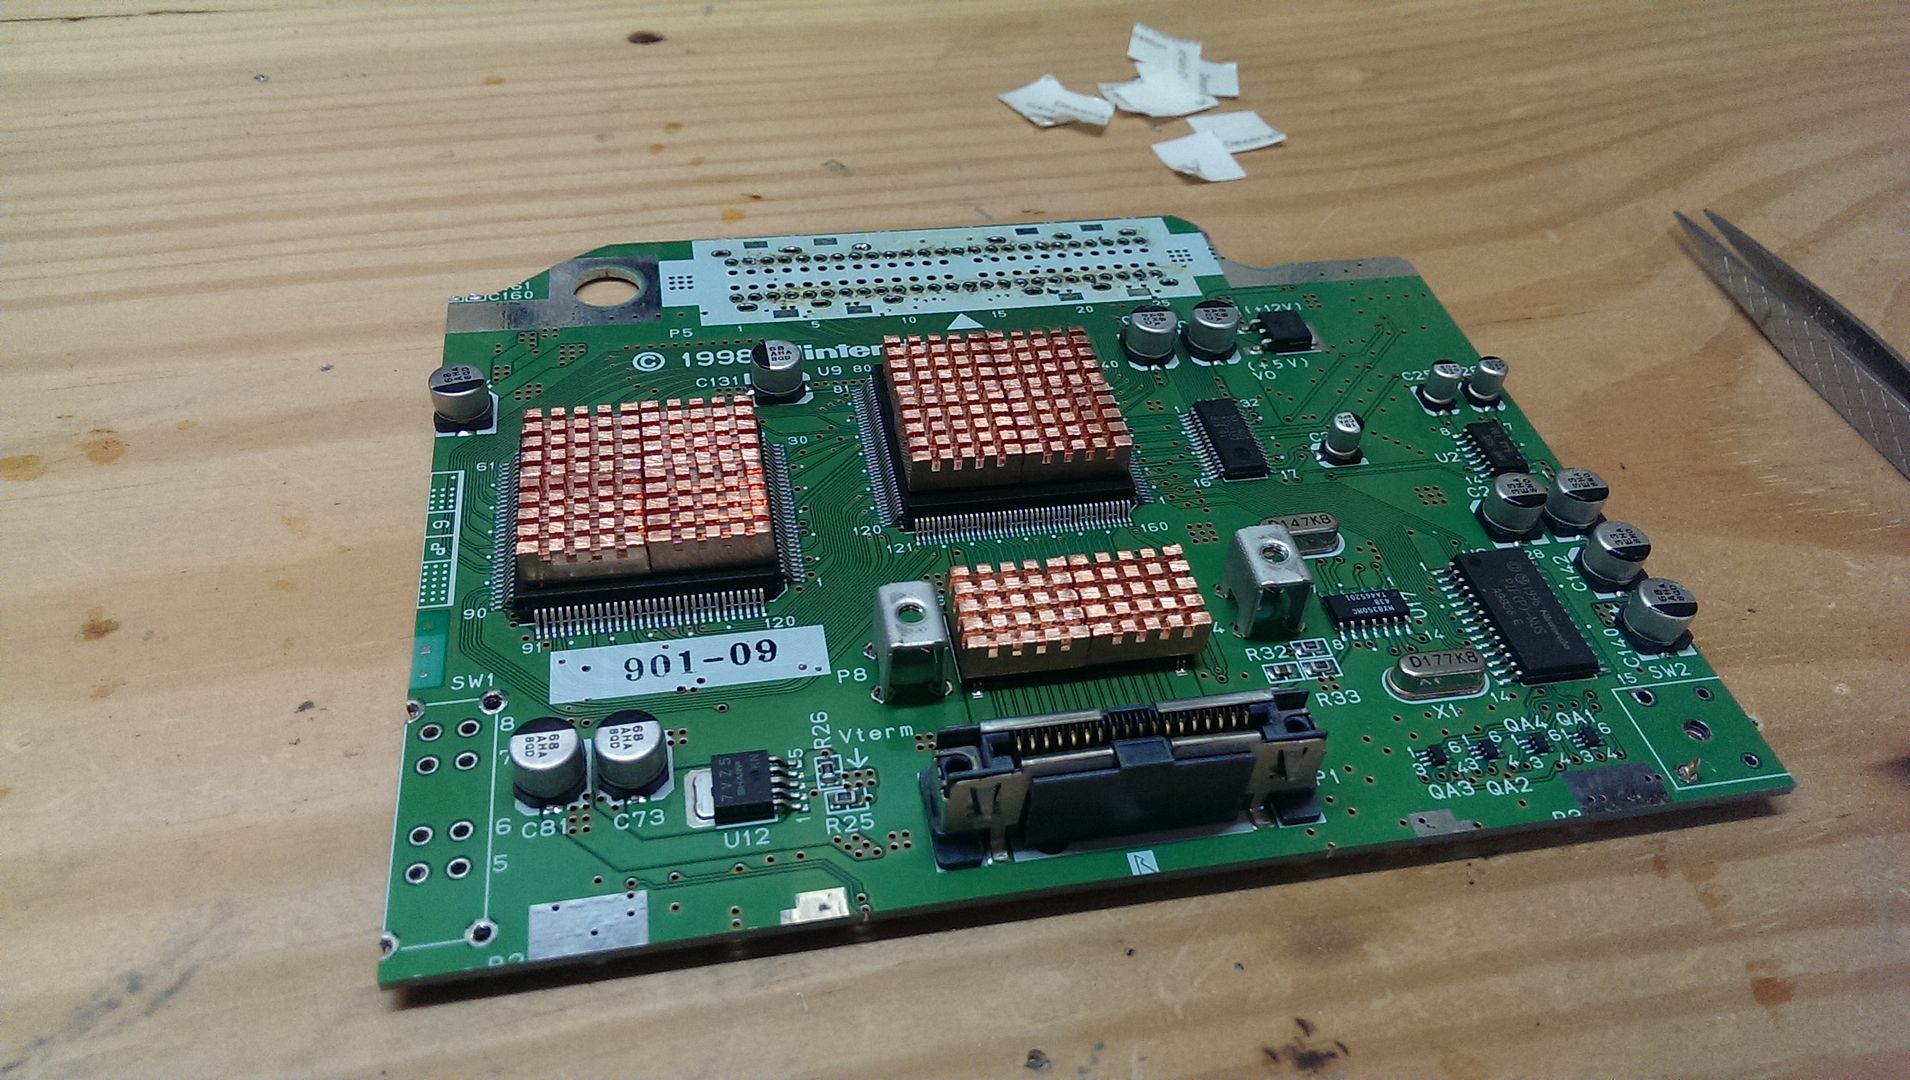
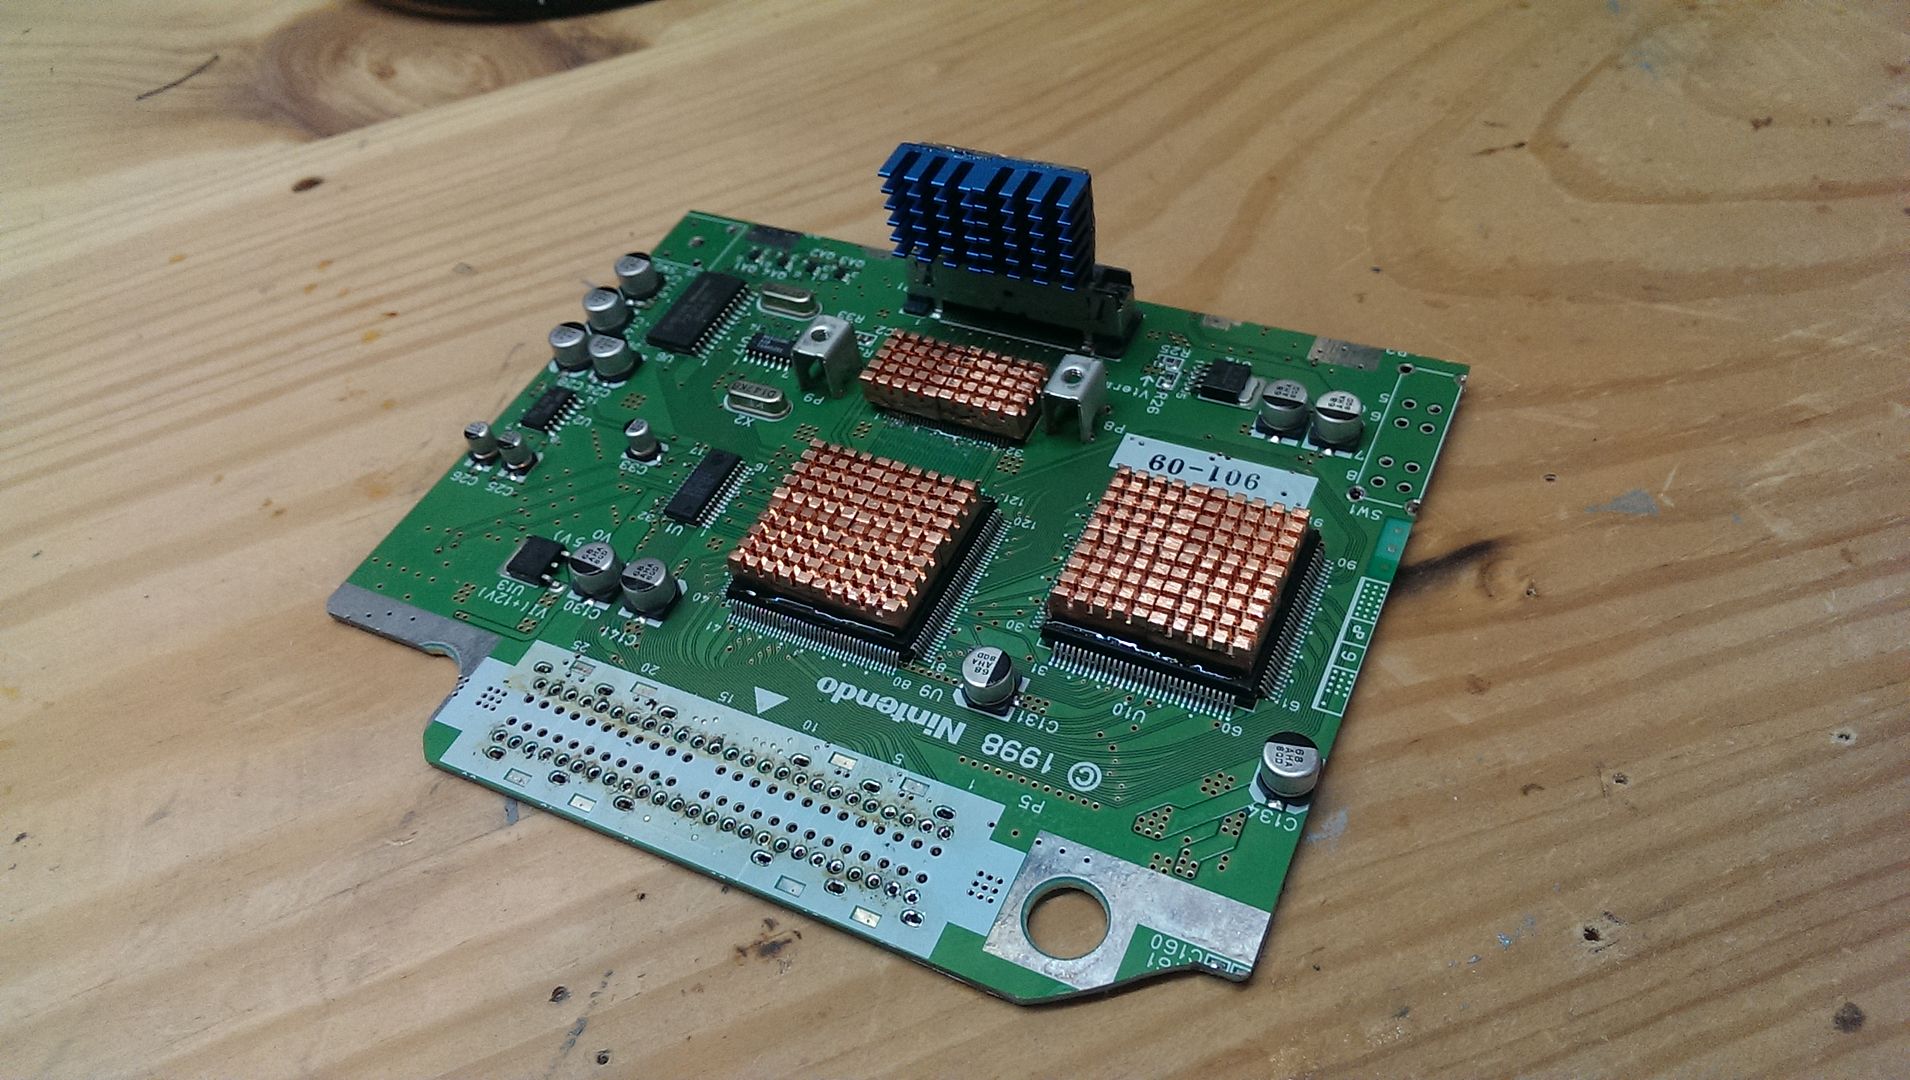
Adding the heat sinks to the board and the expansion pak. I used copper for hot and heavy RCP and CPU and Aluminum for the RAM on the expansion pak due to less heat.
The front face prepped for milling
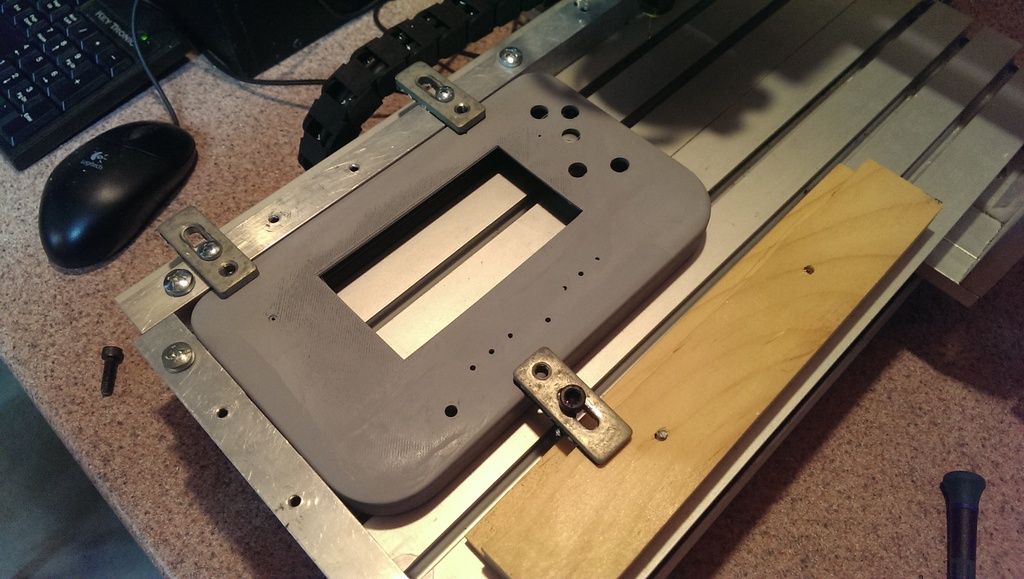
And nicely milled
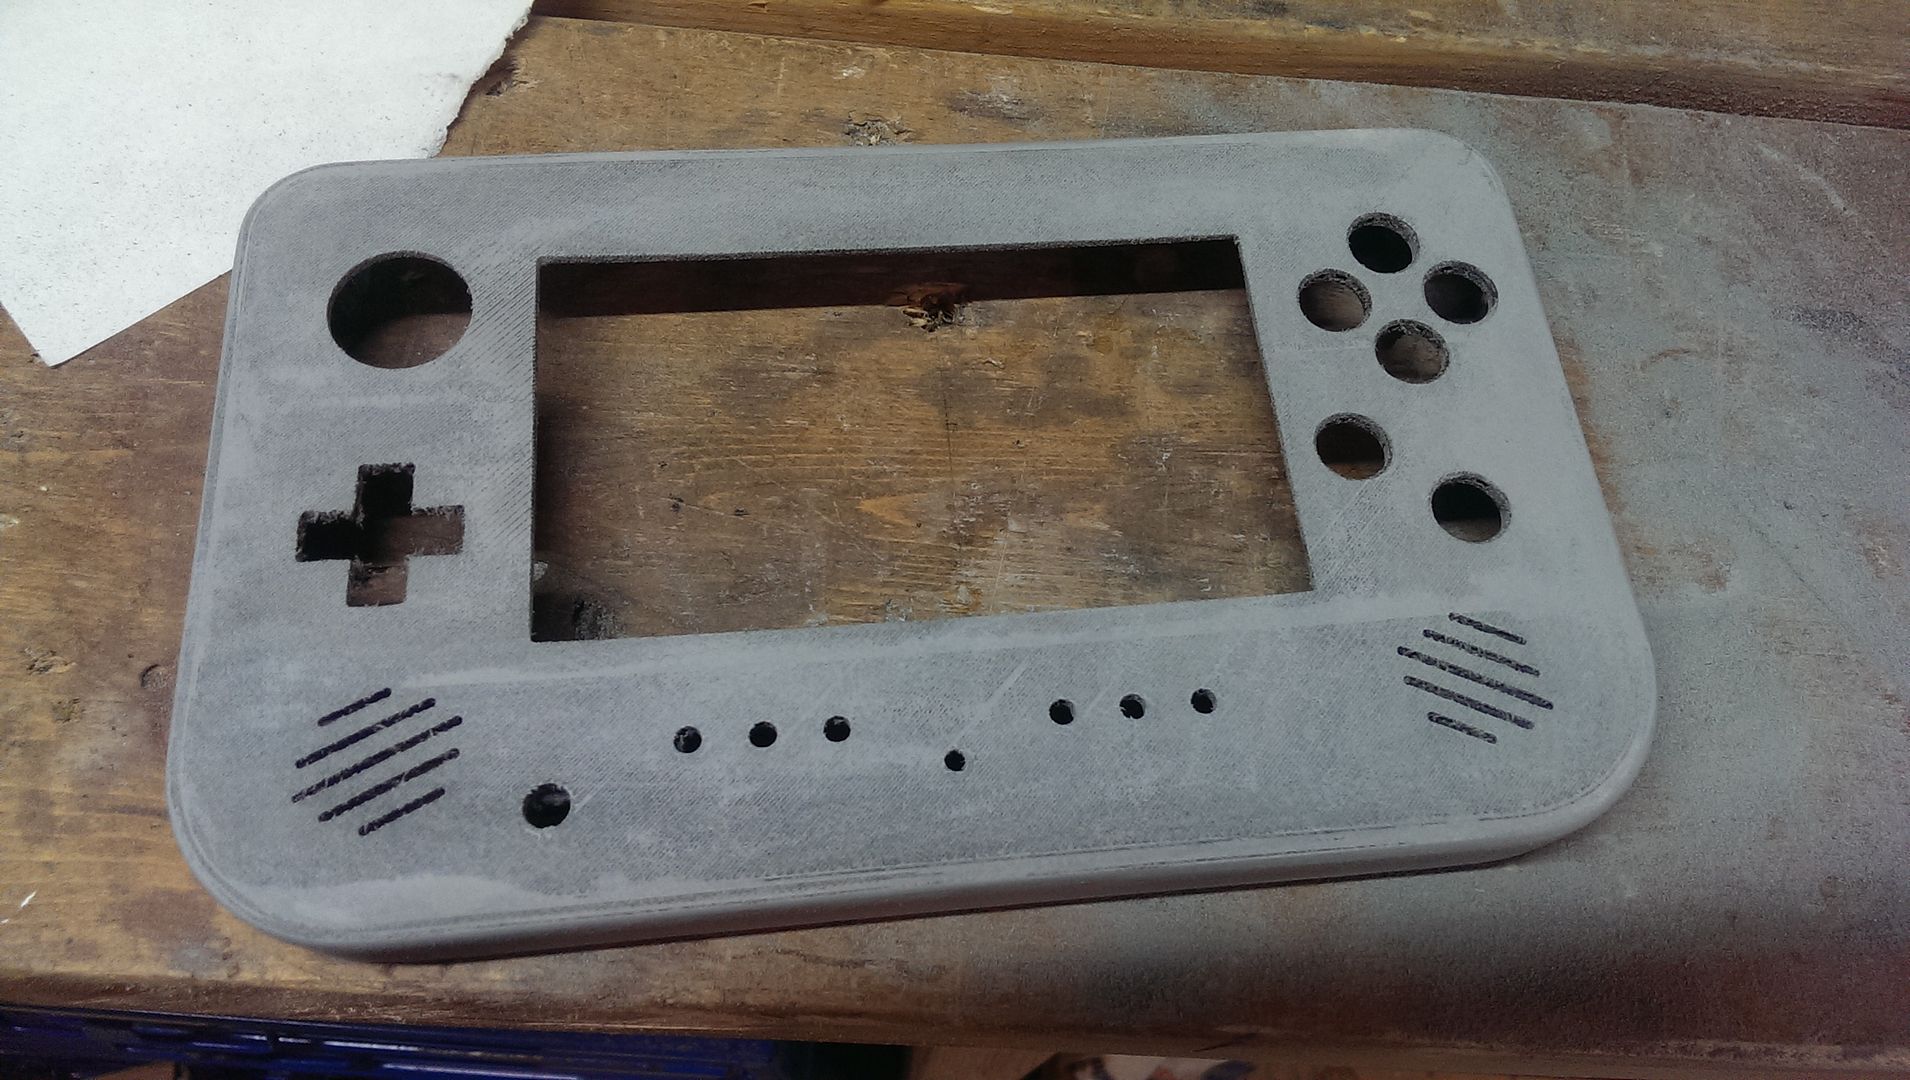
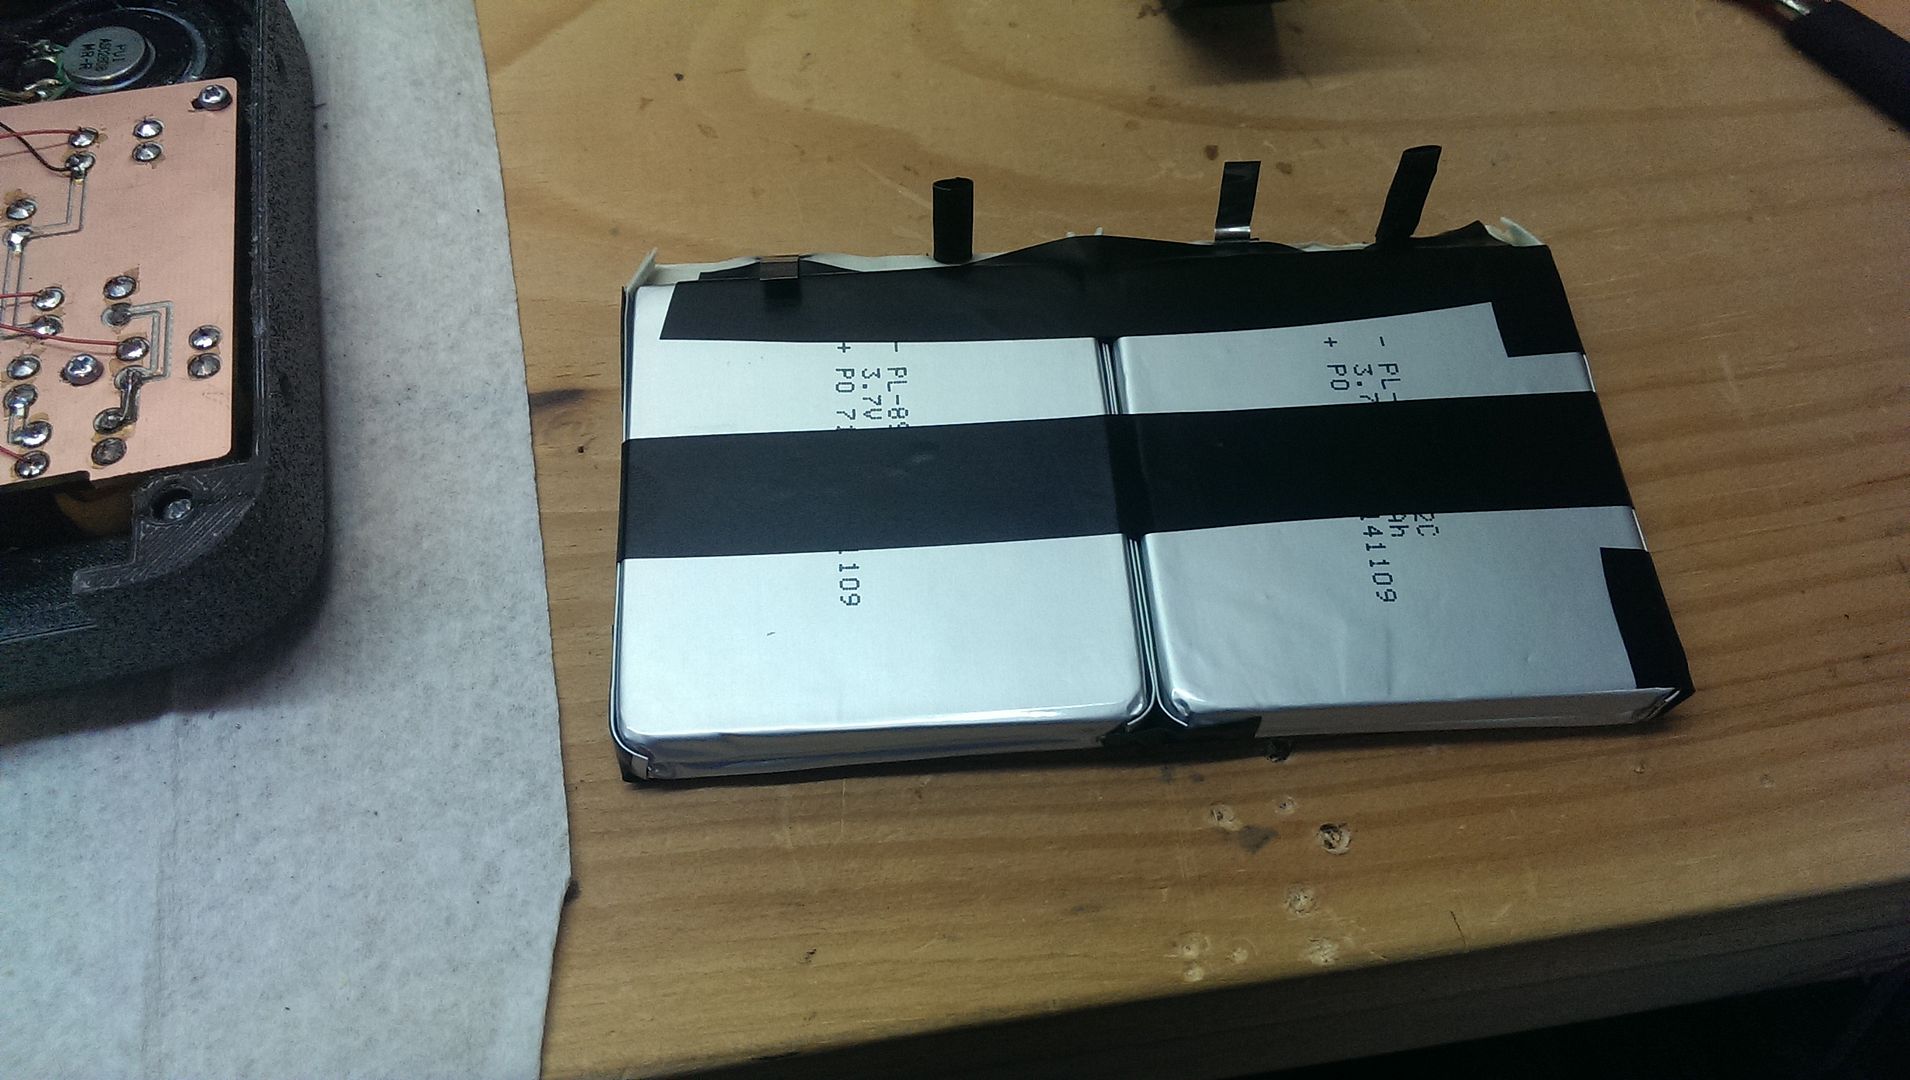
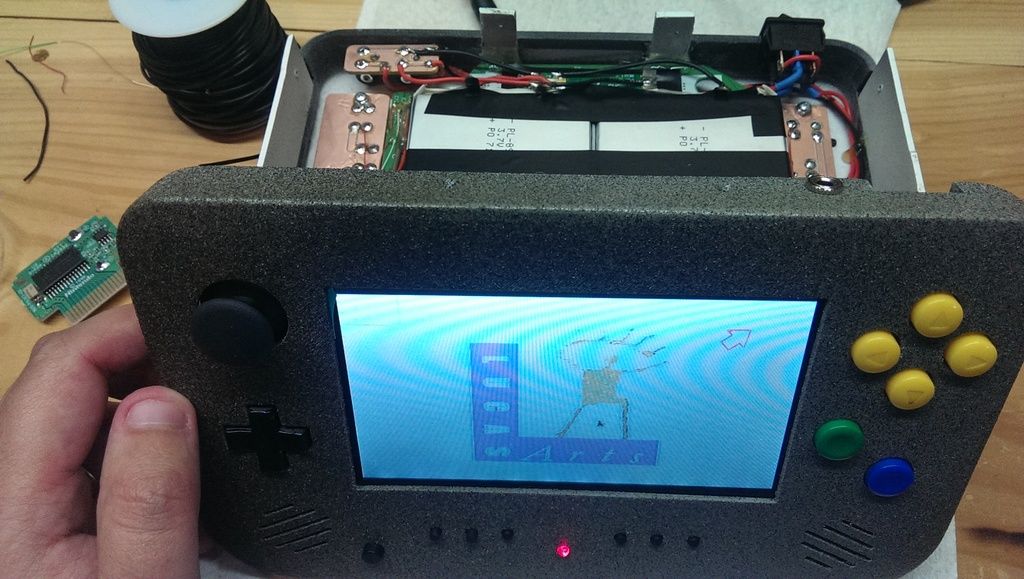
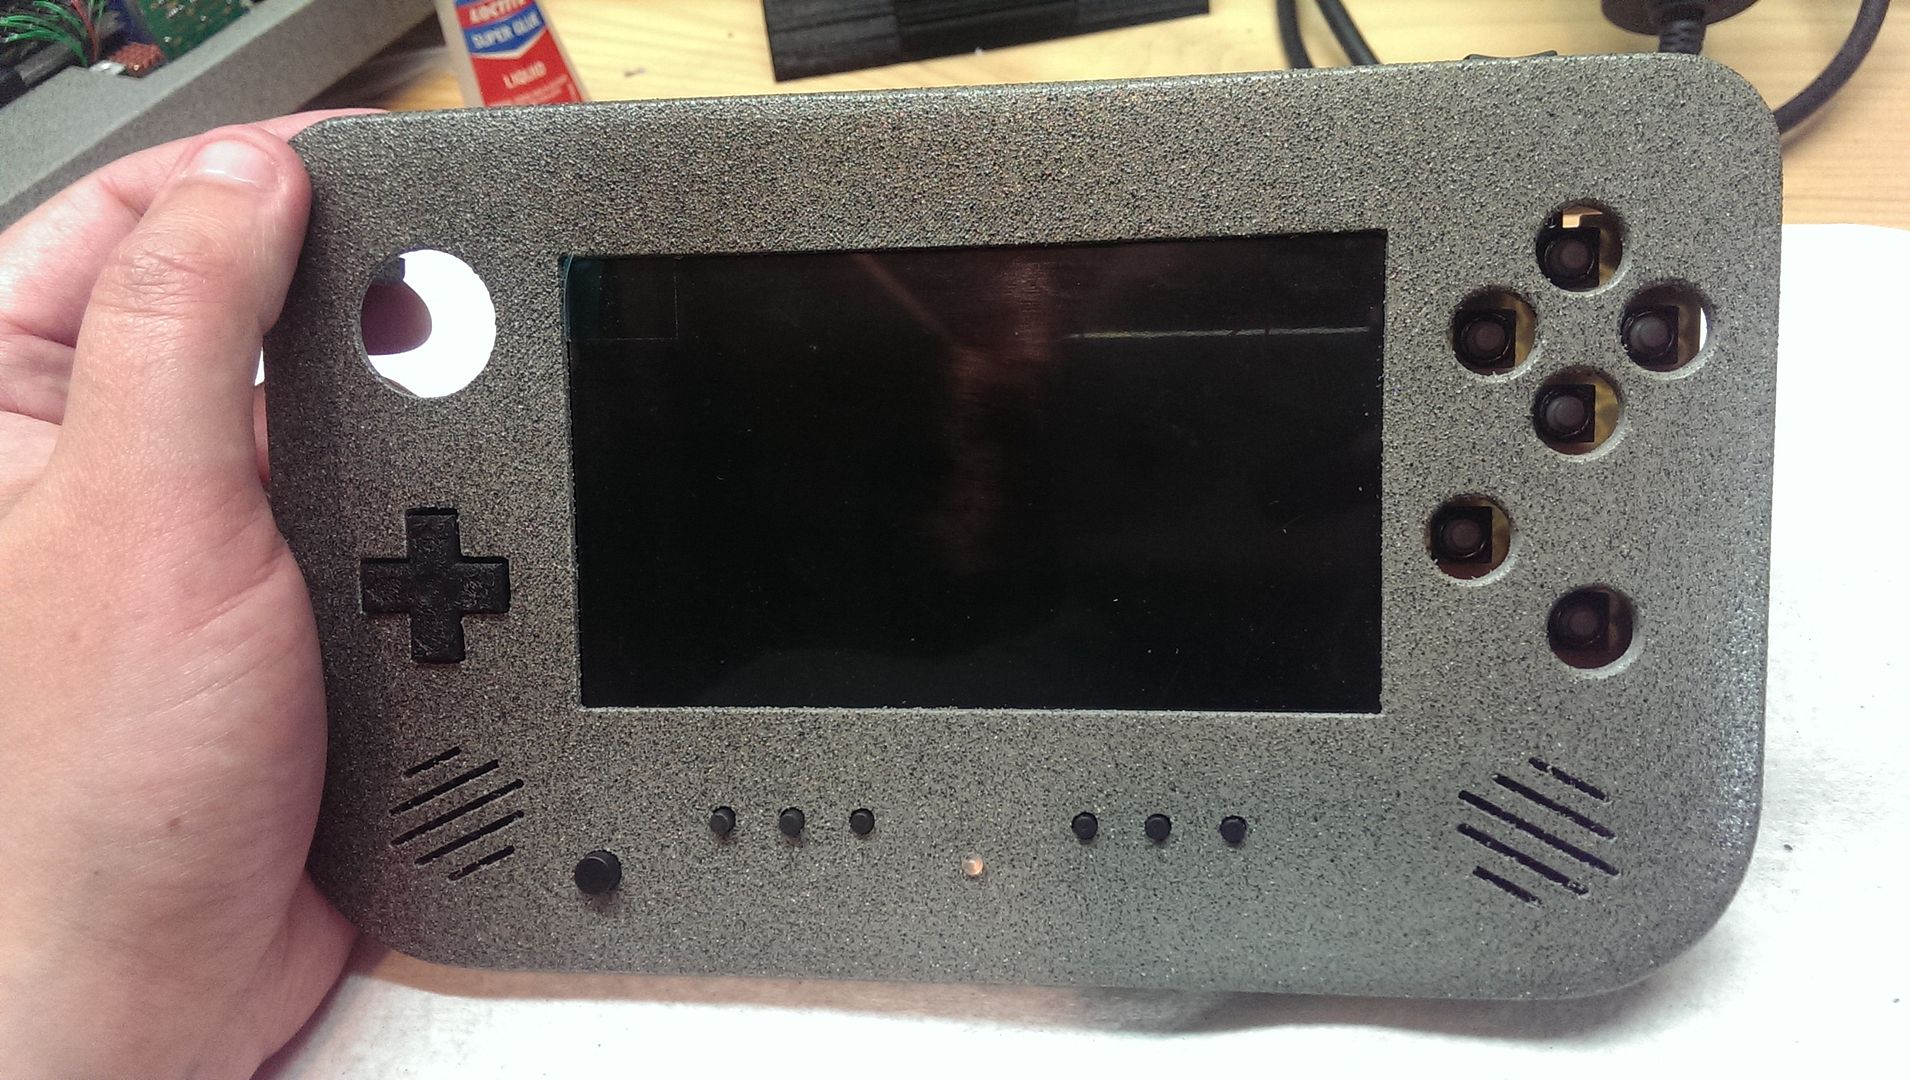
All the components in place and ready for painting/assembly. (Note, those aren't the batteries I'm using. Waiting for the correct ones in the mail)

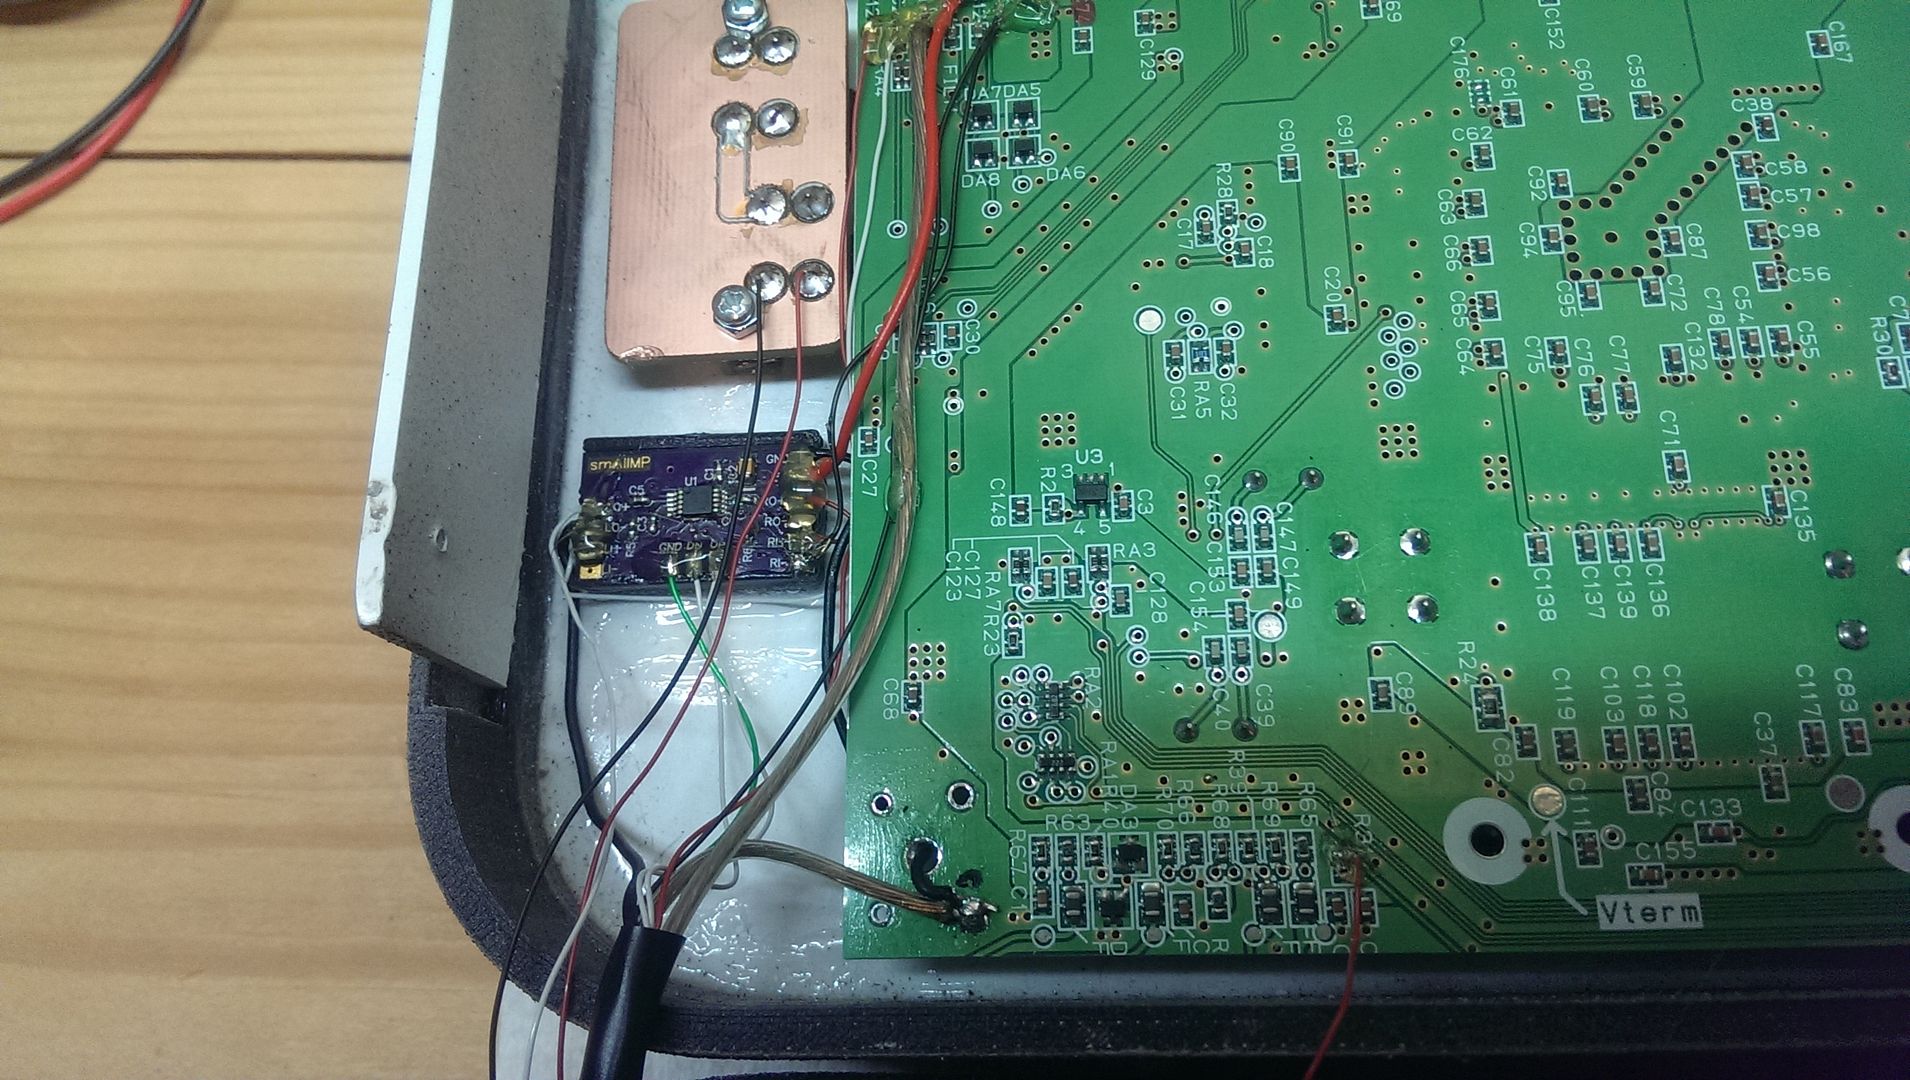
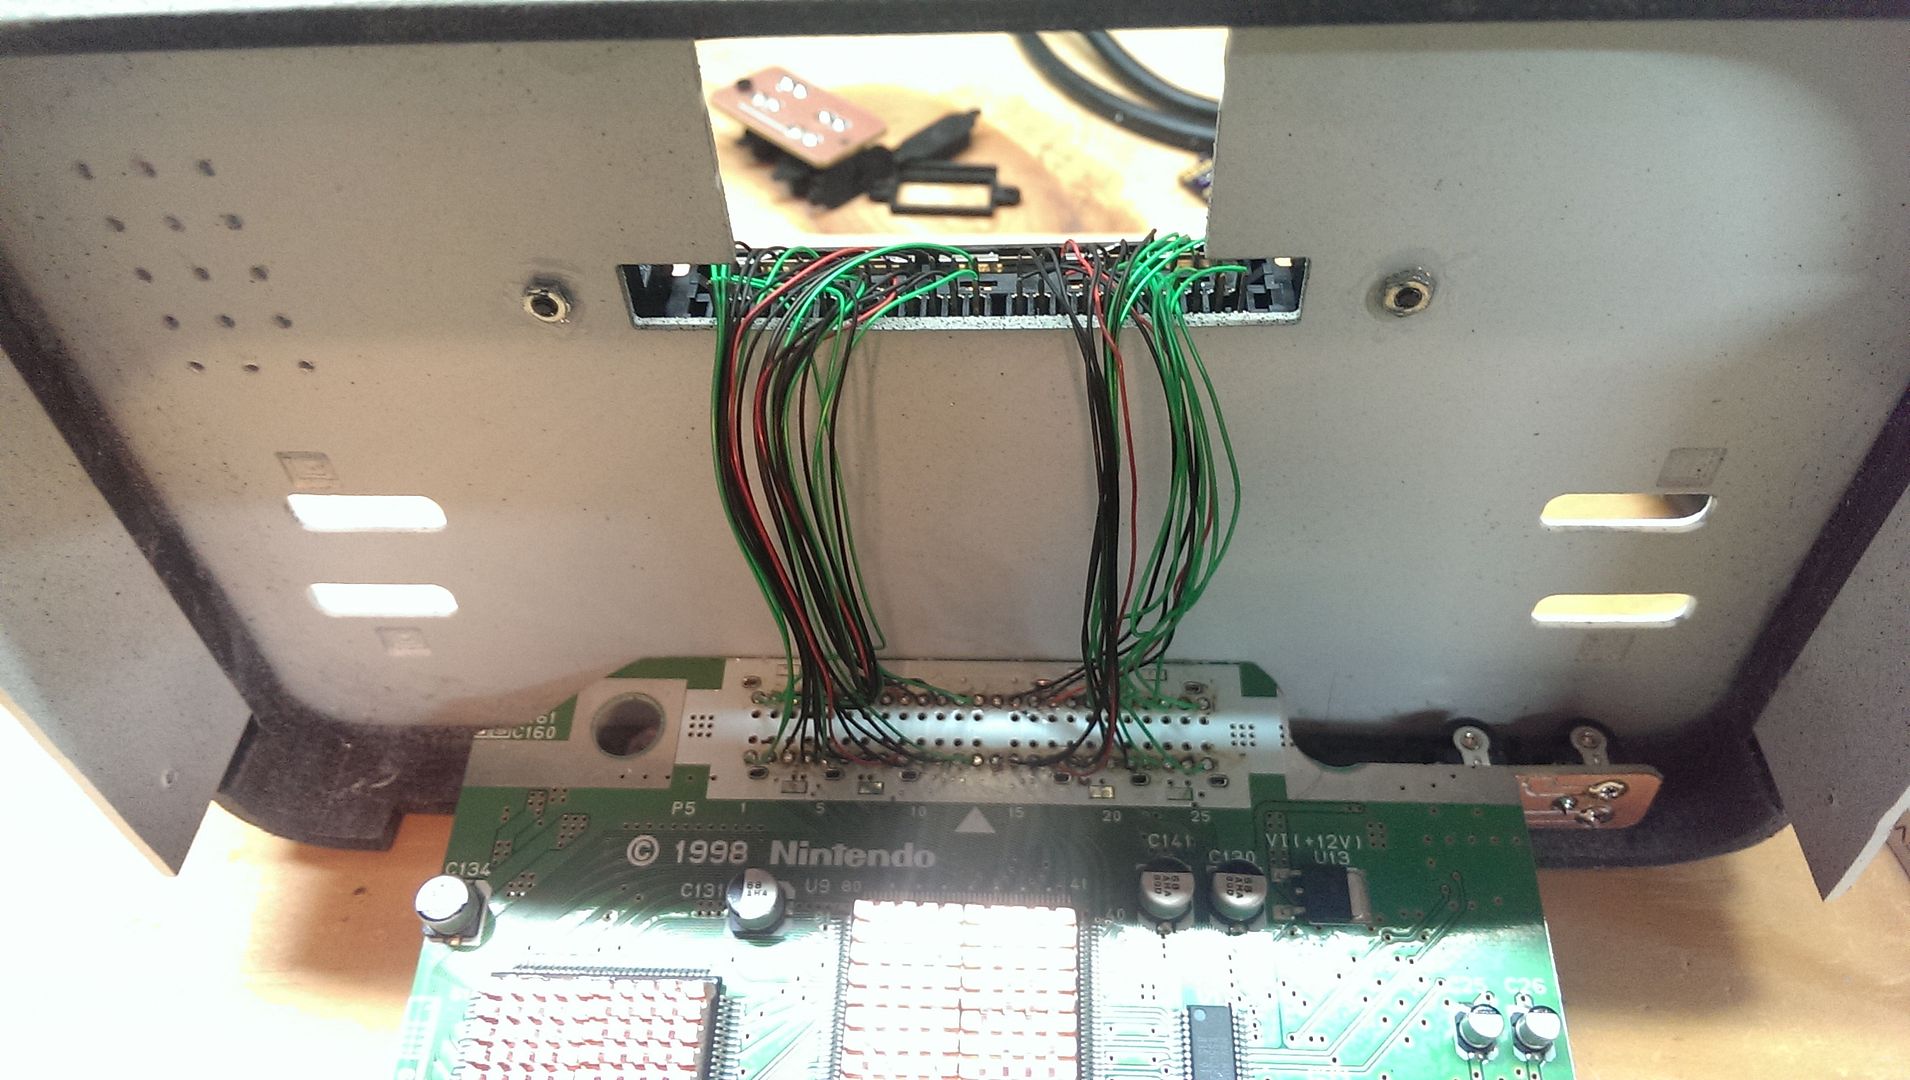
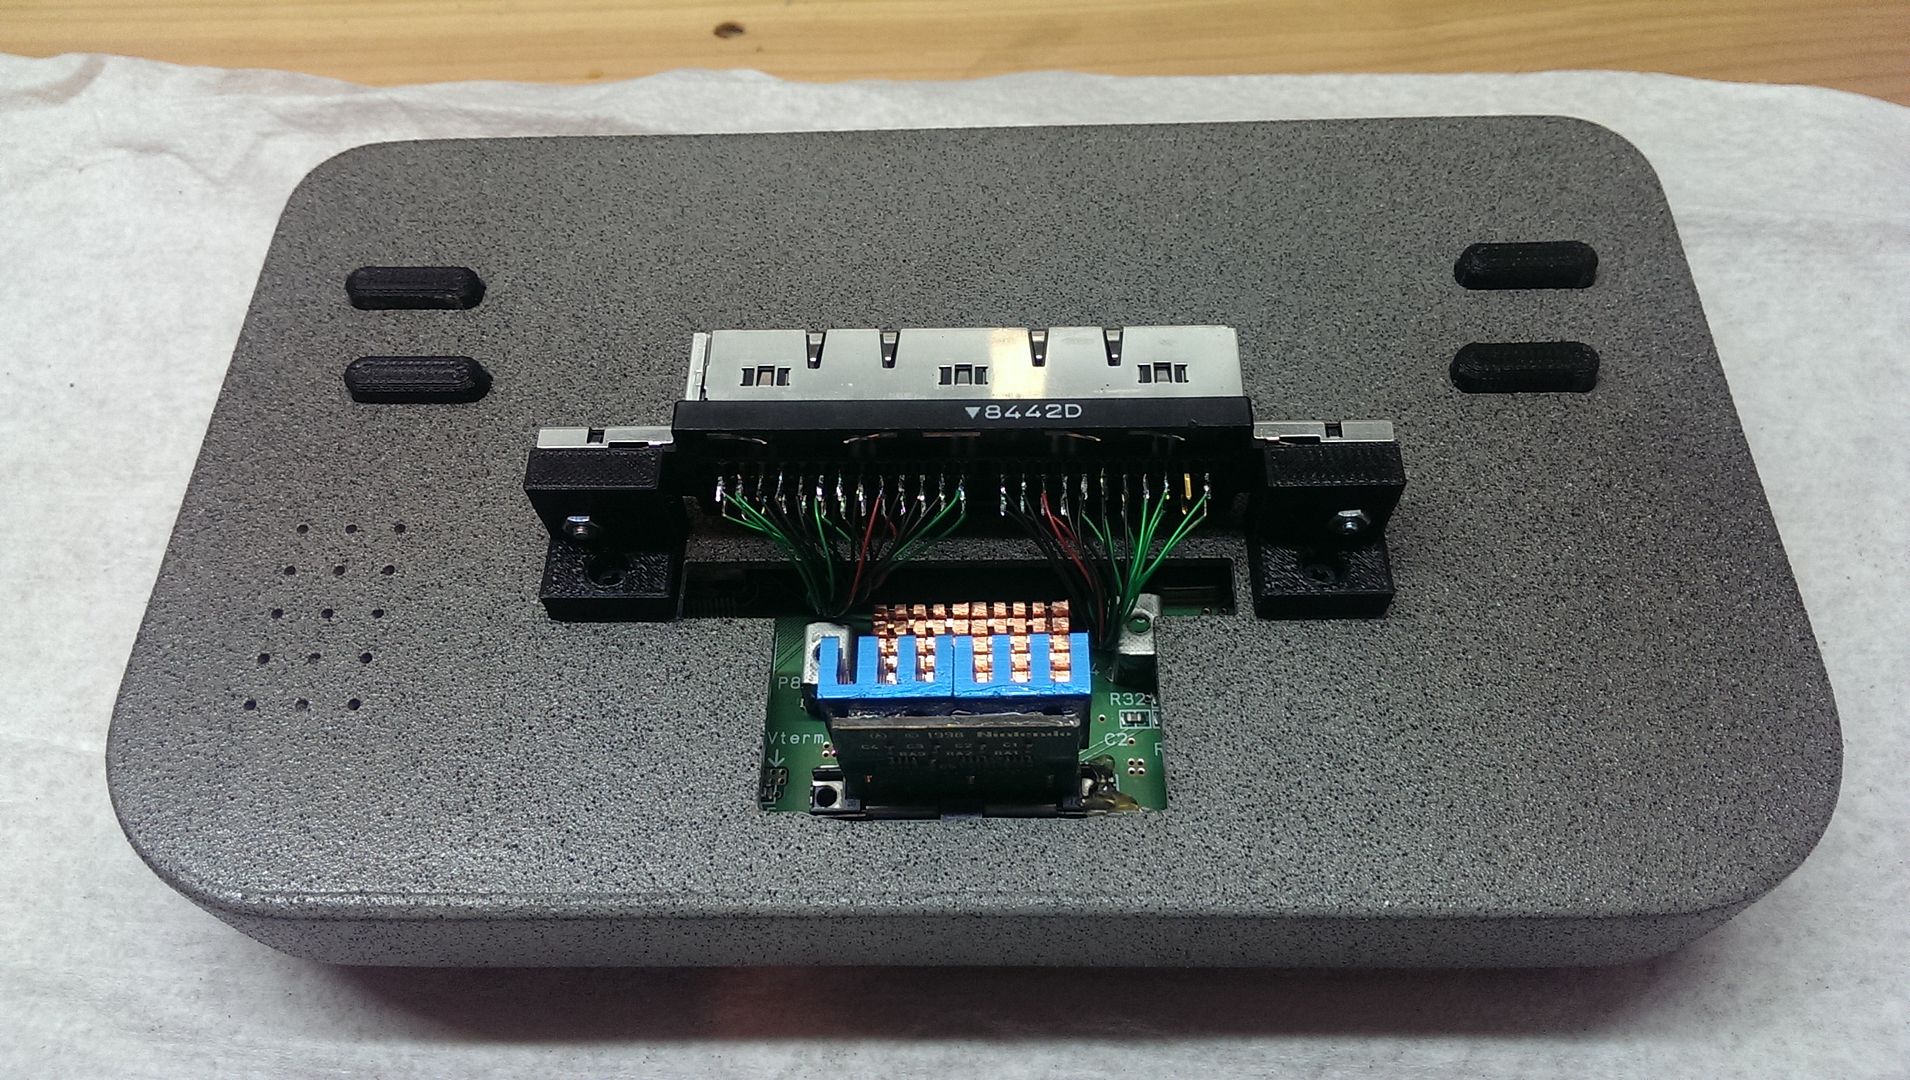
The rest are just pics of some of the assembly and the cart relocation.
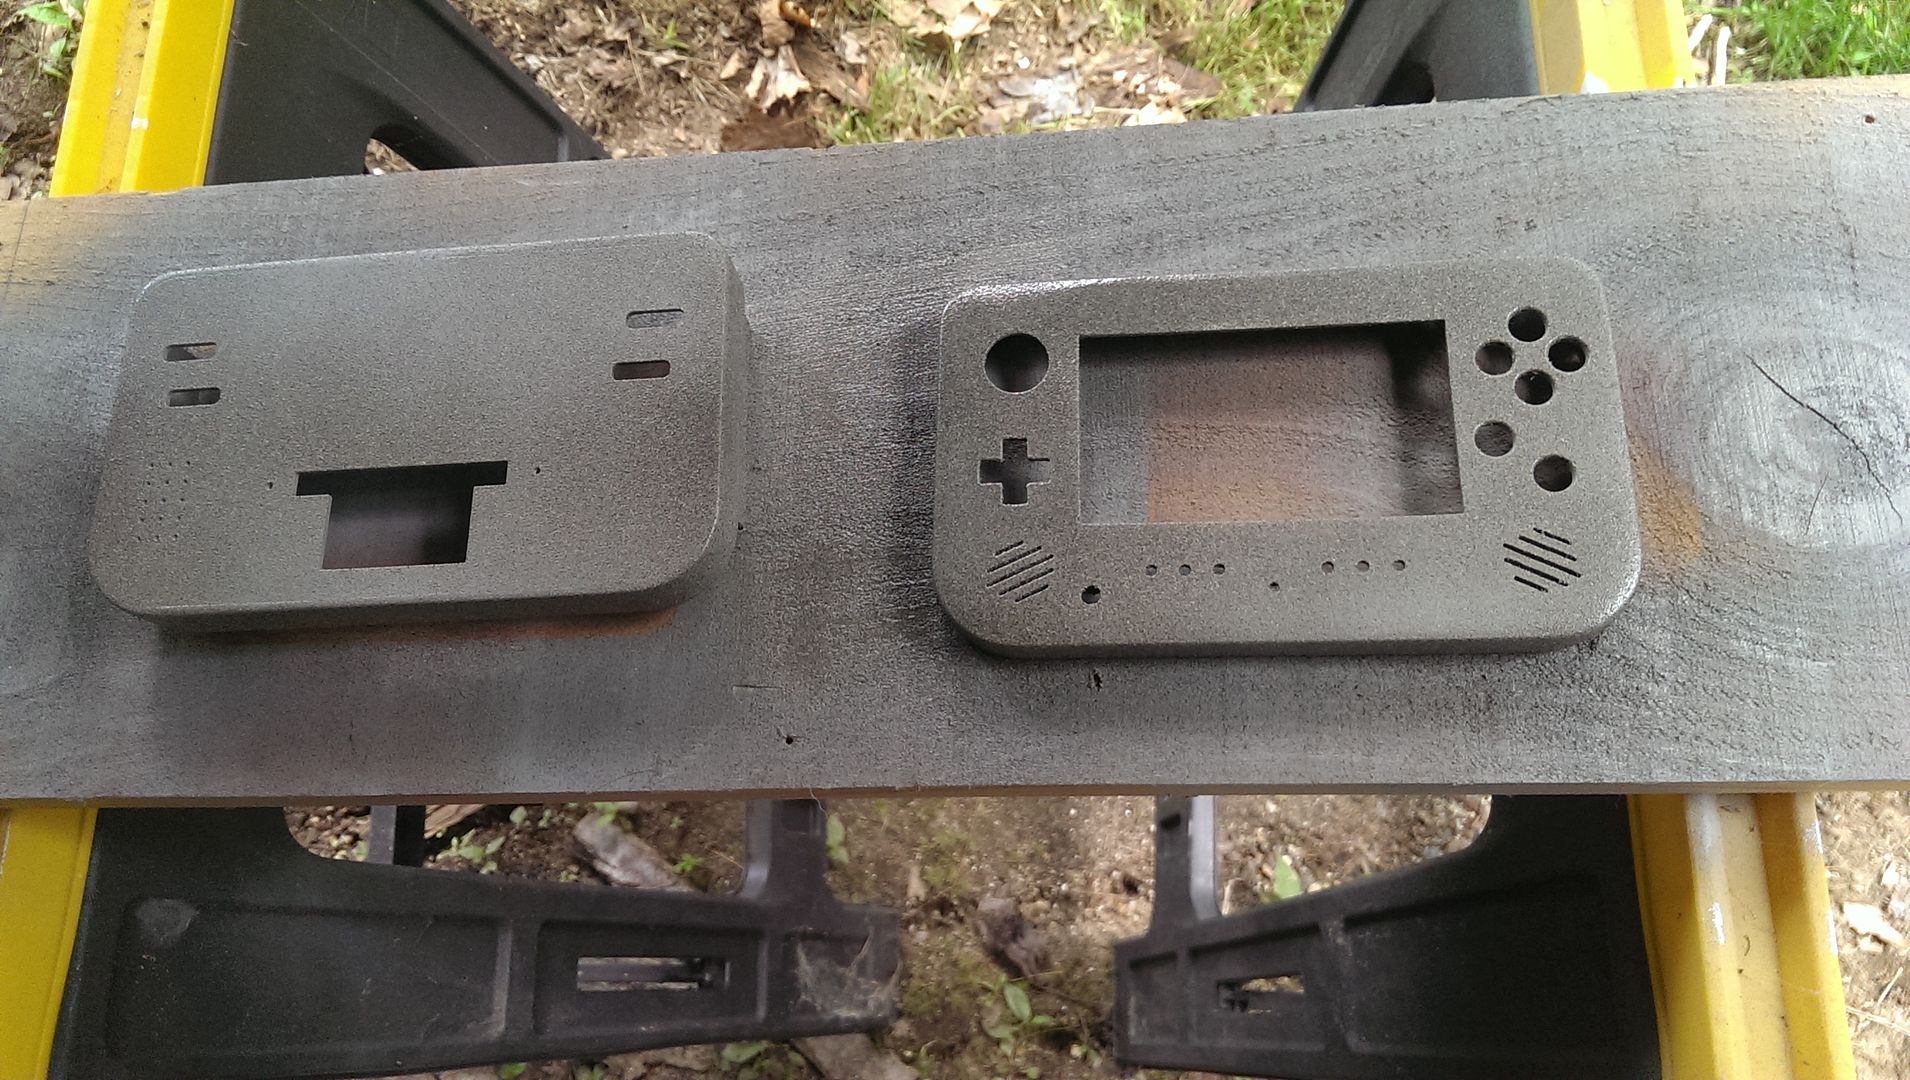
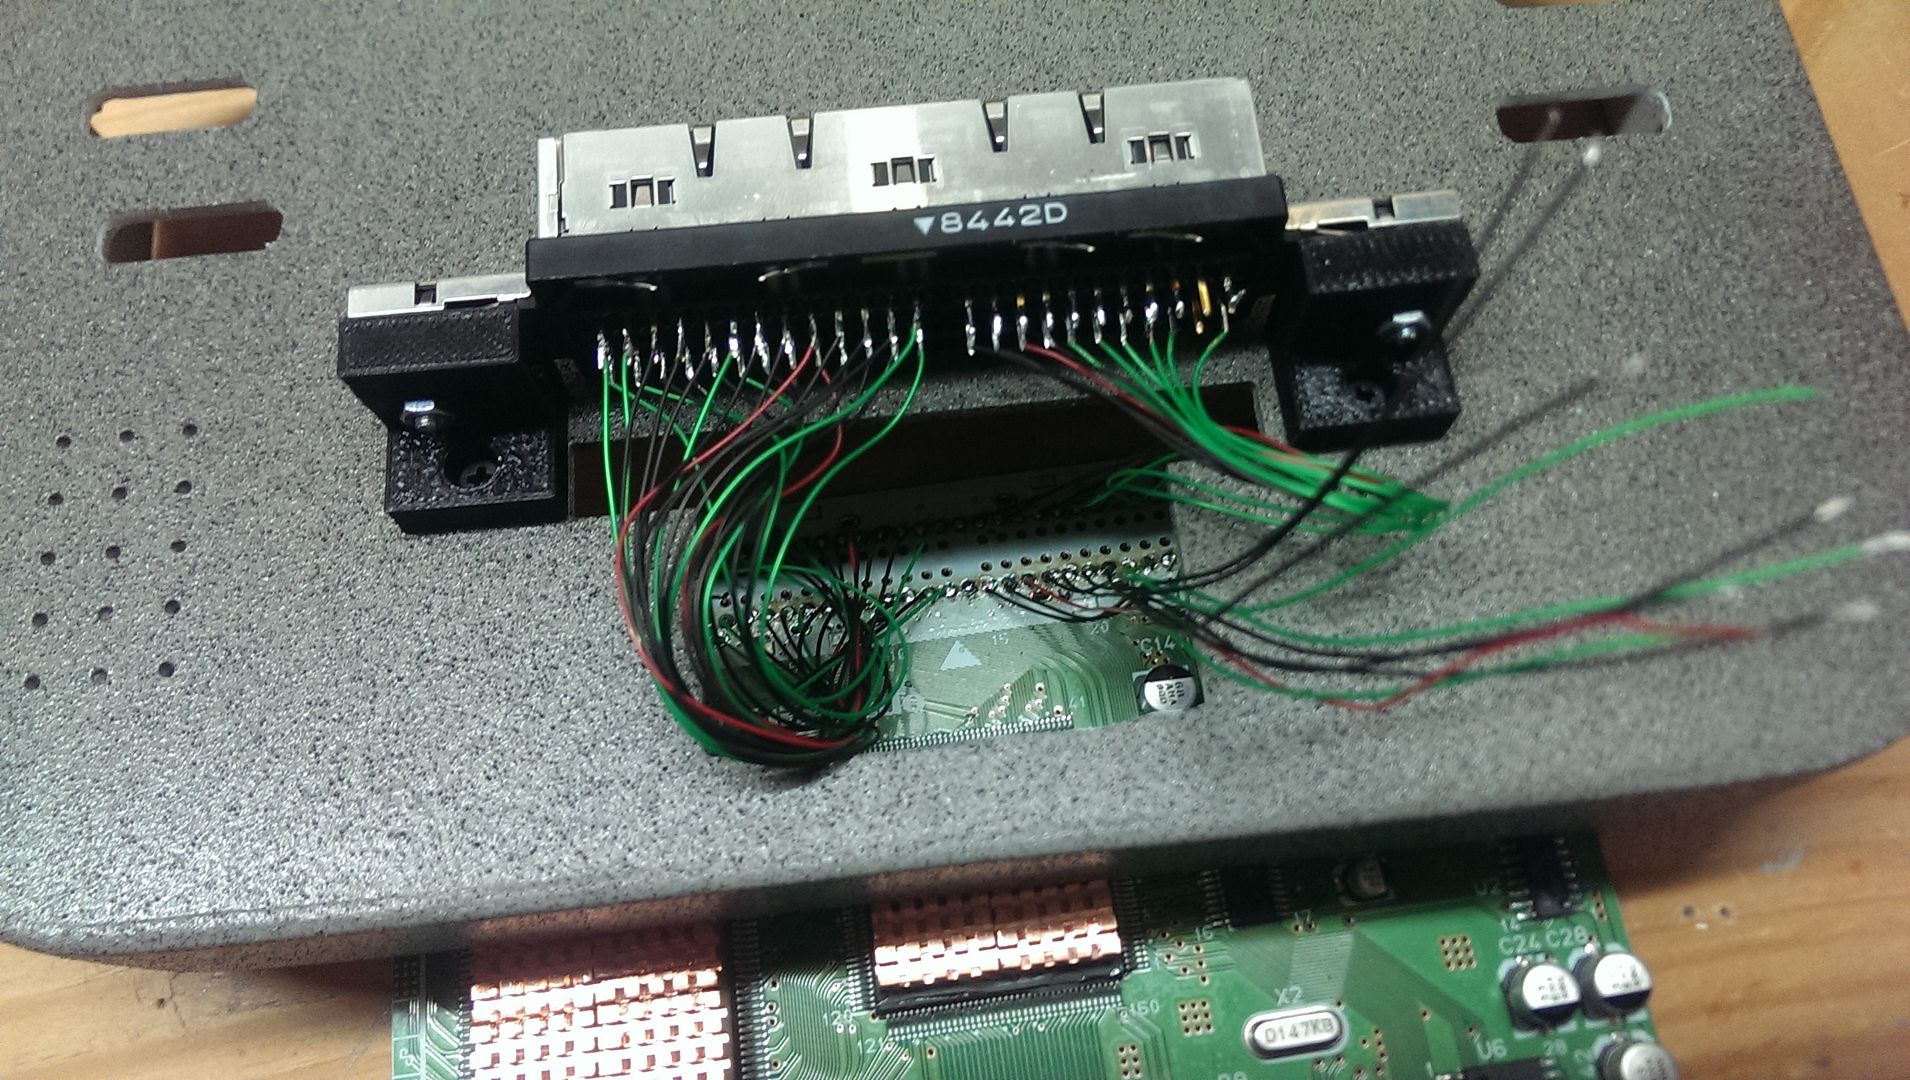
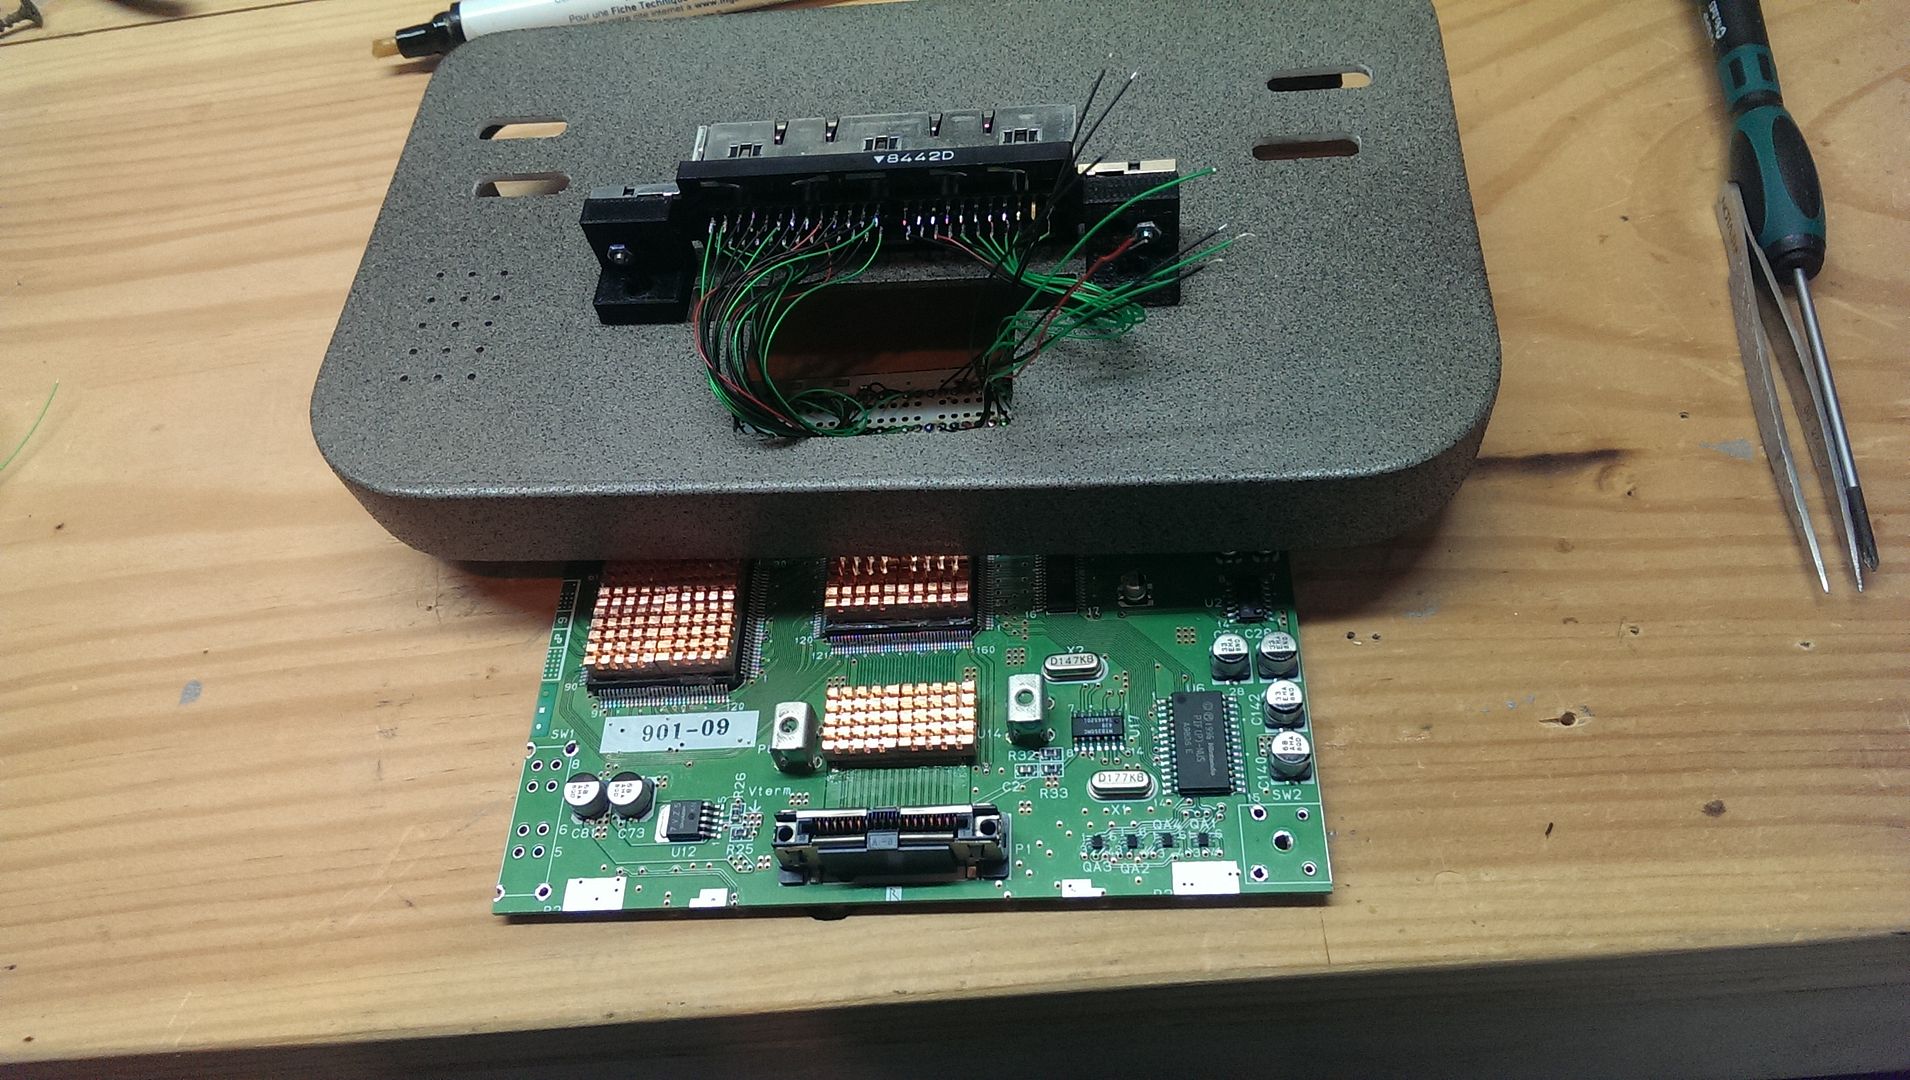
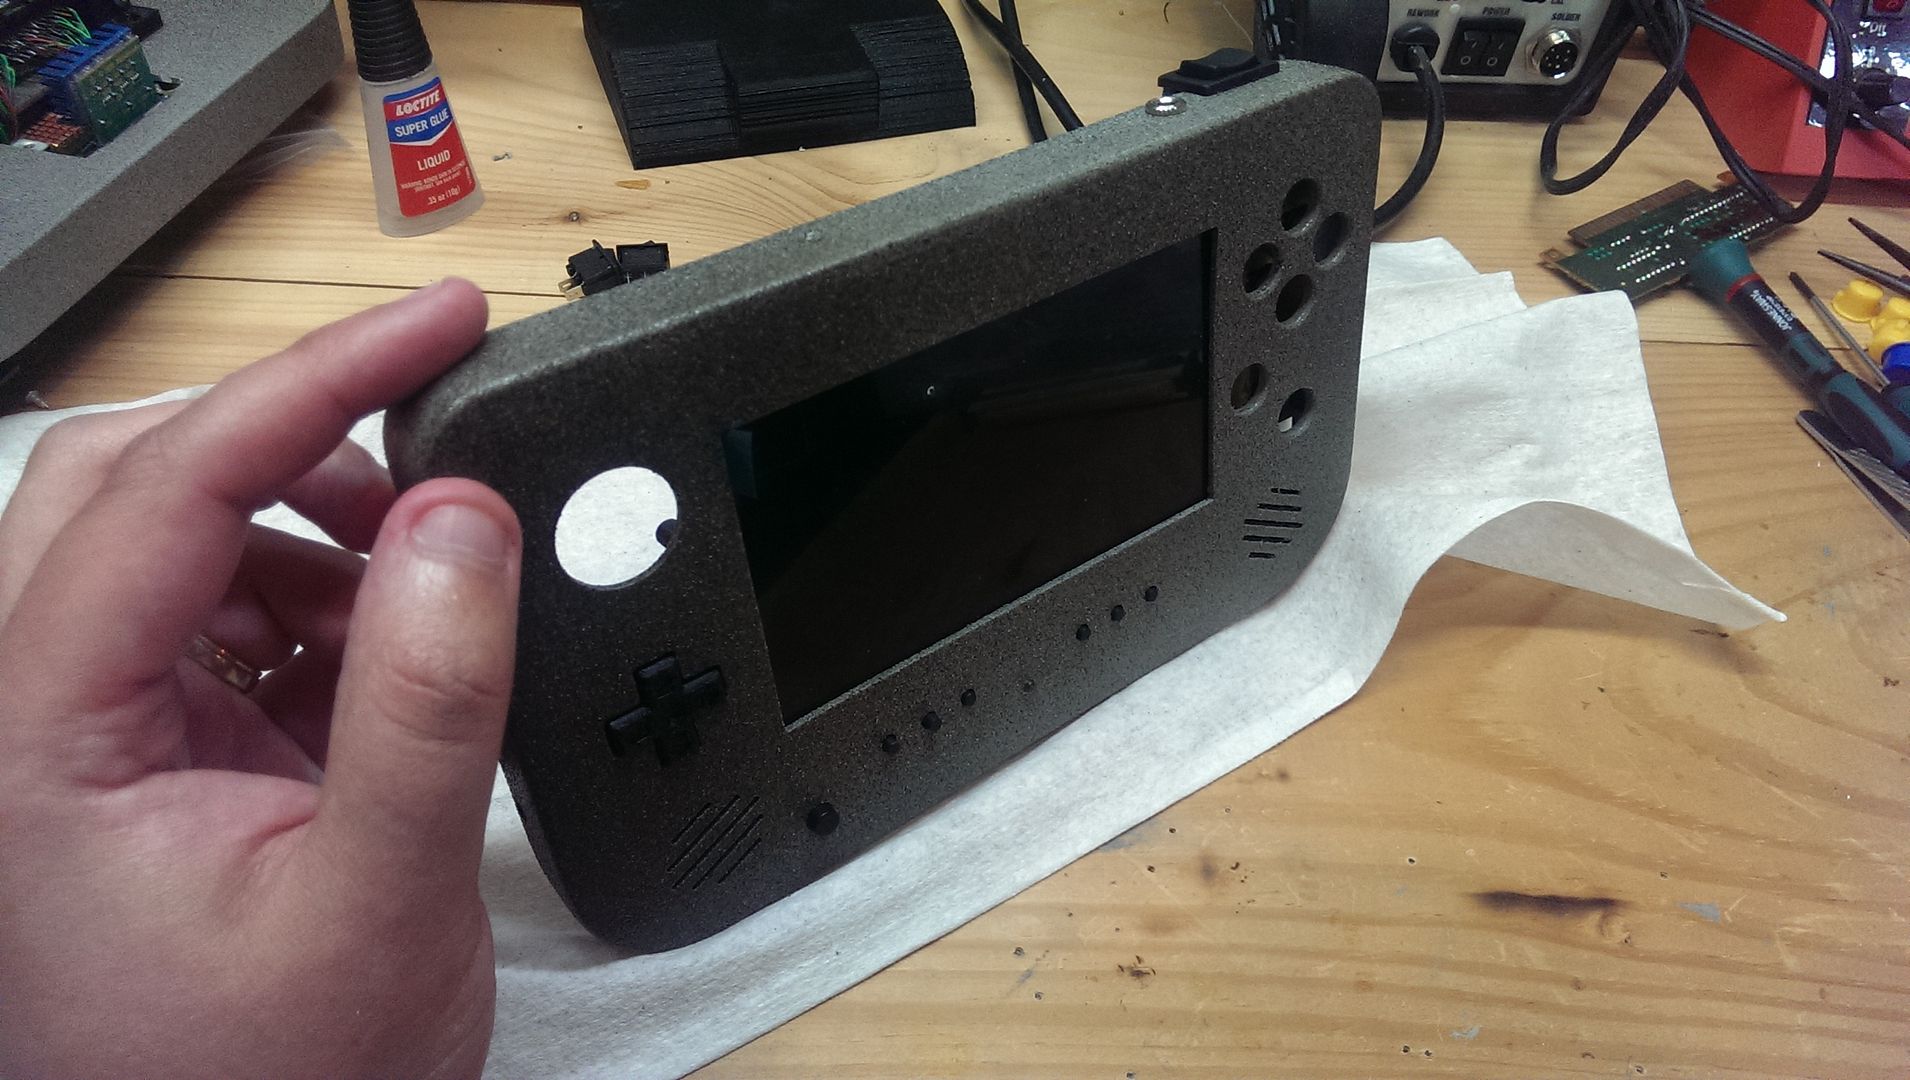
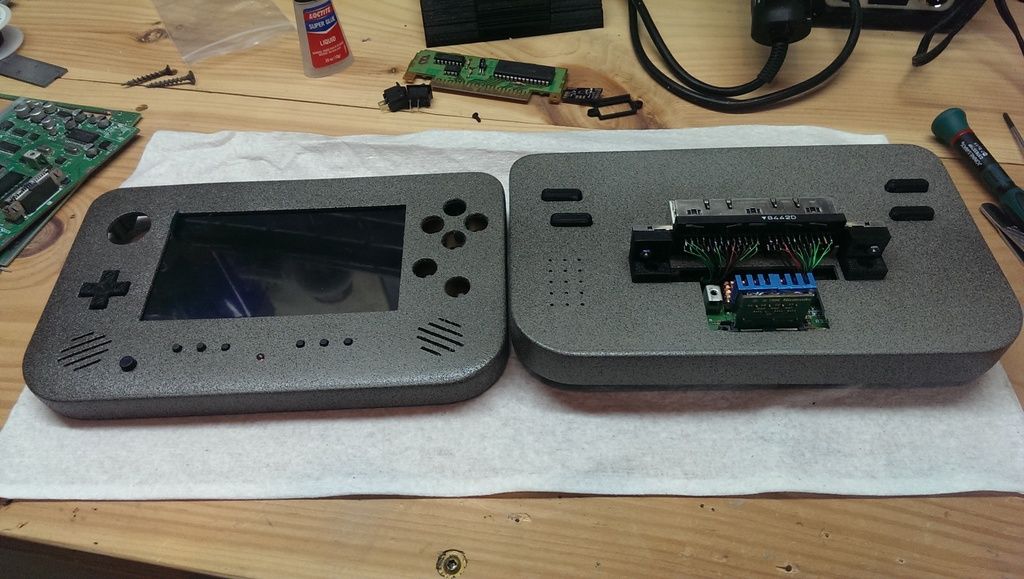
All in all I'm very happy with how this one is turning out and how fast it's going. Should have this one done in a few more weeks as I have time. Still need to get the batteries but most of the tedious parts are done, now it's just the wiring. More updates soon!
That being said, I'm also amazed at how fast this one is going, though it's really not that surprising considering it's a second run of the same style system.
This one did however throw a couple of curve balls at me. For one, this is a PAL system as the buyer is in the UK. So I had to order a special wall power adapter and a US to EUR step down converter for the battery charger as the batteries I use require a special smart charger.
Anyway, here are a bunch of pics show my progress in the past two weeks. As I said, I'm way ahead where I would normally be on a first run so it's all coming together nicely.
So unlike the first version, this one uses all custom cut PCBs for the buttons and component mounting. Takes a bit more time to mill, but is far stronger and eliminates the need for a lot of extra ground wires.

Some pics of the rough 3D printing case work.


You'll probably notice that the face plate looks a bit odd. The reason I print them this way is because I'll later be running it through the CNC machine as it gives a much cleaner finish than what 3D printing would put out. I did print this face plate out on PLA though which I regretted afterward because for milling purposes, it just doesn't work as well as ABS because of it's low melting point. ABS will make plastic chips when milled. PLA just makes a melted mess and has to be watched constantly to make sure the bit doesn't gum up and cause a real big issue. I'll most likely be changing my methods for this shortly where I'll just print brackets for the buttons & mounting and just use polystyrene like I do for the back half of the casings.

Another reason why I want to start using sheets of Polystyrene for the front plates is because the filling and prep work to make a 3D printed part look good take forever!


Some beautiful board reduction using the CNC


Adding the heat sinks to the board and the expansion pak. I used copper for hot and heavy RCP and CPU and Aluminum for the RAM on the expansion pak due to less heat.


The front face prepped for milling

And nicely milled

All the components in place and ready for painting/assembly. (Note, those aren't the batteries I'm using. Waiting for the correct ones in the mail)

The rest are just pics of some of the assembly and the cart relocation.


All in all I'm very happy with how this one is turning out and how fast it's going. Should have this one done in a few more weeks as I have time. Still need to get the batteries but most of the tedious parts are done, now it's just the wiring. More updates soon!


