Marty
Member
Derp64
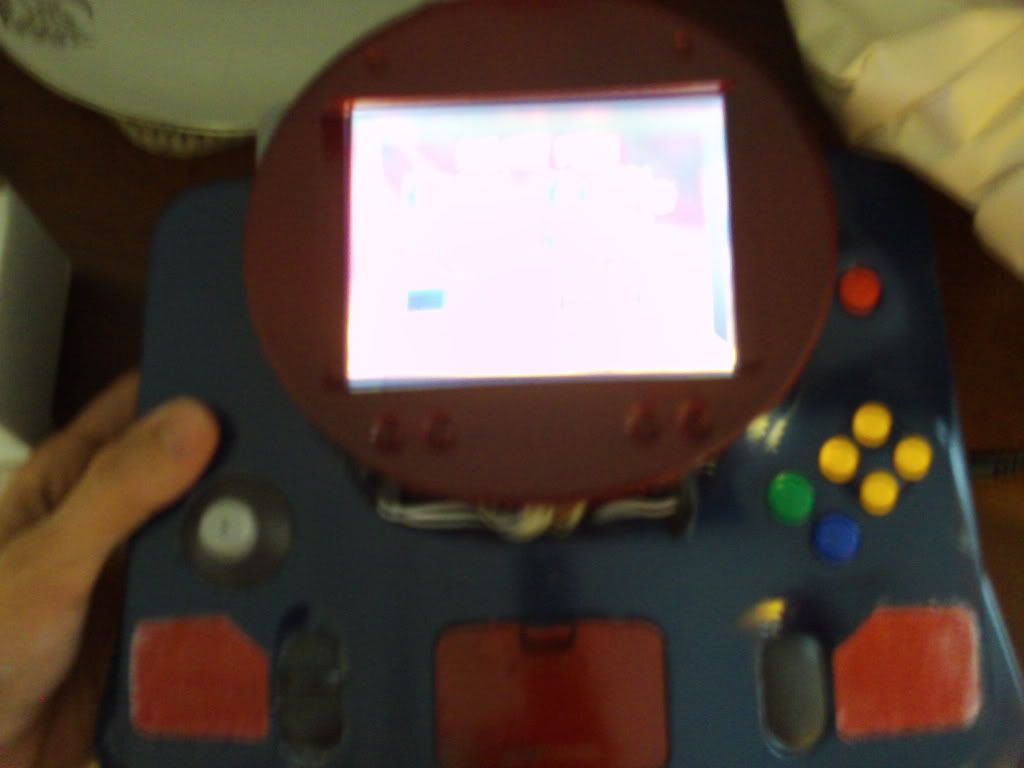
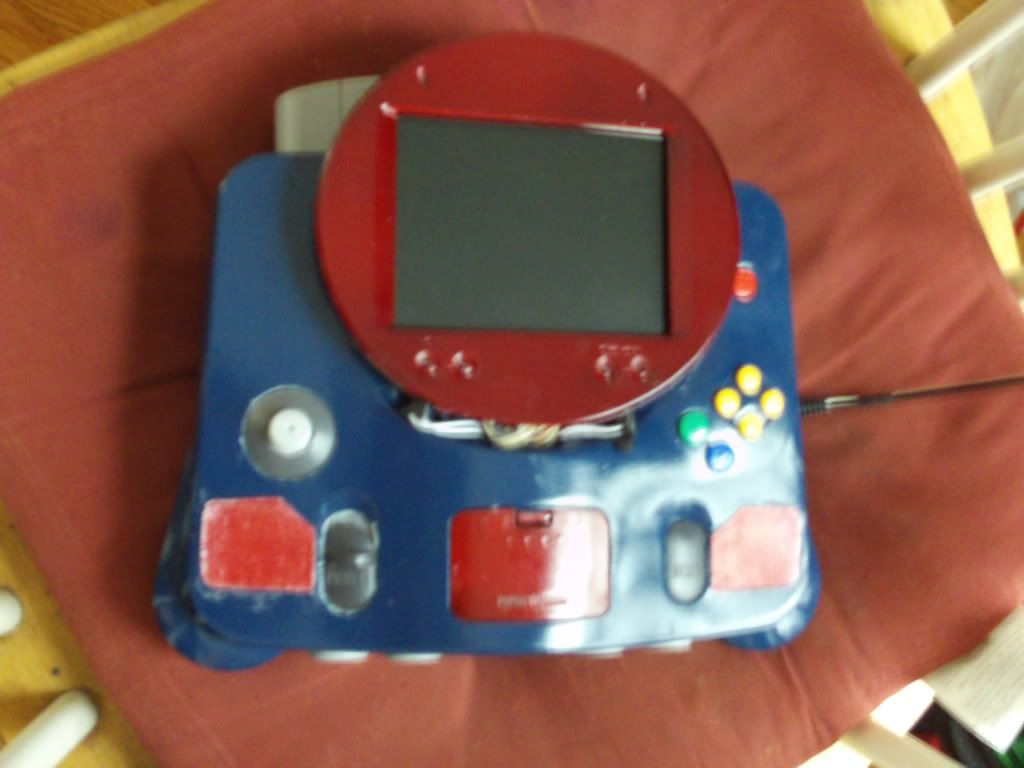
^That picture isn't doing the portable much justice.^
Finished Pictures: http://s1134.photobucket.com/albums/m618/cameronmo/
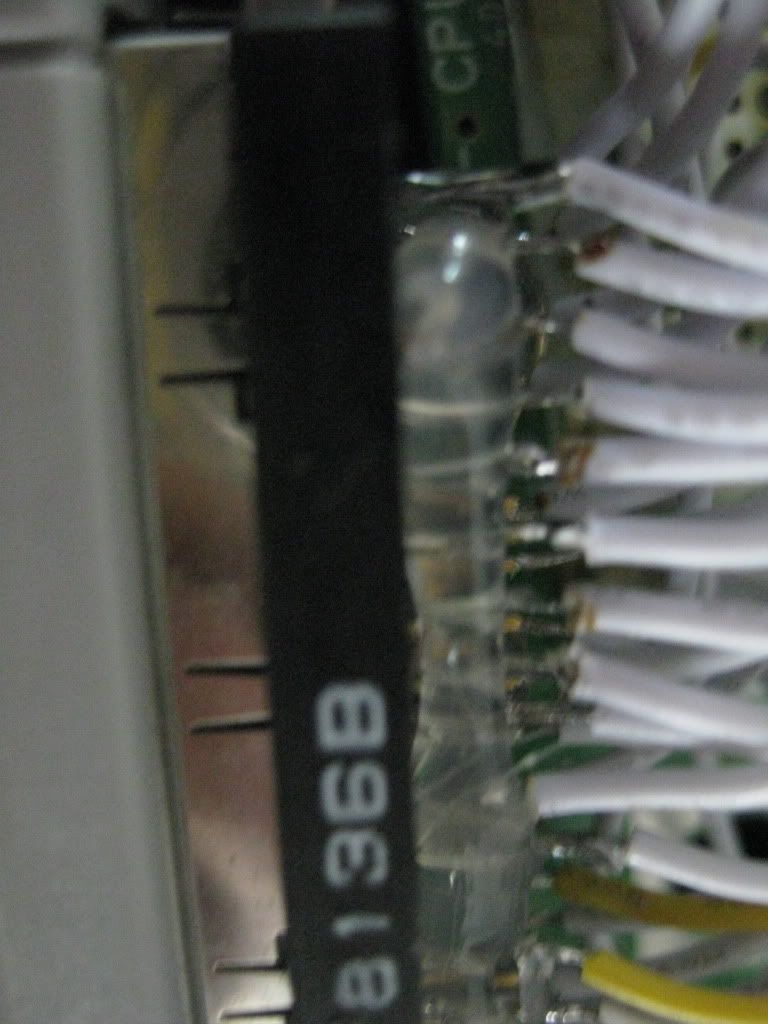
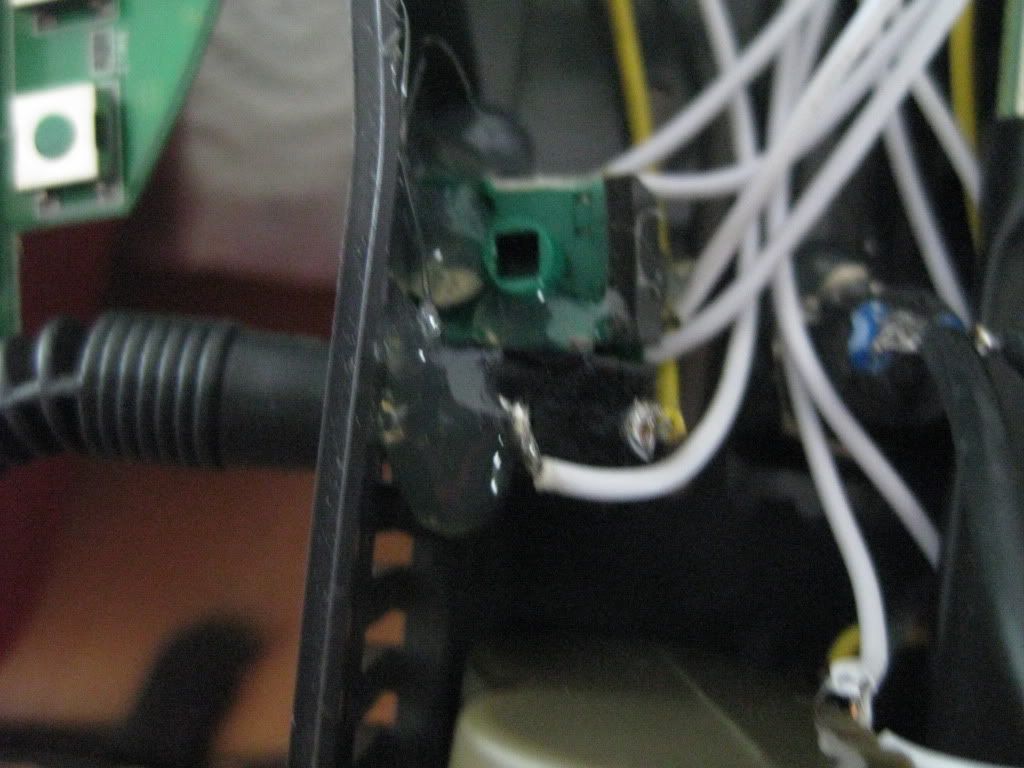
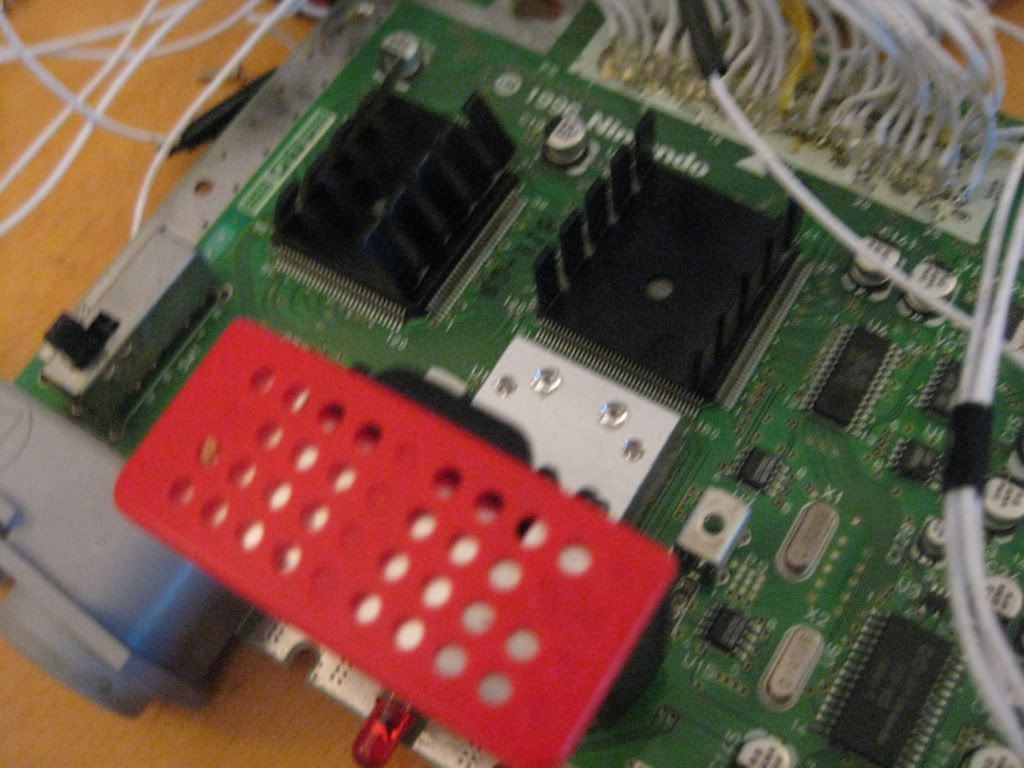
Alright, I finally began on an n64p just a few days ago, and I've got a bit of a problem. The first thing I did was cart slot relocation. Unfortunately, I can't get the system to boot anymore. From what I've read, there's a good chance it isn't fried because the led isn't even getting power. So, my problem is probably something like a short which (hopefully) didn't destroy anything completely. When I first tested the system, however, it turned on, but when I turned it off to grab my A/V cables, it never went back on. I may have put the expansion pack in backwards at some point... that's one possible problem. The other possibility is that my solder joints weren't great on the board. One week~ ago I literally had never touched a soldering iron, but I don't see any connections that shouldn't exist, or any broken joints. When I first got the N64, I confirmed that it worked, along with my two power supplies, jumper pack, and RAM expansion. Nothing gets hot when I give it power either (if that matters).
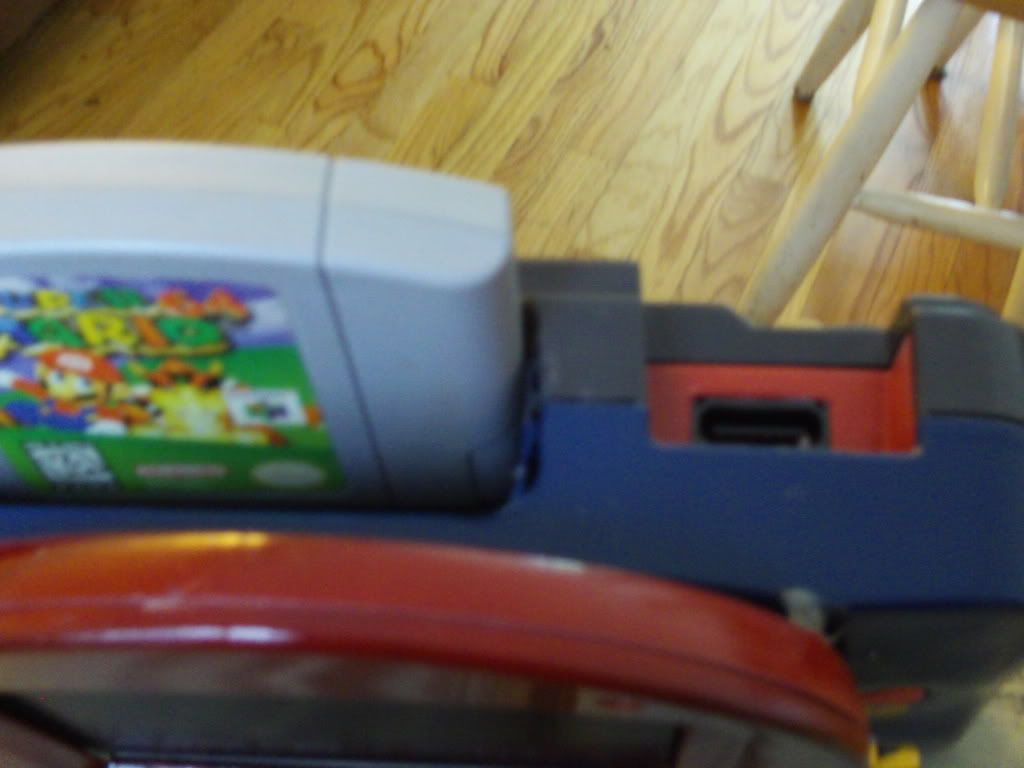
Update #1 After frying the first board when wiring up power, I've successfully relocated the slot cart, wired up power, a charging jack, headphone jack, and screen (psone) to another board. My next task will be to wire a memory card into a controller board, as well as taking a dremel to the ugly piece of the psone screen's case where the speakers were. More pics tomorrow.
Pics:
http://s1134.photobucket.com/albums/m61 ... G_0419.jpg
http://s1134.photobucket.com/albums/m61 ... G_0418.jpg
Kinda stiff 24awg wire:
http://s1134.photobucket.com/albums/m61 ... G_0414.jpg
http://s1134.photobucket.com/albums/m61 ... G_0411.jpg
This was actually a broken N64 I practiced soldering on with some even worse wire:
http://s1134.photobucket.com/albums/m61 ... G_0397.jpg
http://s1134.photobucket.com/albums/m61 ... G_0422.jpg
http://s1134.photobucket.com/albums/m61 ... G_0421.jpg
Post-Update Pics:
http://s1134.photobucket.com/albums/m61 ... ?start=all
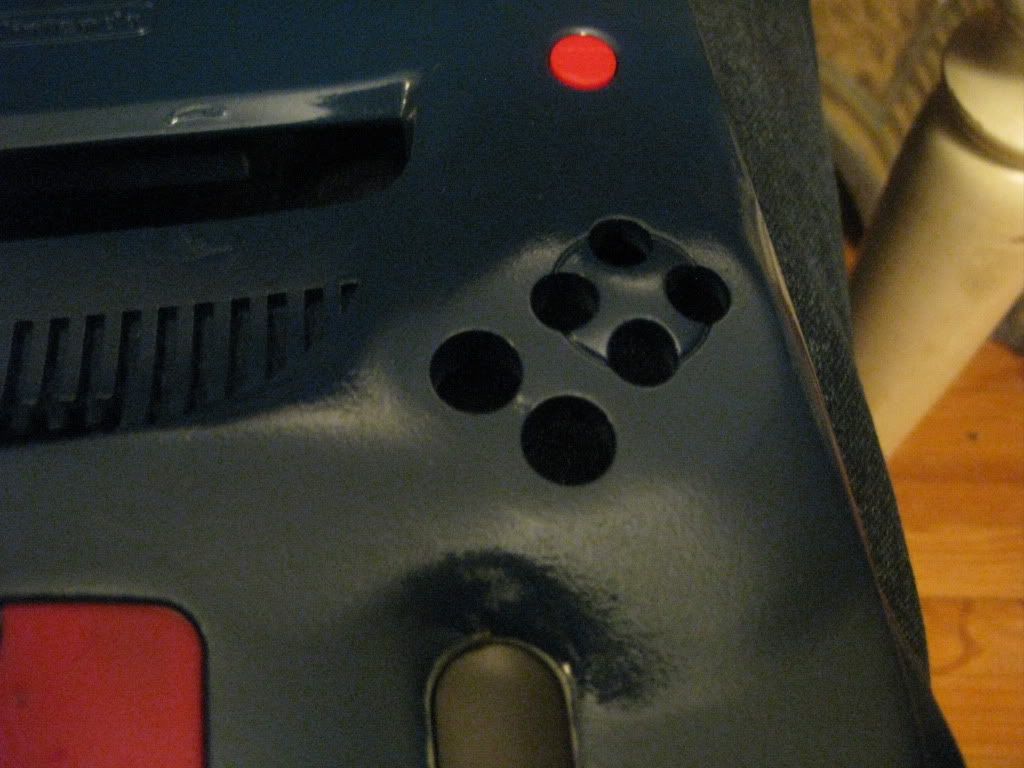
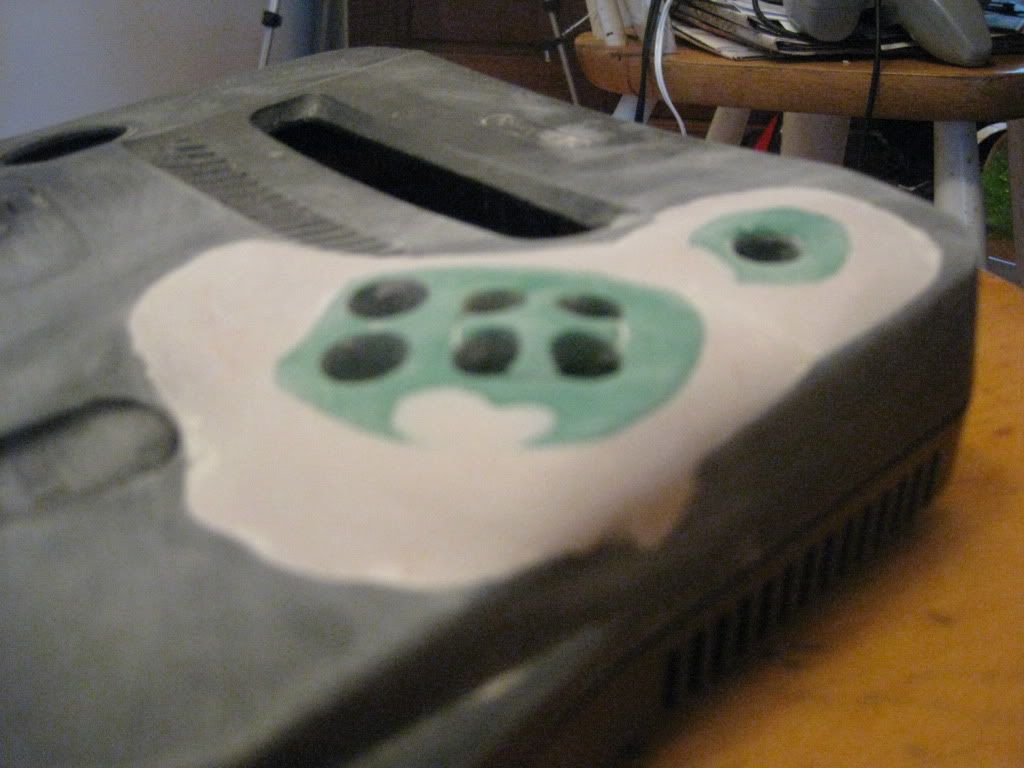
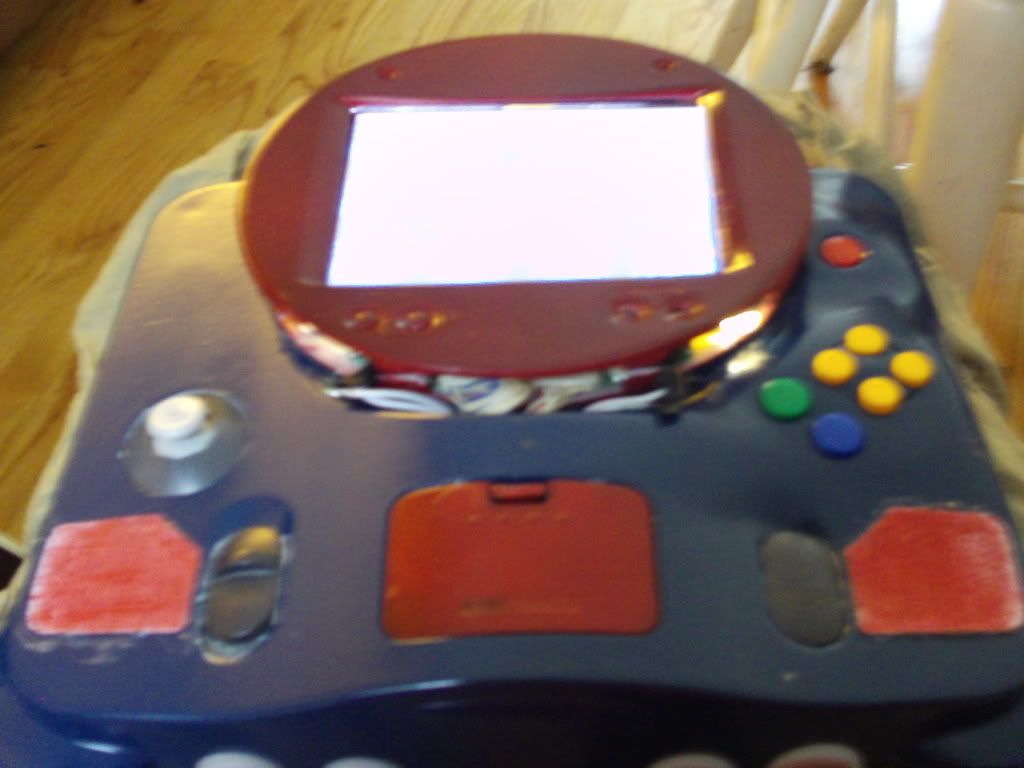
At this point, I've added speaker grills, painted everything I wanted to, and set up the internal controller, but it isn't running properly right now (see 3rd reply).
...oh, and if someone else already used the name Derp64 or anything of the like, please tell me.
Another Update: The aforementioned board was fried, so I'll get my hands on another when I get the chance. At least I know what was wrong, and now I'm a lot more confident with my soldering after I got some nicer wire and iron tips.
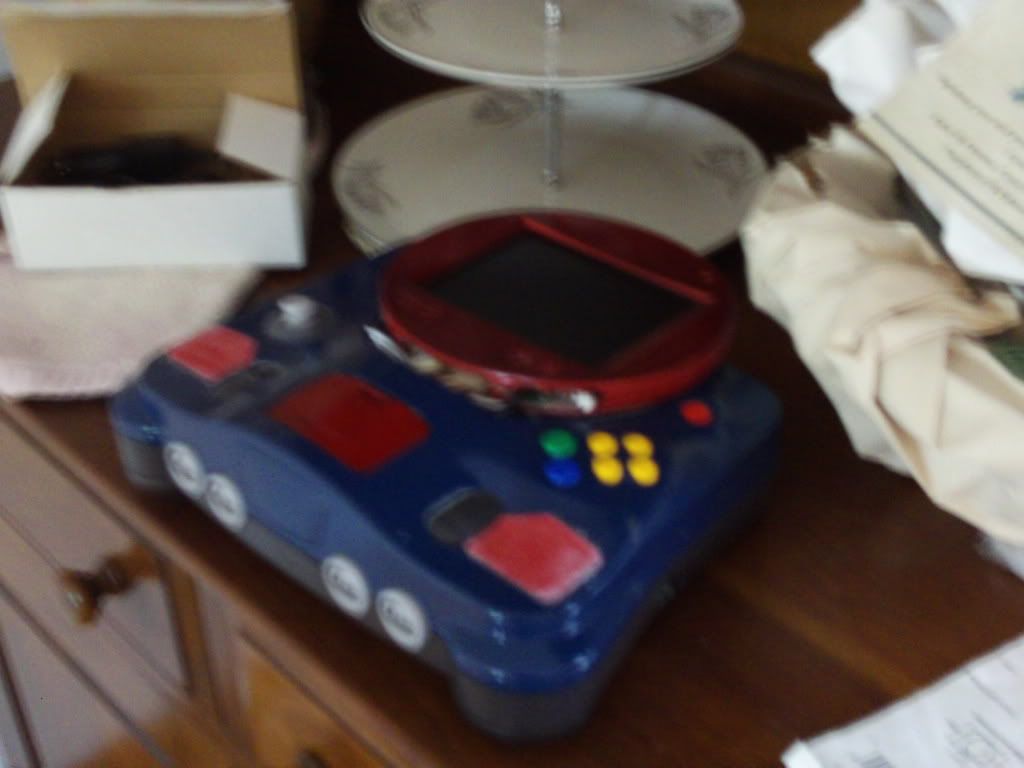
Another Update: Oh yeah, I finished it.
Fried N64 count: 3
Controller count: 2
Frustration level: -9001
^That picture isn't doing the portable much justice.^
Finished Pictures: http://s1134.photobucket.com/albums/m618/cameronmo/
Alright, I finally began on an n64p just a few days ago, and I've got a bit of a problem. The first thing I did was cart slot relocation. Unfortunately, I can't get the system to boot anymore. From what I've read, there's a good chance it isn't fried because the led isn't even getting power. So, my problem is probably something like a short which (hopefully) didn't destroy anything completely. When I first tested the system, however, it turned on, but when I turned it off to grab my A/V cables, it never went back on. I may have put the expansion pack in backwards at some point... that's one possible problem. The other possibility is that my solder joints weren't great on the board. One week~ ago I literally had never touched a soldering iron, but I don't see any connections that shouldn't exist, or any broken joints. When I first got the N64, I confirmed that it worked, along with my two power supplies, jumper pack, and RAM expansion. Nothing gets hot when I give it power either (if that matters).
Update #1 After frying the first board when wiring up power, I've successfully relocated the slot cart, wired up power, a charging jack, headphone jack, and screen (psone) to another board. My next task will be to wire a memory card into a controller board, as well as taking a dremel to the ugly piece of the psone screen's case where the speakers were. More pics tomorrow.
Pics:
http://s1134.photobucket.com/albums/m61 ... G_0419.jpg
http://s1134.photobucket.com/albums/m61 ... G_0418.jpg
Kinda stiff 24awg wire:
http://s1134.photobucket.com/albums/m61 ... G_0414.jpg
http://s1134.photobucket.com/albums/m61 ... G_0411.jpg
This was actually a broken N64 I practiced soldering on with some even worse wire:
http://s1134.photobucket.com/albums/m61 ... G_0397.jpg
http://s1134.photobucket.com/albums/m61 ... G_0422.jpg
http://s1134.photobucket.com/albums/m61 ... G_0421.jpg
Post-Update Pics:
http://s1134.photobucket.com/albums/m61 ... ?start=all
At this point, I've added speaker grills, painted everything I wanted to, and set up the internal controller, but it isn't running properly right now (see 3rd reply).
...oh, and if someone else already used the name Derp64 or anything of the like, please tell me.
Another Update: The aforementioned board was fried, so I'll get my hands on another when I get the chance. At least I know what was wrong, and now I'm a lot more confident with my soldering after I got some nicer wire and iron tips.
Another Update: Oh yeah, I finished it.
Fried N64 count: 3
Controller count: 2
Frustration level: -9001
 Thanks!