naimlessone
Active Member
EDIT: AS OF 8/31 I WILL BE UPDATING FIRST POST WITH PICS
So after my last GCp attempt ended in a huge, embarrassing failure, I'm back to try again with a less ambitious try at a true Semi-Portable GameCube. I'll be recycling some parts and pieces from my previous try in this project. So, onto the important things; THE FEATURES! (or lack thereof):
-Wasp fusion w/MEGAdrive v5
-3.5" TFT backup eBay screen
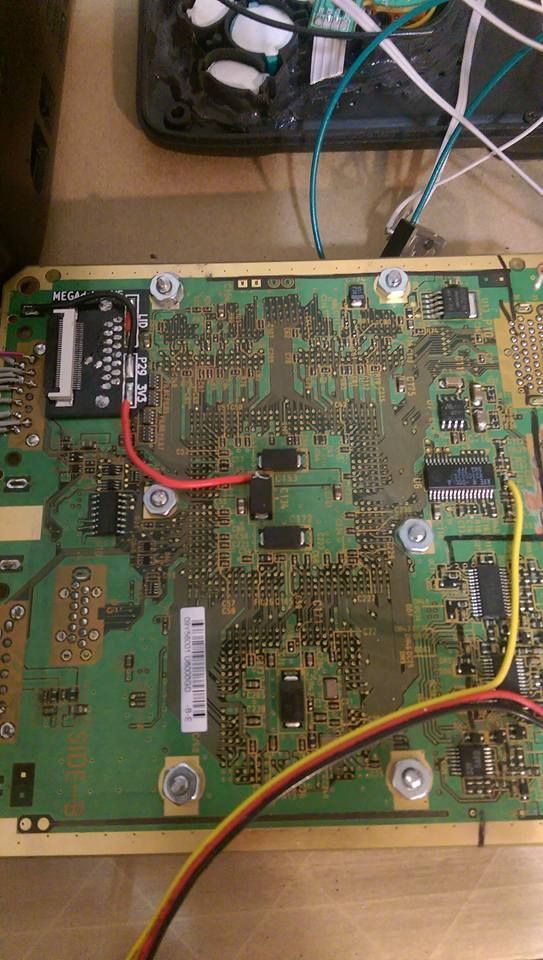
-Rev. C untrimmed GC mobo (built-in Voltage regs)
-3rd party GC controller and buttons
-OEM GC power supply
-XR-57p Case from polycase.com (previously used one in my N64 portable)
EDIT (8/26/15)
I will now have included:
-4 multiplayer ports
-External a/v switch to connect to a TV
-4.3" tft monitor from amazon.com
It's a far cry simpler than my last attempt, and I also have just about everything to get started on it so I can keep steady progress (hopefully) going on this once I start.
Here's some pics of what I'm thinking right now:
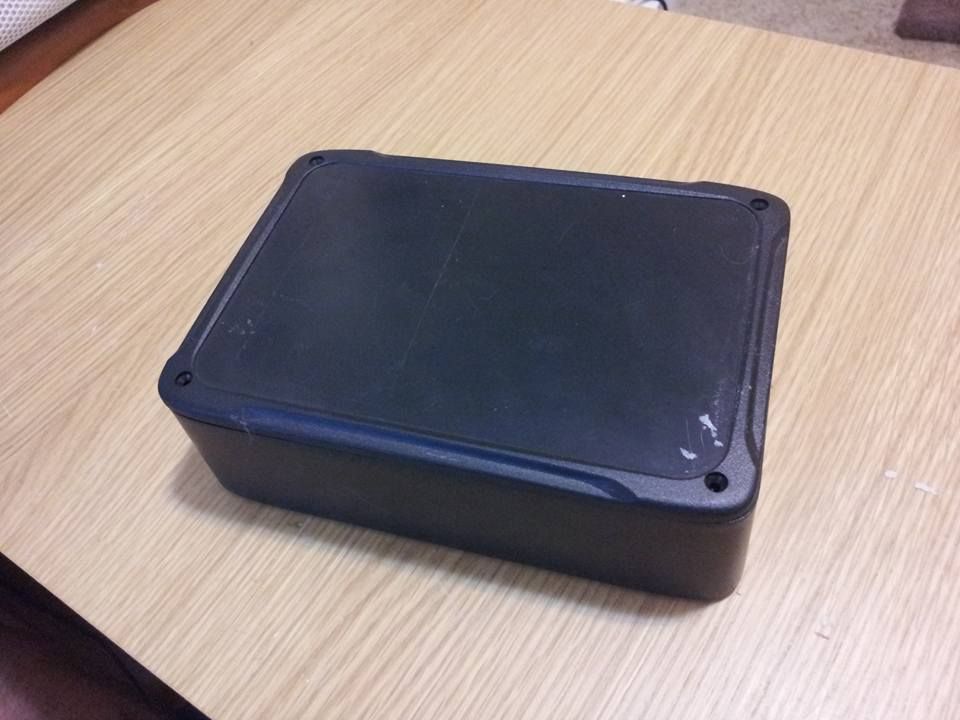
Case I'll be using
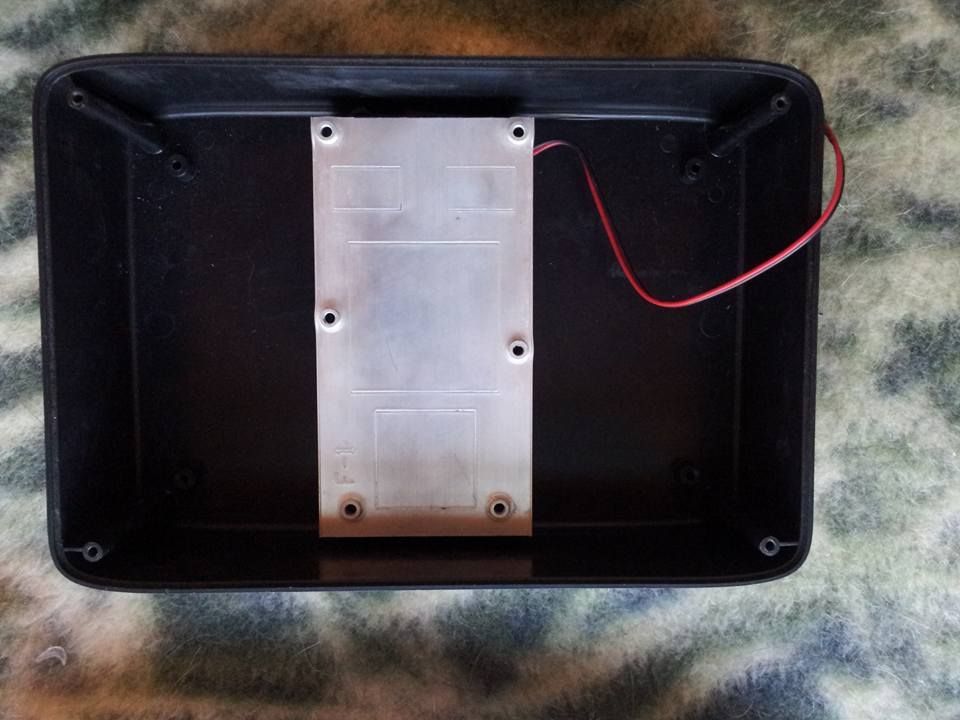
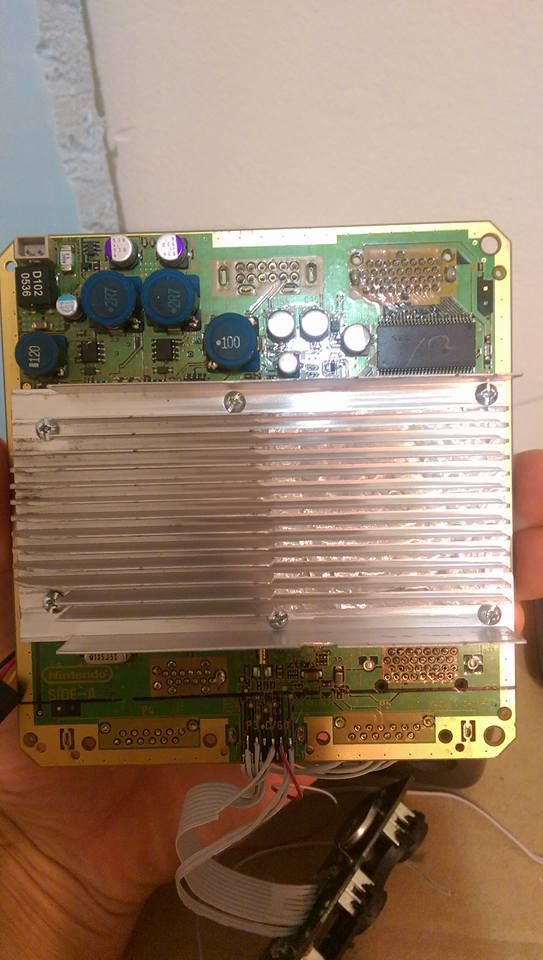
Heat sink fits almost perfectly
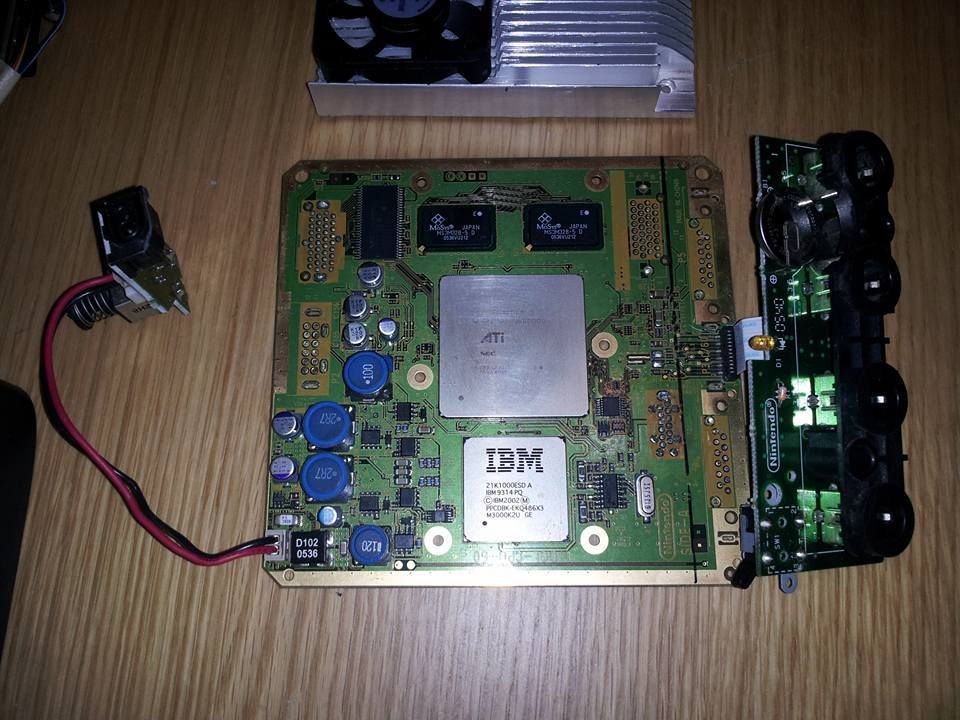
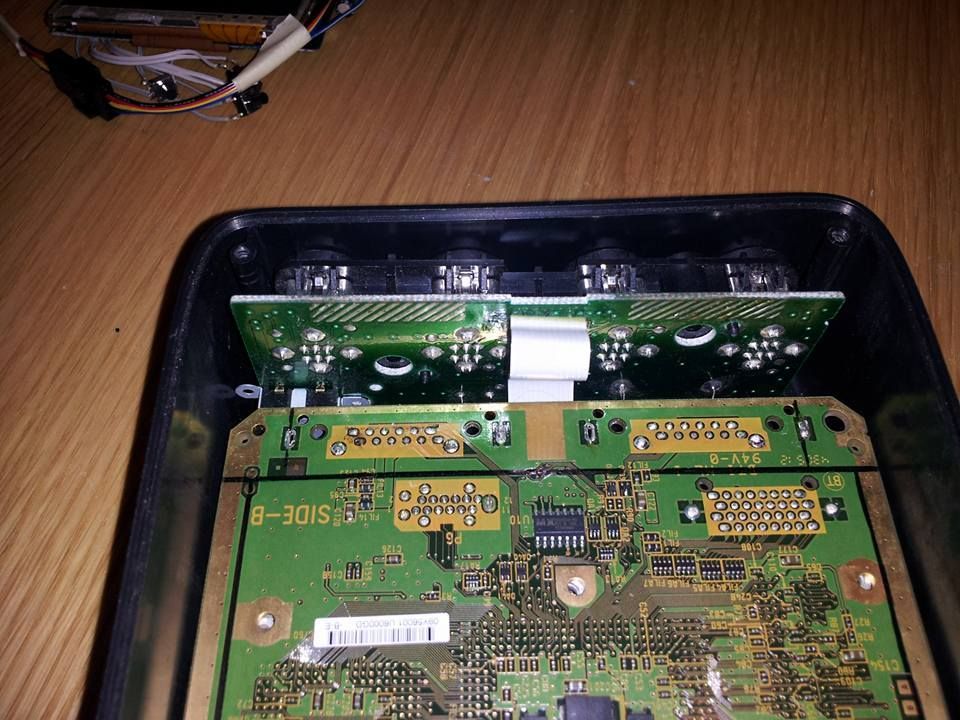
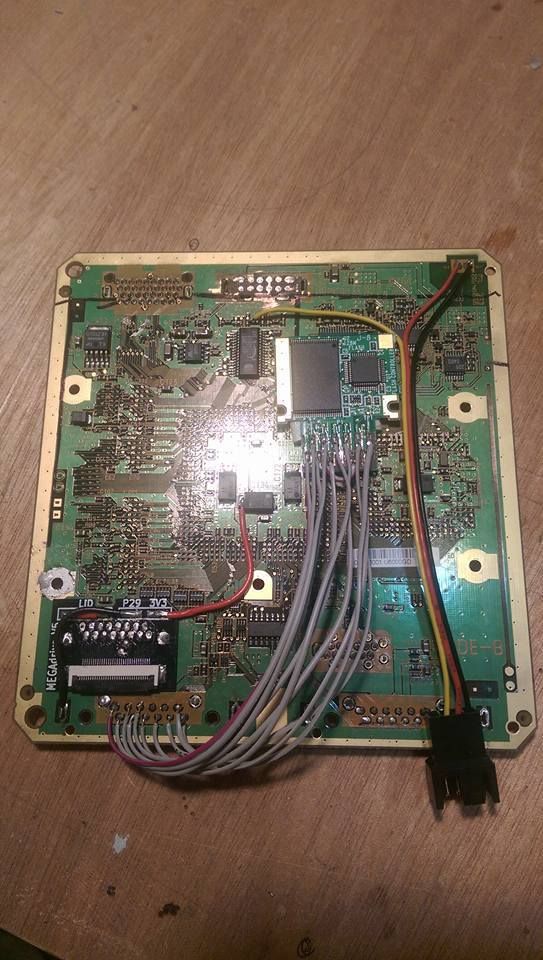
Untrimmed Rev. C Mobo w/multiplayer ports and stock on/off switch
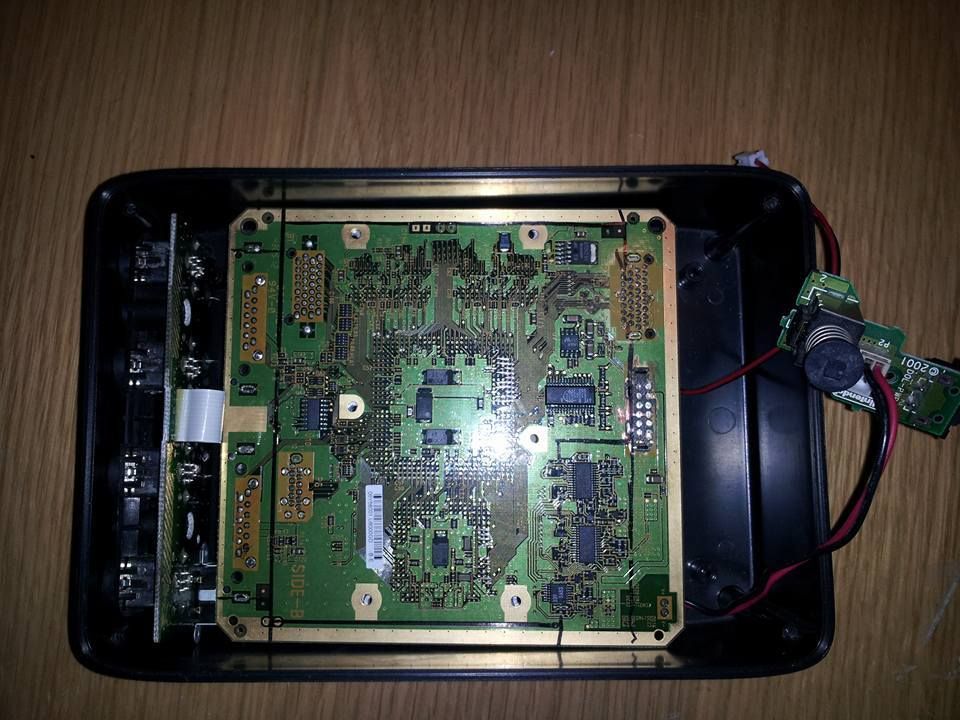
Untrimmed board fits with just a slight amount of wiggle room in the case

I may trim the corners of the board near the Memory card connections if I don't use the Multiplayer pcb to give me more room in the case. But we will cross that bridge when we get to it.
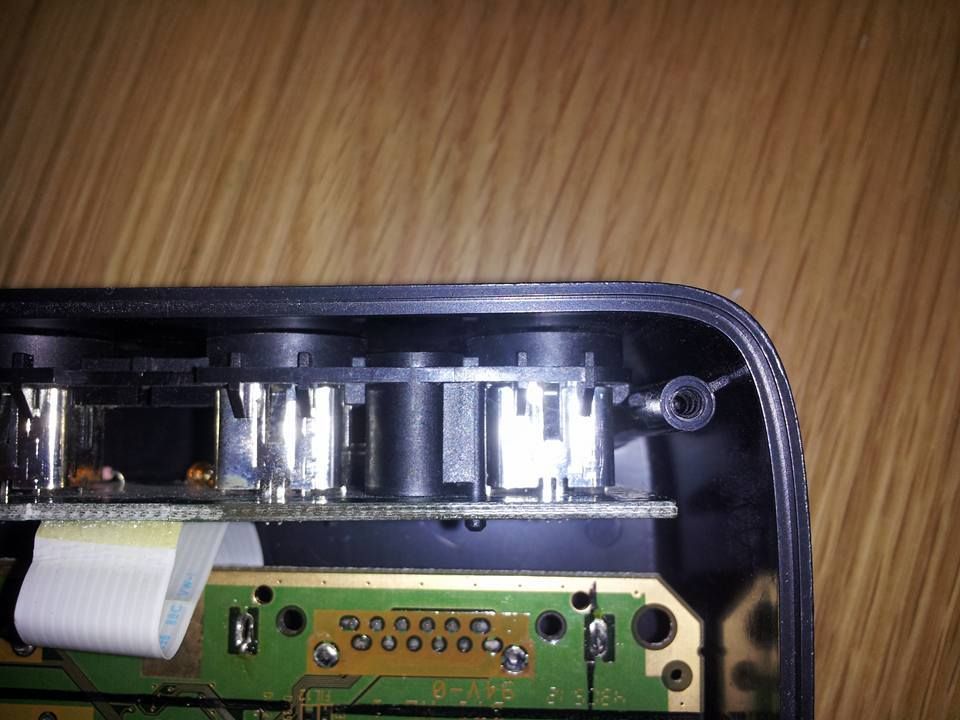
Board with the mulitplayer port where I will install it if used
The untrimmed port pcb fits nicely behind the screw posts in the case

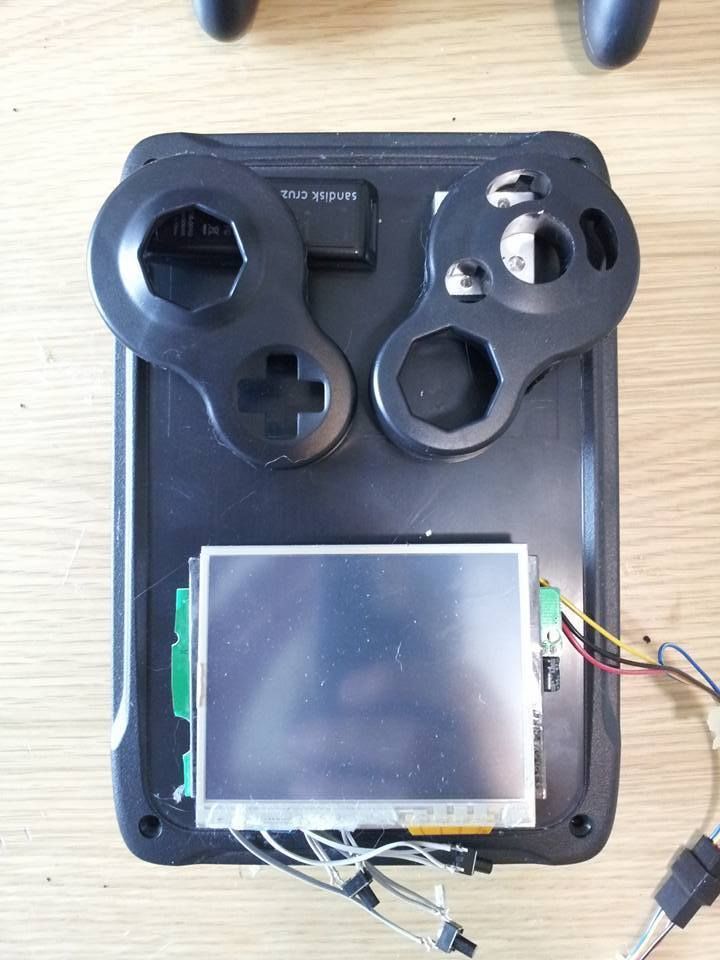
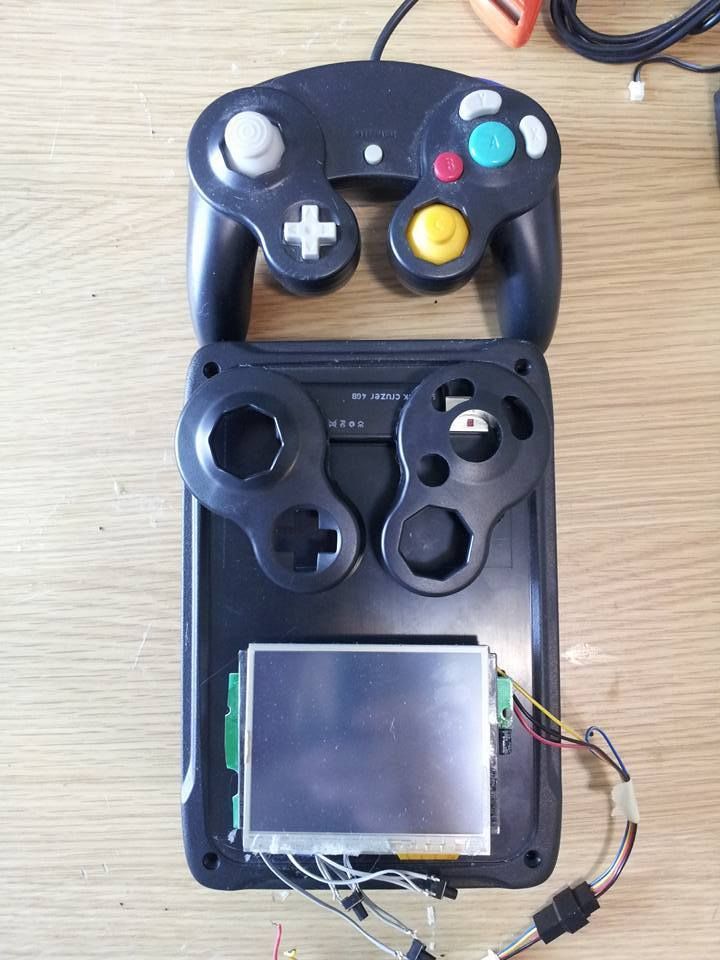
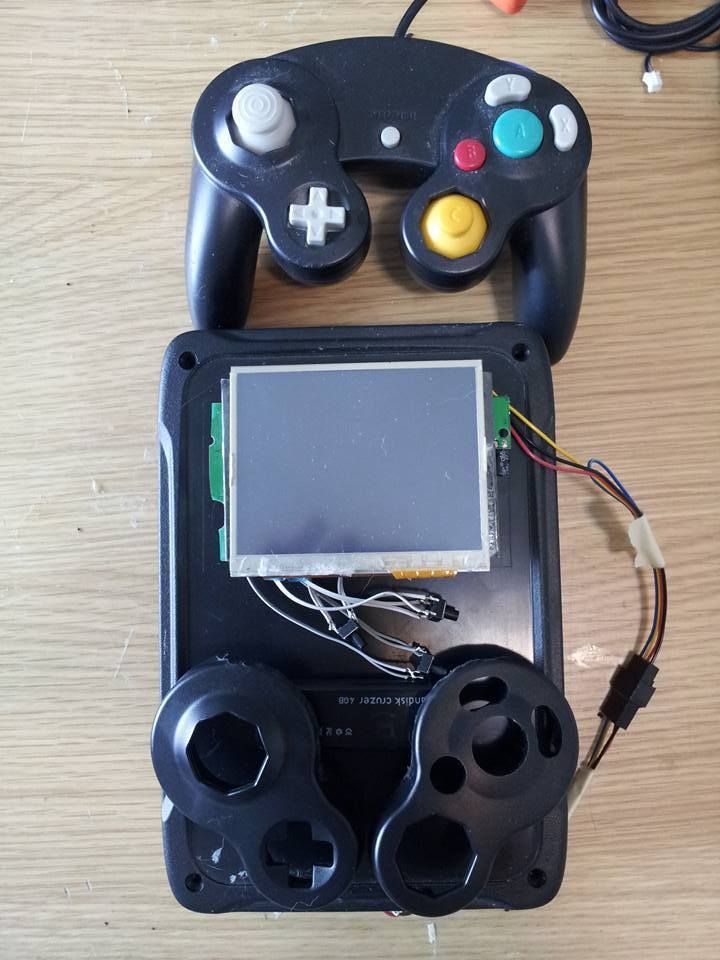
And here's some ideas of the potential layout (first pic being the one i like best to have comfortable shoulder buttons)
UPDATE 8/23/15
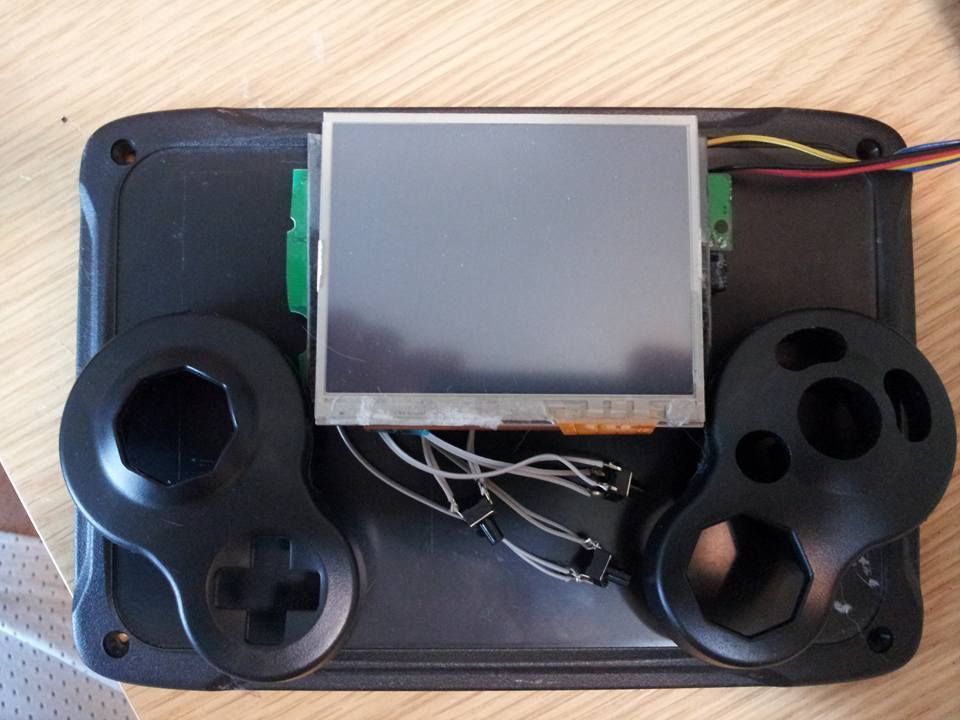
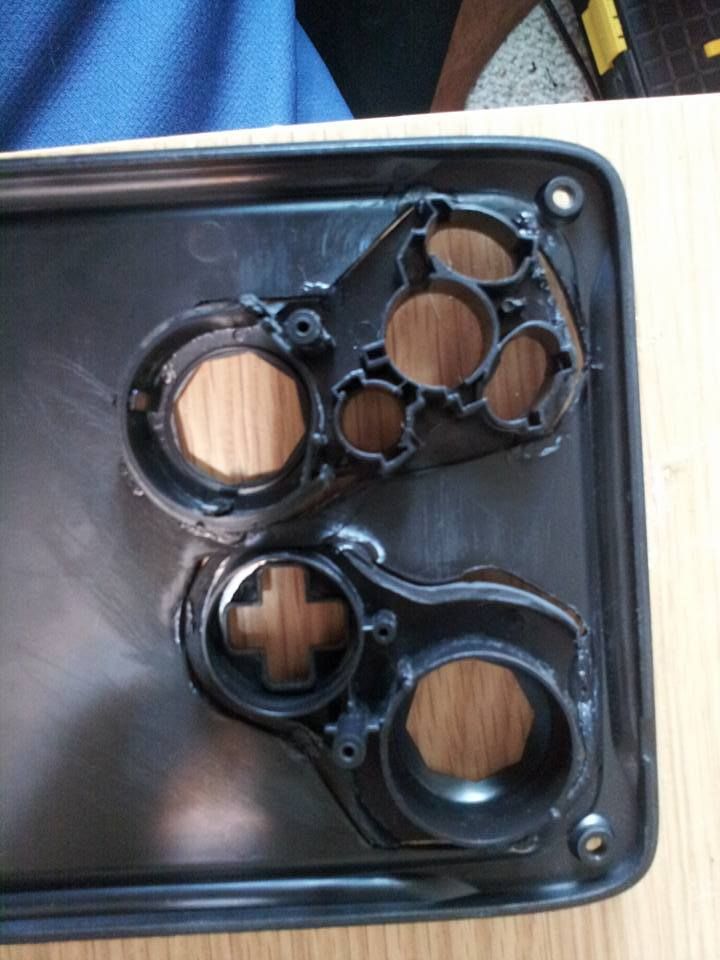
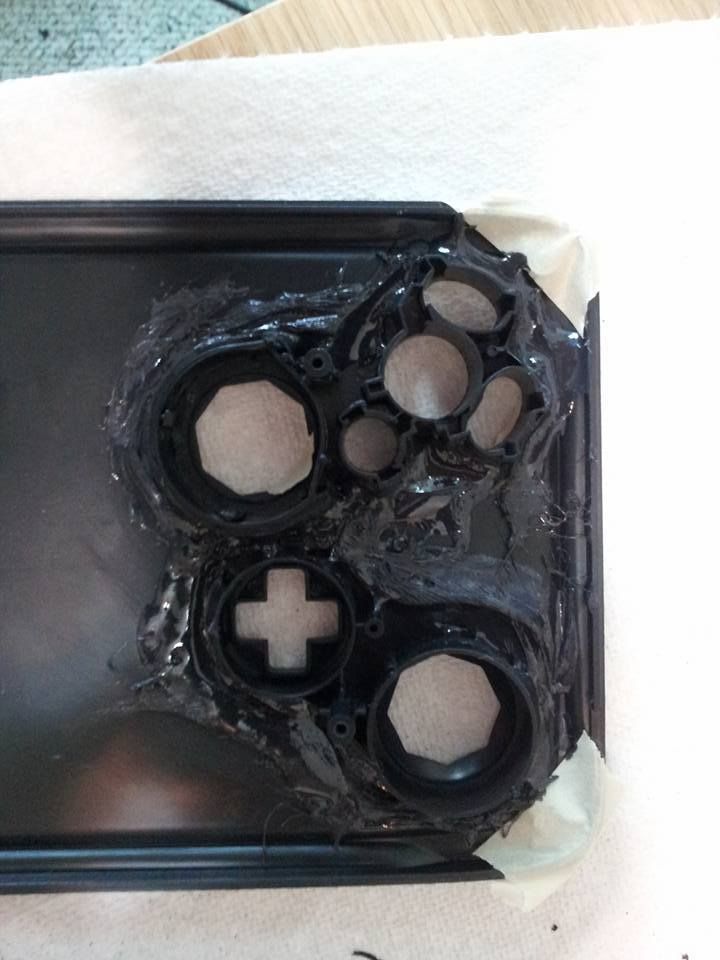
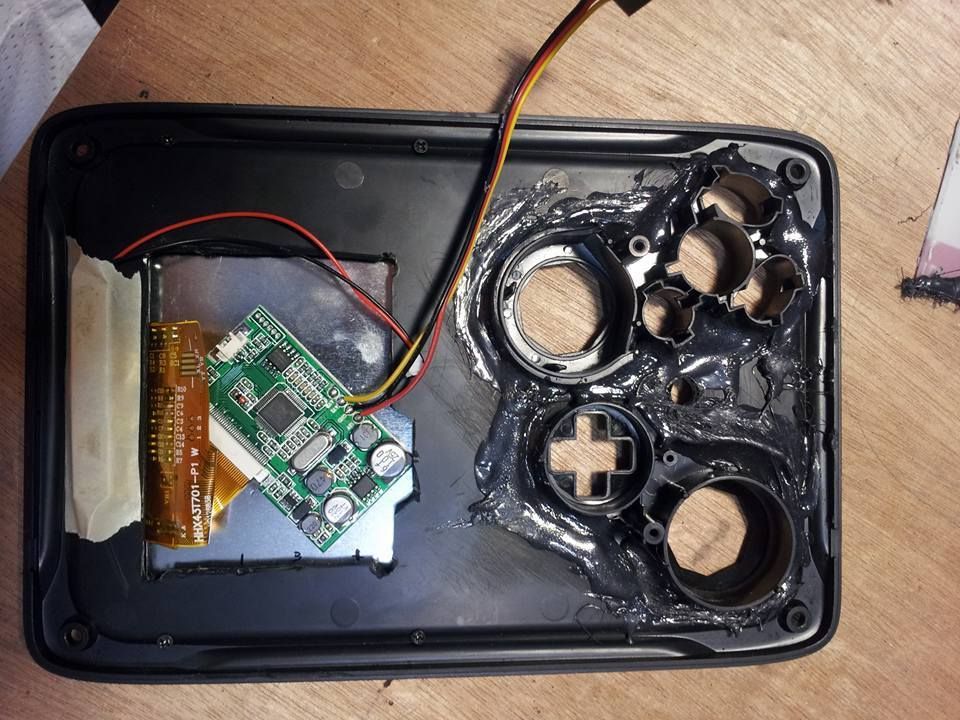
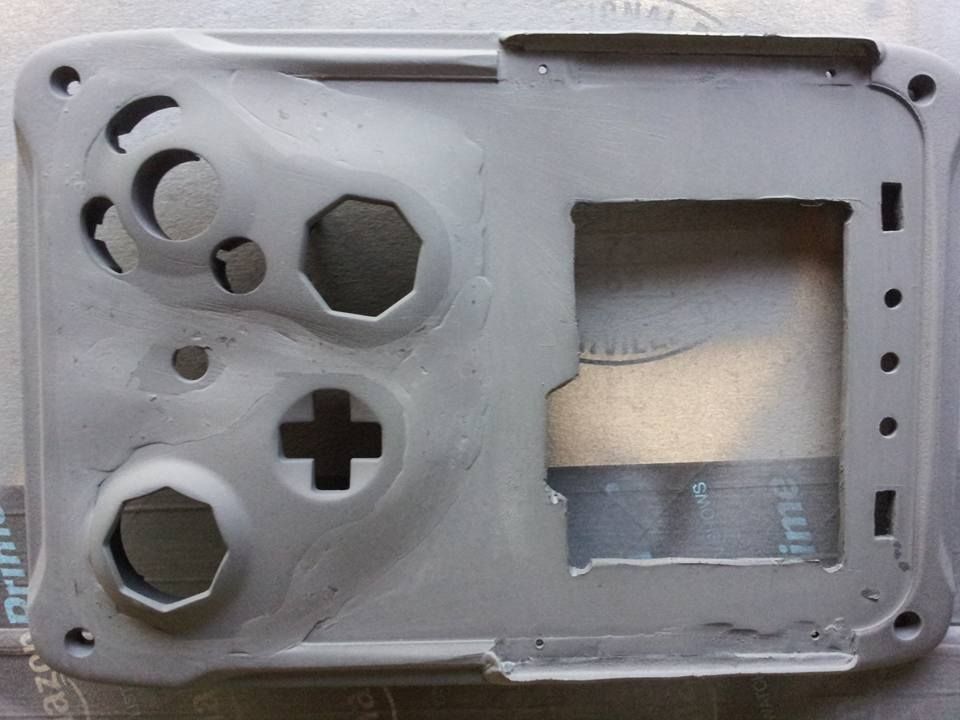
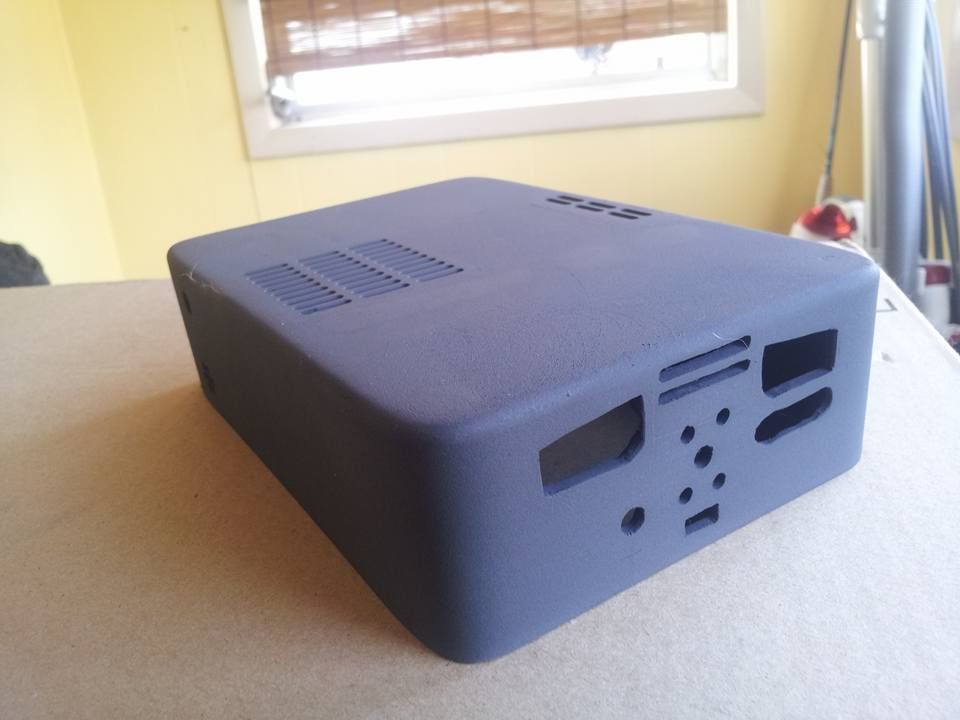
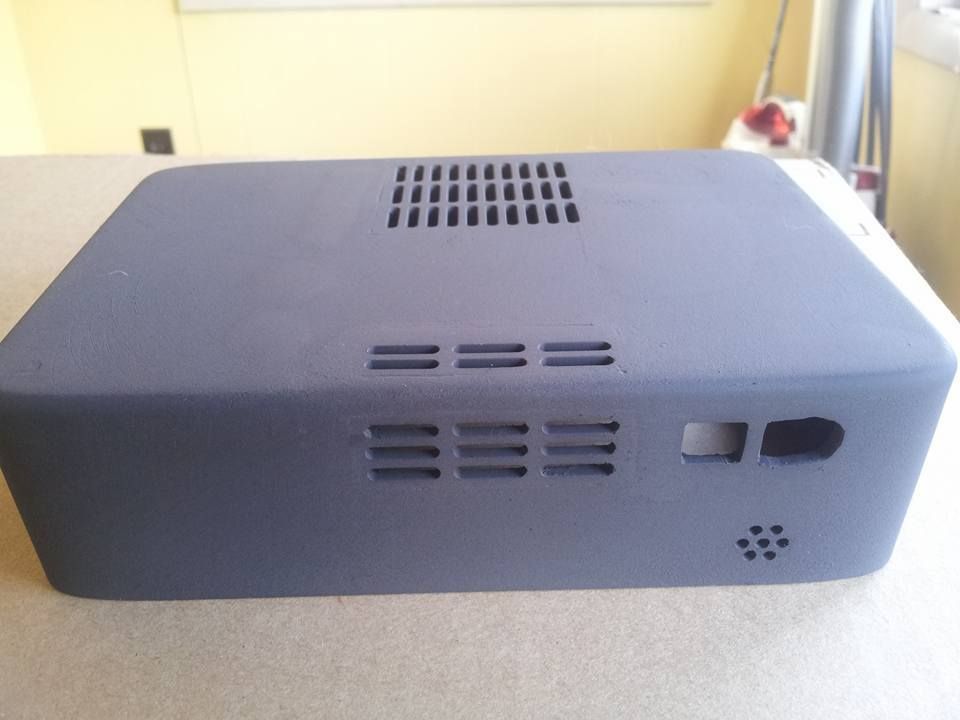
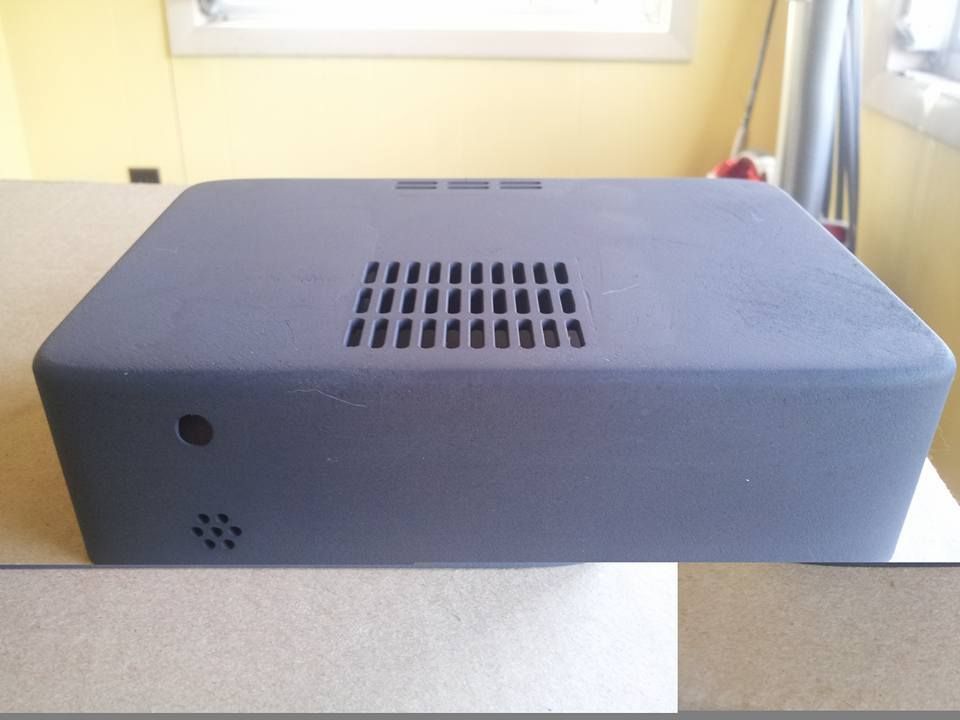
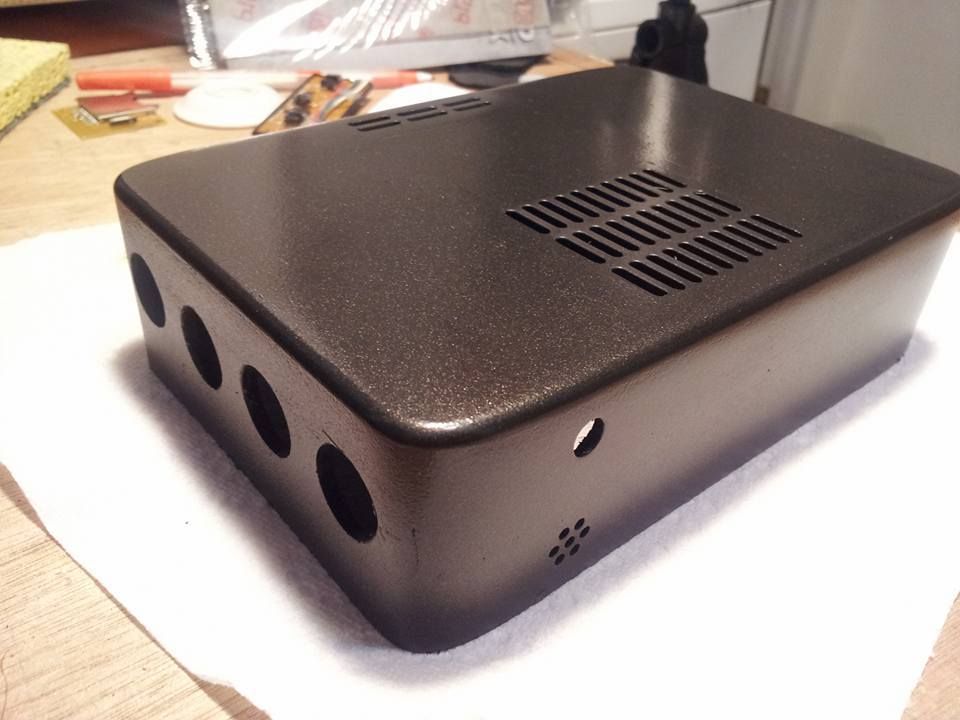
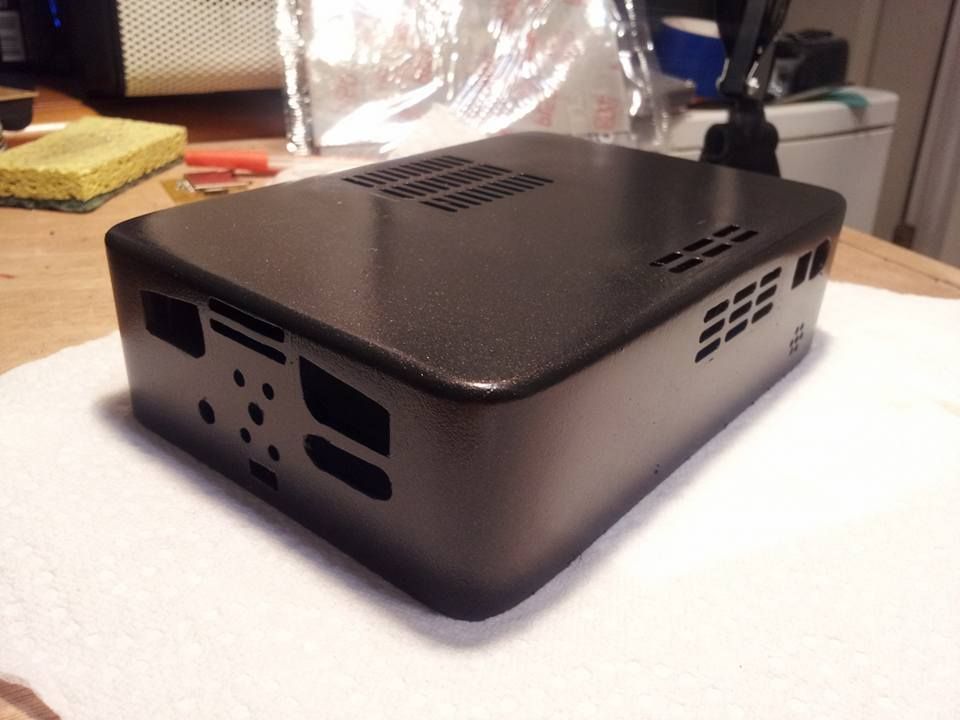
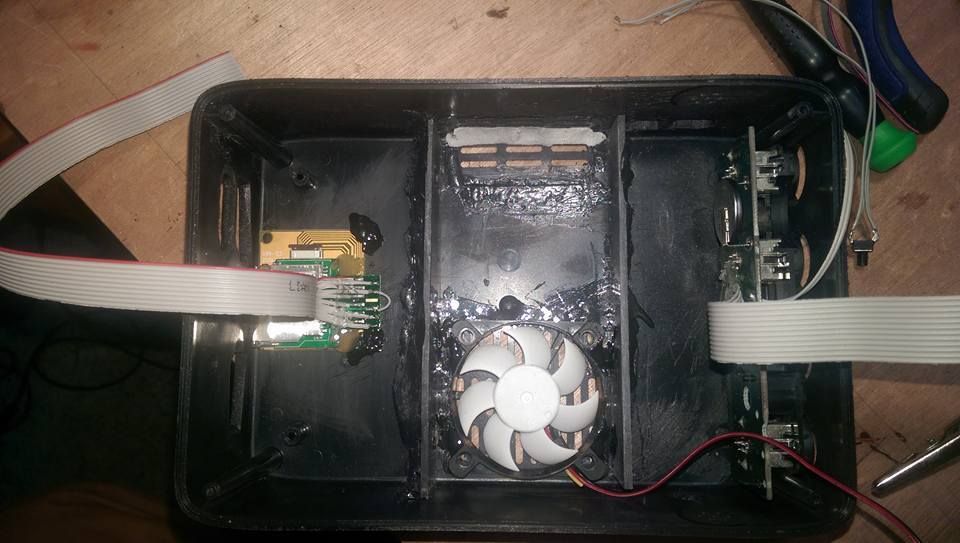
Here's some pics of the progress I've made thus far on the case:
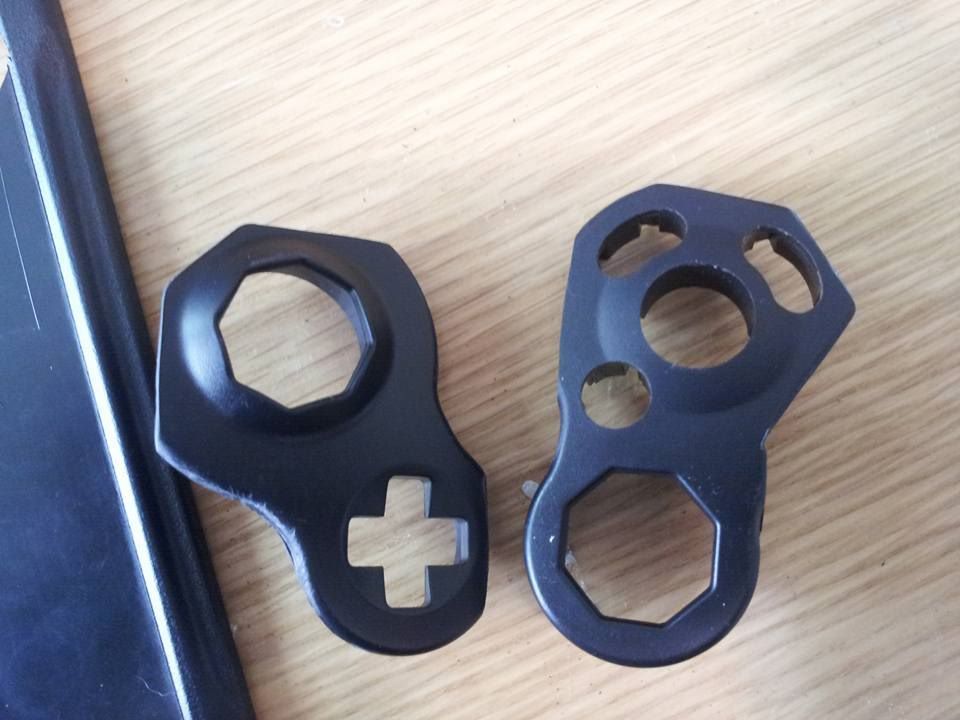
I did end up trimming the controller buttons plastic down a little bit
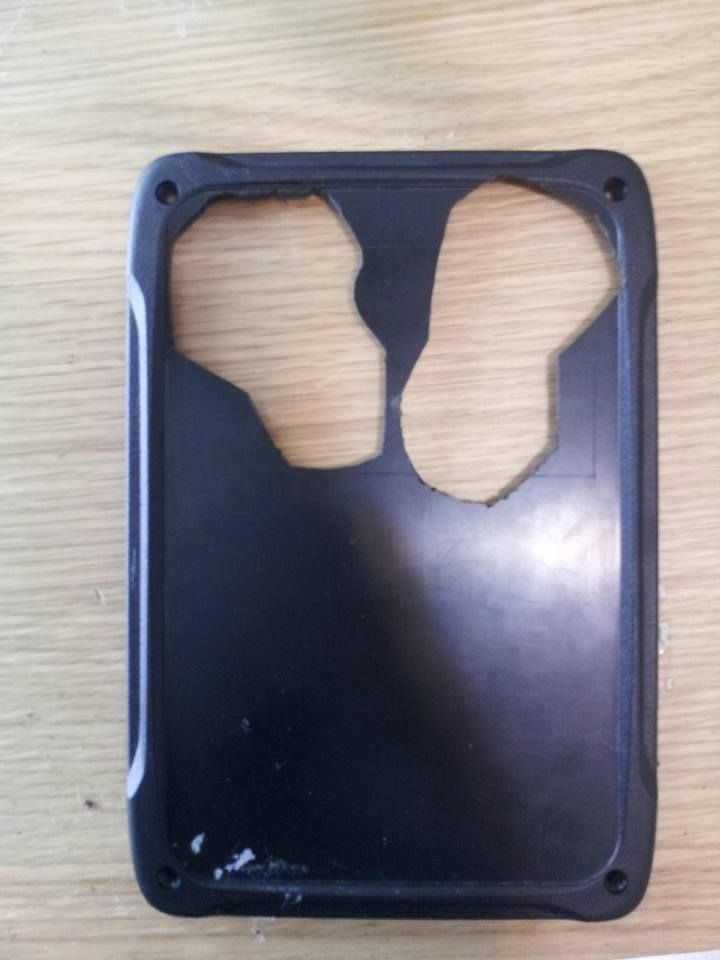
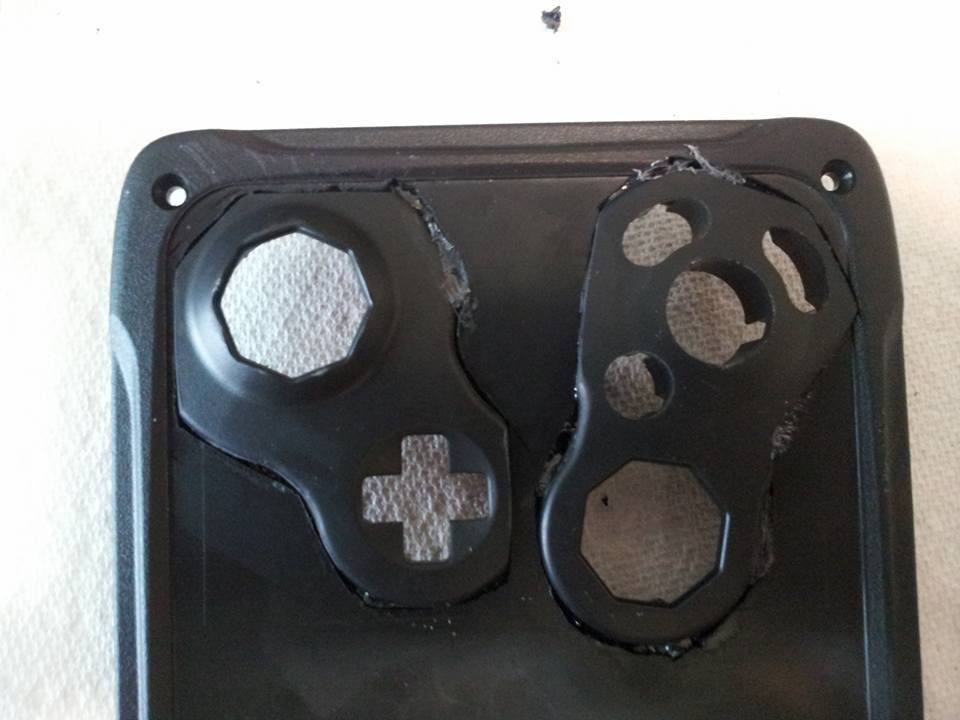
The case cover
And superglued then ABS cemented them in place
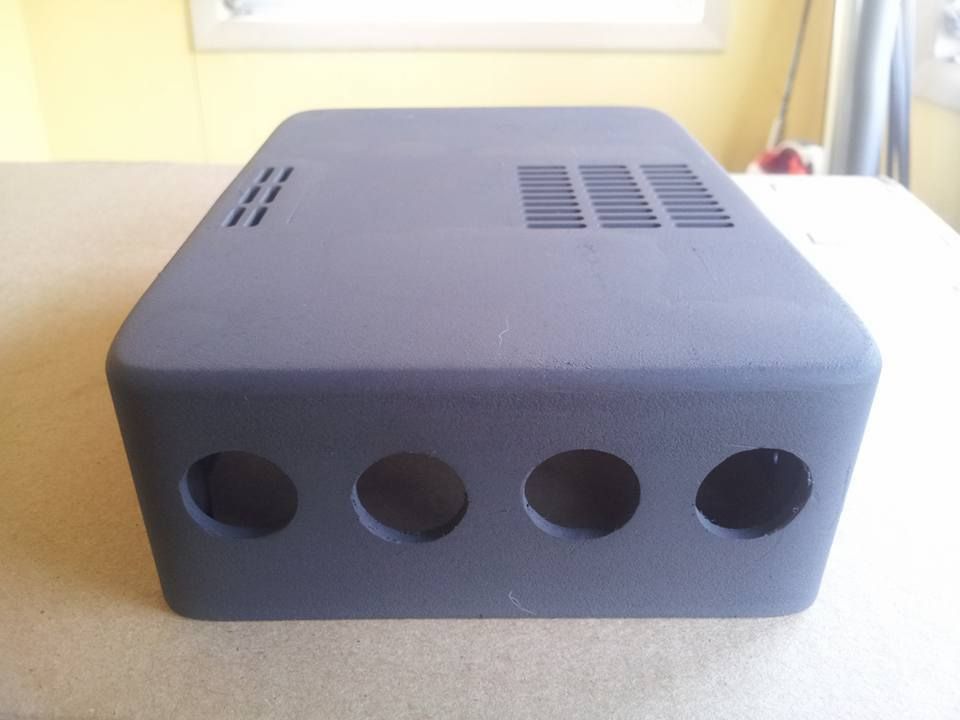
Cut out the multiplayer ports
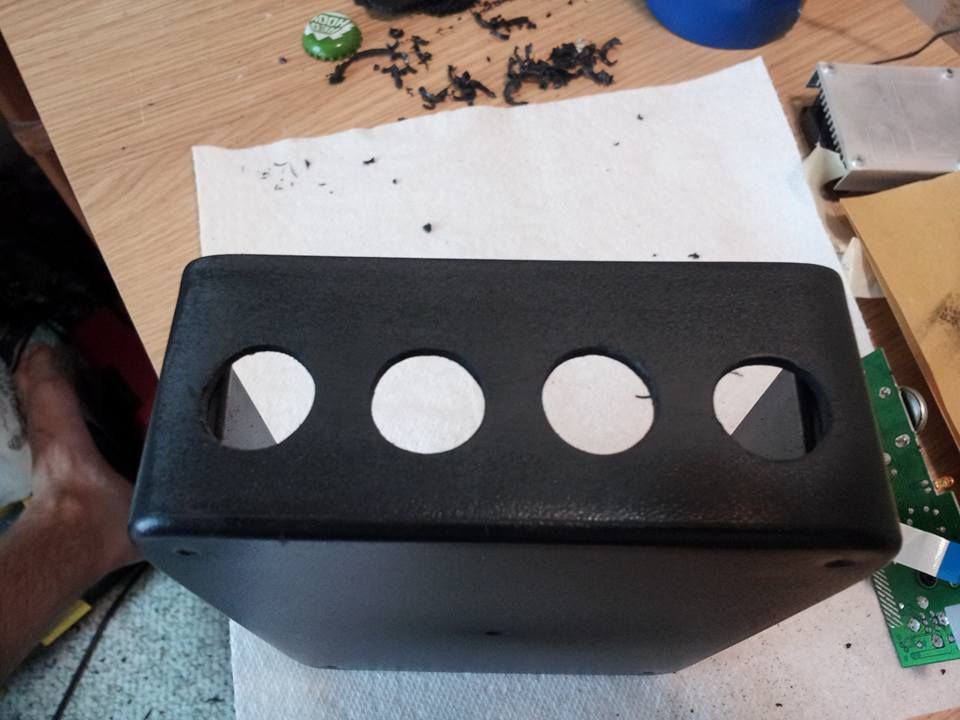

Coming along nicely thus far. Now I just have to wait for the abs to cure which seems to take forever; does anyone know a way to help speed it up? It was pretty thick when I put it on ( not runny at all) I figured on giving it a couple of days and just work on the bottom half of the case in the mean time. But if I can harden it up quicker I could finish it up sooner.
UPDATE 8/26/15
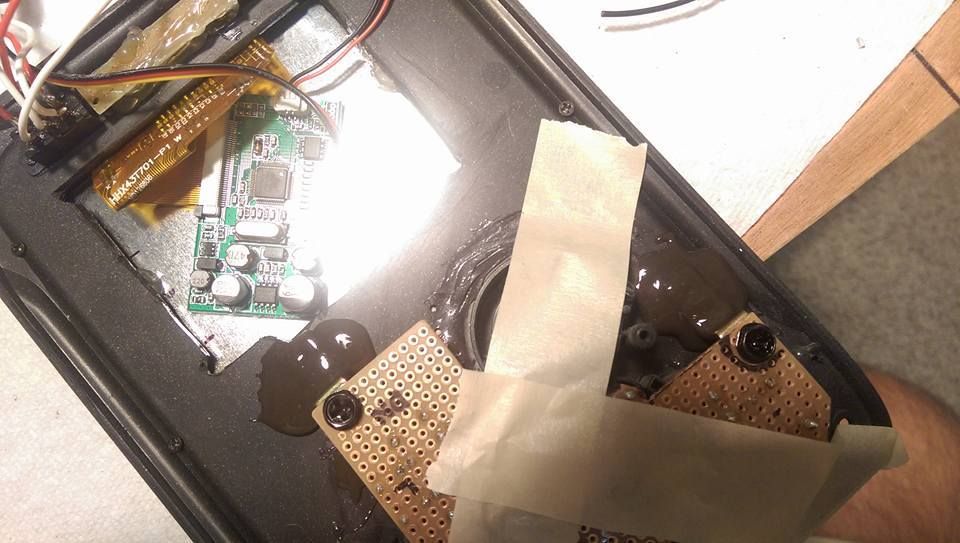
Works!
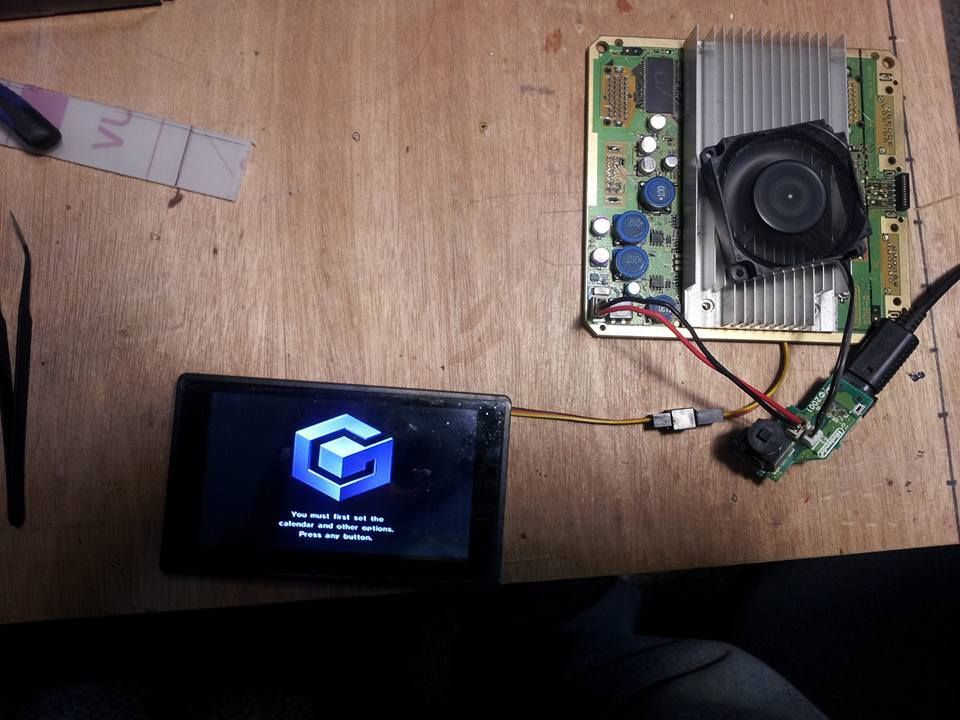
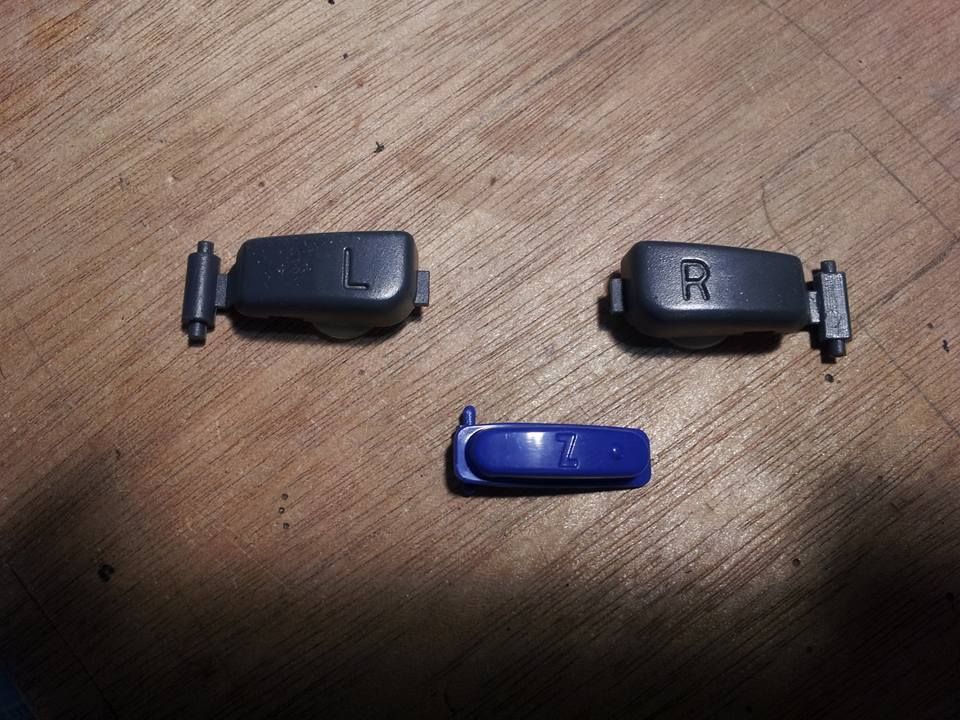
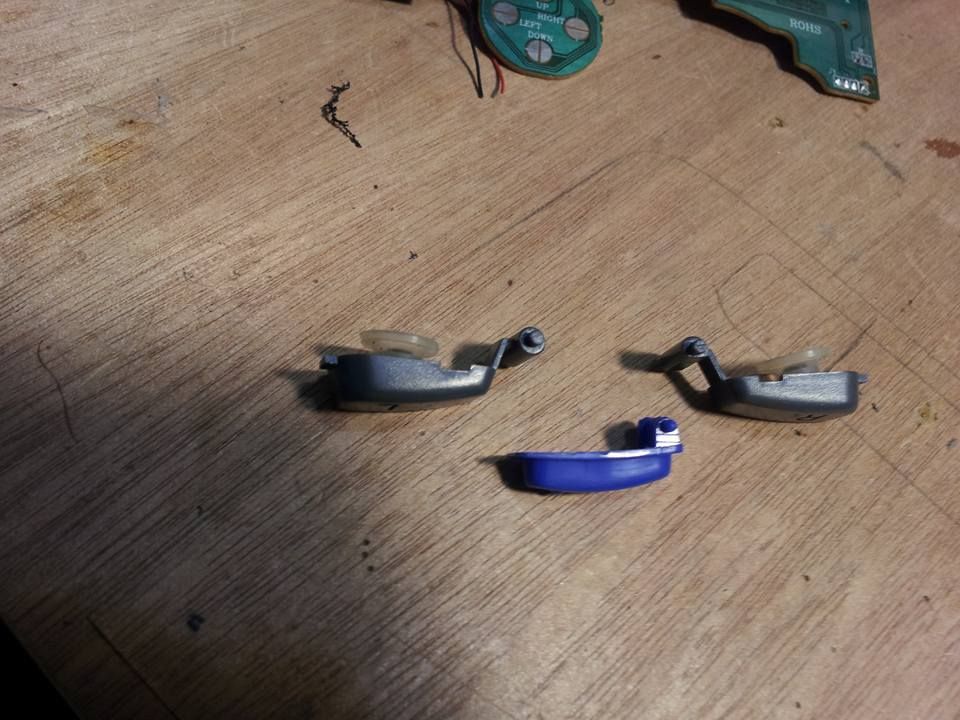
Now that I know the screen works I can install that into the case cover and hook in the megadrive for the wasp. I'm also gonna get an Idea of where I'll place switches for a/v out and player 1 control as well as power, audio and figure out my shoulder buttons etc. I think I'm gonna use these for triggers.
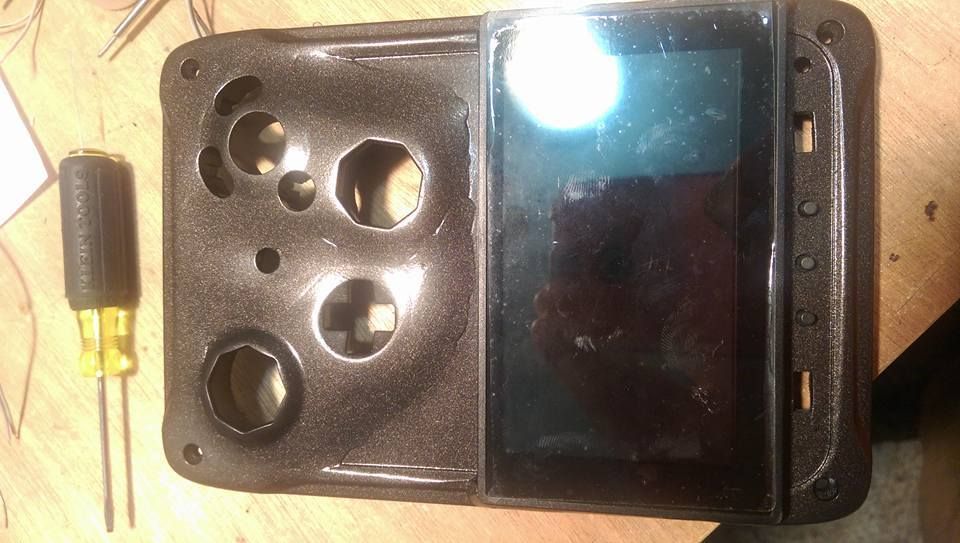
UPDATE 8/31/15
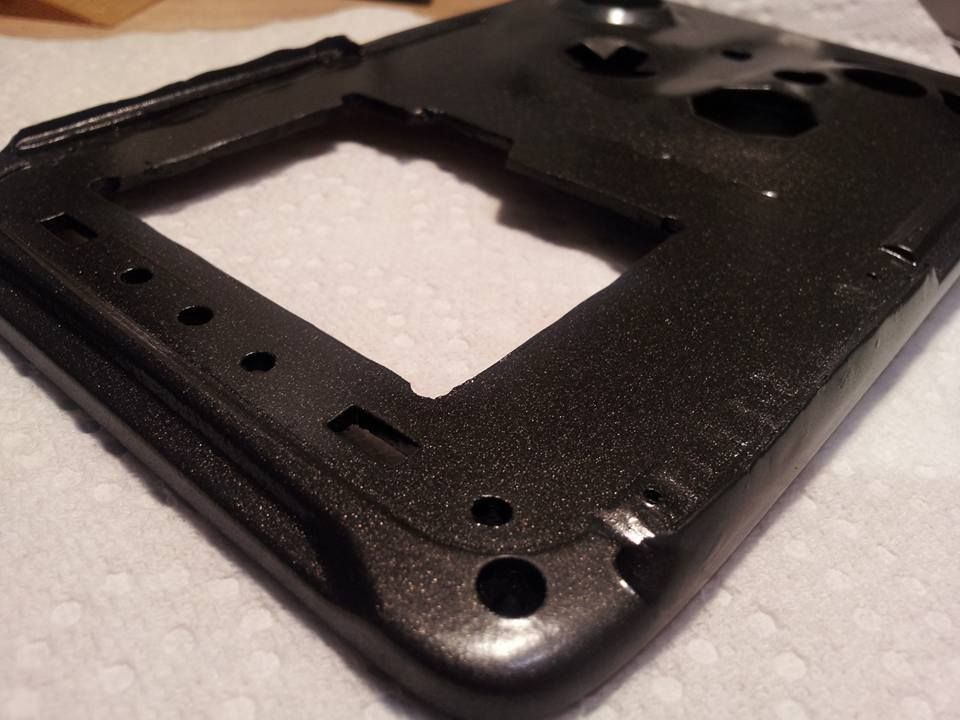
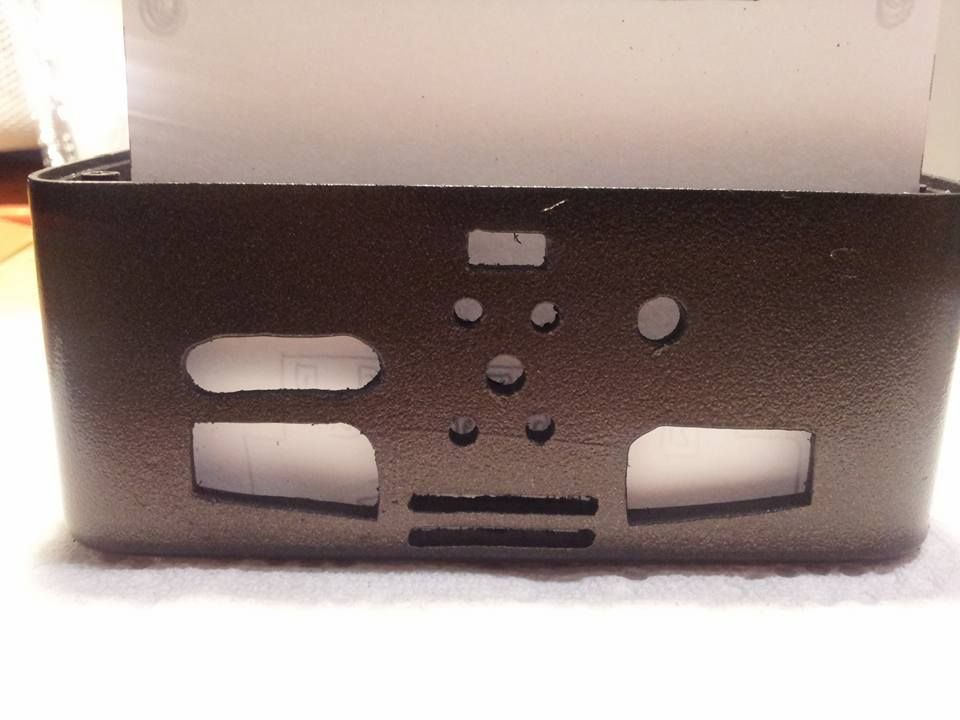
check it out!
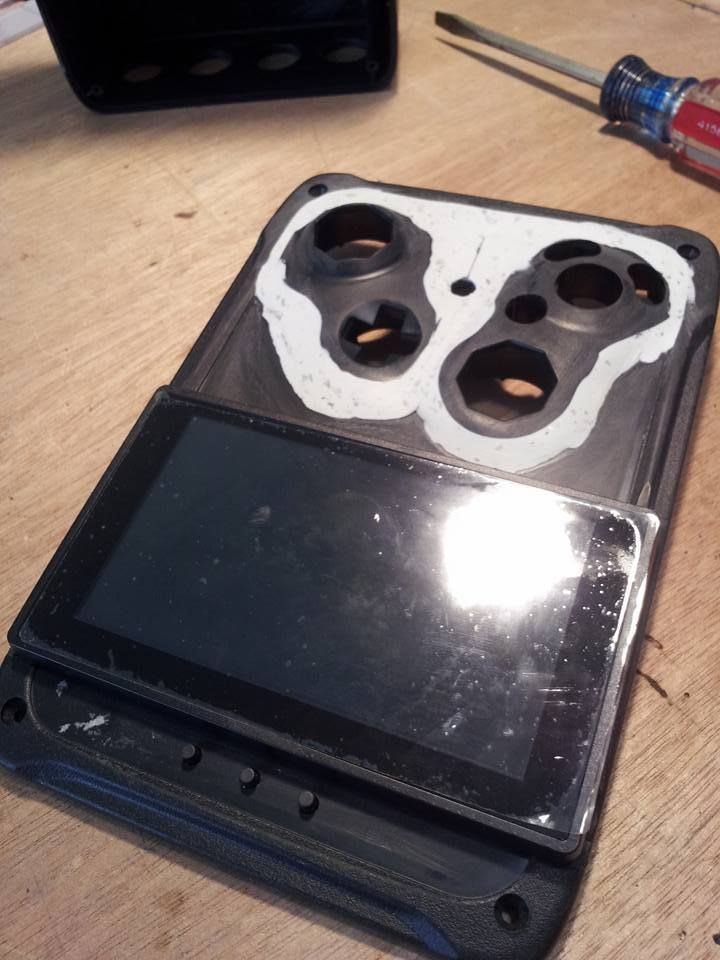
I'm making the screen removable as you can kinda see from the four screws on the bottom side of the cover (I thought it might make it easier for repair later if it was ever damaged)
Still gotta hit some spots I missed sanding and reprime then paint. I have a Rustoleum Oil Rubbed Copper color I'm gonna use. Darker color. Clear coat over top of it.
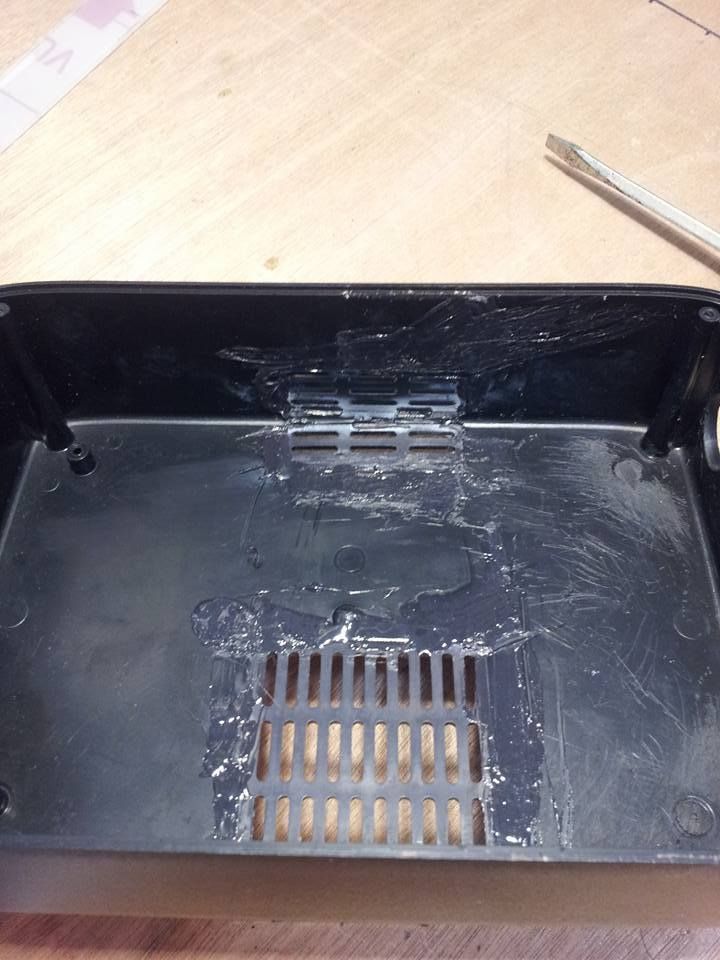
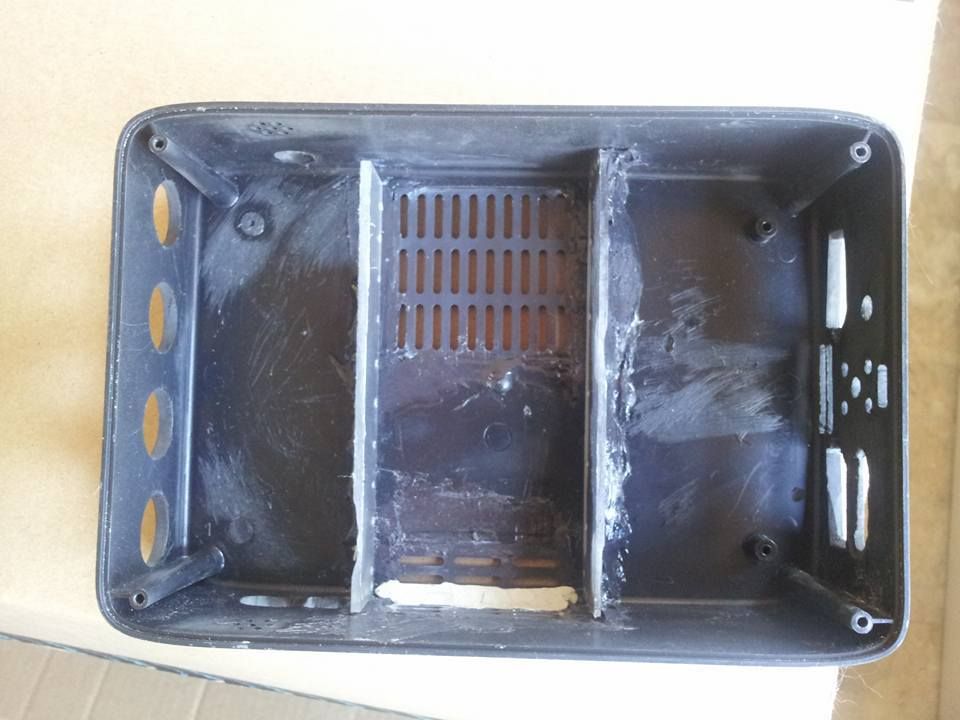
Got the intakes/exhaust in and ABS cemented. Waiting for it to dry on the heatsink walls inside of the case (not in pics)
more tommorow!
UPDATE 9/9/15
Got the primer, paint and clear coat on over the last couple days. Used an automotive primer for the base coat and then Rustoleum Oil Rubbed Bronze and Rustoleum Crystal Clear Clearcoat; two layers of each. Not %100 satisfied with the sand job I had but it's done so I'll have to do better on the next one

Also Installed the MEGAdrive v5 adapter and tested the WASP which worked perfectly after watching Mega's video tutorial on it, which I highly recommend if you are using it in your portable build.
Hopefully I can get some more done tomorrow!
UPDATE 9/10/15
Got some more done tonight, mounted the fan, SD gecko and Wasp SD slot, and the screen to the top. Started working on the audio amp as well. I'm thinking it will be done by the end of next week.
Still need to put together some tacts for volume, lid switch, reset button and a green LED where the shoulder buttons will be, (located right above the sd card slots) on some protoboard. Also cut the controller board and get the buttons together and built.
anyways, here's a couple pics from tonight:
UPDATE 9/15/15
More progress!
So I've wired up a vast majority of the portable so far. Got the Audio amp including switches for volume control, volume level and the Audio out to TV and I rewired the multiplayer ports back to the motherboard and separated the first player line to be switched to portable controller and external controller port. I also mounted the double tacts on some posts inside the case, which was a big headache; I thought I could build some snaps for the tabs on the retrobit shoulder buttons to snap into and couldn't very easily. I ended up cutting up a plastic water bottle and cutting a small strip to put inside the hollow of the button and filled over it with plastic epoxy putty. I then epoxied that to the case and they ended up working quite well. I also got the heat sink mounted with some arctic silver and small bolts and nuts.
Then I dug up some old N64 mounting hardware I had saved to use as mounts for the controller protoboard. I think it's gonna work really well.

Hoping the end of this week to be finished!
So after my last GCp attempt ended in a huge, embarrassing failure, I'm back to try again with a less ambitious try at a true Semi-Portable GameCube. I'll be recycling some parts and pieces from my previous try in this project. So, onto the important things; THE FEATURES! (or lack thereof):
-Wasp fusion w/MEGAdrive v5
-3.5" TFT backup eBay screen
-Rev. C untrimmed GC mobo (built-in Voltage regs)
-3rd party GC controller and buttons
-OEM GC power supply
-XR-57p Case from polycase.com (previously used one in my N64 portable)
EDIT (8/26/15)
I will now have included:
-4 multiplayer ports
-External a/v switch to connect to a TV
-4.3" tft monitor from amazon.com
It's a far cry simpler than my last attempt, and I also have just about everything to get started on it so I can keep steady progress (hopefully) going on this once I start.
Here's some pics of what I'm thinking right now:
Case I'll be using

Heat sink fits almost perfectly

Untrimmed Rev. C Mobo w/multiplayer ports and stock on/off switch

Untrimmed board fits with just a slight amount of wiggle room in the case

I may trim the corners of the board near the Memory card connections if I don't use the Multiplayer pcb to give me more room in the case. But we will cross that bridge when we get to it.
Board with the mulitplayer port where I will install it if used

The untrimmed port pcb fits nicely behind the screw posts in the case


And here's some ideas of the potential layout (first pic being the one i like best to have comfortable shoulder buttons)


UPDATE 8/23/15
Here's some pics of the progress I've made thus far on the case:
I did end up trimming the controller buttons plastic down a little bit

The case cover

And superglued then ABS cemented them in place


Cut out the multiplayer ports


Coming along nicely thus far. Now I just have to wait for the abs to cure which seems to take forever; does anyone know a way to help speed it up? It was pretty thick when I put it on ( not runny at all) I figured on giving it a couple of days and just work on the bottom half of the case in the mean time. But if I can harden it up quicker I could finish it up sooner.
UPDATE 8/26/15
Works!

Now that I know the screen works I can install that into the case cover and hook in the megadrive for the wasp. I'm also gonna get an Idea of where I'll place switches for a/v out and player 1 control as well as power, audio and figure out my shoulder buttons etc. I think I'm gonna use these for triggers.


UPDATE 8/31/15
check it out!

I'm making the screen removable as you can kinda see from the four screws on the bottom side of the cover (I thought it might make it easier for repair later if it was ever damaged)

Still gotta hit some spots I missed sanding and reprime then paint. I have a Rustoleum Oil Rubbed Copper color I'm gonna use. Darker color. Clear coat over top of it.

Got the intakes/exhaust in and ABS cemented. Waiting for it to dry on the heatsink walls inside of the case (not in pics)

more tommorow!
UPDATE 9/9/15
Got the primer, paint and clear coat on over the last couple days. Used an automotive primer for the base coat and then Rustoleum Oil Rubbed Bronze and Rustoleum Crystal Clear Clearcoat; two layers of each. Not %100 satisfied with the sand job I had but it's done so I'll have to do better on the next one


Also Installed the MEGAdrive v5 adapter and tested the WASP which worked perfectly after watching Mega's video tutorial on it, which I highly recommend if you are using it in your portable build.
Hopefully I can get some more done tomorrow!
UPDATE 9/10/15
Got some more done tonight, mounted the fan, SD gecko and Wasp SD slot, and the screen to the top. Started working on the audio amp as well. I'm thinking it will be done by the end of next week.
Still need to put together some tacts for volume, lid switch, reset button and a green LED where the shoulder buttons will be, (located right above the sd card slots) on some protoboard. Also cut the controller board and get the buttons together and built.
anyways, here's a couple pics from tonight:


UPDATE 9/15/15
More progress!
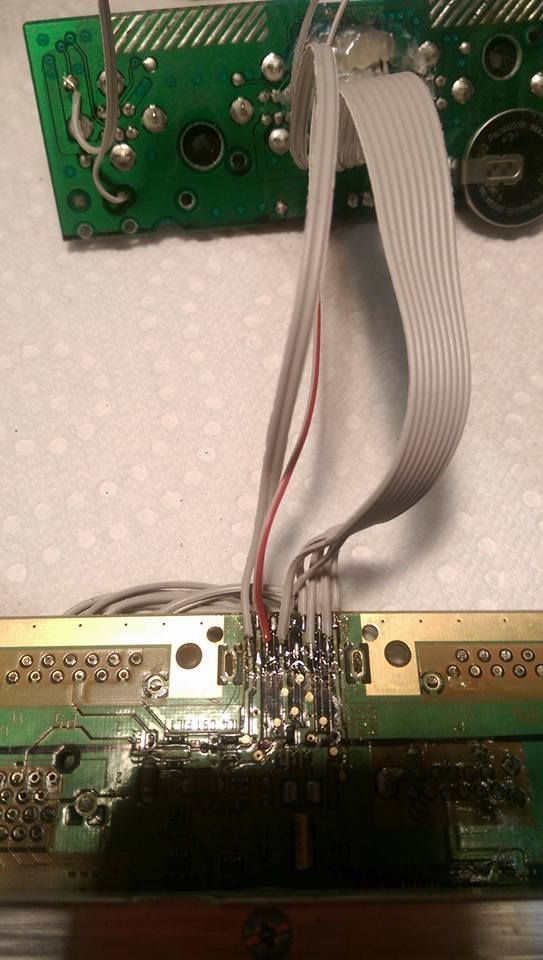
So I've wired up a vast majority of the portable so far. Got the Audio amp including switches for volume control, volume level and the Audio out to TV and I rewired the multiplayer ports back to the motherboard and separated the first player line to be switched to portable controller and external controller port. I also mounted the double tacts on some posts inside the case, which was a big headache; I thought I could build some snaps for the tabs on the retrobit shoulder buttons to snap into and couldn't very easily. I ended up cutting up a plastic water bottle and cutting a small strip to put inside the hollow of the button and filled over it with plastic epoxy putty. I then epoxied that to the case and they ended up working quite well. I also got the heat sink mounted with some arctic silver and small bolts and nuts.


Then I dug up some old N64 mounting hardware I had saved to use as mounts for the controller protoboard. I think it's gonna work really well.


Hoping the end of this week to be finished!