Downing's Side Project "The Nimbus III"

Downing

Well-Known Member
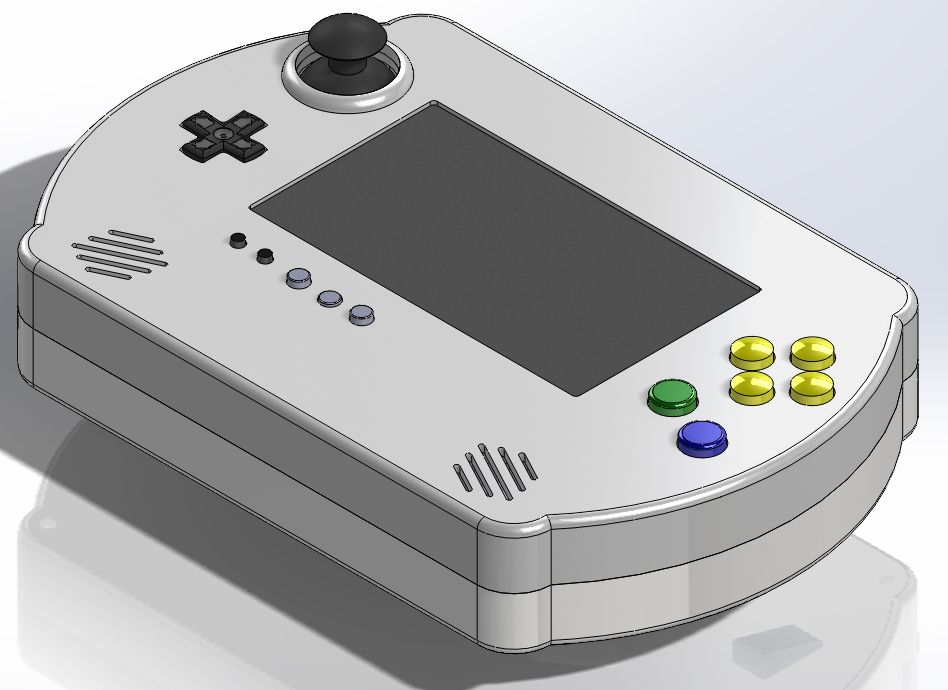
Hey everyone! So for a very long time now I've been wanting to perfect a design for a portable N64. Though this is still in the early stages, the experiences I've had with this secret project of mine have made it a lot easier to achieve that goal. I started this design this morning and have made a great deal of progress on it. This is what I like to do on my day off from modding...mod more. Well...this will be an actual mod so it has a completely different feel to it, but putting design and modding into the same project is quite a bit of fun!

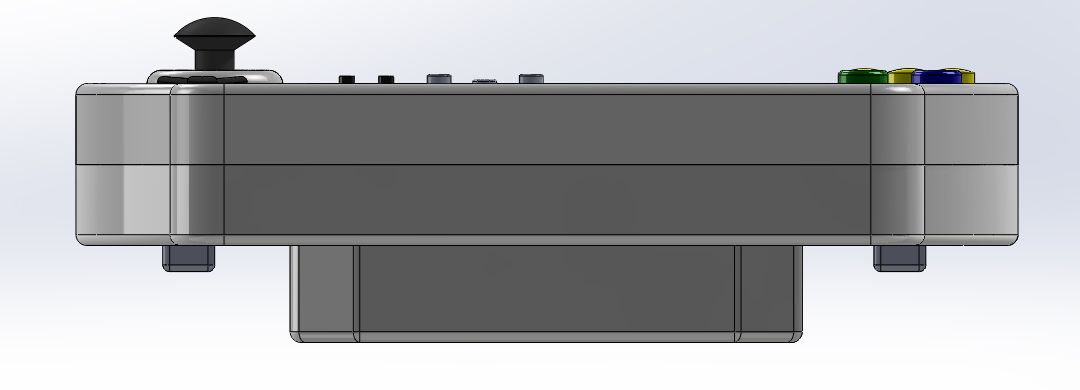
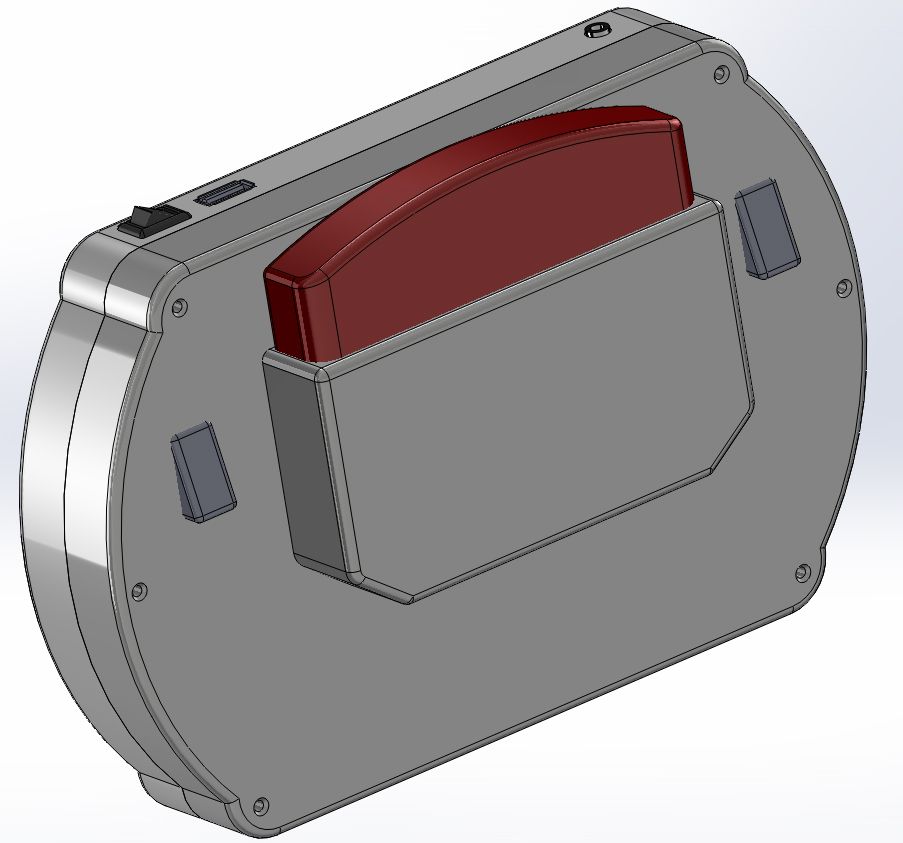
Anyway, here are some renders of what I had planned. I'll get into specifics in the following posts in the next couple of days. No idea how long it will take to finish this as my time is really non-existent but I'll pluck away at it as the time become available.


I don't know if it's just the perspective, but it looks awfully large. What's the screen size?
 
XCVG said:
I don't know if it's just the perspective, but it looks awfully large. What's the screen size?

Haha, well you'll come to find in age that no matter what it is you do/have, it will be a compliment if someone says it's "awfully large". :twisted:

Anyway, yes it's not going to set any records for the smallest N64p, that's not what I'm going for. What I'm going for is a very well designed and comfortable N64p that is similar to two of the last N64ps I completed a couple years ago. Everything in this system will have a place, pre-planed and secured.

To answer your question though, it's a 5" widescreen. Not sure the brand or where I got it from, Ebay most likely, but this unit is for me so I'm gonna make it the way I think I'll like it. If I can make it smaller than sure, I'll take it down a bit, but for the components I want to use and the time I have to make this in, I think it's doing alright so far. hehe :lol:
 
Love the design! Looks very professional, and seems like it will be easy and comfortable to use.

What software do you use for your renders?

Is that going to be R and Z on the back?
 
Thank you. Yeah, the R&L will most likely be on the back above the Z buttons. I couldn't use the ones I was planning on originally so I have to think of an alternative. I use Solid Works for my design work, it's a pretty cool and powerful program but admittedly has a learning curve which is a pain. I've been using it for a little under a year and still learn something new each time I use it, but it's well worth getting into it if you have the opportunity.
 
So in the little bit of free time I've had, I made up a nice little Wireless breakout box for the Nimbus III. Now, why a wireless set up for an already wireless device, well it's hooked up to the A/V output on the N64 so if I want to play on my TV, the Nimbus essentially becomes the player 1 controller. I've also added the 2nd, 3rd and 4th player ports to the BOB so if more than one player wants to join in they can, simply by plugging into the box and then running a USB cable to the Nimbus so those connect.
Got the case sanded and painted finally! Now just putting to components into the font half. Didn't come out perfect and honestly if it weren't for the screw posts and spacers already being printed into place, I probably would have stuck to vacuum forming just because there was next to no time saving benefit over Frankencasing IMO. I still had to sand, fill, sand, fill and paint, sand, paint, sand and it still wasn't quite perfect.

In any case though, this is for me so I really don't care, so here are some pics. Maybe have some later tonight if I have the time!


Just a neat little function I think. I used a JB-55 I had lying around as the enclosure for it. I think it looks pretty slick.


Well, had to get my light box out today so I could take some more product pics of the Cross Plane. I figured while I had everything set-up I'd take some "semi-pro" shots of the Wireless Break-Out Box and an updated pic of the front half of the casing.

After I engraved the name of the system in the top, I unfortunately had to peel off all the existing clear coat as that acrylic I used doesn't cut, but tares. This required sanding and painting again and there are a few parts I went a bit overboard on and it shows up at the wrong angles. (bottom left corner). It's not that bad, but enough to be irritating. But, I'm not going to go through all that pain again with peeling and sanding so it is what it is.

Everything that's mounted is also wired up now, so now I'll just be waiting on the back half of the casing before assemble the rest. But it's getting there! The control stick is also getting a Ring for the top similar to the Cross Plane because it's travel distance is way to long right now.


Back
Top