Downing
Well-Known Member
*EDIT* Update 08/21: IT'S DONE!!!
Here are a few pics and a YT video. Not complicated, but I think it was still fun and unique! Let me know what you think!
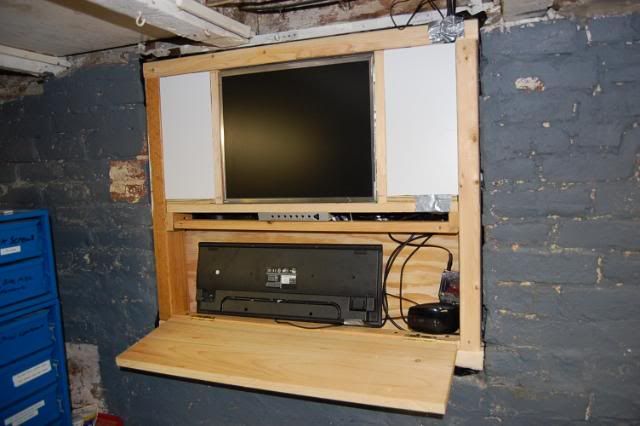
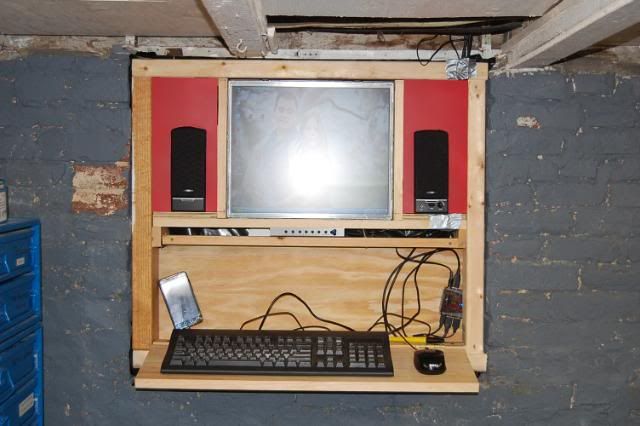
The Finished Product.
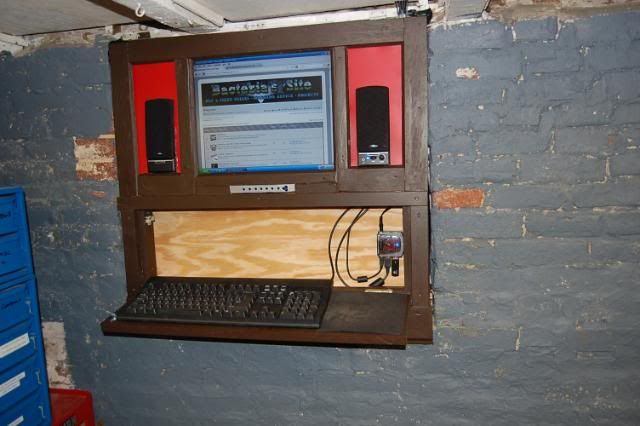
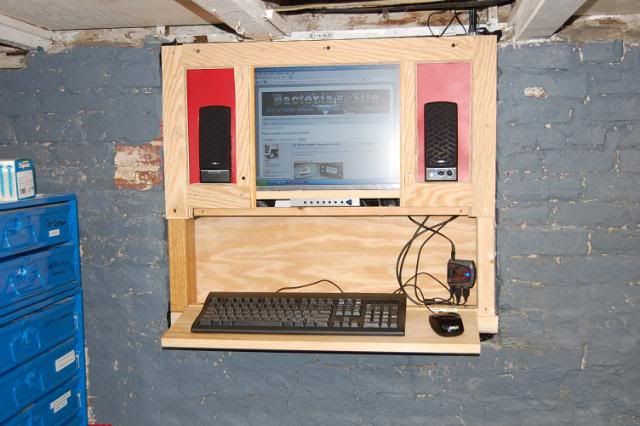
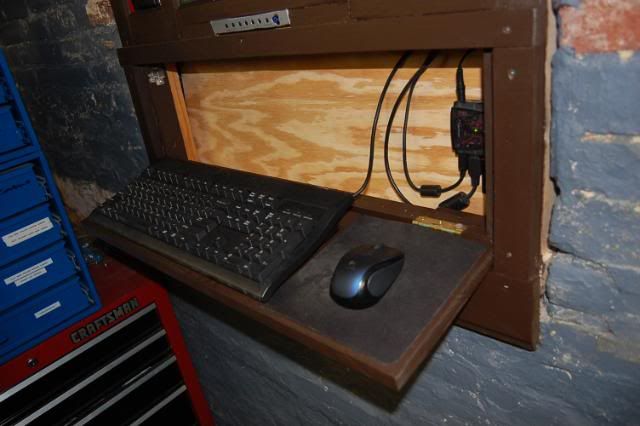
Keyboard and Mouse Pad Mounted
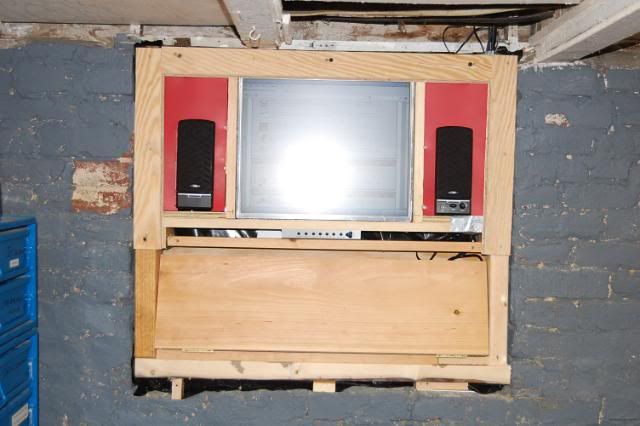
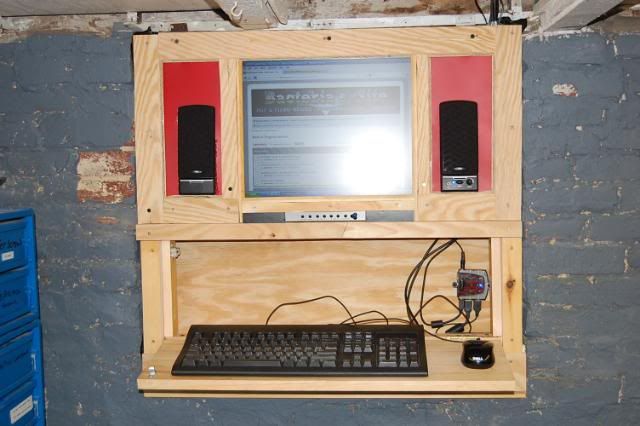
Speakers in Place

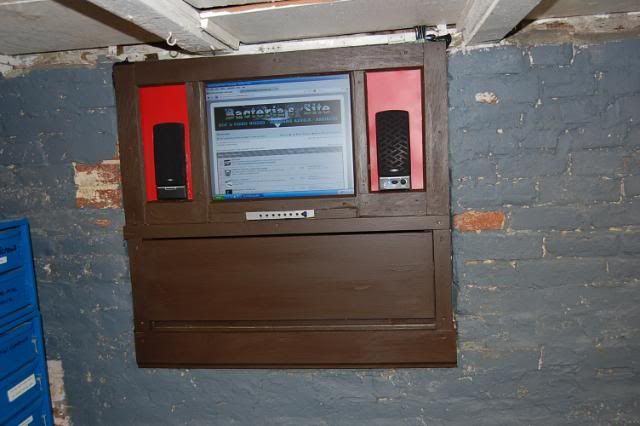
The Overall Unit
*END UPDATE* Original Posts Resumes.
Hey guys,
I started a project yesterday just kind of on a whim, but I was pretty tired of every time I needed to do a bit of research on a project that I had to leave my shop, head upstairs and then even print out what it was I was looking for.
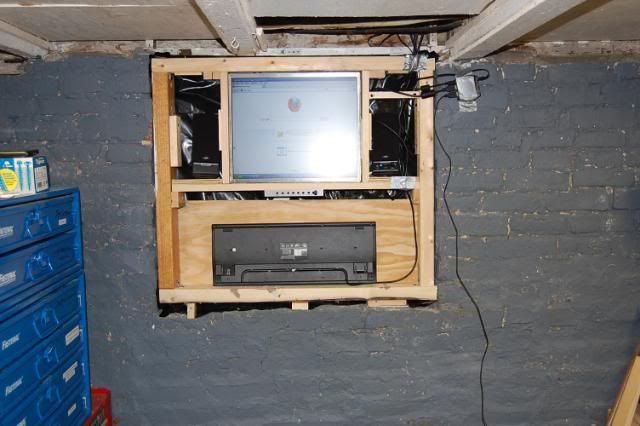
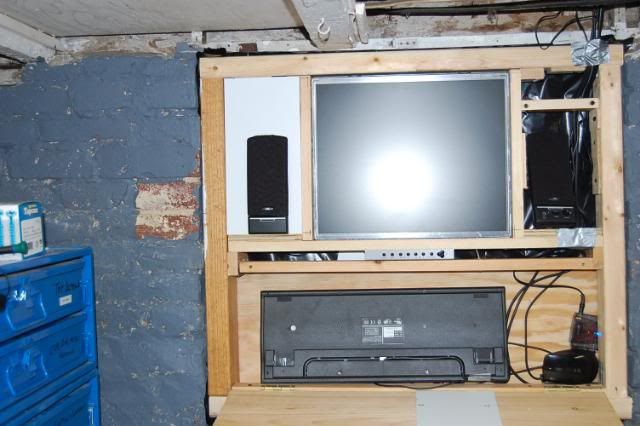
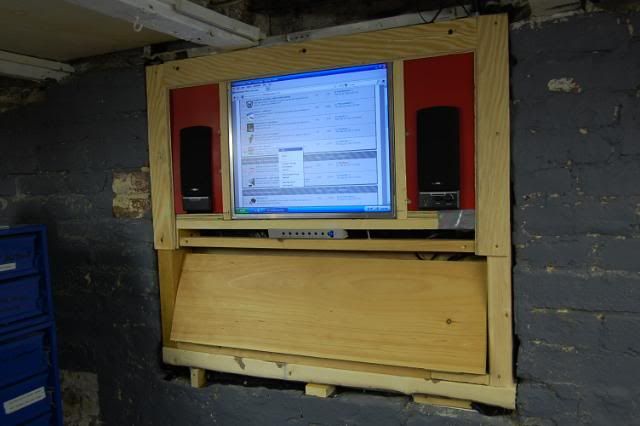
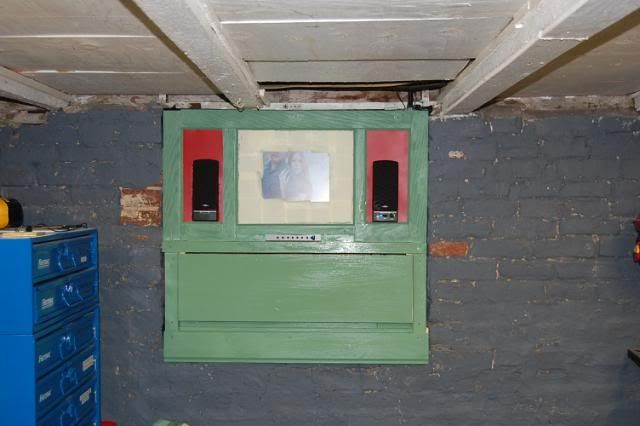
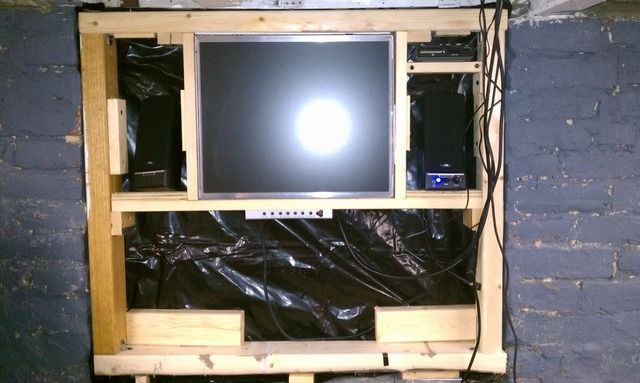
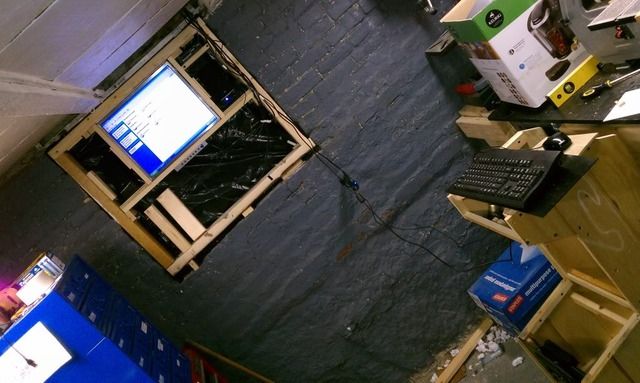
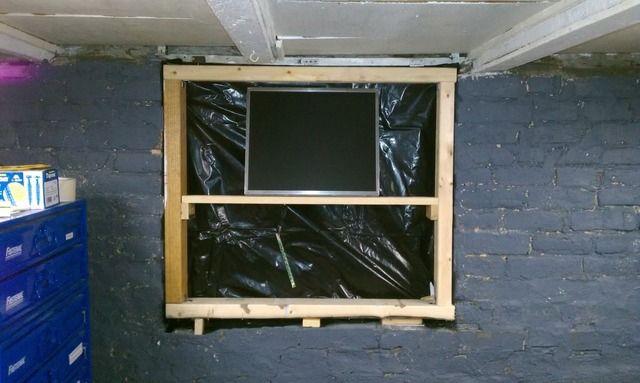
Well, I happened to have my wifes old desktop that she didn't use that I had put in a wi-fi internet card, but I didn't get signal from my router down stairs. What to do? Put the computer upstairs and run the lines down an existing hole in the floor where a wall radiator used to be. Using the monitor from the mini-cade which unfortunatly is KIA, I framed in an old opening where a window used to be, lined the back with a trash bag and was able to put the monitor, speakers and soon to be keyboard in place.
This is just the rough frame in and once I get all the componets working, I'll start the trim work. I had to cut and resolder the speaker cables together though and now I'm getting some nasty interference which I have to fix, but once that's done, this should be pretty sweet.
*Edit* Check latest posts for pics!
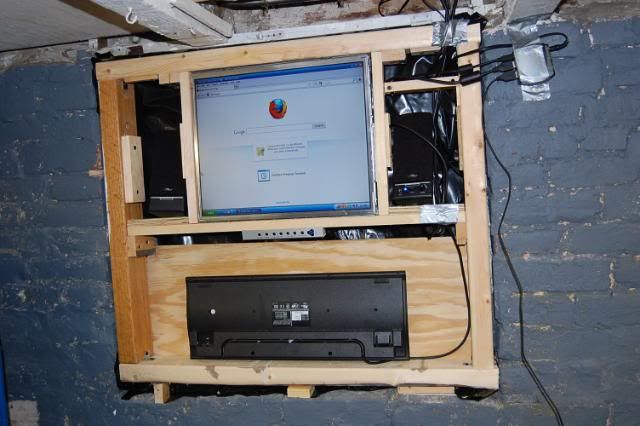
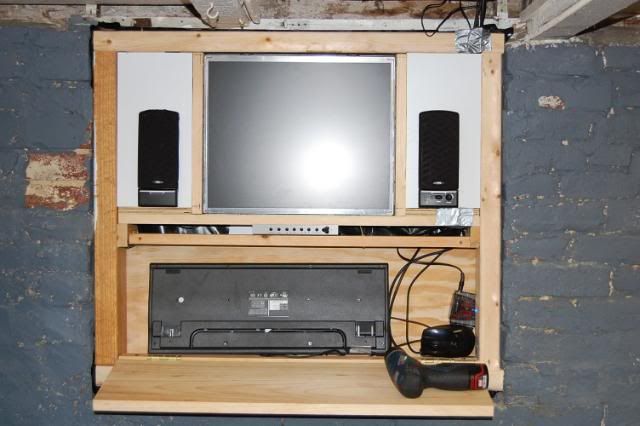
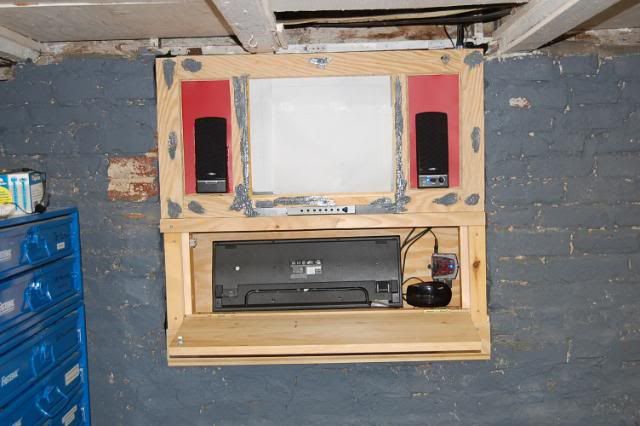
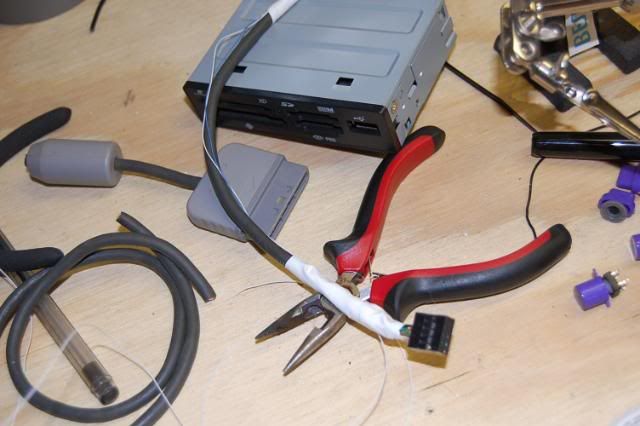
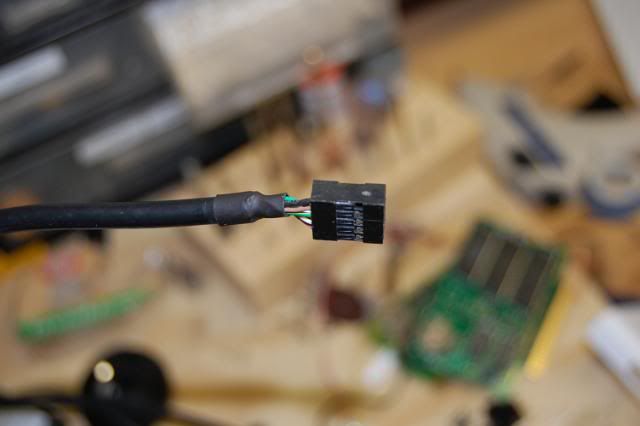
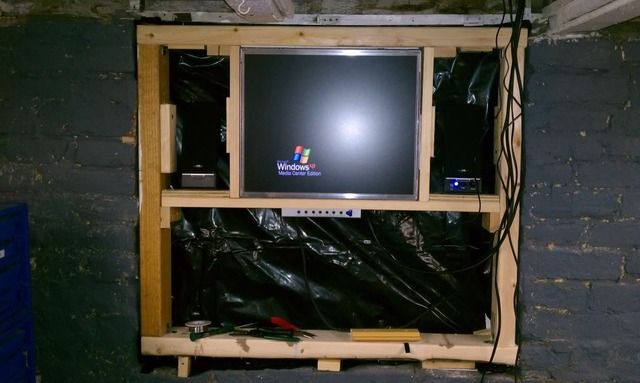
Made a lot more progress and in testing, everything is working with the exception of the media reader. I'm not sure if it's the reader itself (power light doesn't even come on) or if I just have a wire loose. But I spent over an hour making an extension for the reader so it would fit upstairs, but I don't think they were designed to work over a certain number of inches, in which case will be a pitty, but I'll play with it more later.
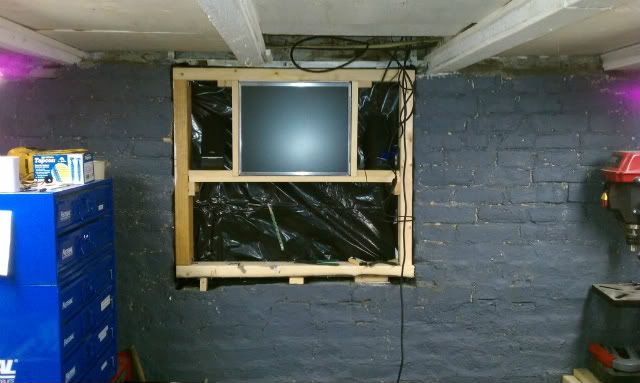
So here are some pics of the progress. I used the cable(s) of a PS1 controller as they had the most wires and the media reader took 9 wires and it was the closest I had. But like I said, I'll play with it some more later.
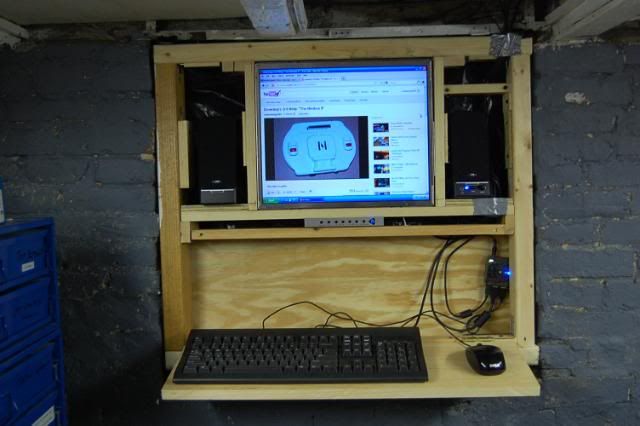
Should be getting the plywood tomorrow to start with the trim work, then I just need to work on the flip down shelf for the keyboard to sit on and fold up when I'm not using it. More updates later!


Pics from the first post because I moved the pics around on photobucket.
Here are a few pics and a YT video. Not complicated, but I think it was still fun and unique! Let me know what you think!
The Finished Product.
Keyboard and Mouse Pad Mounted
Speakers in Place
The Overall Unit
*END UPDATE* Original Posts Resumes.
Hey guys,
I started a project yesterday just kind of on a whim, but I was pretty tired of every time I needed to do a bit of research on a project that I had to leave my shop, head upstairs and then even print out what it was I was looking for.
Well, I happened to have my wifes old desktop that she didn't use that I had put in a wi-fi internet card, but I didn't get signal from my router down stairs. What to do? Put the computer upstairs and run the lines down an existing hole in the floor where a wall radiator used to be. Using the monitor from the mini-cade which unfortunatly is KIA, I framed in an old opening where a window used to be, lined the back with a trash bag and was able to put the monitor, speakers and soon to be keyboard in place.
This is just the rough frame in and once I get all the componets working, I'll start the trim work. I had to cut and resolder the speaker cables together though and now I'm getting some nasty interference which I have to fix, but once that's done, this should be pretty sweet.
*Edit* Check latest posts for pics!
Made a lot more progress and in testing, everything is working with the exception of the media reader. I'm not sure if it's the reader itself (power light doesn't even come on) or if I just have a wire loose. But I spent over an hour making an extension for the reader so it would fit upstairs, but I don't think they were designed to work over a certain number of inches, in which case will be a pitty, but I'll play with it more later.
So here are some pics of the progress. I used the cable(s) of a PS1 controller as they had the most wires and the media reader took 9 wires and it was the closest I had. But like I said, I'll play with it some more later.
Should be getting the plywood tomorrow to start with the trim work, then I just need to work on the flip down shelf for the keyboard to sit on and fold up when I'm not using it. More updates later!
Pics from the first post because I moved the pics around on photobucket.