Downing's CNC Case Cut Test

Downing

Well-Known Member
Well guys, I gotta say that I'm really liking where these CNC methods are taking me.

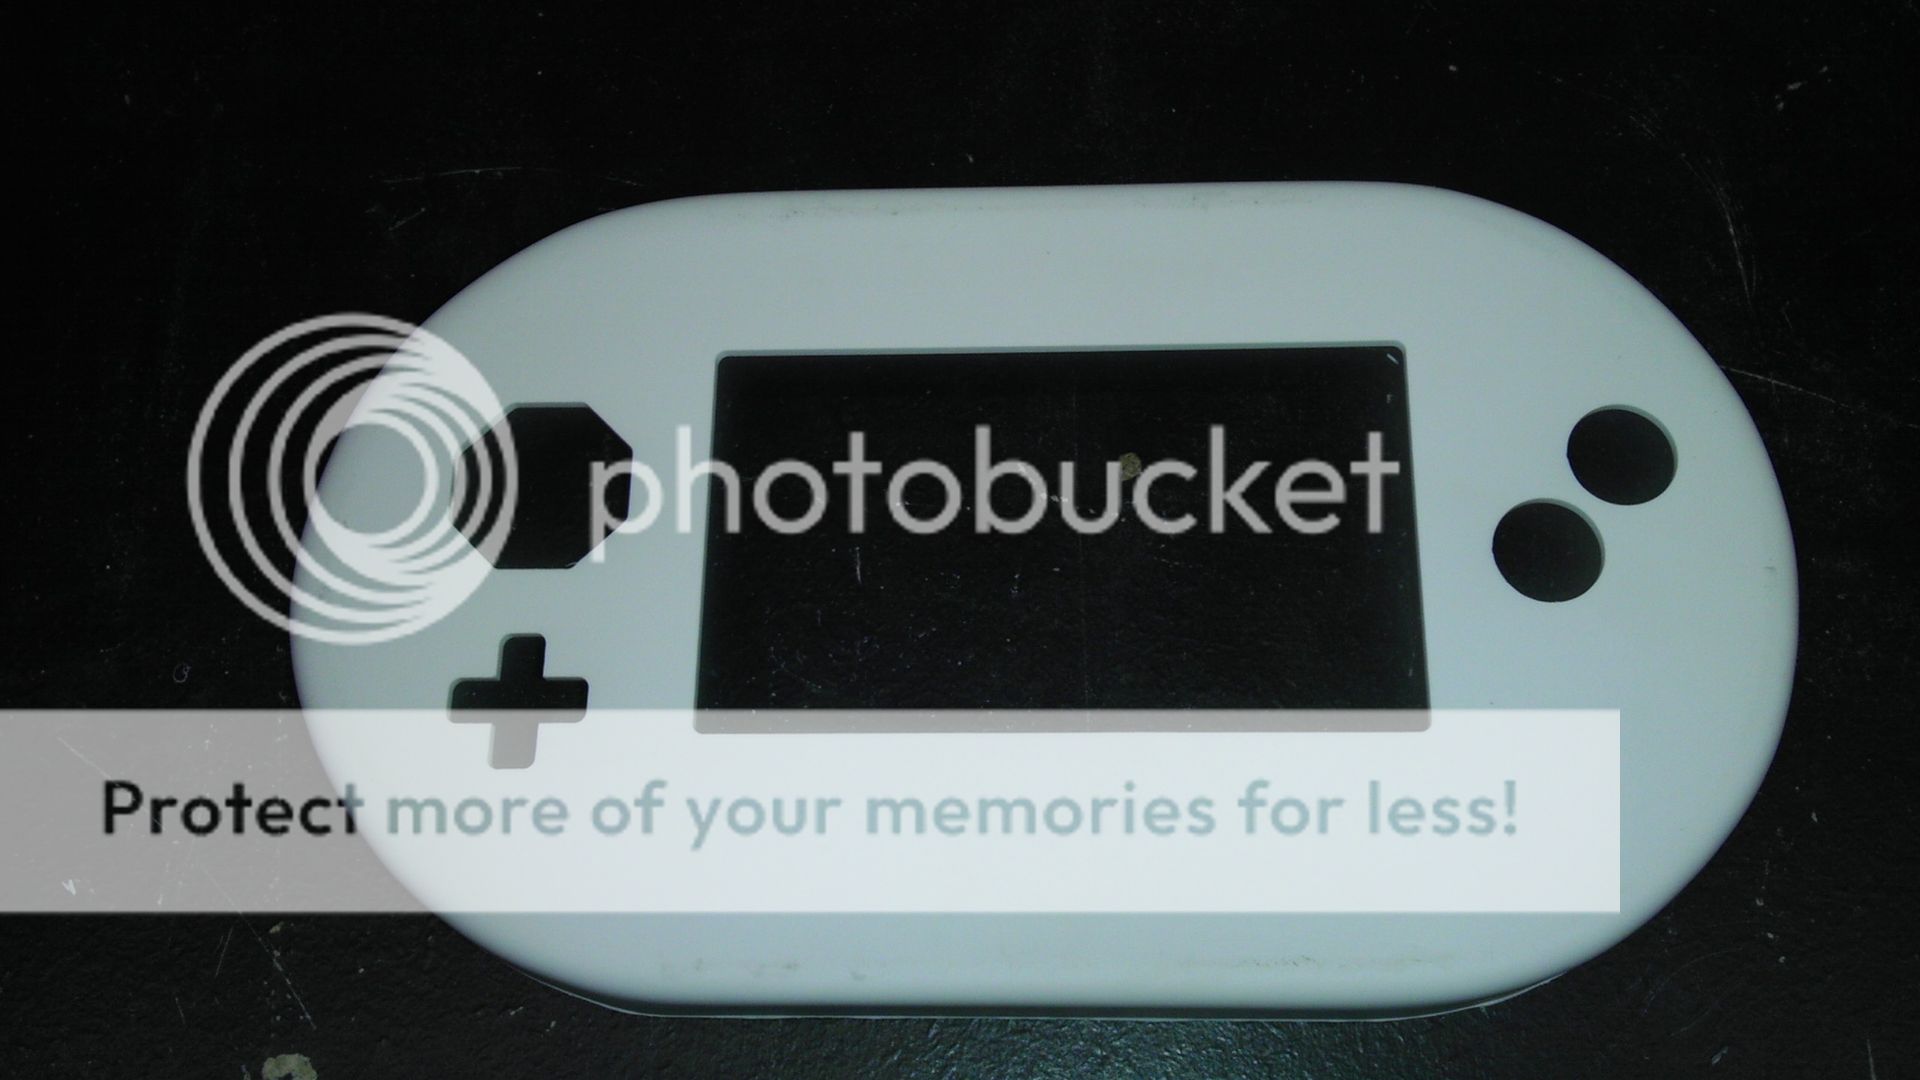
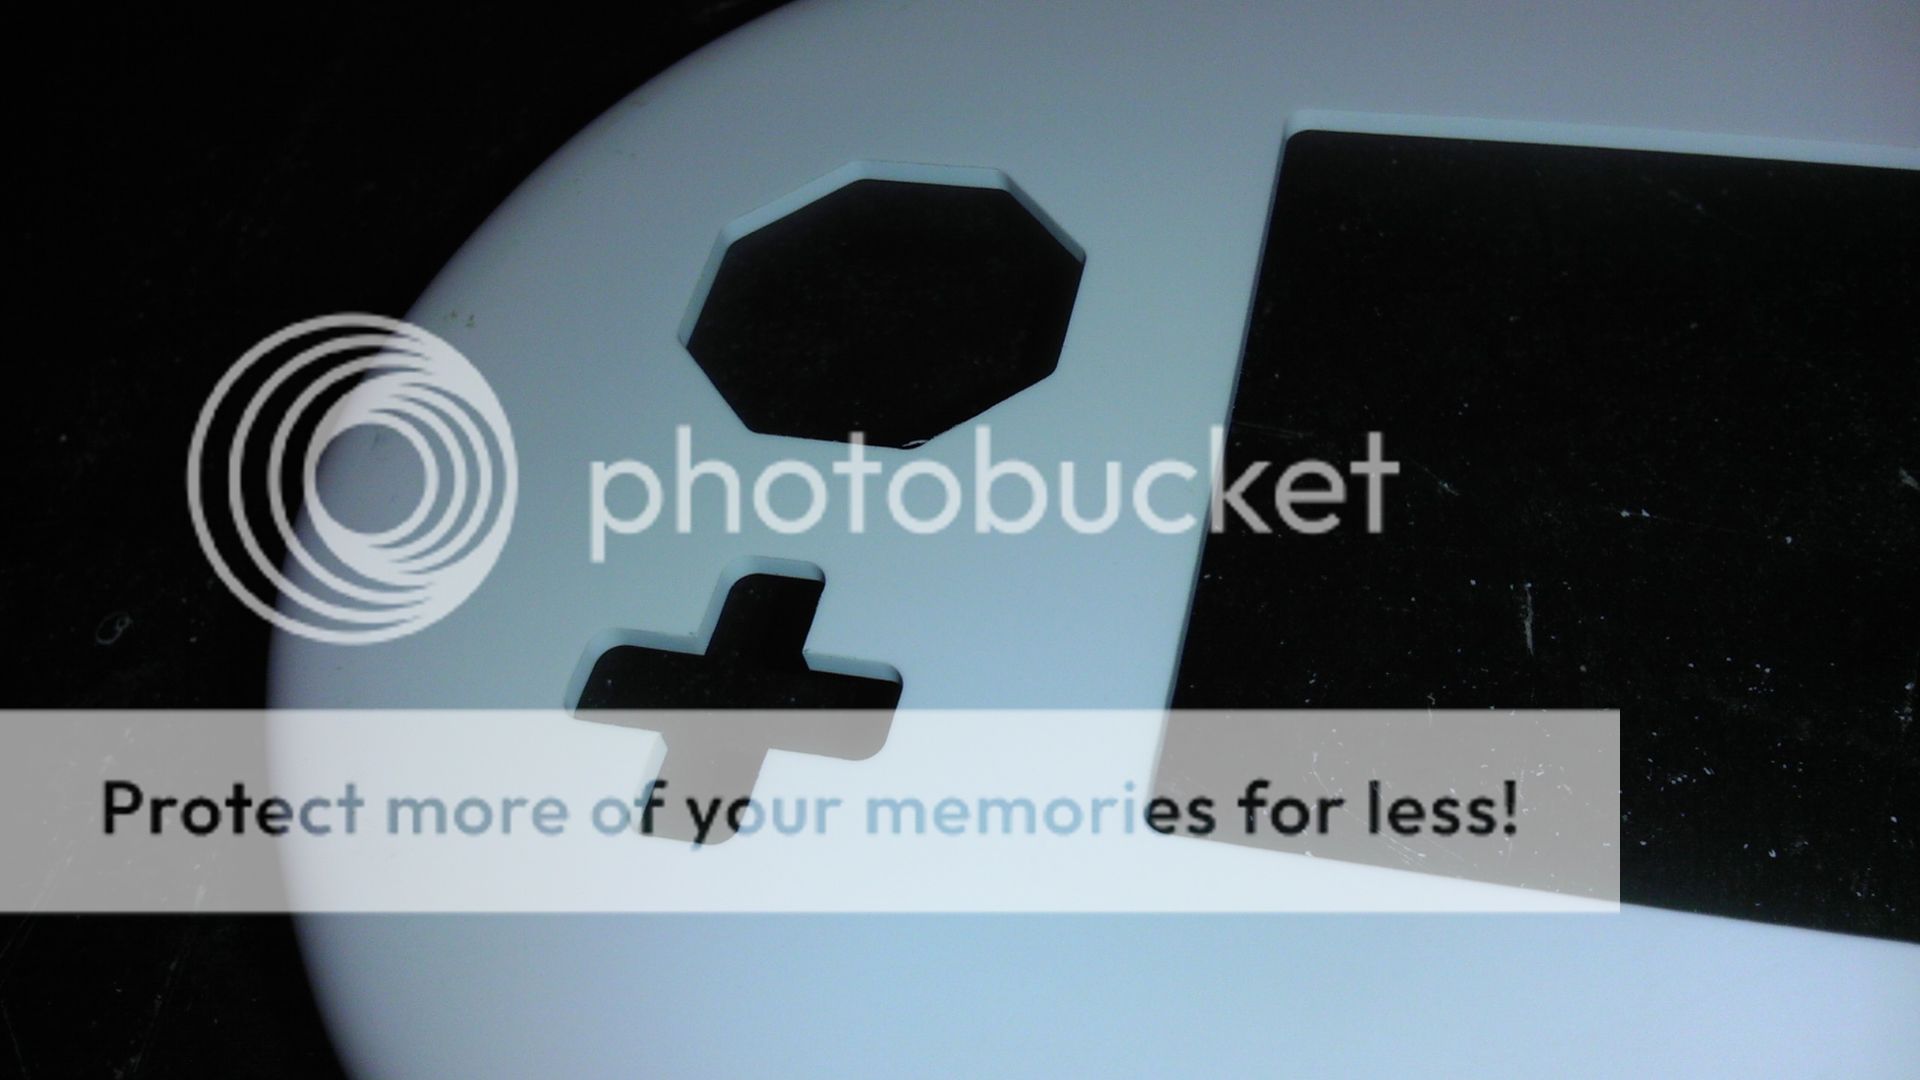
The video below shows the machine in action on a copy of the case I made for Evil Nod's N64 project. This was not built for any system in particular, just a test to see how it would work for cutting out screen, d-pad, control stick and buttons.

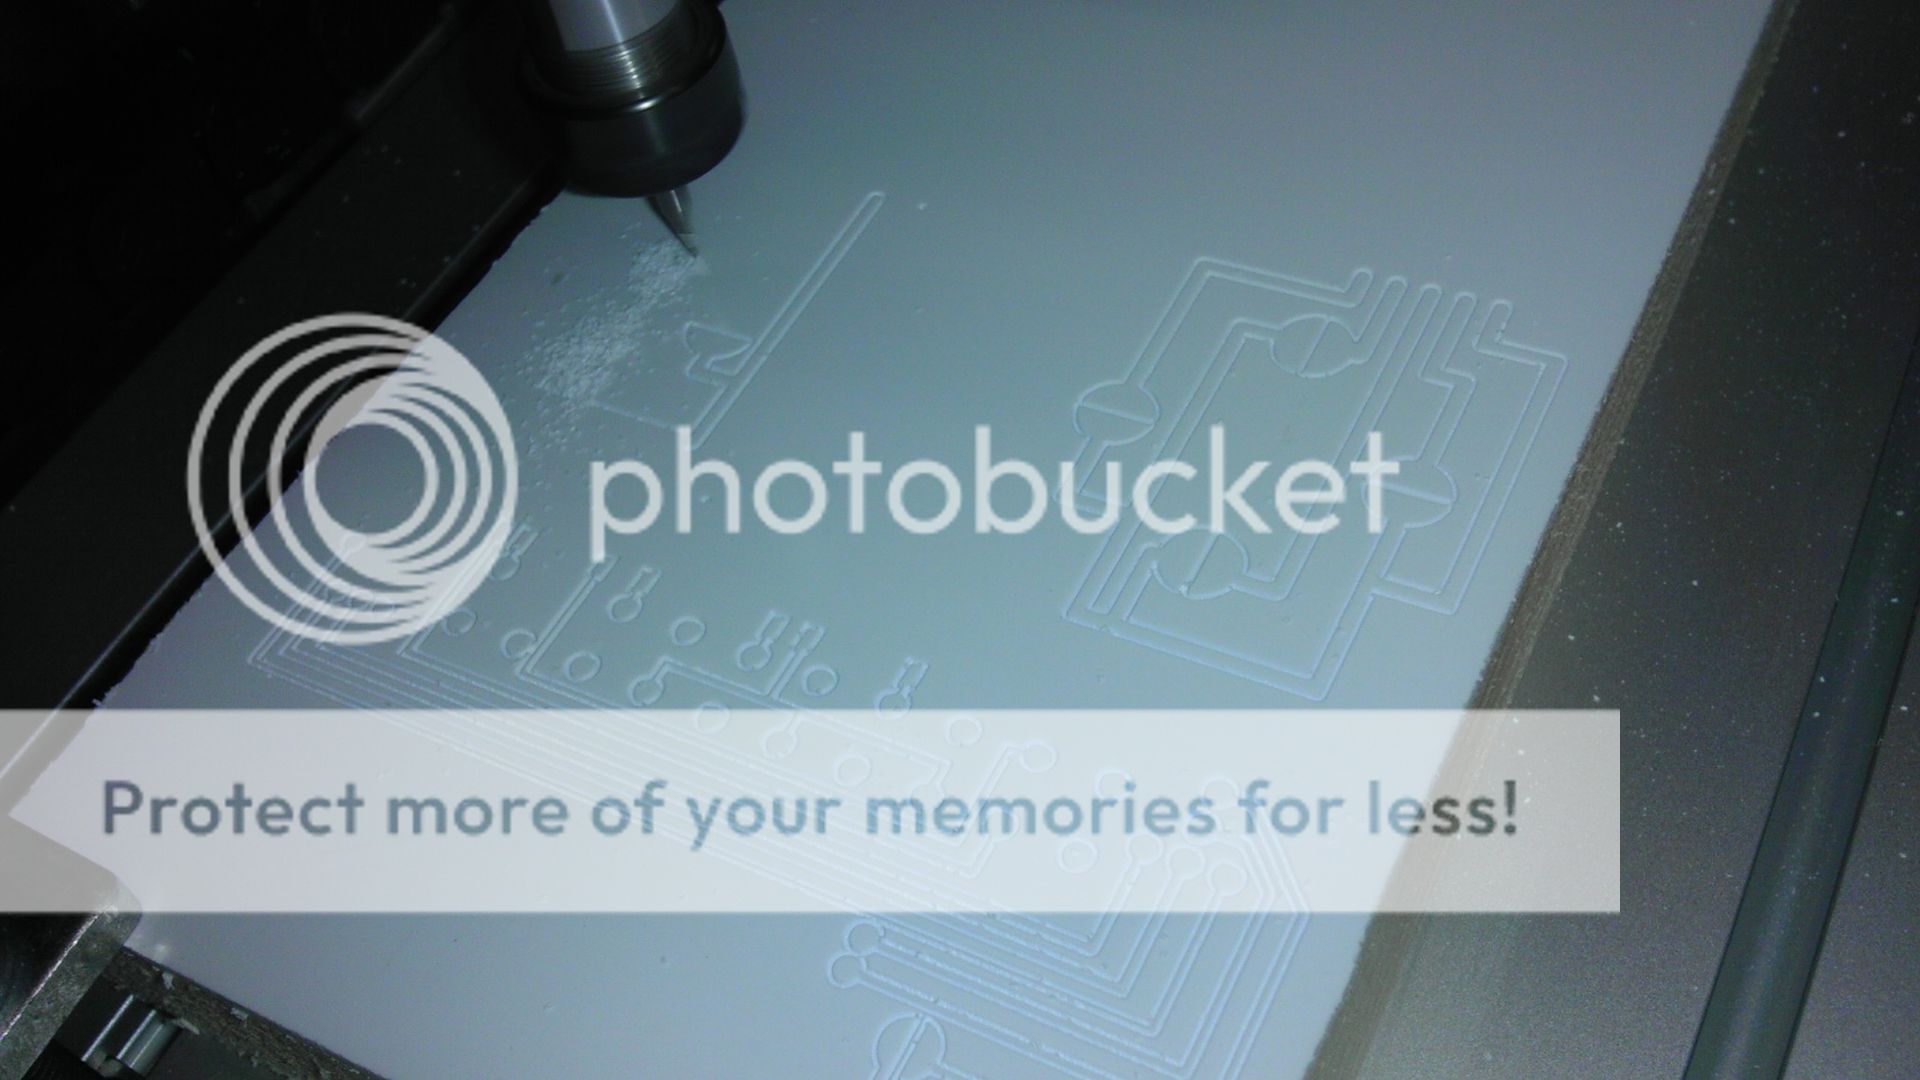
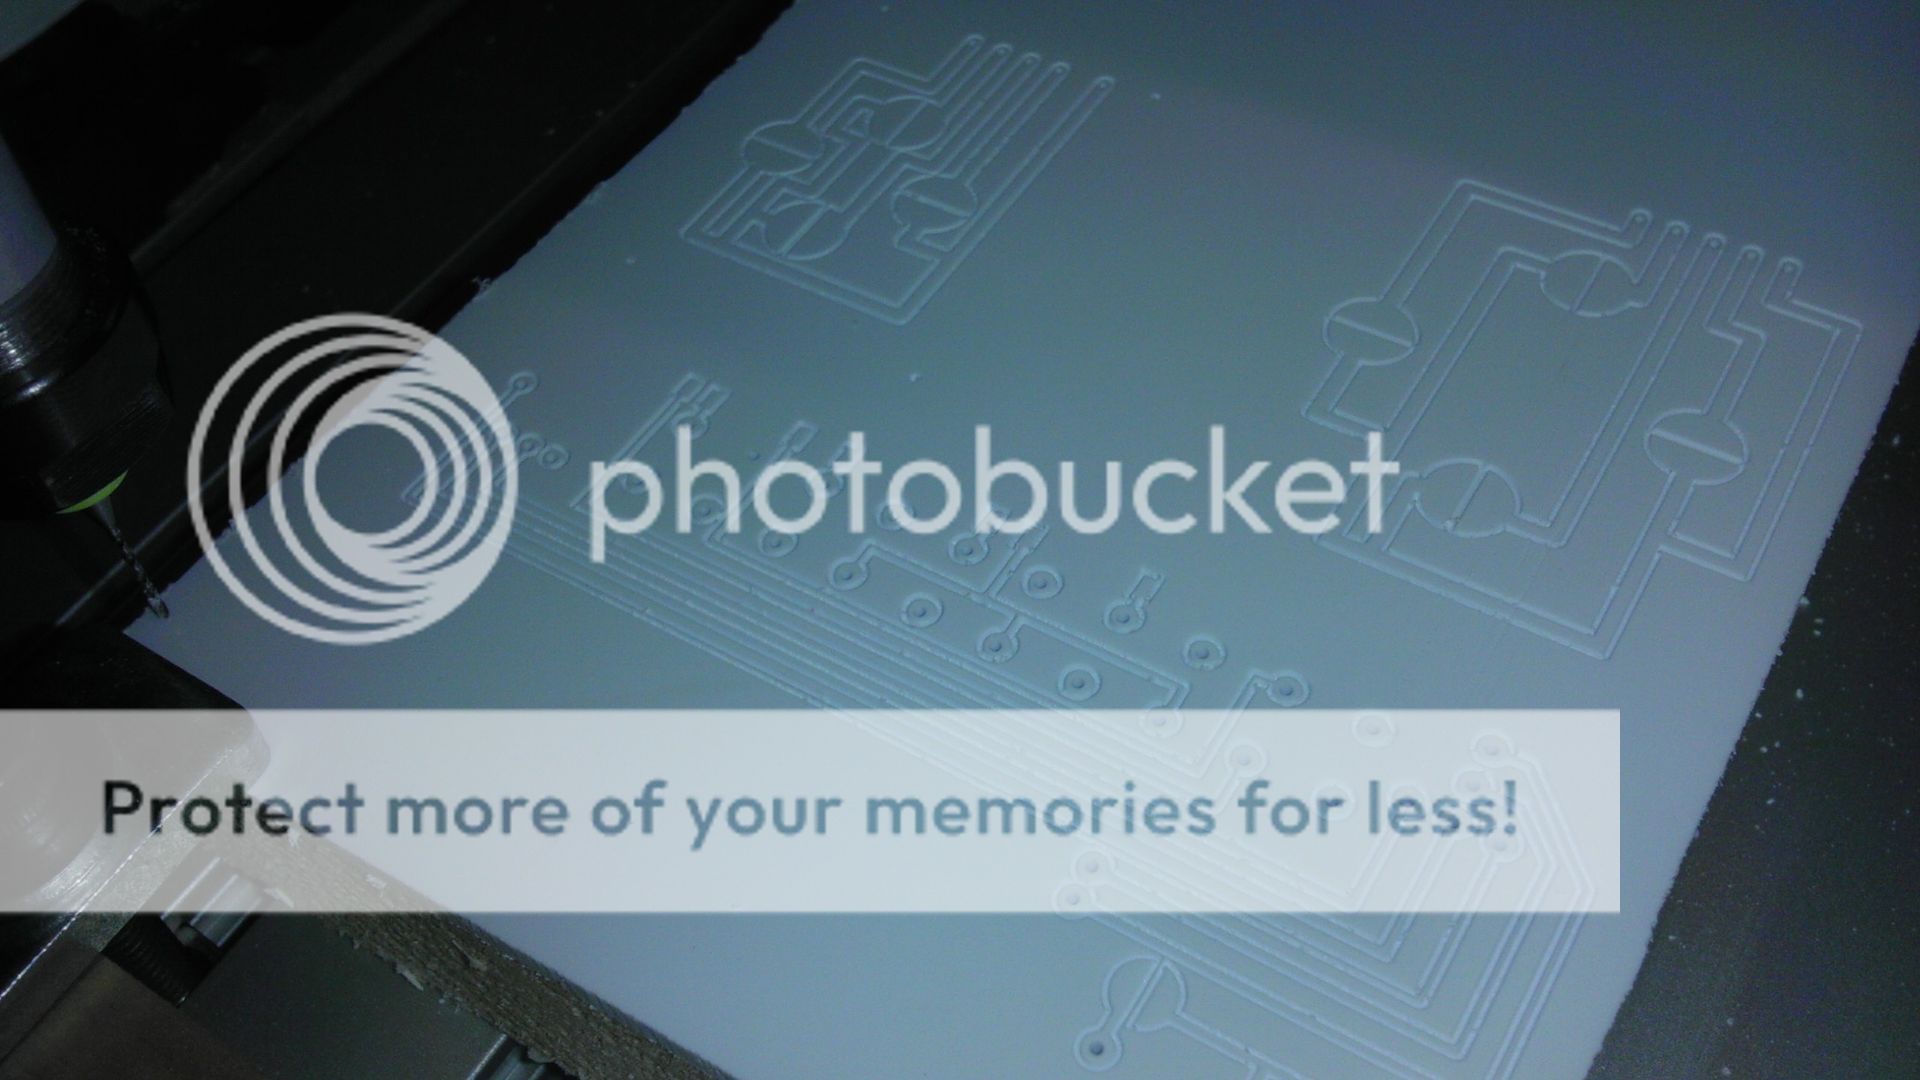
I think what I'm going to do is start putting component dimensions into the CAD software and saving them individually under manufacture name and part, that way I can simply cut and past the components into place in any number of custom arrangements. Same deal for the PCB's underneath them. Now with the ability to cut those, I can also make the trace/pad layout and cut and past that into a bigger PCB and then just connect the traces once it's in position.

I like I like I like!!!


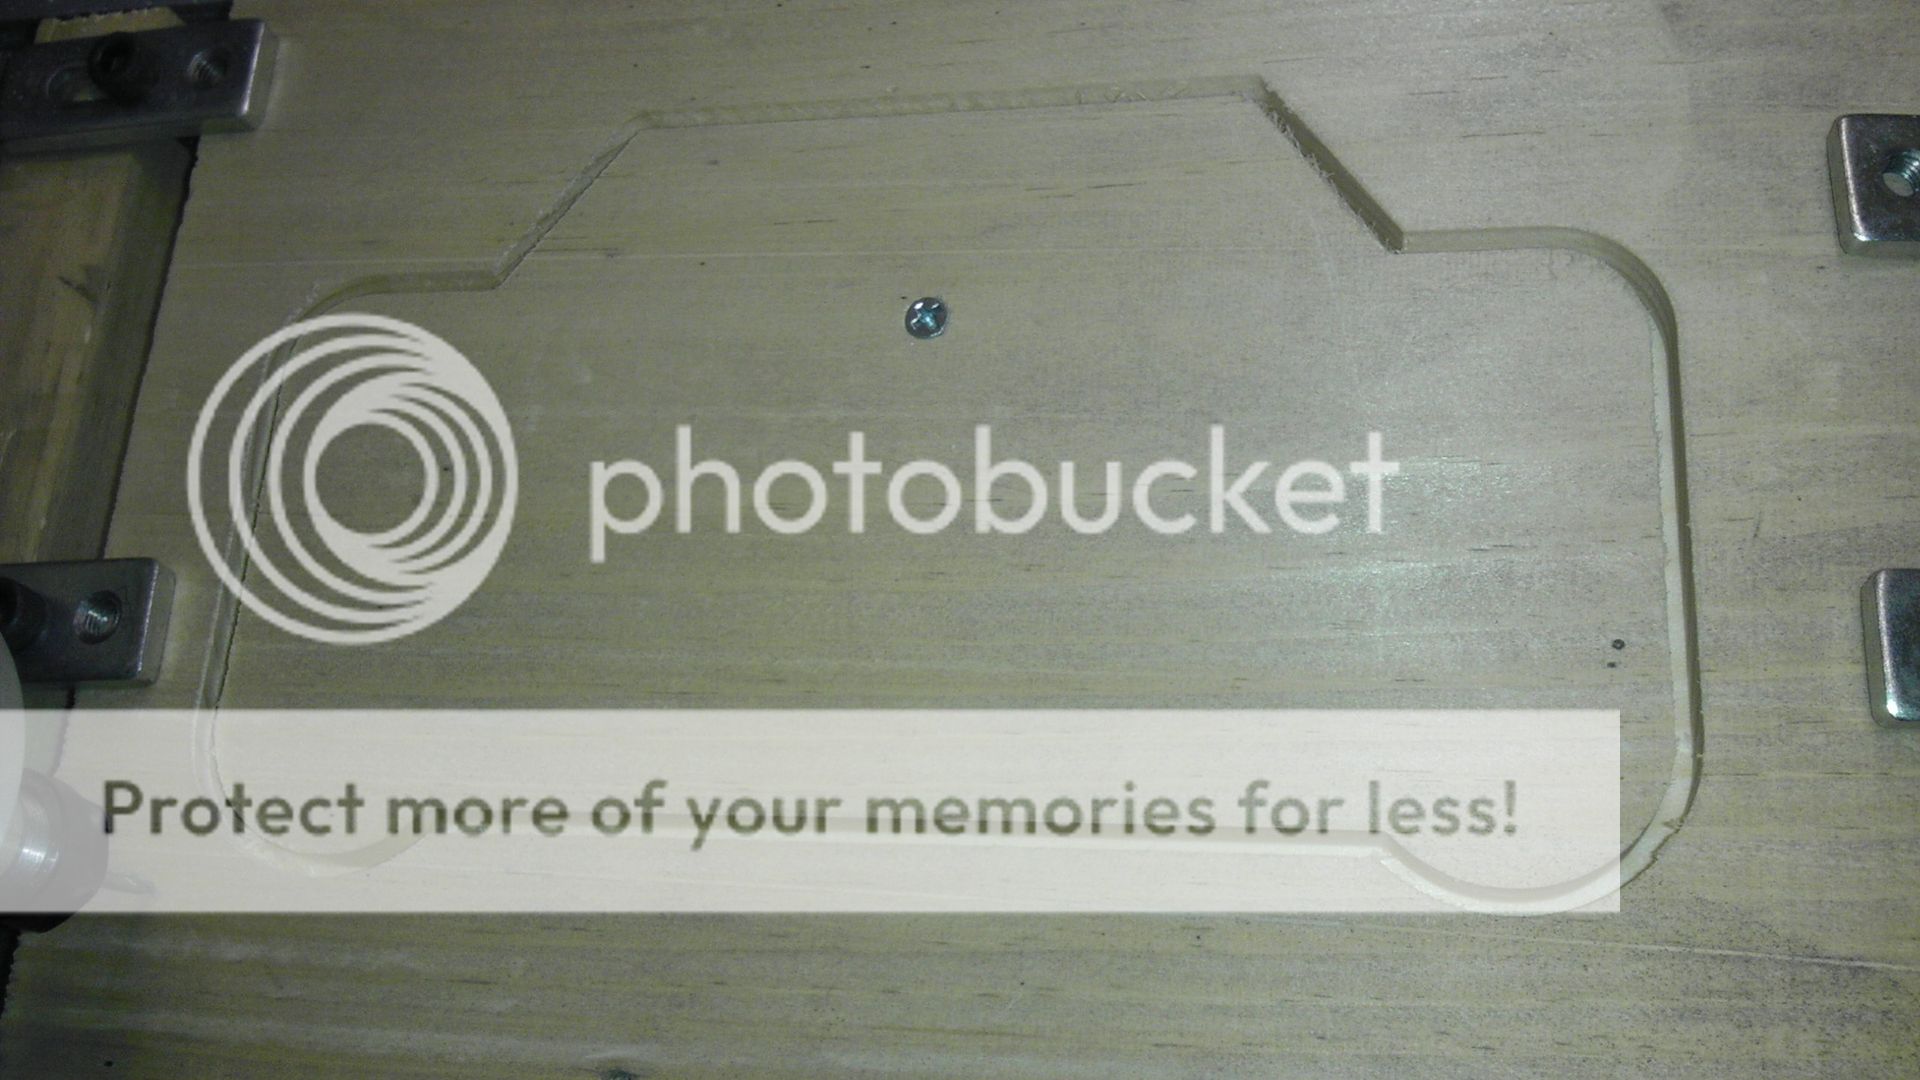
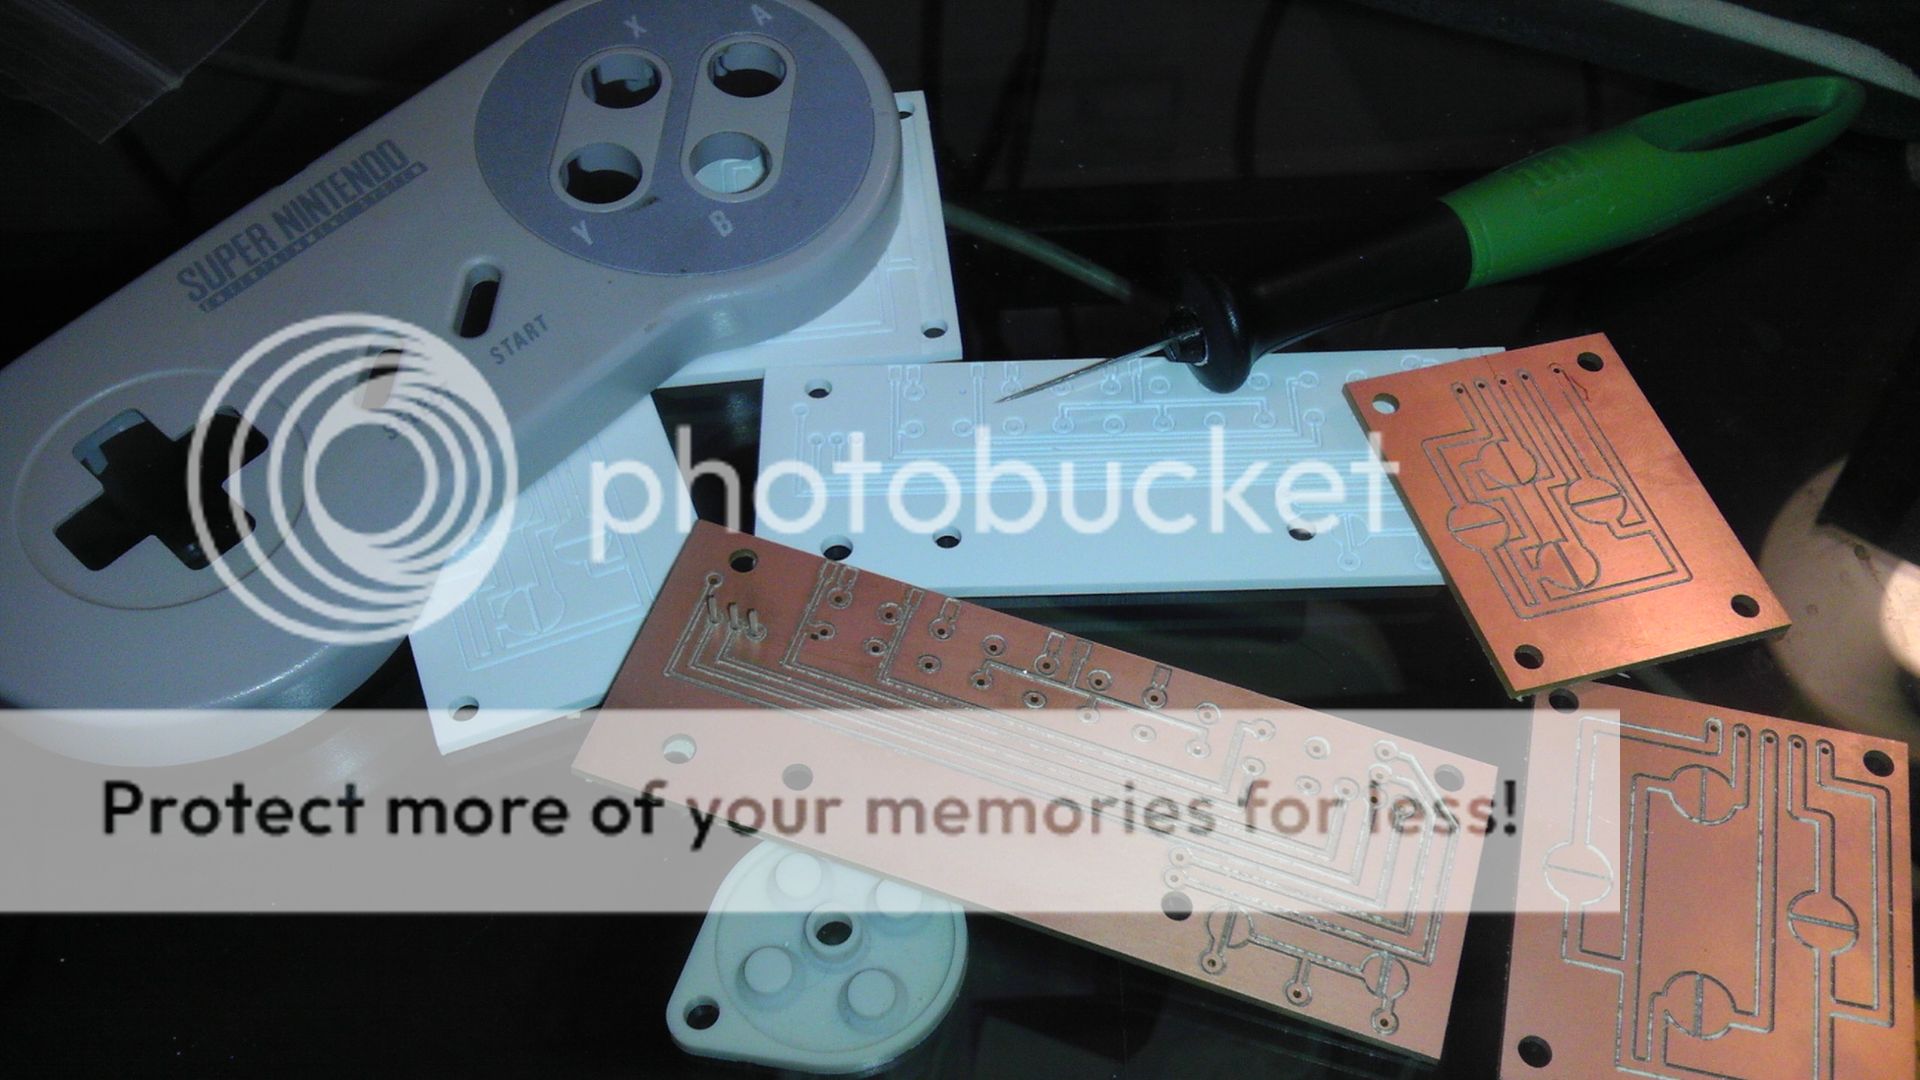
But you can see in the pics below how clean the cuts are! No more Dremel Fiber disc cuts, then filing, then filling then sanding. All this time is being redone into the design of the casing, but like I said, once I get a hand full of components into CAD, it will be as easy as cut an paste!

IMAG0820.jpg


IMAG0821.jpg
 
I like this. Beautiful cutting there. Any chance of commissioning cases for forum folks?
 
Of course! That's one of the reason's a bought it. As mentioned before, I'm in the process of putting all kinds of component measurements into CAD files so I'll have both an assortment of case models and component options. My new site should be up in a couple weeks (CND Custom Gaming) which will offer a whole bunch of Vacuum formed and CNC cut casings for modders and anyone else to choose from.
 
For CNC Case making, how would you do the sides of the case?

I have access to a CNC, but I'm not sure how to design the case with CNC in mind. I was thinking of doing plates for each side (so 6 total), and then just epoxying them together. Are there better methods? It seems that this way would make too much of a boxy shape.

Also, what plastic do you plan to use? I need to order some for when I CNC my case.

Thanks a bunch!
 
Hey man, sorry I just got your message!

In short, you couldn't drill in the sides with this particular set up because this is only a 3-Axis machine. If I had a 4th I could possibly do that. So this isn't the "Do-All" solution, but it defiantly saves time when making the finished cuts perfect.

I use HIPS for plastic (High Impact Poly Styrene). Industrial Plastic Supply Co out of California has the best stuff and decent pricing.
 
Thanks for the response!

I was looking into the types of plastic, and HIPS came up as the primary type to use.

Would you recommend a certain thickness?

I have access to both a CNC and a Vacuum forming( yay school!) so I will be using those in my case projects. I want to use the CNC to its max potential though, so i have a plan, based off of this idea

http://forums.modretro.com/viewtopic.php?f=8&t=10407

I plan to cut 3 pieces: front(screen + controls), back(vents / logo's) and side(everything else, all in one strip).

Then I would use the method described in the link above to warp the side strip around a wooden mold. This allows for all the holes to be cut by a CNC, even on the side, while still having rounded corners.

Any suggestions?
 
Yeah that method will work, but it still requires gluing, and sanding which really if you want to do the sides with CNC than you're not going to be able to avoid it. Personally what I would do is if you have access to a vacuum former, make your mold just two solid pieces, cut what you can front and back with the CNC and then cut the side components in by hand and file to perfection. Getting good with a tapered square, flat and Playstation files are excellent skills to acquire and there is no better way to learn it than side components.
 
I spend a good deal of time yesterday working on test pieces of styrene for the PCB cuts I'll be making for the SNES-001 Advance II. I do these tests because styrene is about the same thickness as the copper PCB board and a fraction of the cost per sq/inch. It's also a good thing to do as well because it's much softer and if some hidden line decides to drill and move with it's less likely to snap the bit you're using which I unfortunately did last night with the last hole that needed drilling.

But I took a short video of the drilling of the last holes on the styrene last night and it just goes to show how unforgiving even a simple error is when dealing with such high precision.


Also here are a couple pics of my progress so far. I started experimenting with the cutting of wooden molds as well. These pics are of the first attempt but I didn't have the right bit. I now have the proper tooling in had so I'll be trying this again hopefully today. I'll be starting up a thread about this once I get the o.k. to start building. So more updates soon!

IMAG0835.jpg


IMAG0837.jpg


IMAG0838.jpg


IMAG0840.jpg
 
Back
Top