Bibin
Frequent Poster
Here's the real guide!
Note: This modification will only work on pre-santa Rosa Models. Well, it will work on all later ones, but the LED backlight from your screen must be transplanted into the new LCD, so I do not recomment it.
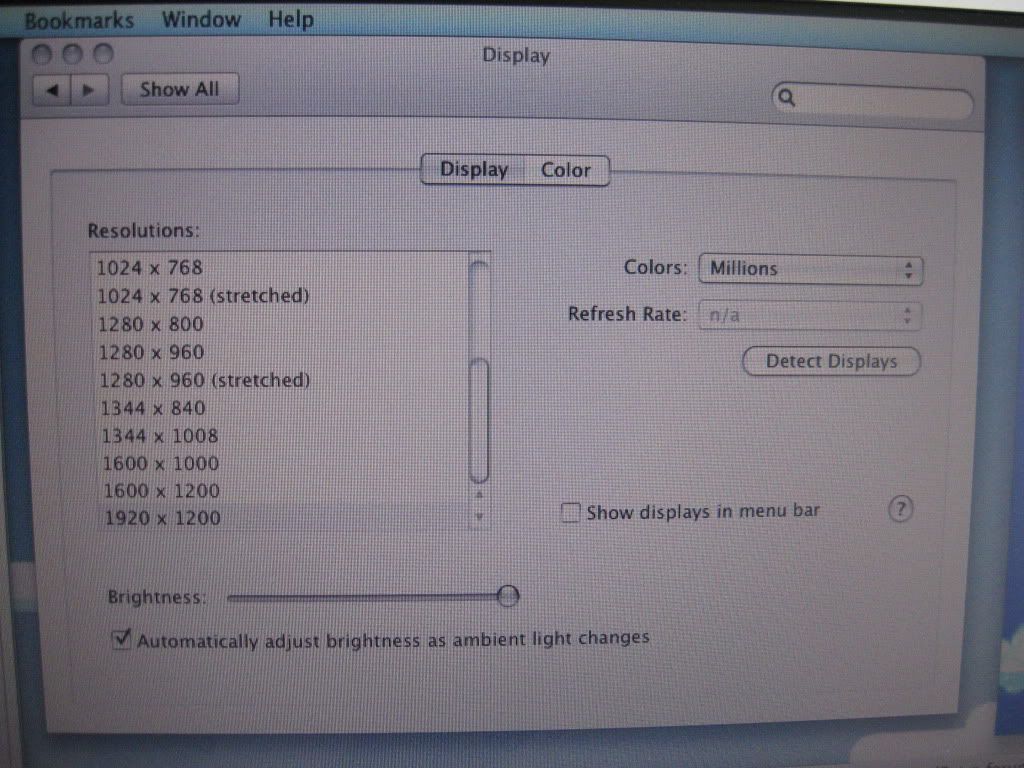
I was dissatisfied with the standard 1440x900 LCD display that my MacBook Pro came with, so I hunted down a compatible LCD screen on eBay. I found a Samsung LTN154U1-L03 display, as it is WUXGA and 15.4". Ones with similar model numbers, like LTN154U2-L04, are compatible, and are just revisional differences. Note: your LCD likely was made for a dell, so it will have brackets on the top. Through patience, cutting, and/or unscrewing, these do come off, it's not too hard.
Once you get your LCD, you have to open up the top half of your MacBook Pro. Shut it down (of course) and flip over your MacBook Pro. Remove the four screws on the top of the bottom, and all the screws from the sides. Then, remove the battery. Remove the two screws on the outer edge of the battery compartment, and the three screws holding in the RAM cover. Under the RAM cover, remove the two torx screws.
Now flip your MacBook Pro back over, and open it up gently. Pry up the top case starting from the back until it is all loose. Gently disconnect the keyboard cable from the motherboard with a spudger or some non-harmful object. Now, towards the top, on either side, the hinge is fastened with four torx screws per side. Unscrew these, noting which screws went where, and disconnect the cables coming from the screen to the motherboard. Gently lift your display up.
Now that your display assembly is separate, unscrew the two screws on the bottom. Insert a spudger inbetween the metal bezel and the plastic border on the front, and work your way upwards to free the back housing from the bezel. Set this aside gently.
Now, with everything disassembled, connect the cables from the screen back to the bottom of your computer. Take your top case + keyboard from before, and reconnect it to the computer (but don't screw it back in yet!). Turn on your computer. Bear with me, this is important. Once your computer has booted to the desktop, go to the apple menu, and press Sleep. QUICKLY before the screen turns off, disconnect your top case + keyboard from the machine (careful!). Once your sleep light begins to pulse, go to your old screen.
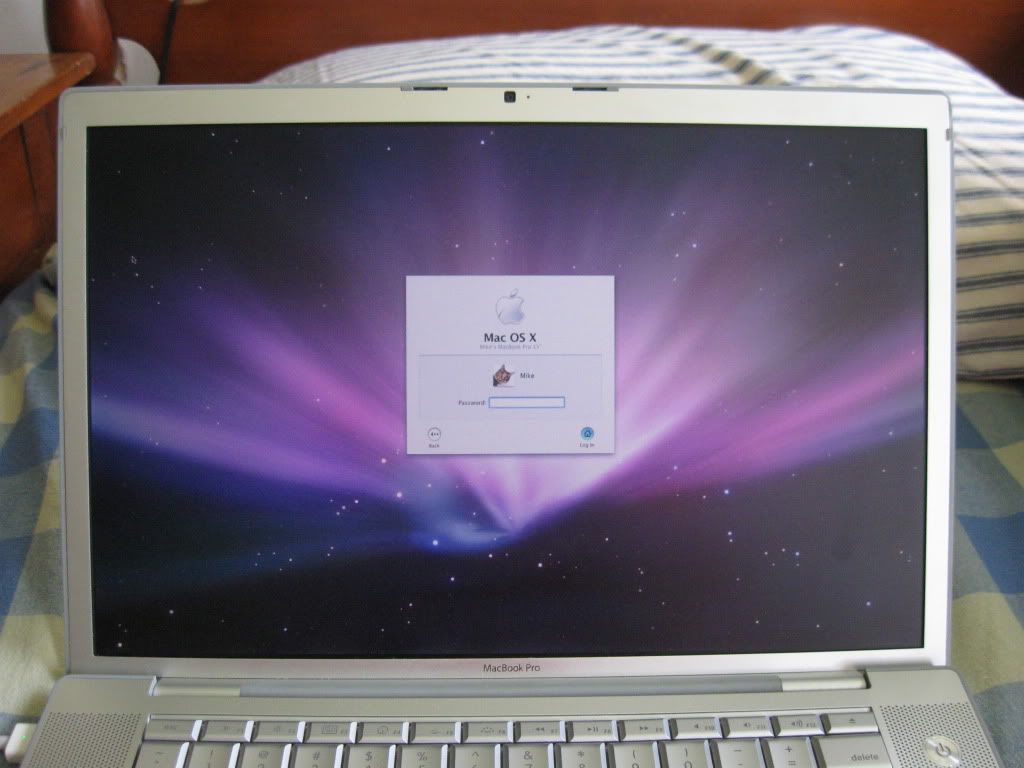
Disconnect the video display cable from the top of the screen, and the two-wire backlight bulb from the inverter on the bottom. Now take your new screen. For now, don't mount it. Just plug in the video display cable and inverter cable into your new LCD. Now, grab that keyboard again, and "wake" up the computer. The computer will wake from sleep, and the display should look great! (the only way to make the computer recognize the new screen properly is by swapping during sleep, you'll never have to do this again unless you reset your PRAM).
Now, shut your computer down properly, and allow it to finish. Once it's all the way off, remove the eight screws on the side of your old screen to separate it from your old display housing. The tricky part is coming up now! GENTLY press on the front of your screen to remove it. It is held in with old glue, so be very slow and gentle. You may want to fetch a plastic spudger to press around the sides to get it out.
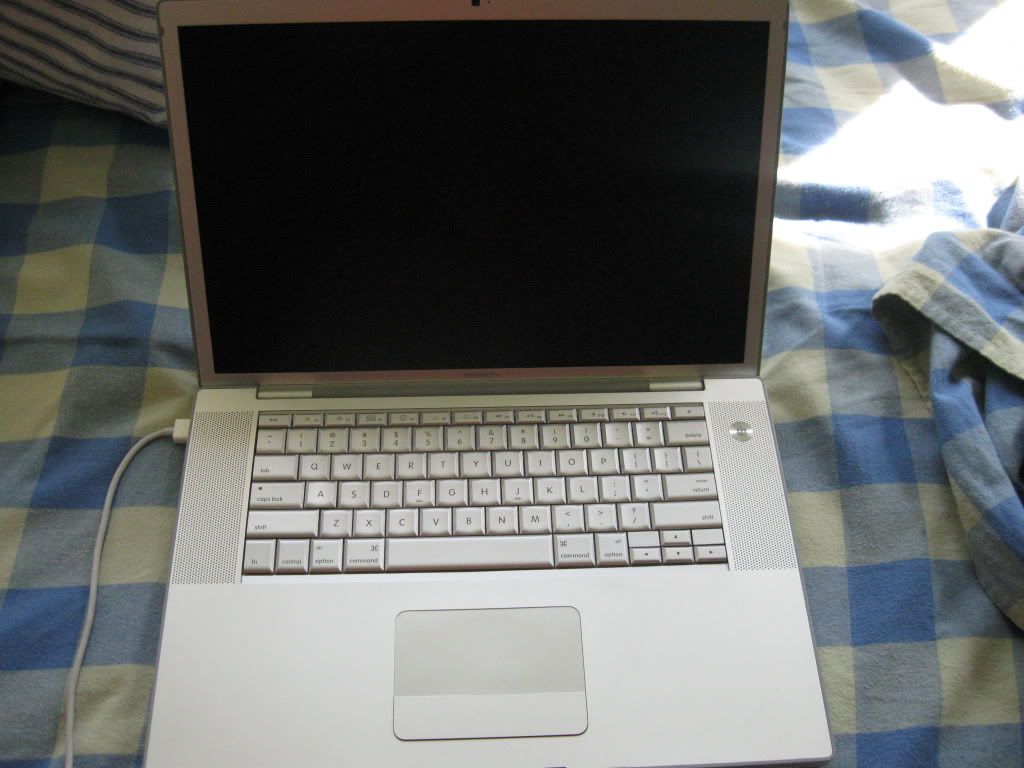
Once it's out, put your new screen in. Connect the cables, plug in the inverter cable (if your screen has it coming out of the wrong spot, like mine, just remove the tape holding the wire in place, then it'll come out of the right spot), and screw it all in. Put your display housing back together, and then reinstall the screen and your top case. Boot it up, and you're ready to watch blu-ray movies on your computer!
To watch blu-ray of course, you need an external blu-ray drive (hopefully firewire), or, if you can afford it, an internal notebook slot-loading PATA drive. They exist, but cost over 400 dollars. Not quite worth it yet!
Note: This modification will only work on pre-santa Rosa Models. Well, it will work on all later ones, but the LED backlight from your screen must be transplanted into the new LCD, so I do not recomment it.
I was dissatisfied with the standard 1440x900 LCD display that my MacBook Pro came with, so I hunted down a compatible LCD screen on eBay. I found a Samsung LTN154U1-L03 display, as it is WUXGA and 15.4". Ones with similar model numbers, like LTN154U2-L04, are compatible, and are just revisional differences. Note: your LCD likely was made for a dell, so it will have brackets on the top. Through patience, cutting, and/or unscrewing, these do come off, it's not too hard.
Once you get your LCD, you have to open up the top half of your MacBook Pro. Shut it down (of course) and flip over your MacBook Pro. Remove the four screws on the top of the bottom, and all the screws from the sides. Then, remove the battery. Remove the two screws on the outer edge of the battery compartment, and the three screws holding in the RAM cover. Under the RAM cover, remove the two torx screws.
Now flip your MacBook Pro back over, and open it up gently. Pry up the top case starting from the back until it is all loose. Gently disconnect the keyboard cable from the motherboard with a spudger or some non-harmful object. Now, towards the top, on either side, the hinge is fastened with four torx screws per side. Unscrew these, noting which screws went where, and disconnect the cables coming from the screen to the motherboard. Gently lift your display up.
Now that your display assembly is separate, unscrew the two screws on the bottom. Insert a spudger inbetween the metal bezel and the plastic border on the front, and work your way upwards to free the back housing from the bezel. Set this aside gently.
Now, with everything disassembled, connect the cables from the screen back to the bottom of your computer. Take your top case + keyboard from before, and reconnect it to the computer (but don't screw it back in yet!). Turn on your computer. Bear with me, this is important. Once your computer has booted to the desktop, go to the apple menu, and press Sleep. QUICKLY before the screen turns off, disconnect your top case + keyboard from the machine (careful!). Once your sleep light begins to pulse, go to your old screen.
Disconnect the video display cable from the top of the screen, and the two-wire backlight bulb from the inverter on the bottom. Now take your new screen. For now, don't mount it. Just plug in the video display cable and inverter cable into your new LCD. Now, grab that keyboard again, and "wake" up the computer. The computer will wake from sleep, and the display should look great! (the only way to make the computer recognize the new screen properly is by swapping during sleep, you'll never have to do this again unless you reset your PRAM).
Now, shut your computer down properly, and allow it to finish. Once it's all the way off, remove the eight screws on the side of your old screen to separate it from your old display housing. The tricky part is coming up now! GENTLY press on the front of your screen to remove it. It is held in with old glue, so be very slow and gentle. You may want to fetch a plastic spudger to press around the sides to get it out.
Once it's out, put your new screen in. Connect the cables, plug in the inverter cable (if your screen has it coming out of the wrong spot, like mine, just remove the tape holding the wire in place, then it'll come out of the right spot), and screw it all in. Put your display housing back together, and then reinstall the screen and your top case. Boot it up, and you're ready to watch blu-ray movies on your computer!
To watch blu-ray of course, you need an external blu-ray drive (hopefully firewire), or, if you can afford it, an internal notebook slot-loading PATA drive. They exist, but cost over 400 dollars. Not quite worth it yet!

 This time it'll be Core 2 Duo.