RedmagnusX
Active Member
Hey Guys, I'm making this thread to outline my work on my Wii U Laptop. This is a completed project, but I figured I should still make a work log so that the info is available to everyone. There's a video at the bottom of this post if you just want to check out the finished product.
Parts:
Wii U (duh )
)
A Screen (LTN170WU-L03)
Top Bezel from a Laptop (Dell Inspiron 9300)
Video Controller for the screen
Wood
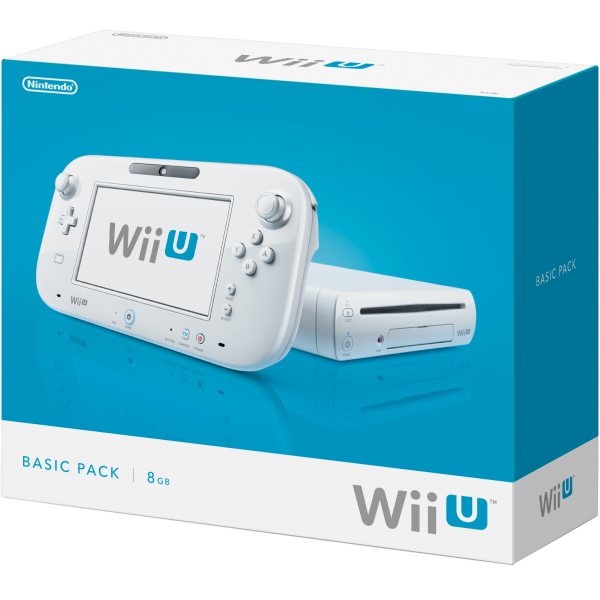
The Wii U I used for this project is the Basic White 8GB Version pictured below.
I decided to use a 17" screen for this project. The one I decided on was the LTN170WU-L03 from a Dell Inspiron 9400 pictured below.

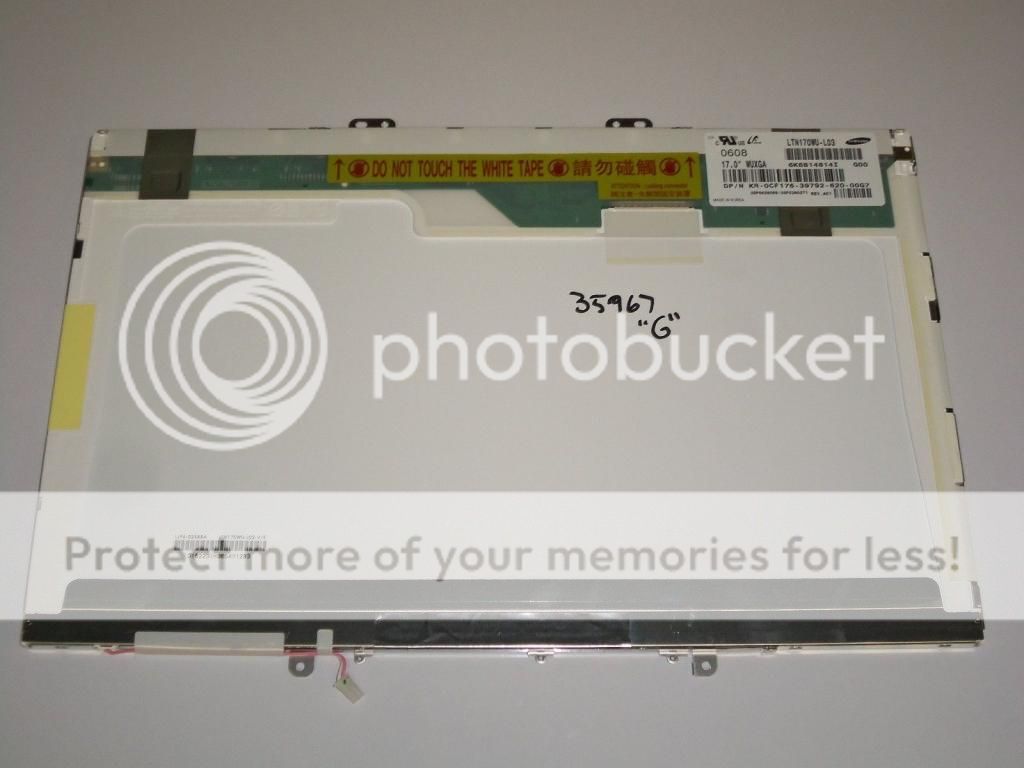
The reason why I choose this screen is primarily due to the fact that this is the same exact panel that Dell used in its XPS M1730. The refresh rate is perfect for gaming and the resolution is perfect as well. The price was also very affordable costing less 60USD new.
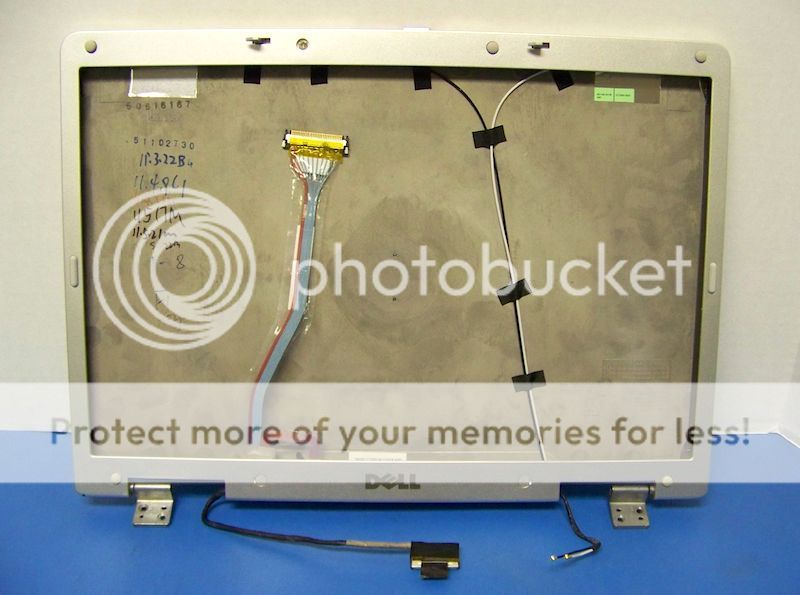
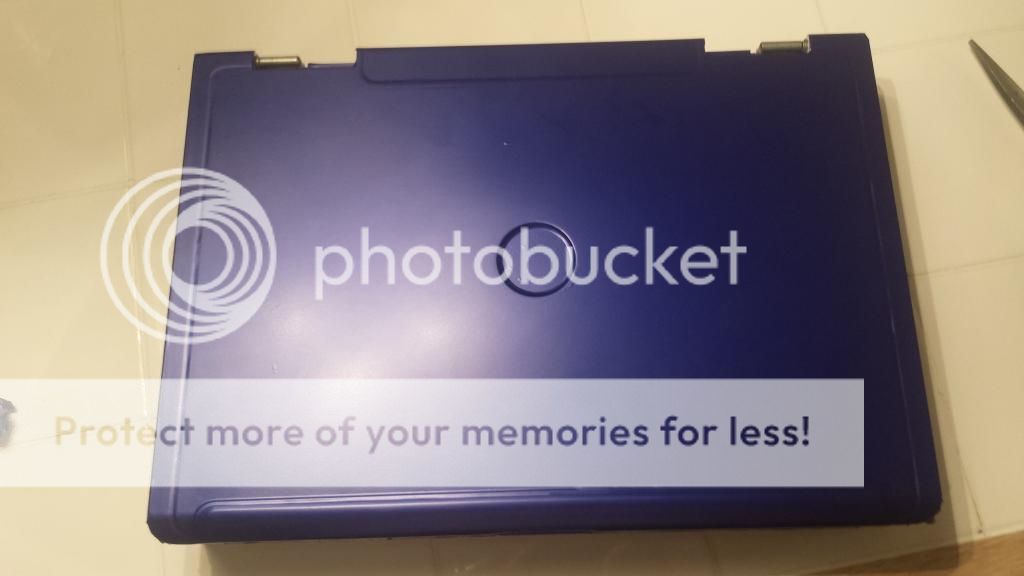
The next thing I had to choose was a top bezel to use. I quickly decided to use the top bezel from a Dell Inspiron 9300. The reasons for this were because it fits the screen I choose perfectly (mounts and all) and because of the hinges which were easily useable for this project. Pictured Below.
For the video controller board, I used a board provided by a sell on ebay named e-qstore. This board was specifically programmed to work with the screen I choose and it has a built in audio amplifier, therefore killing two birds with one stone. This board costs just under 40 USD. Combined with the screen, the total comes to just under 100 USD. Pictured Below.
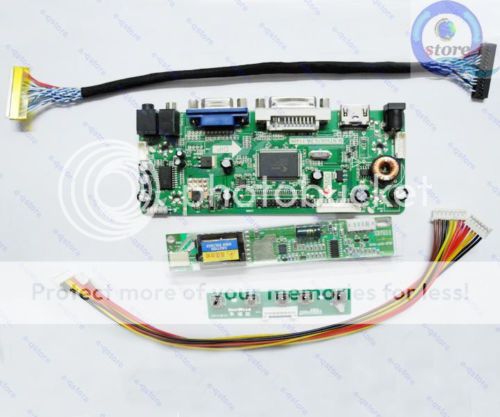
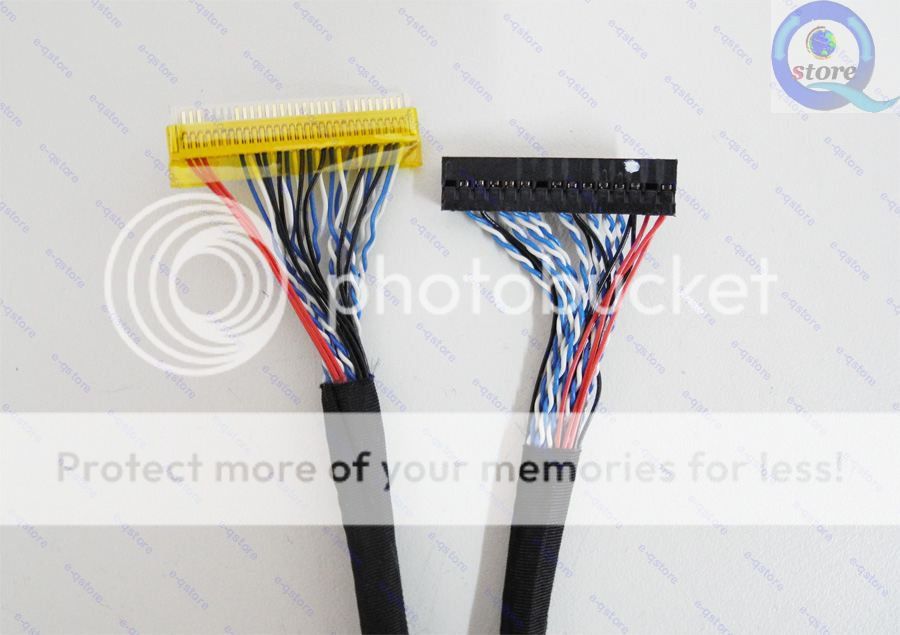
I also opted to buy a longer LVDS harness (15") for the sake of saving me some work extending the stock one which is only about 6" long.
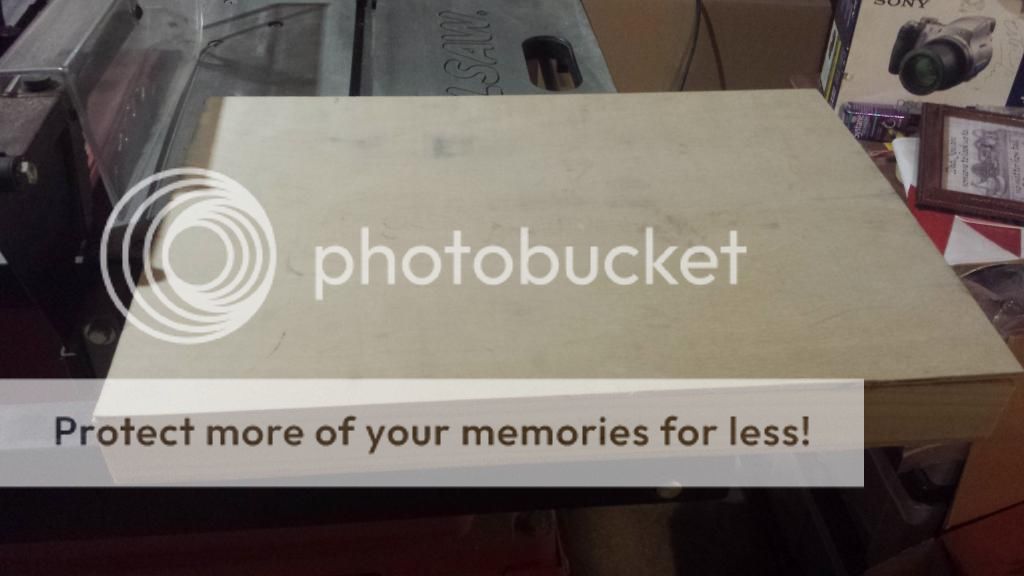
Now as for the bottom half of the case, I opted to make my own out of wooden panels. Pictured below are various pictures from the case construction phase.
The first mock up after cutting the panels to size.
Test fit with top Bezel.
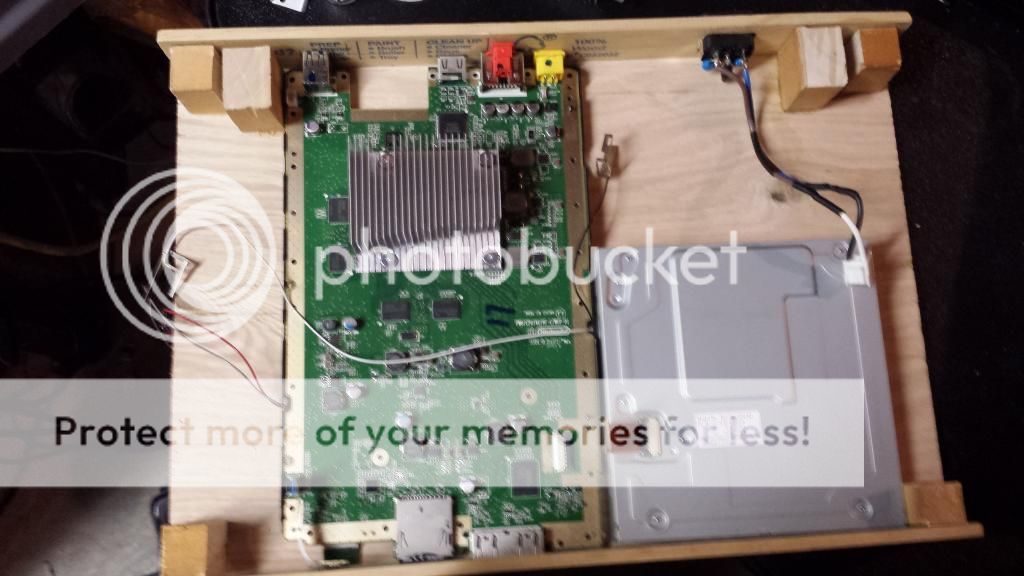
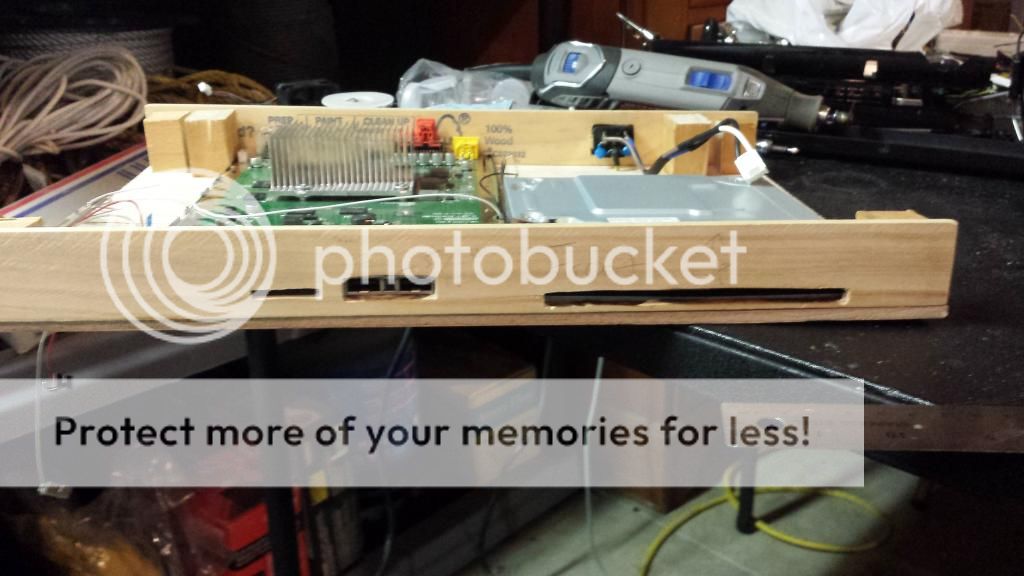
Test fitting with Wii U Motherboard and Optical Drive.
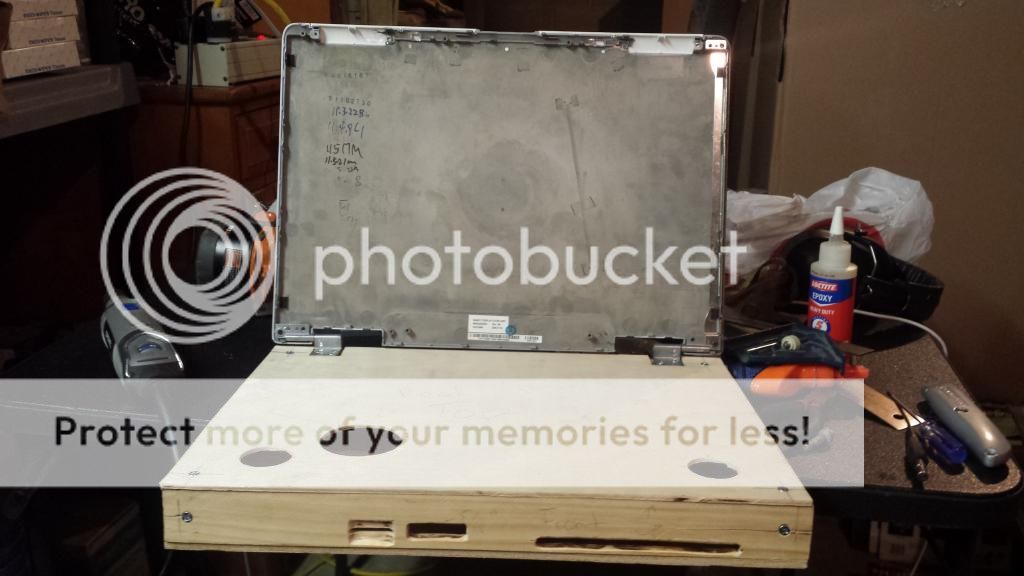
Accessory port and optical drive holes cut out.
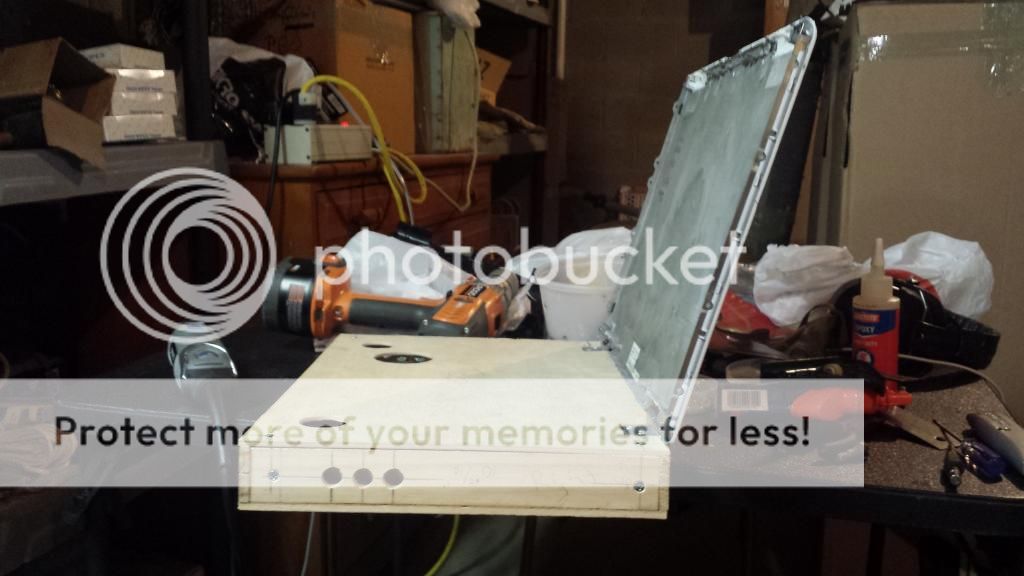
Exhaust and Speaker holes cut out. Screen bezel mounted on hinges.
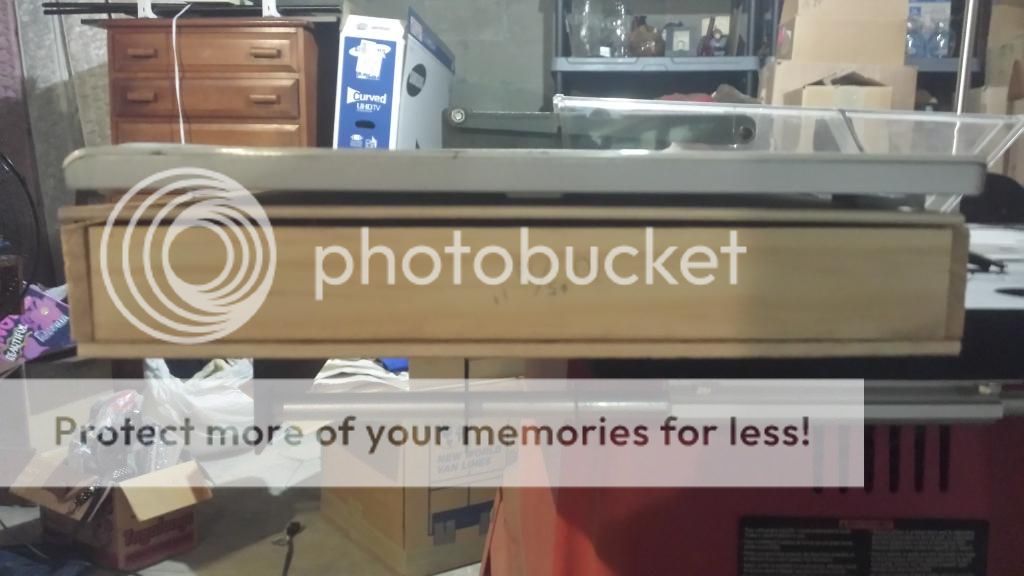
Side View.
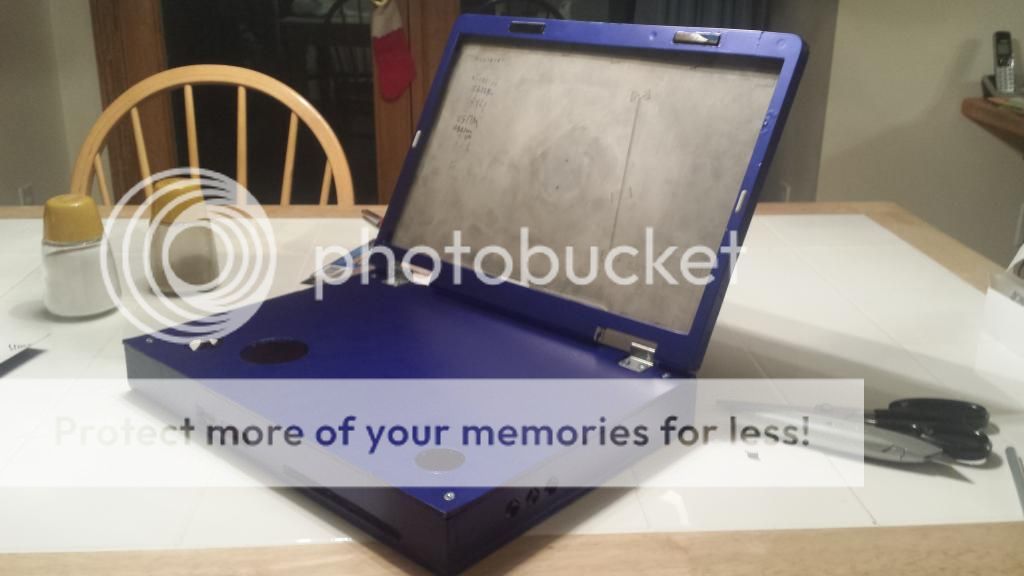
Vinyl Wrapped for final finish. Ready for components.
Closed.
Now that the case was essentially ready, all that was left for me to do was to wire all the components inside. By this point, I had already planned out the position of all the components and I essentially only had to finalize how I was going to connect everything. Originally, I was planning on using HDMI for my video interface. That idea fell flat due primarily to a lack of space within the case itself, but also due to my unwillingness to tamper too much with the Wii U Motherboard.
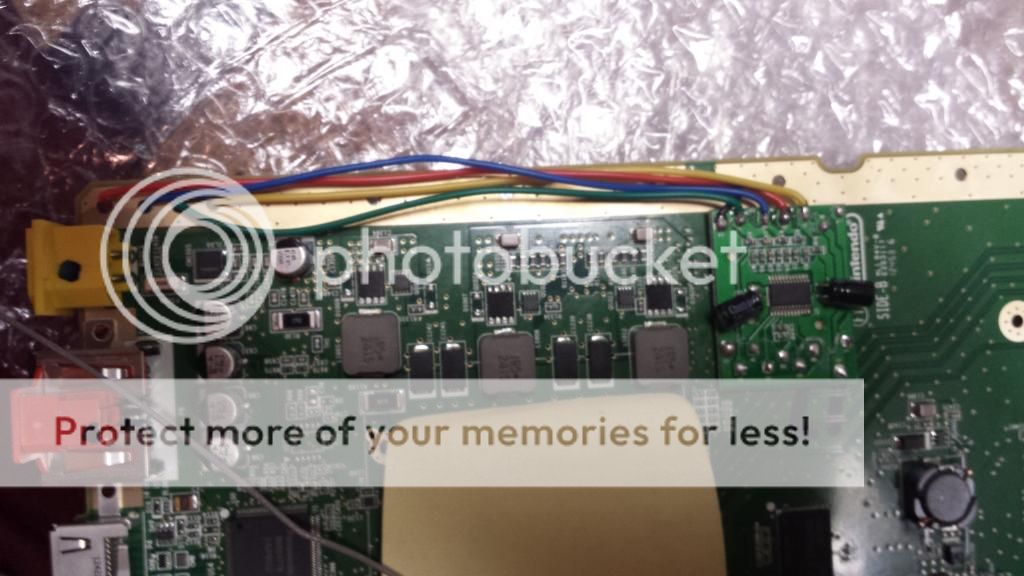
To resolve this, I opted to use VGA instead. In order to accomplish this, I purchased a VGA cable for the Wii and PS3/2 stripped it of its processing chip and wired it directly to the Wii U board as pictured below. In order to do so however, I first had to relocate the two capacitors to the top of the VGA board so that I could mount it flush to the Wii U board.
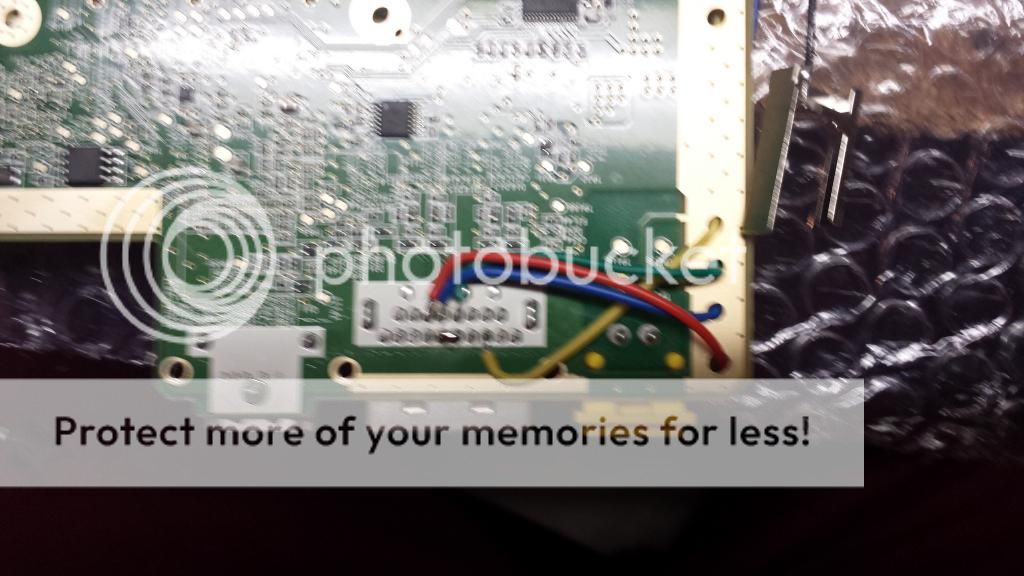
Here's a picture of the wiring from the other side of the board. The Colors are as follows Green = Y, Blue = Pb, Red = Pr, Yellow = 5 volts. I tried to keep the colors standard for easier identification later.
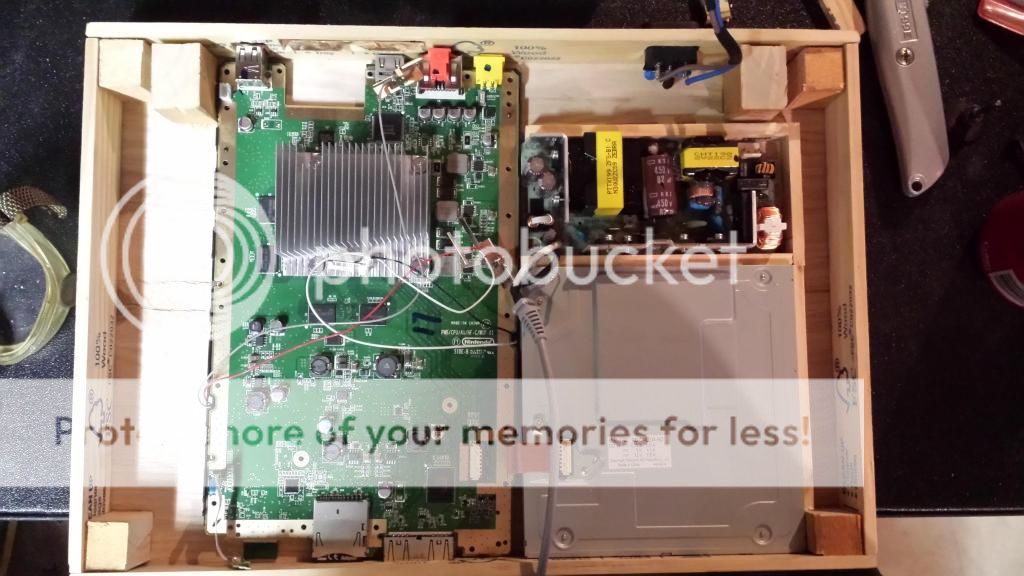
Now, I decided to internalize the regulator board so as to eliminate the giant power brick that comes with the Wii U. Here's a picture of it fitted below.
Unfortunately, I do not have any pictures of the last bit of wiring due to my phone breaking and my losing all of the data on it. I will try my best to explain the rest.
With the video being wired up the the Wii U board, I then had to wire it directly to Screen Controller Board using the standard VGA pinout.
Afterwards I wired the audio to the same controller board, as it had a built in amplifier, using the PC audio port on the board. Then I wired it directly to a 12 volt source on the Wii U Board.
Next I wired up the speakers and fan followed by the buttons for Power, Eject, Sync, Screen Controls and Volume Control. Doing so was rather simple as the Wii U itself uses standard tact switches as well as the controls for the screen. Then I mounted the buttons, wired u a head phone jack and secured all of the components.
Finally, I wired up the now internal power regulator and fired it up to test it before closing it up. This wasn't my first time powering it on while working on it as I did so on occasion to test to make sure that everything was still working.
All in all, it took me just under 2 weeks to complete. Below is a short video I made showing it off a bit, enjoy.
Parts:
Wii U (duh
A Screen (LTN170WU-L03)
Top Bezel from a Laptop (Dell Inspiron 9300)
Video Controller for the screen
Wood
The Wii U I used for this project is the Basic White 8GB Version pictured below.
I decided to use a 17" screen for this project. The one I decided on was the LTN170WU-L03 from a Dell Inspiron 9400 pictured below.
The reason why I choose this screen is primarily due to the fact that this is the same exact panel that Dell used in its XPS M1730. The refresh rate is perfect for gaming and the resolution is perfect as well. The price was also very affordable costing less 60USD new.
The next thing I had to choose was a top bezel to use. I quickly decided to use the top bezel from a Dell Inspiron 9300. The reasons for this were because it fits the screen I choose perfectly (mounts and all) and because of the hinges which were easily useable for this project. Pictured Below.
For the video controller board, I used a board provided by a sell on ebay named e-qstore. This board was specifically programmed to work with the screen I choose and it has a built in audio amplifier, therefore killing two birds with one stone. This board costs just under 40 USD. Combined with the screen, the total comes to just under 100 USD. Pictured Below.
I also opted to buy a longer LVDS harness (15") for the sake of saving me some work extending the stock one which is only about 6" long.
Now as for the bottom half of the case, I opted to make my own out of wooden panels. Pictured below are various pictures from the case construction phase.
The first mock up after cutting the panels to size.
Test fit with top Bezel.
Test fitting with Wii U Motherboard and Optical Drive.
Accessory port and optical drive holes cut out.
Exhaust and Speaker holes cut out. Screen bezel mounted on hinges.
Side View.
Vinyl Wrapped for final finish. Ready for components.
Closed.
Now that the case was essentially ready, all that was left for me to do was to wire all the components inside. By this point, I had already planned out the position of all the components and I essentially only had to finalize how I was going to connect everything. Originally, I was planning on using HDMI for my video interface. That idea fell flat due primarily to a lack of space within the case itself, but also due to my unwillingness to tamper too much with the Wii U Motherboard.
To resolve this, I opted to use VGA instead. In order to accomplish this, I purchased a VGA cable for the Wii and PS3/2 stripped it of its processing chip and wired it directly to the Wii U board as pictured below. In order to do so however, I first had to relocate the two capacitors to the top of the VGA board so that I could mount it flush to the Wii U board.
Here's a picture of the wiring from the other side of the board. The Colors are as follows Green = Y, Blue = Pb, Red = Pr, Yellow = 5 volts. I tried to keep the colors standard for easier identification later.
Now, I decided to internalize the regulator board so as to eliminate the giant power brick that comes with the Wii U. Here's a picture of it fitted below.
Unfortunately, I do not have any pictures of the last bit of wiring due to my phone breaking and my losing all of the data on it.
With the video being wired up the the Wii U board, I then had to wire it directly to Screen Controller Board using the standard VGA pinout.
Afterwards I wired the audio to the same controller board, as it had a built in amplifier, using the PC audio port on the board. Then I wired it directly to a 12 volt source on the Wii U Board.
Next I wired up the speakers and fan followed by the buttons for Power, Eject, Sync, Screen Controls and Volume Control. Doing so was rather simple as the Wii U itself uses standard tact switches as well as the controls for the screen. Then I mounted the buttons, wired u a head phone jack and secured all of the components.
Finally, I wired up the now internal power regulator and fired it up to test it before closing it up. This wasn't my first time powering it on while working on it as I did so on occasion to test to make sure that everything was still working.
All in all, it took me just under 2 weeks to complete. Below is a short video I made showing it off a bit, enjoy.