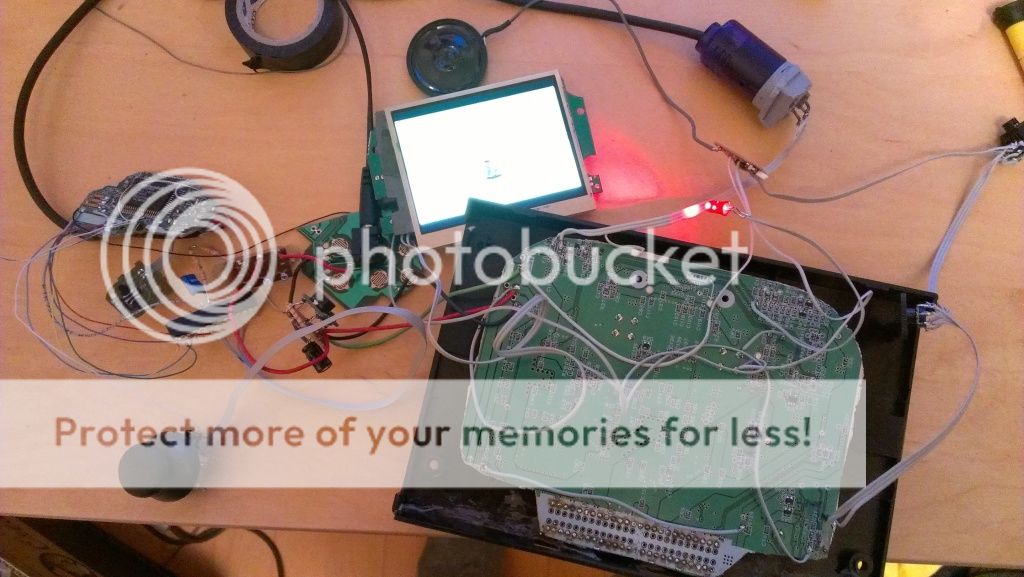
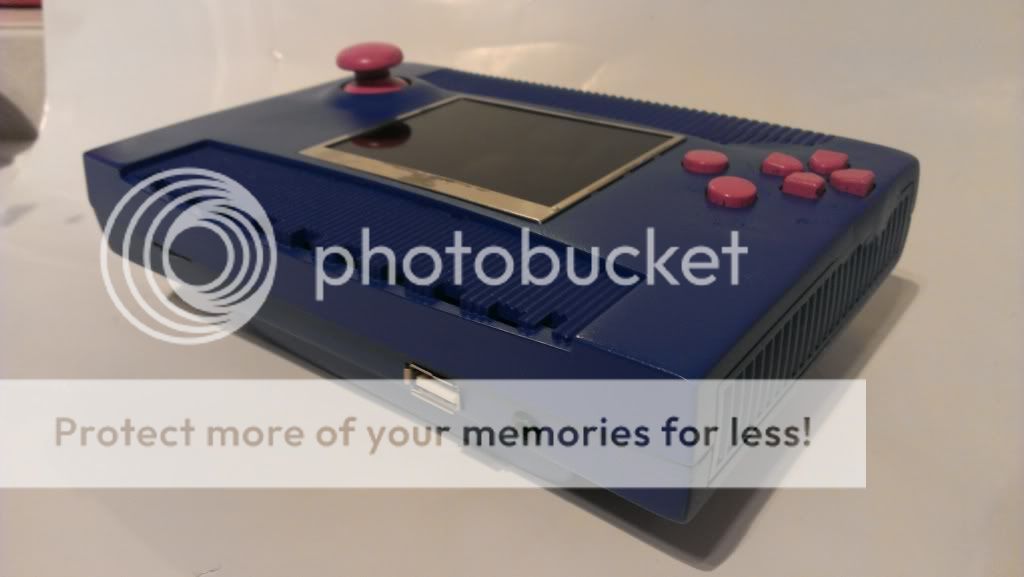
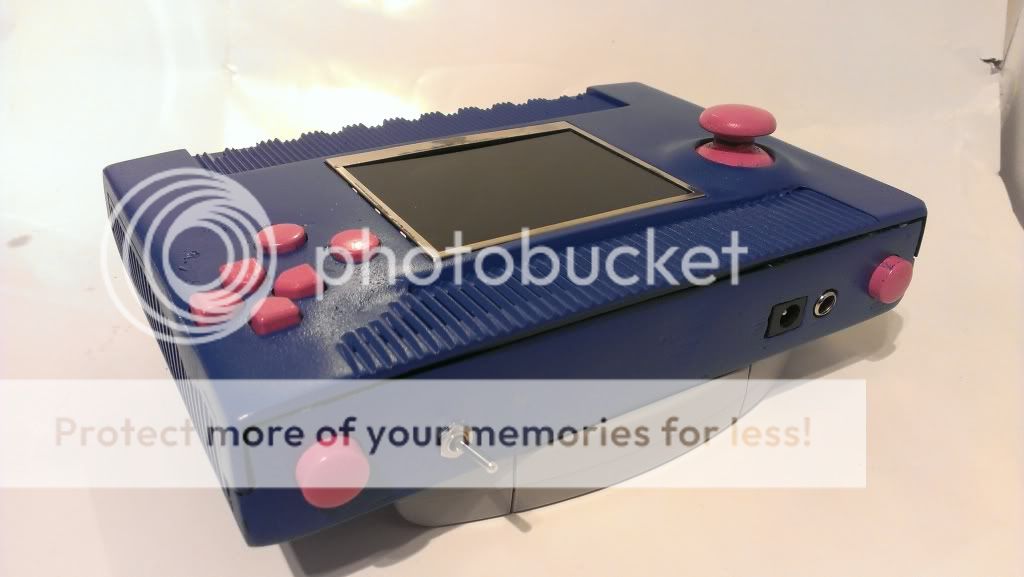
Second64

Re: Second64 worklog

Thanks guys! :awesome:

Here are some pics for ya

Connector sticking out
IMAG0236.jpg

With the sanded cover on
IMAG0237.jpg

All the wiring and stuff (sm64 is on the screen)
IMAG0239.jpg


I had to realign some wires to give the cartslot a good fit. I bent the cartslot pins first to one side only to realize that made it worse. So i bent them back and to the other side and a pin of the cartslot popped off. Luckily for me it was a ground wire going to the cart, so its still in working order :D

I started a new batch of abs cement since my old one had pieces of plastic that wasnt dissolving. Hope its ready by tomorrow because im waiting to cement the cover to the case
IMAG0240.jpg


I still have to order batteries and charger, paint it and align everything in the case ;)
 
Didn't realize it was this long since i posted :eek:
Work has been slow, stationary actually. The reason was laziness and not finding a proper place for my on/off switch. It was just so big, but my dad brought me a new one. It's not exactly like I wanted from the start, but it's atleast small and easy to mount.

I also bought batteries and a charger, abs'ed in shoulder buttons and bought piant (Montana Gold Shock Blue ;) ) and primer for that.

The case is pretty much finished sanding. It has lots of small holes but I aint gonna bother.
2013-02-17220223_zpsbdb13c7e.jpg

Controls
2013-02-17220311_zpsa9fad372.jpg


Left to do:
Holes for charger/wall power
Holes for sound controls and headphone jack
Paint
Wire controller
Mount everything
Fix upcoming problems
 
Did a little work in the end of my break :D
IMAG0505_zps4e62cc36.jpg


Left to do:
Wire up buttons for p1
Mount p1 controls
Wire up p2 and p3
Slap it together
Build charger
 
I just put the portable together and it is portable. Yay
IMAG0518_zps4ee1aa61.jpg

(Volume pot, p2/3 extender, switching headphone jack)
IMAG0519_zps117c981f.jpg

(on/off switch, wall adapter, charger. Setup with SS charge and play diagram)

However it's so tight that that the analog stick is pressed against the case, not giving it enough room to recenter and fastened a little tilting to the right. The hole doesn't give full range either. The start button is under the analog stick (Tack Albin). The buttons have a nice pink color but the paint is scraped off on quite a few places.

AT LEAST IT'S PORTABLE
IMAG0520_zpsa22859c3.jpg


Here's the last naked picture.
94c762d8-f915-4534-8946-d821806707f1_zpsa803de75.jpg


I want to fix the analog stick but how? It's securely fastened with hotglue...
 
I got the stick out of the tomb of hotglue and removed the nub. Then I resecured the analog stick but closer to the face of the portable.

Then I cut the nub so it fits ontop of the analog stick. It's a little high, have to fix that somehow.

By doing this i got two flies with in one, both made more room in my case and am now able to move the stick! :)
The innards of the analog stick is exposed, will this be a problem? Gotta try to cover it up for the looks.

It's fully playable now, I just tested the batteries and they lasted a suprising 110 minutes :D
But it is a little anoying when it just shuts down, guess my next portable will have a battery indicator :lol:
 
Good work!

I actually quite like the joystick, I think what would look rather cool, would be to find/ design some sort of rubber gaitor to go around it. Kind of like you would find on a gear stick. (Stick shift/ manual as those over the pond may know it?)
 
Thanks!
That's actually a great idea, I was thinking two pieces of hard paper that slide around (it's hard to explain). Your idea seems nicer, now that you mention it it does look like a gear stick :p
 
Back
Top