GCp Worklog - MiseriesChild's GameCube Proto Ver. 1

Well, it seems that I have missed the bandwagon by a few years when it comes to making portable console systems and such. Even though people have moved on to bigger and better things I decided to try my hand at a GameCube Portable I’ve named “GameCube Proto Ver. 1”.

Since this is my first portable project I decided to keep it really simple so no trimming of the Motherboard, OEM power regulator along with finding as many inventive ways as possible to reuse OEM parts. I have a TON of physical games I want to play sitting on my entertainment center, (and due to the fact I haven’t been able to find a good place to buy a DD Replacement) I figured I would keep the original DD in the machine.

My motivation, (other than just the love of puzzles, electronics and makings things small) is the fact that as a musician with a fulltime job and a husband/father so I don’t have a lot of time to just sit and enjoy games anymore. When I am home and want to play I don’t want to be stuck in my music studio, (where I have all my gaming systems stashed) and stay locked away from my family. With a good portable/semi-portable I can at least be with my family, (while my son watches cartoons or my wife watches soaps) play a few games and any help needed from me is just a Pause Button away.

Thus the real reason why I am keeping as much OEM as possible, so it’s not so time consuming to build my first basic portable/semi-portable. I already have plans and some parts for a second GCp, something to take more time/liberties with, (Mother Board trimming, custom power regulators, possible DD replacement if I can find one, etc.) and make it smaller. After that the sky is the limit!!

Sorry, I’ve went on a lot longer that I intended but I do want to say thanks to everyone here on the ModRetro forums along with the all the great posts from GC-Forever, BitBuilt, BenHeck and all the other great forums out there, (along with Google for getting me to the right places, lol).

It's not going to be the most beautiful thing but so far I haven't fried anything so that's a plus. Any suggestions anyone has feel free to let me know!! :)
 
So I guess since I started this back on June 15th I will have to post quite a few "along the way" pictures... hopefully that's ok to do. I can say that I've been having a blast doing this project and so far I totally agree with Ashen on one point... case work is a pain, lol!!

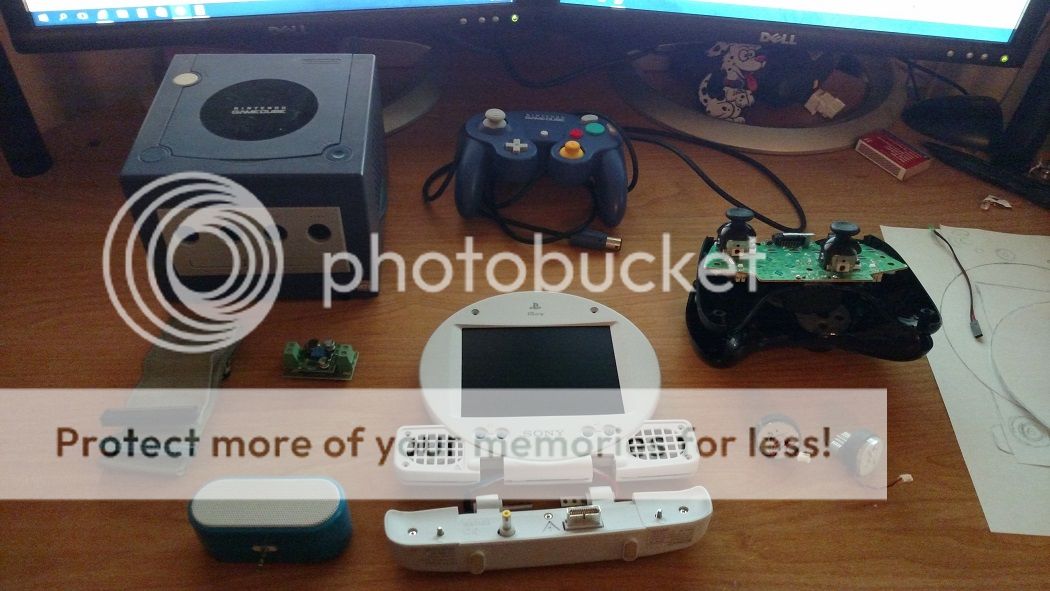
And so it starts... getting all the pieces in place. I know a lot of you don't care for the PSOne Screen and after getting some nicer one's off eBay for other projects I can see why. Too bad I didn't find that out until later, lol!! I plan on making a much smaller GameCube Proto, (Maybe a "ProtoCube") using some nicer parts though so I figured this would be a good starting point. :)


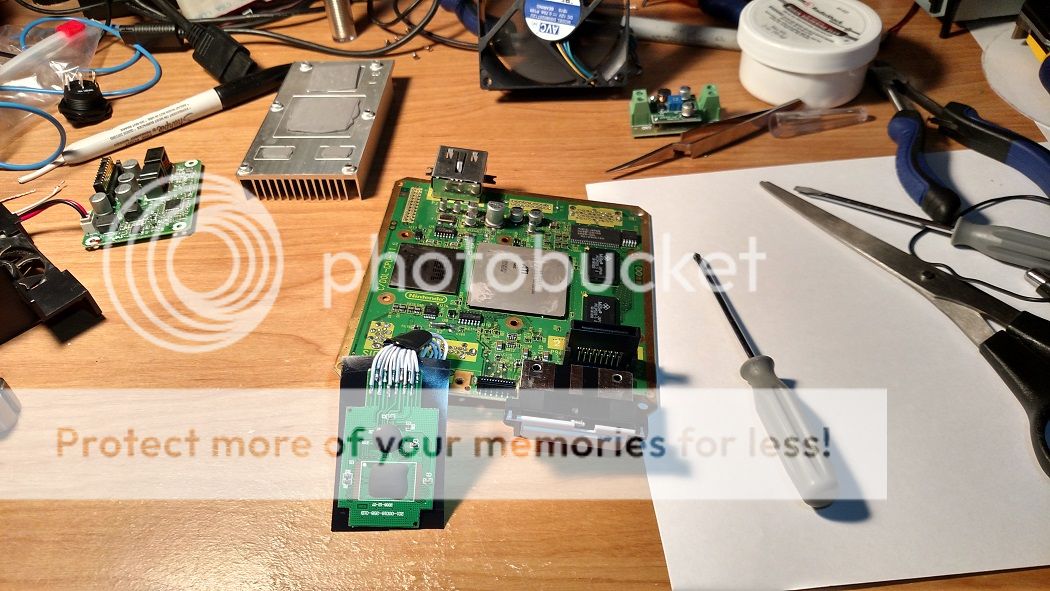
Everything taken apart, removed some useless ports, (although I'm still thinking of adding a GBA Player since I have a big case... you'll see later ;)) and installing the built in memory card. :D


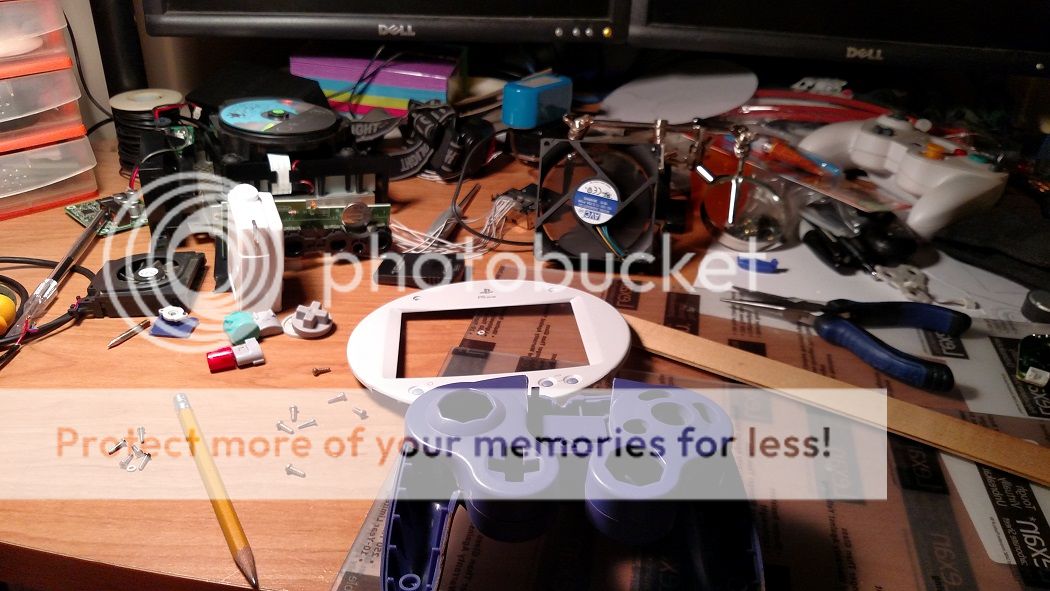
Starting to cut up the plastic parts and getting them ready to meld them together into one unit!!


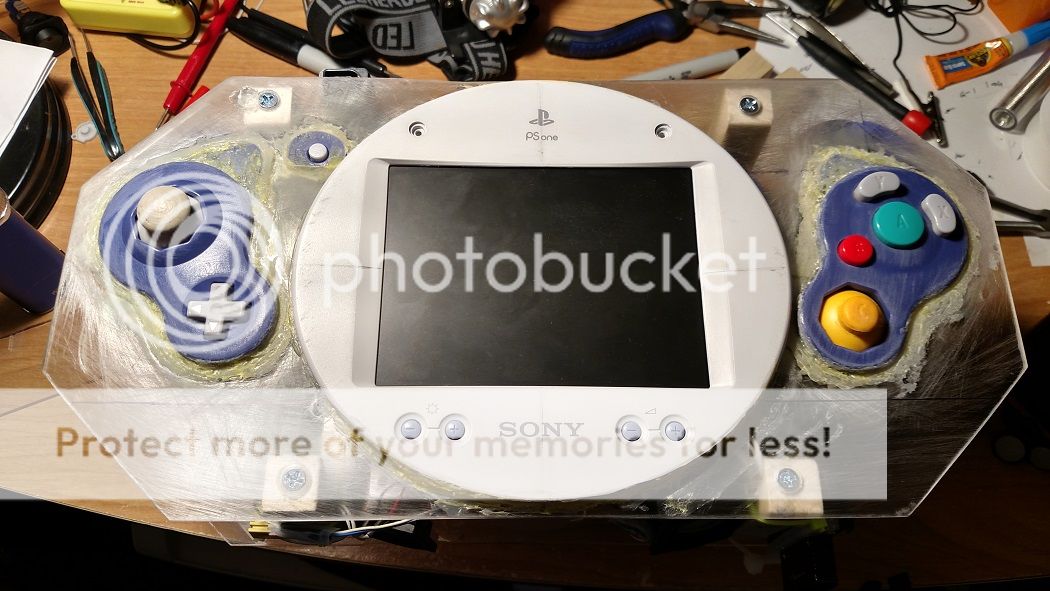
And the first look at the face of the beast!! I actually didn't mean to place the start button on the left hand side but figured I would just roll with it, (didn't realize I was cutting upside down). It's not too bad and I can always move it before paint if it gets annoying.


I have more pictures that I will post in a bit to get my post up to speed. :D
 
Here I have all the controls epoxied into place and I started trying to wrangle all the wiring into a nicer looking and as short as possible path. I added some more structure to the later that I still need to take a picture of but this is where it began. :)


Scary enough I bought two original OEM Nintendo controllers off eBay for like $30 and the "C" stick on one didn't work, (to which the seller gave me $10 back for). When I opened the controller up where you see the board split in half was actually, well... where it cracked in half making the "C" stick not work. Lucky "Break", (sorry, pun totally intended) for me... made my job a lot more simple.
A special shout out to the portable God that is Ashen for the awesome pinout locations to get this puppy wired up correctly, tedious but a lot of fun personally!!


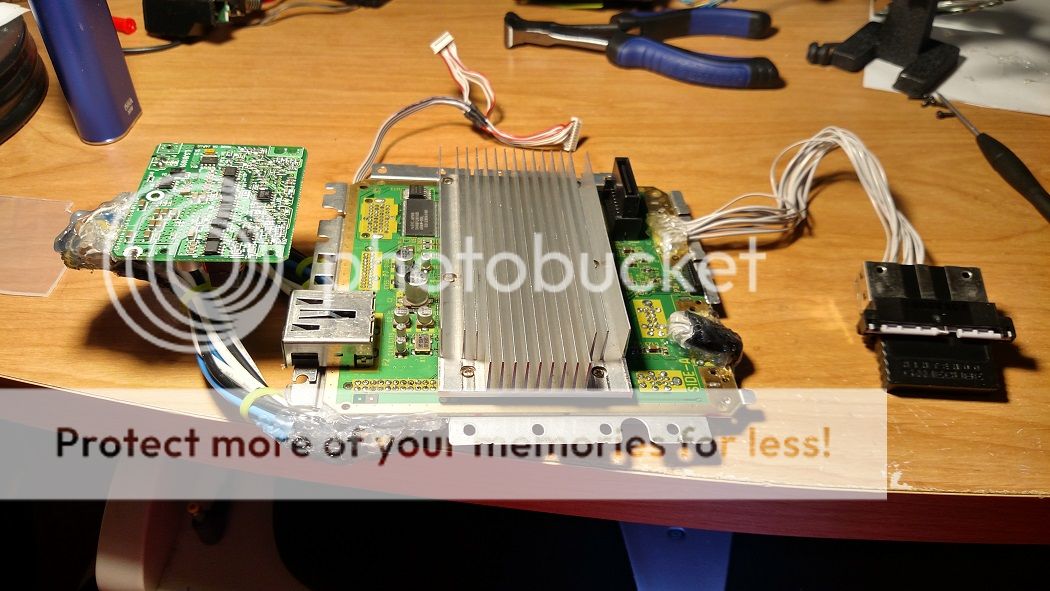
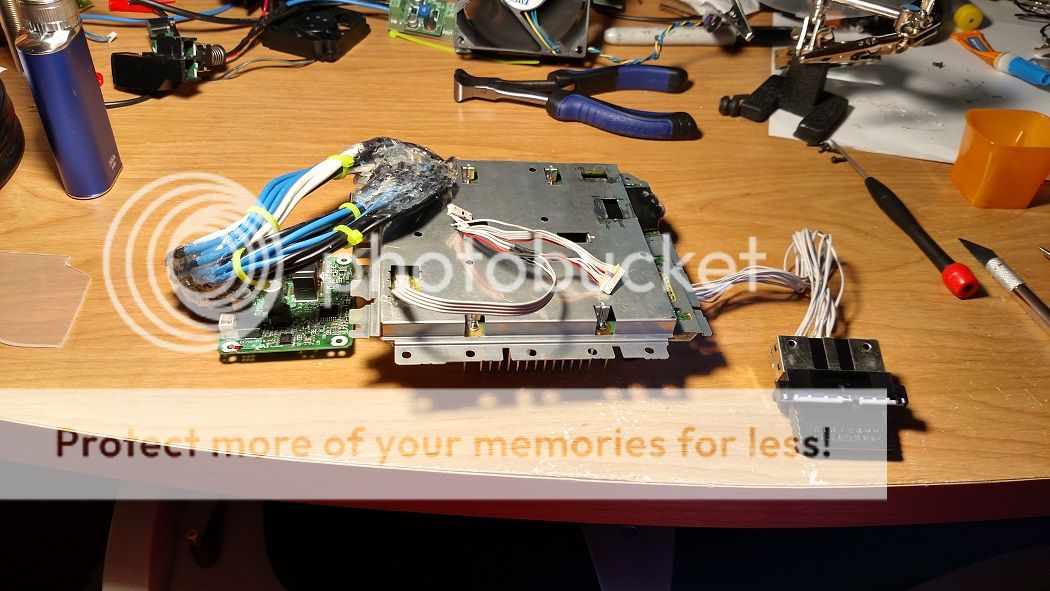
Sticking with the theme of simple for my first project I went with the OEM power regulator and a TON of wiring, (one 18AWG for each connection... I know, over kill but just to be safe) and using the OEM shielding. I plan on trying my hand at Zenloc's Custom Power regulators once I've got a good list of the best parts to order. If anyone has a list already and don't mind sharing I would be grateful, there are a couple of variations on which regs to use but not sure of what tested out to be the best and most efficient.
A special shout to Kasar and everyone that helped write his Portable GameCube Guide!!


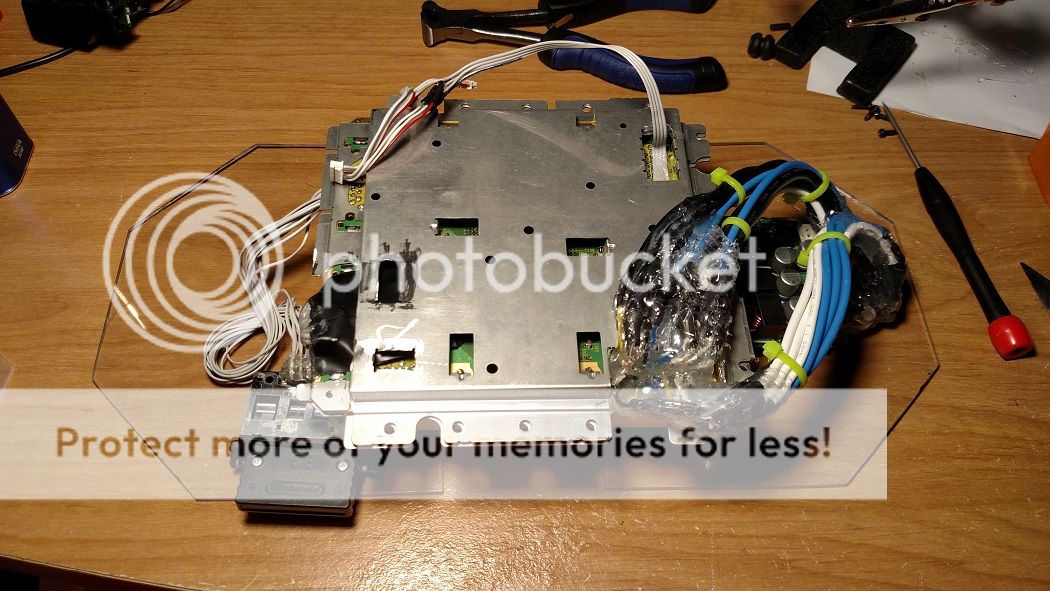
Finally starting to put all the pieces into the Lexan acrylic "Made by Hand" case. Everything went pretty smoothly getting everything to fit into place, it was working with and cutting the acrylic that SUCKED!! I knew it was going to be big with using OEM parts and the OEM fan so I decided a custom case would work best. It has been an interesting experience let me tell ya... the dust get EVERYWHERE. Note: Eye protection and a dust mask were a must for this. :)


That's all for now but one more post with pictures should bring it up to speed and show how everything has worked out so far. There have been many redesigns on the case over the time I've been building it due to one thing or another but I think I have the final "look" down. Hopefully it will come out as nice as it is in my head... if not, at least it is comfortable, albeit a bit heavy, to play!! :)
 
Ok, here is the last post to bring everything up to speed as it sits today. :)

The "Alpha" Stage:
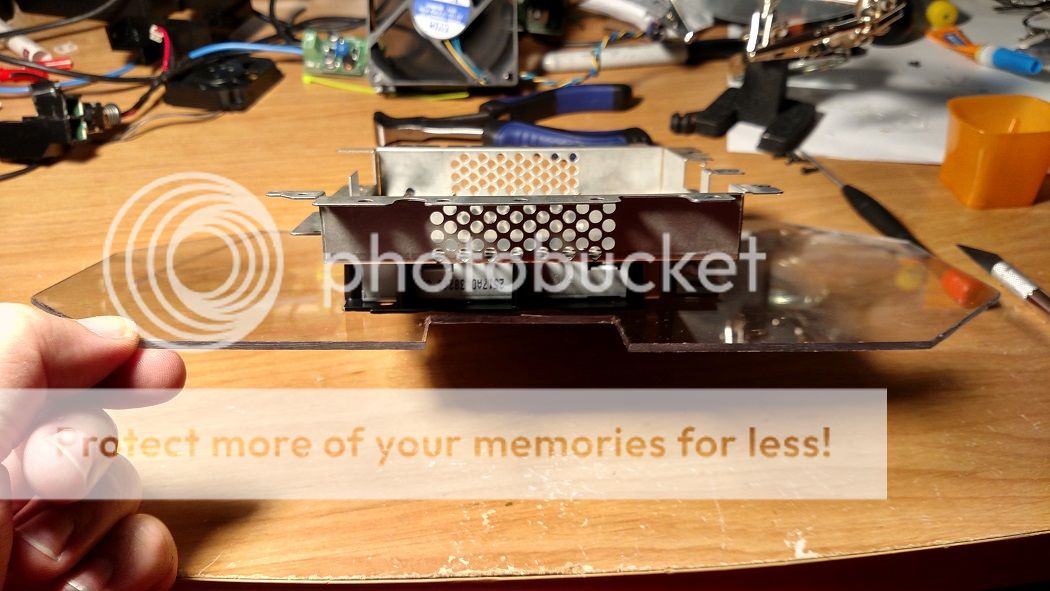
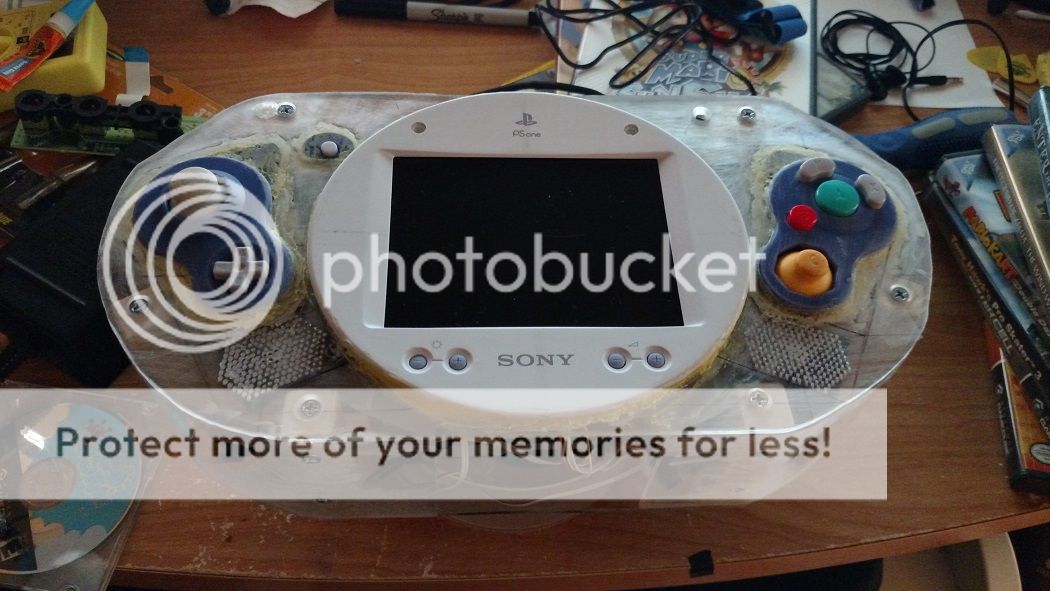
Ok, so the original plan had everything planned to be set into the case 180 degrees from how it ended up. This is so that the disc drive would fit under the "disc" sized PSOne screen but it just didn't work out that way. It was originally set to be totally squared off but I ditched that for the 45 degree angles and eventually completely rounded, (last two pics).

Like I said, a lot of changes went on as I worked around the OEM parts I used. Almost everything on this is modular and designed to come apart if repairs are needed and that was what made it so tricky. If something were to fail I could open it up, connect a standard controller and AV hookup to it to backup memory card data or just play it. This is the reason that it has all the extra wiring hanging out of it on the sides, testing and tweaking to make sure it is comfortable and working properly. :)

Anyway, the case is made from an .093in thick acrylic sheet with wooden supports and a lot of blood, sweat and tears. I plan on covering all the holes that aren't used to open the case with filler, sanding it down and painting it smooth. Just extra support to make the case more ridged. Please don't be too harsh, it is my first portable after all, lol!! :D

Top:


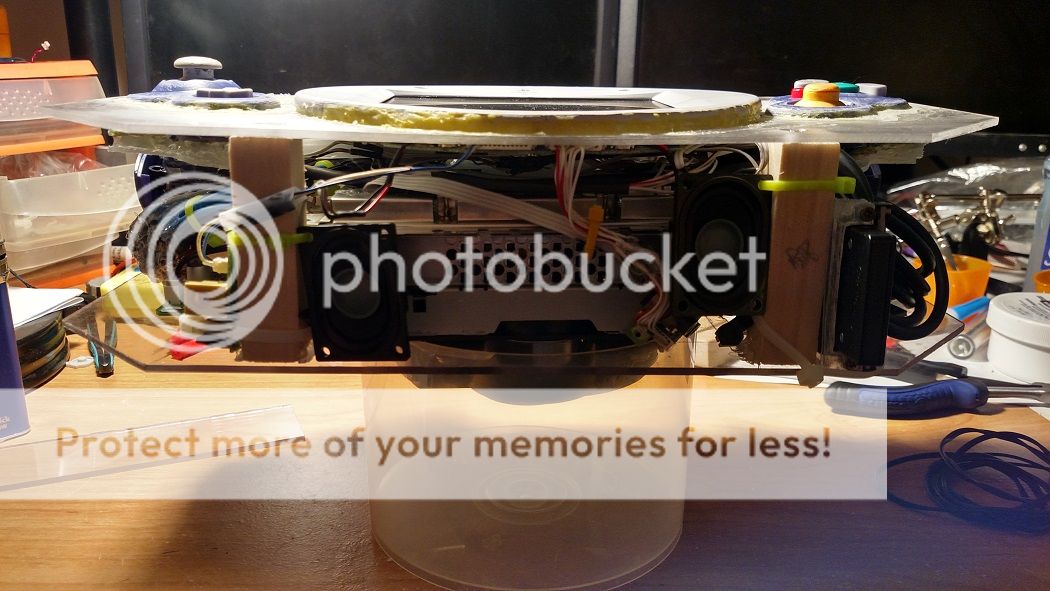
Bottom Edge: (Air Intake)


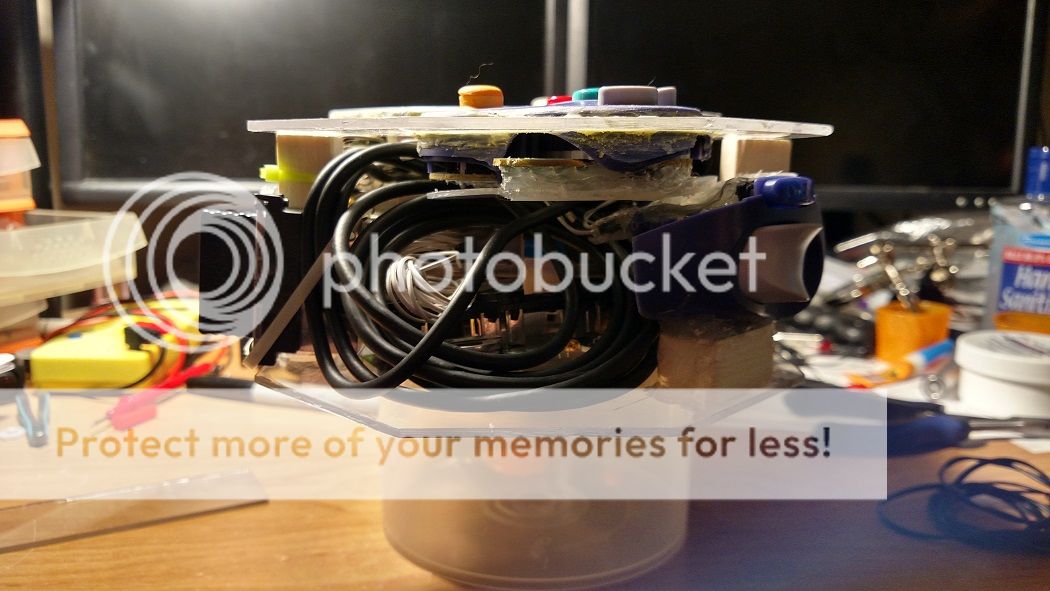
Left Side Edge:


Top Edge: (Air Exhaust w/ OEM Fan)


Right Side Edge:


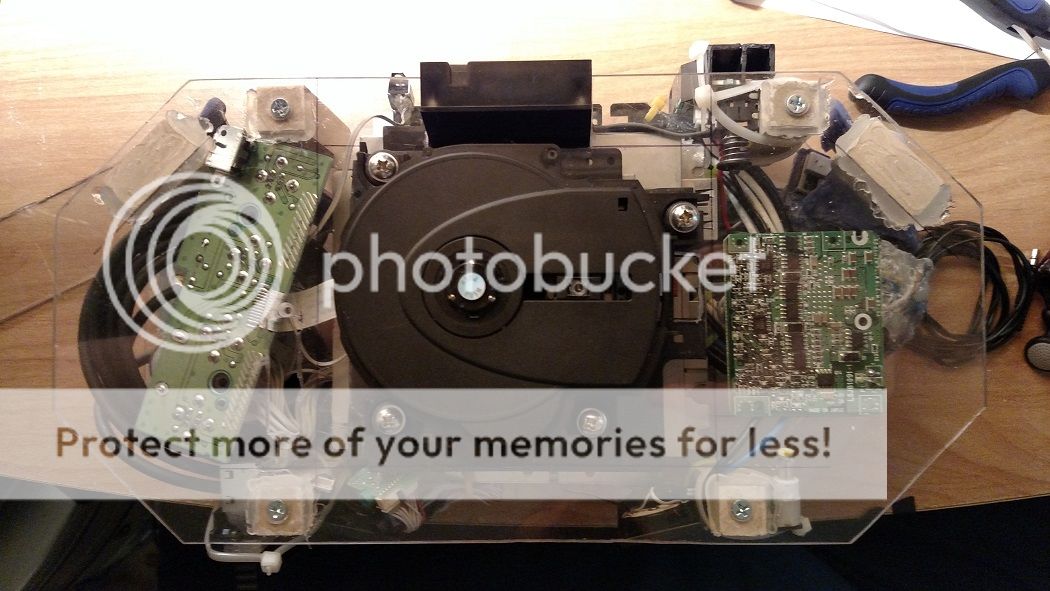
Back:

__________________________________________________________________________

Beta Stage:

Here are the last two pics that will bring the project to it's current state. Here I have finalized most of the wiring, curved the sides and used my heat gun to shape the sides. Now is time to finalize switch positions, finish the Top and Bottom edges for air venting, sand/patch holes, finish the disc drive cover, smooth out the bumps and burses and paint it up!! :D

The one thing that I'm trying to figure out is the best way to have the case open up to get to the inside. I could leave the screws on the top face exposed so only the top comes off but I'm leaning toward physically cutting the case in half, sealing all the screws and making it "Clam Shell" open with screws holding it together on the sides. I think that the second option would give it a cleaner look and an easier way to work on anything if something breaks. :)

Current Status as of 09/2016:


Let me know what you guys think or if there are any ideas so far. I'm open to suggestions on anything and constructive criticism. :)
 
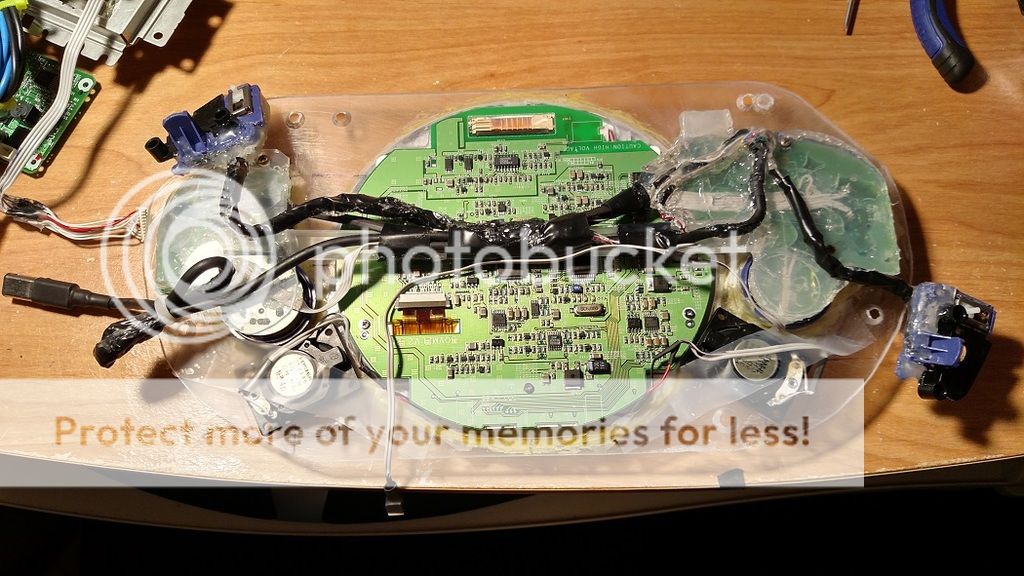
Got the controller wiring managed a bit better, here is a pic of the back of the top.
2016-10-04%2019.20.18_zpsphiykand.jpg


Since I plugged the better screen into the external A/V out and played with both side by side I think I'm going to take this PSOne screen out and swap it for the cheaper, better one looking eBay screen. I hate it since it will be a lot more case work but... I just looks soooo much better!! Save this PSOne screen for my PSOne portable that I have on the list to do. :)

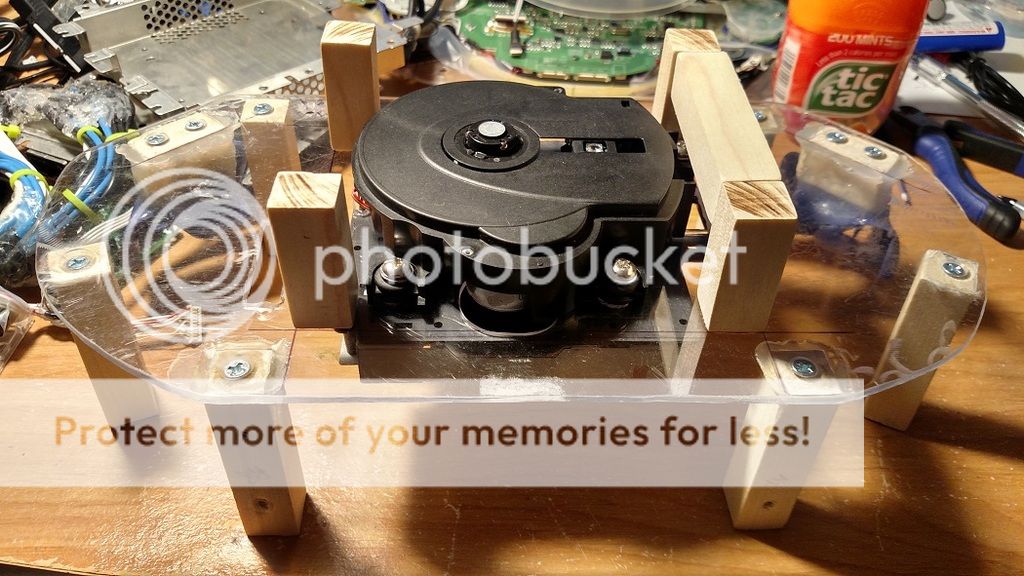
Also, been building the disc drive cover. Got the supports done but waiting on the Lexan to get here to finish it up. Doesn't look like much but should come out looking ok if it turns out like it looks in my head... only time will tell, lol!!
2016-10-04%2019.19.05_zpsvy88cfsp.jpg


If anyone has any opinions on swapping out the PSOne screen for the one from eBay let me know. I just think it might be better suited for a PSOne portable since the resolution matches... and I won't be playing the PSOne as much. :)
 
I used a tft screen and I love it :D. Keep in mind though that you will need to hook up separate audio. I strongly recommend getting a portable speaker that is stereo and has a built in volume control. I found that the volume control is difficult to hook up separately. Also, if the audio amp isn't stereo, you won't be able to hook up a headphone jack.

My portable doesn't have a jack because I got frustrated with it :p. The one with the volume control I ordered was mono even though it said "stereo" so they wouldn't work. And the stereo one I ordered didn't have v control :p. Gave up on my headphone jack.
 
Nice!! Yeah, I actually sucked it up this weekend and "ripped" the PSOne screen out and worked on replacing it with a 5 inch TFT that I got off eBay awhile back. I have everything mounted and epoxied into spot so just got to wire it all up to make it concreate. I ended up making the decision after hooking them up side by side, playing a couple different games and it was a no brainer, lol!! :mrgreen:

I hear ya on the audio, that was one of the down sides to losing the PSOne screen. I have some portable audio stereo amps from Amazon, (Mini 2 x 3W 4ohm PAM8803 Class D Audio Power Amplifier Board 3W+3W) along with stereo 3.5mm headphone jacks from eBay to wire up but am missing the speakers, (still waiting on those from China). In the meantime I found a really nice portable speaker setup on Amazon for like $10 that sounds awesome, (and has separate volume controls :)) so I have ripped it apart and am working on mounting it now.

If you need any links to what I picked up or to the wiring for the stereo headphone jacks let me know. I haven't had time so sit down and wire one up yet but I will be here soon. I've found a semi-decent wiring diagram for the jack and once I work out all the bugs I will be making a one of my own that I don't mind sharing. :)
 
No thanks :) as you can see from my profile pic, my gcp is finished so I don't need links anymore. I would do a stereo sound check on the speakers before hooking them up, just to be sure. It took me a while to figure out why my jacks weren't working :p
 
Back
Top