Downing's CPU/Retro-Gaming Desk

Downing

Well-Known Member
Hey guys,

This is something I've been working on for a couple months now as I've had time. Been busy with lots of real life work related time constraints but things should be cooling down enough so I can get back to work on it.

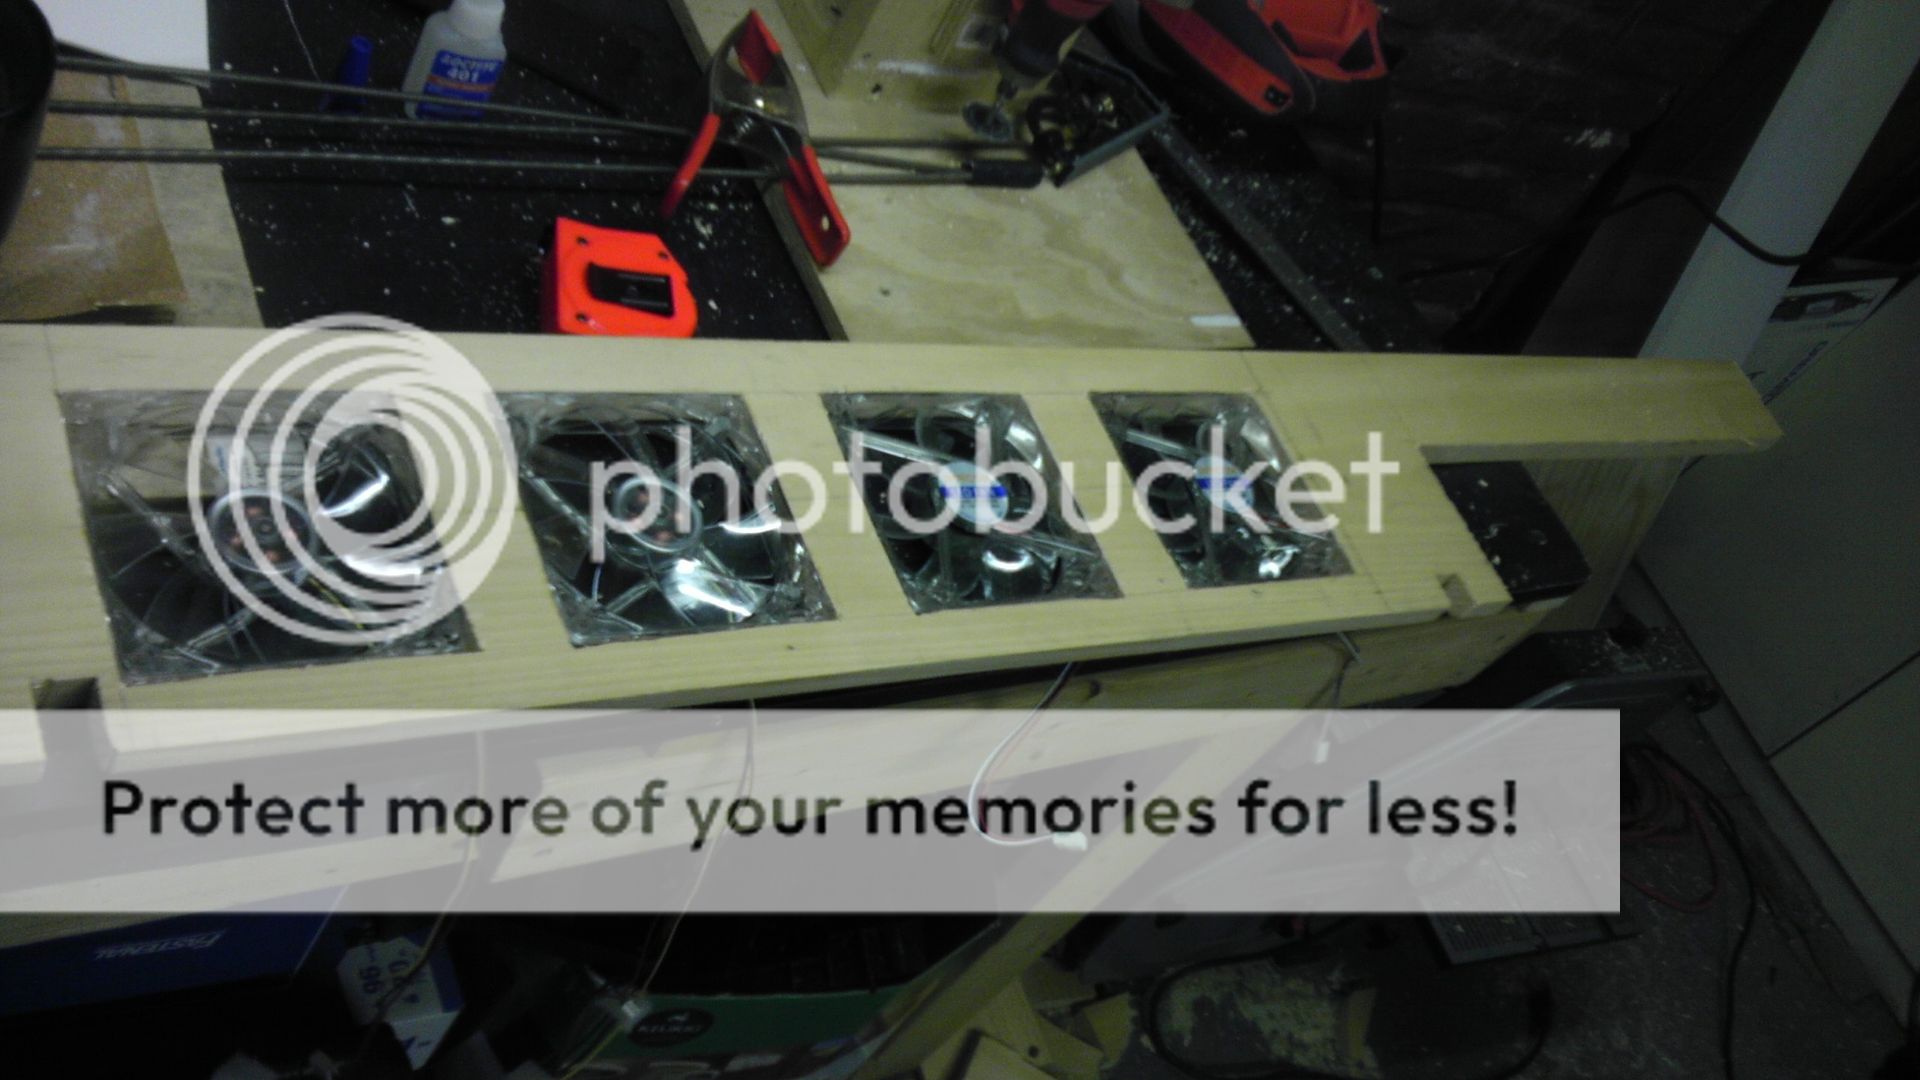
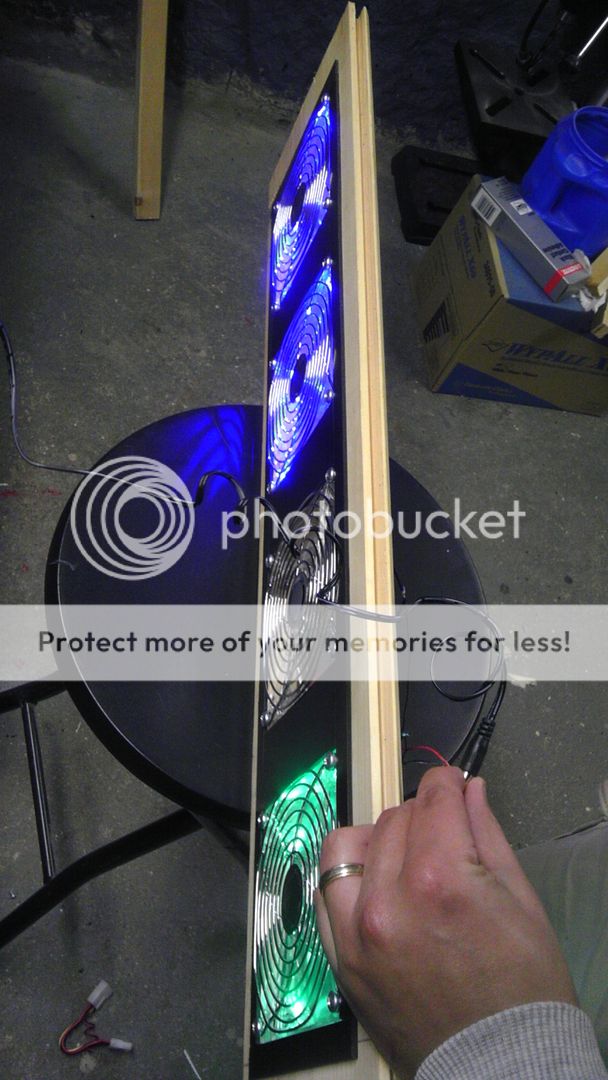
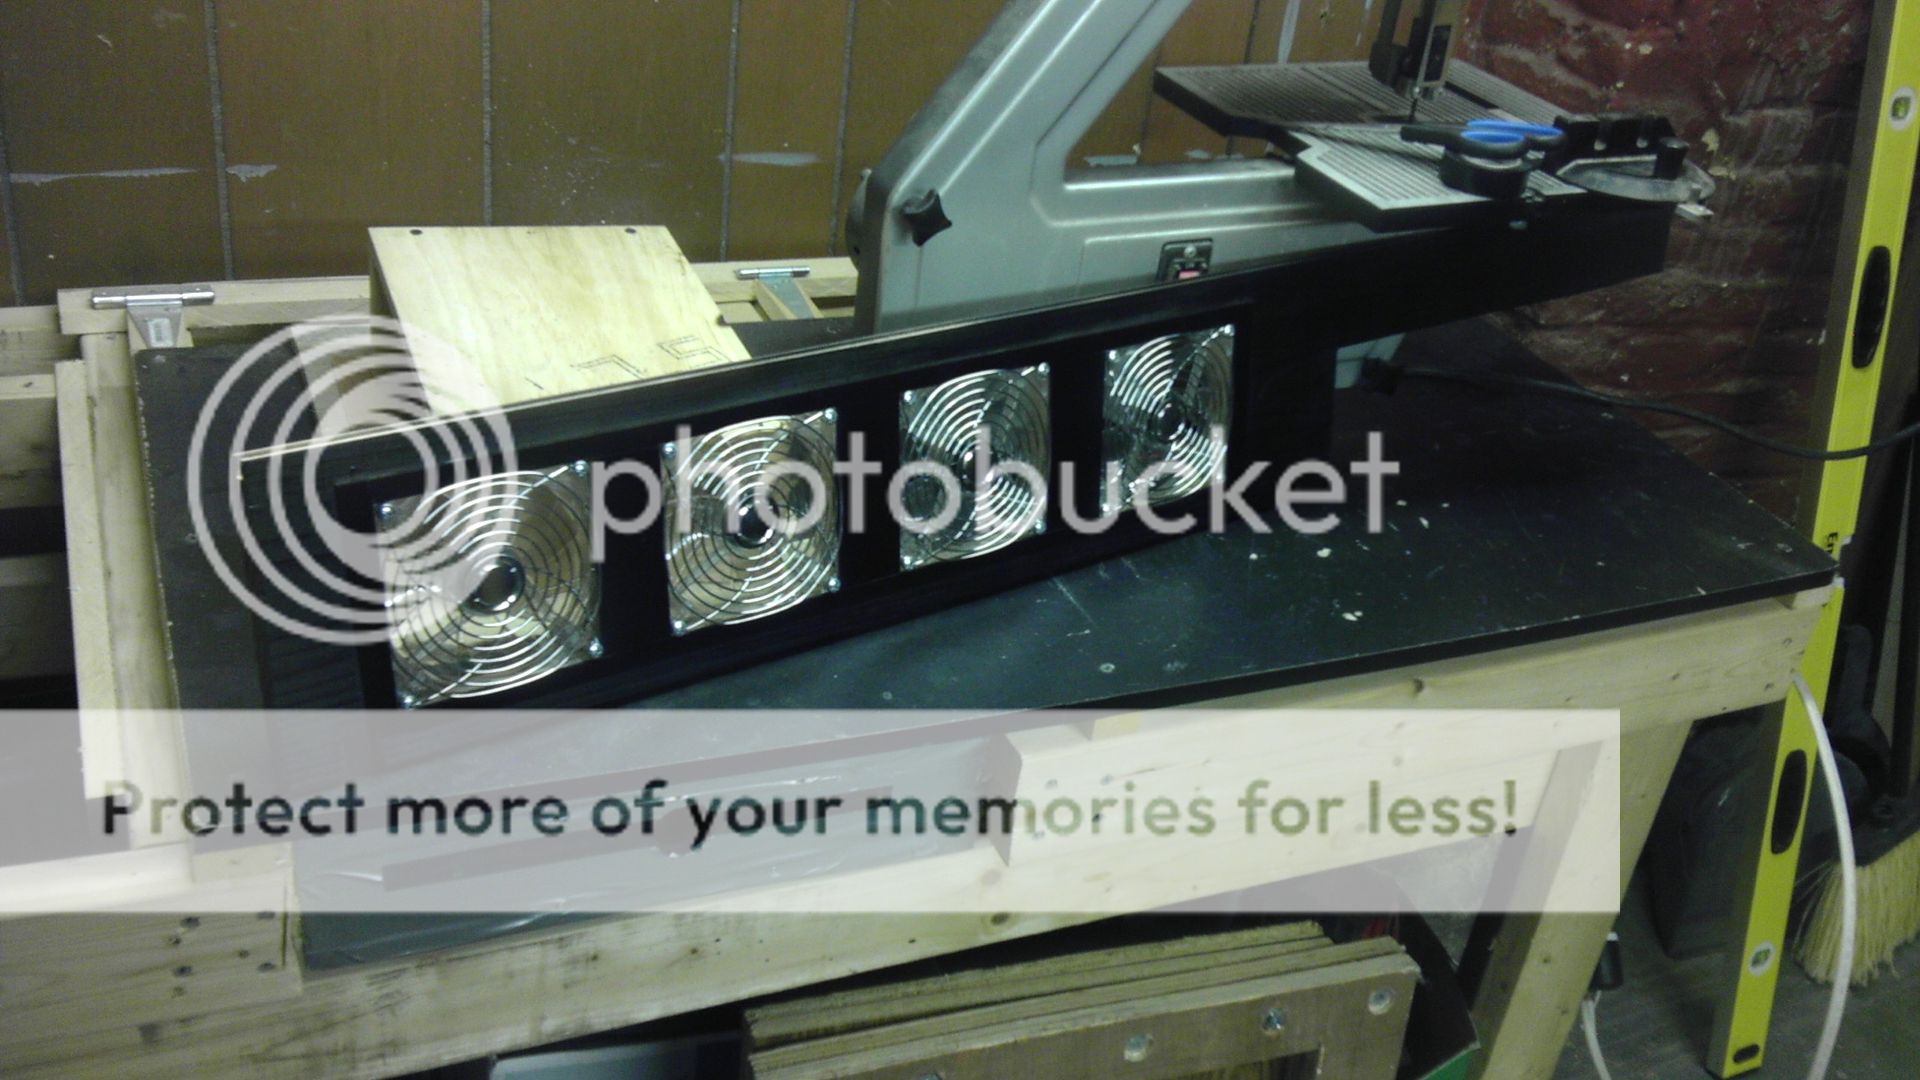
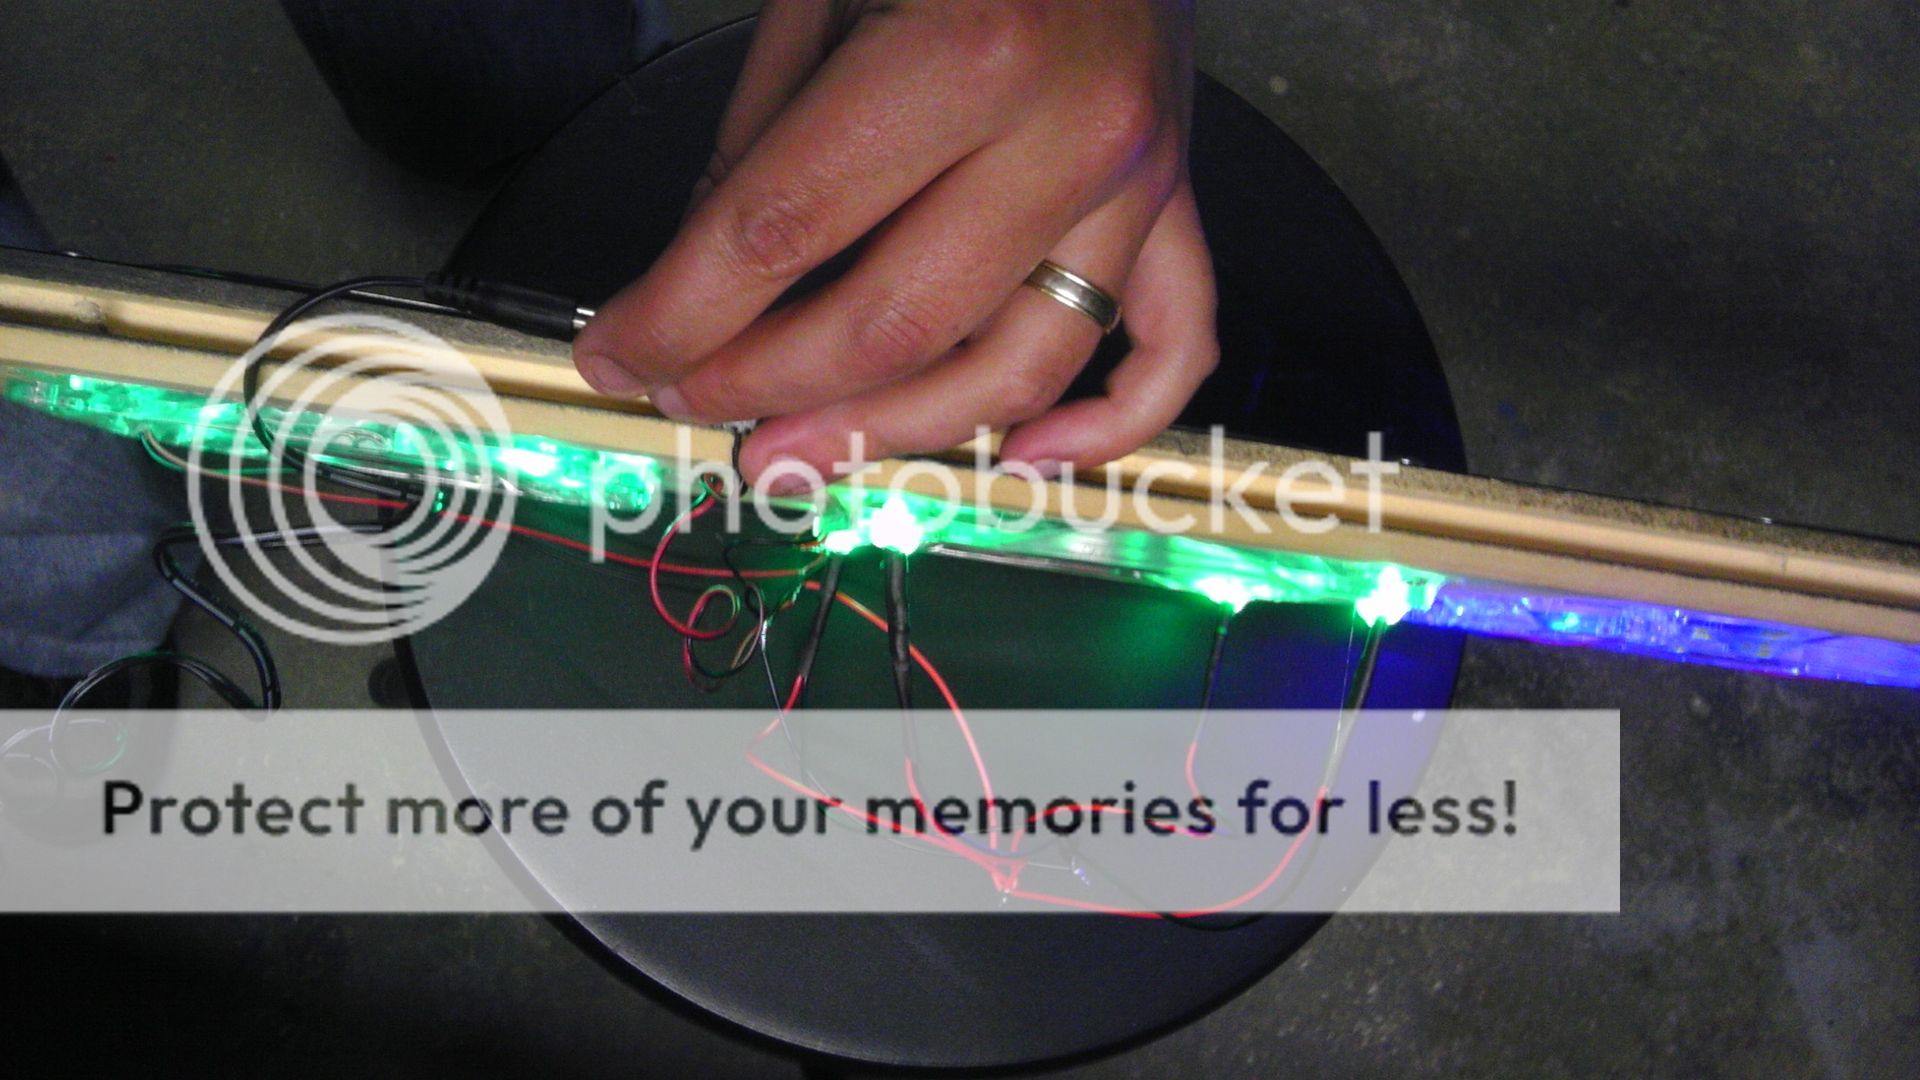
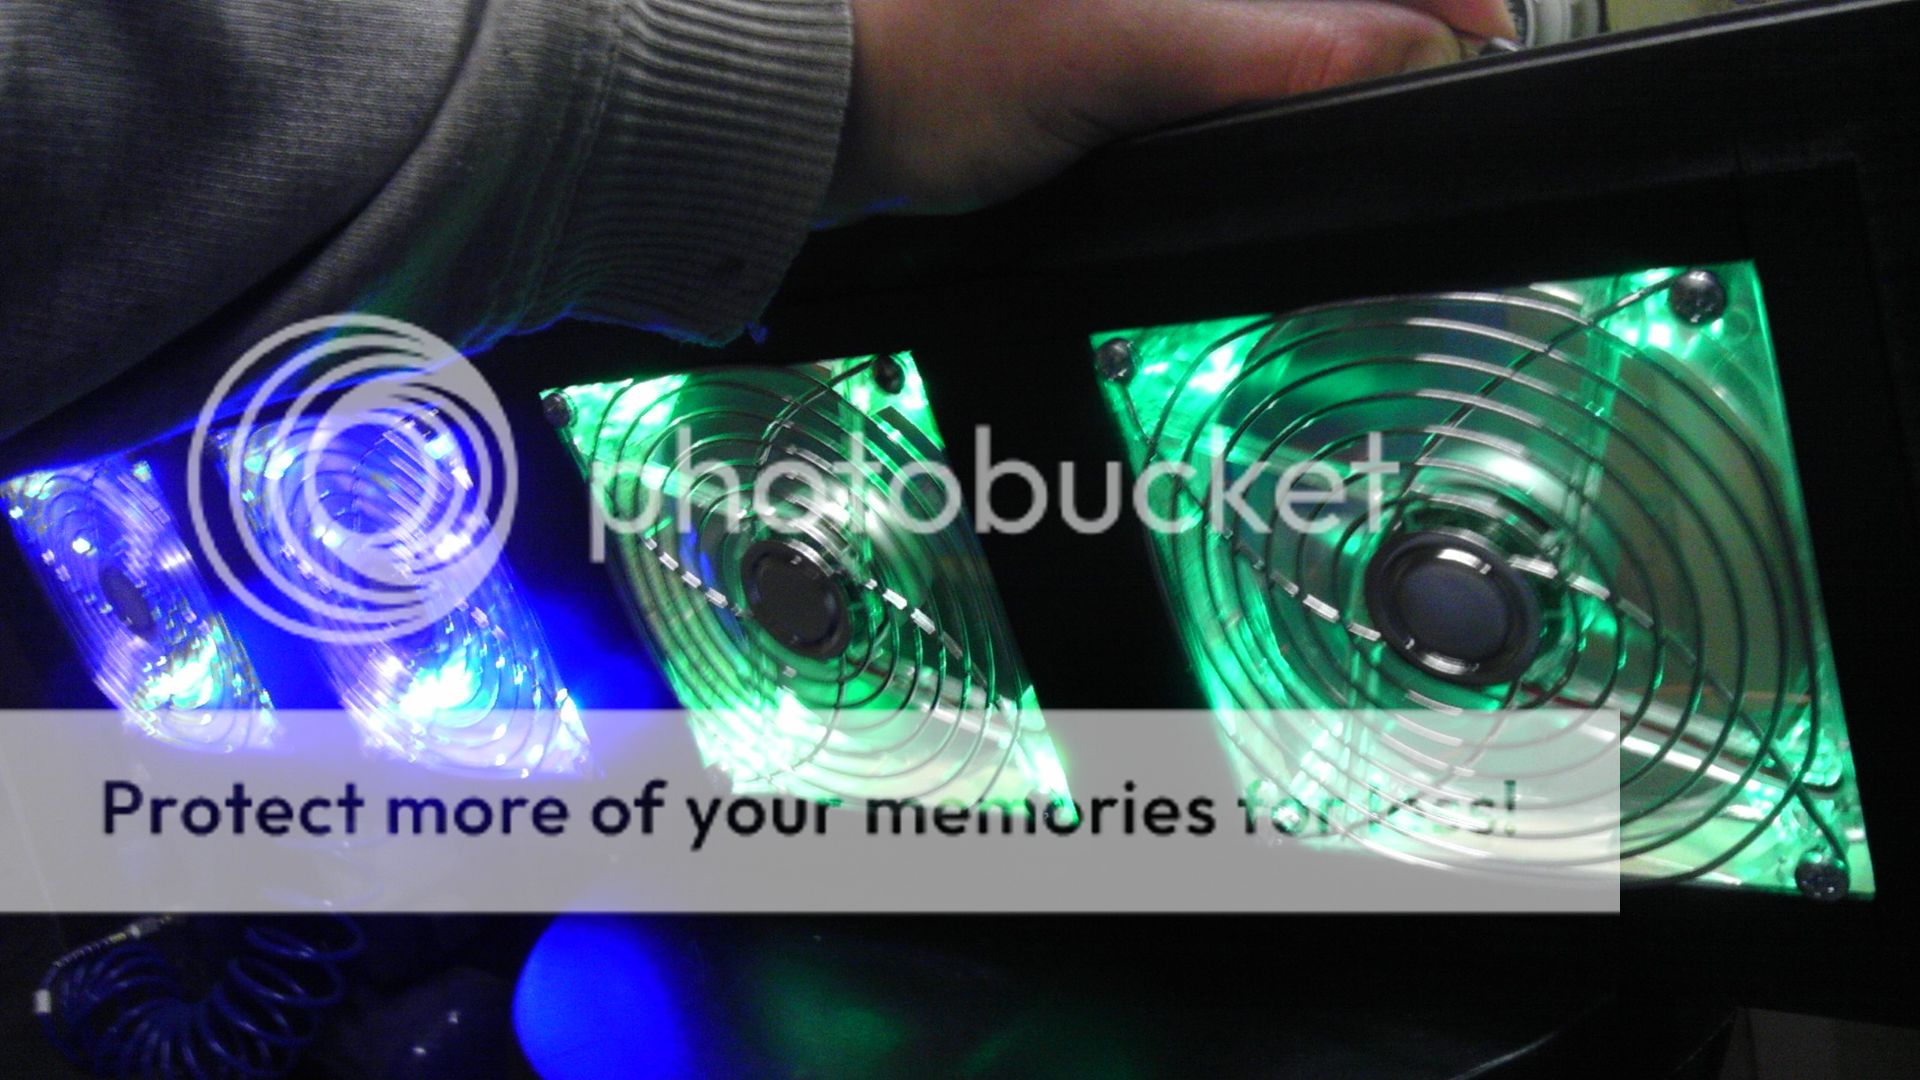
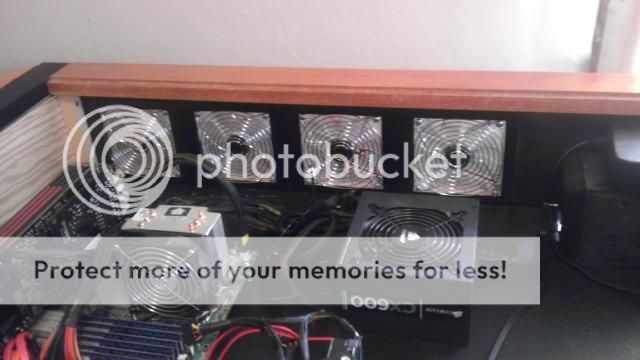
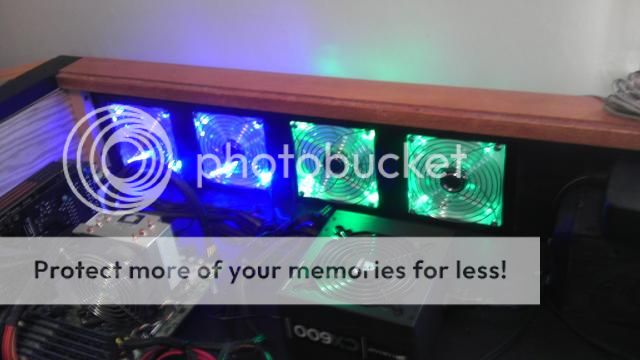
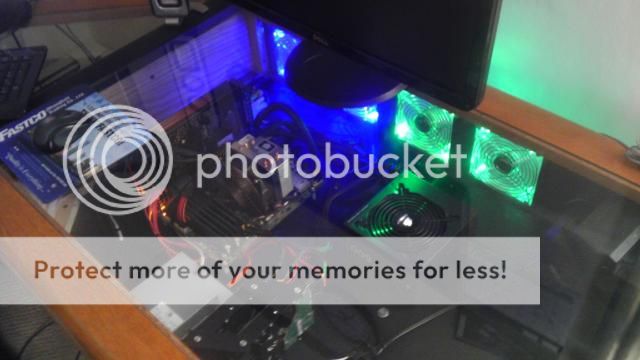
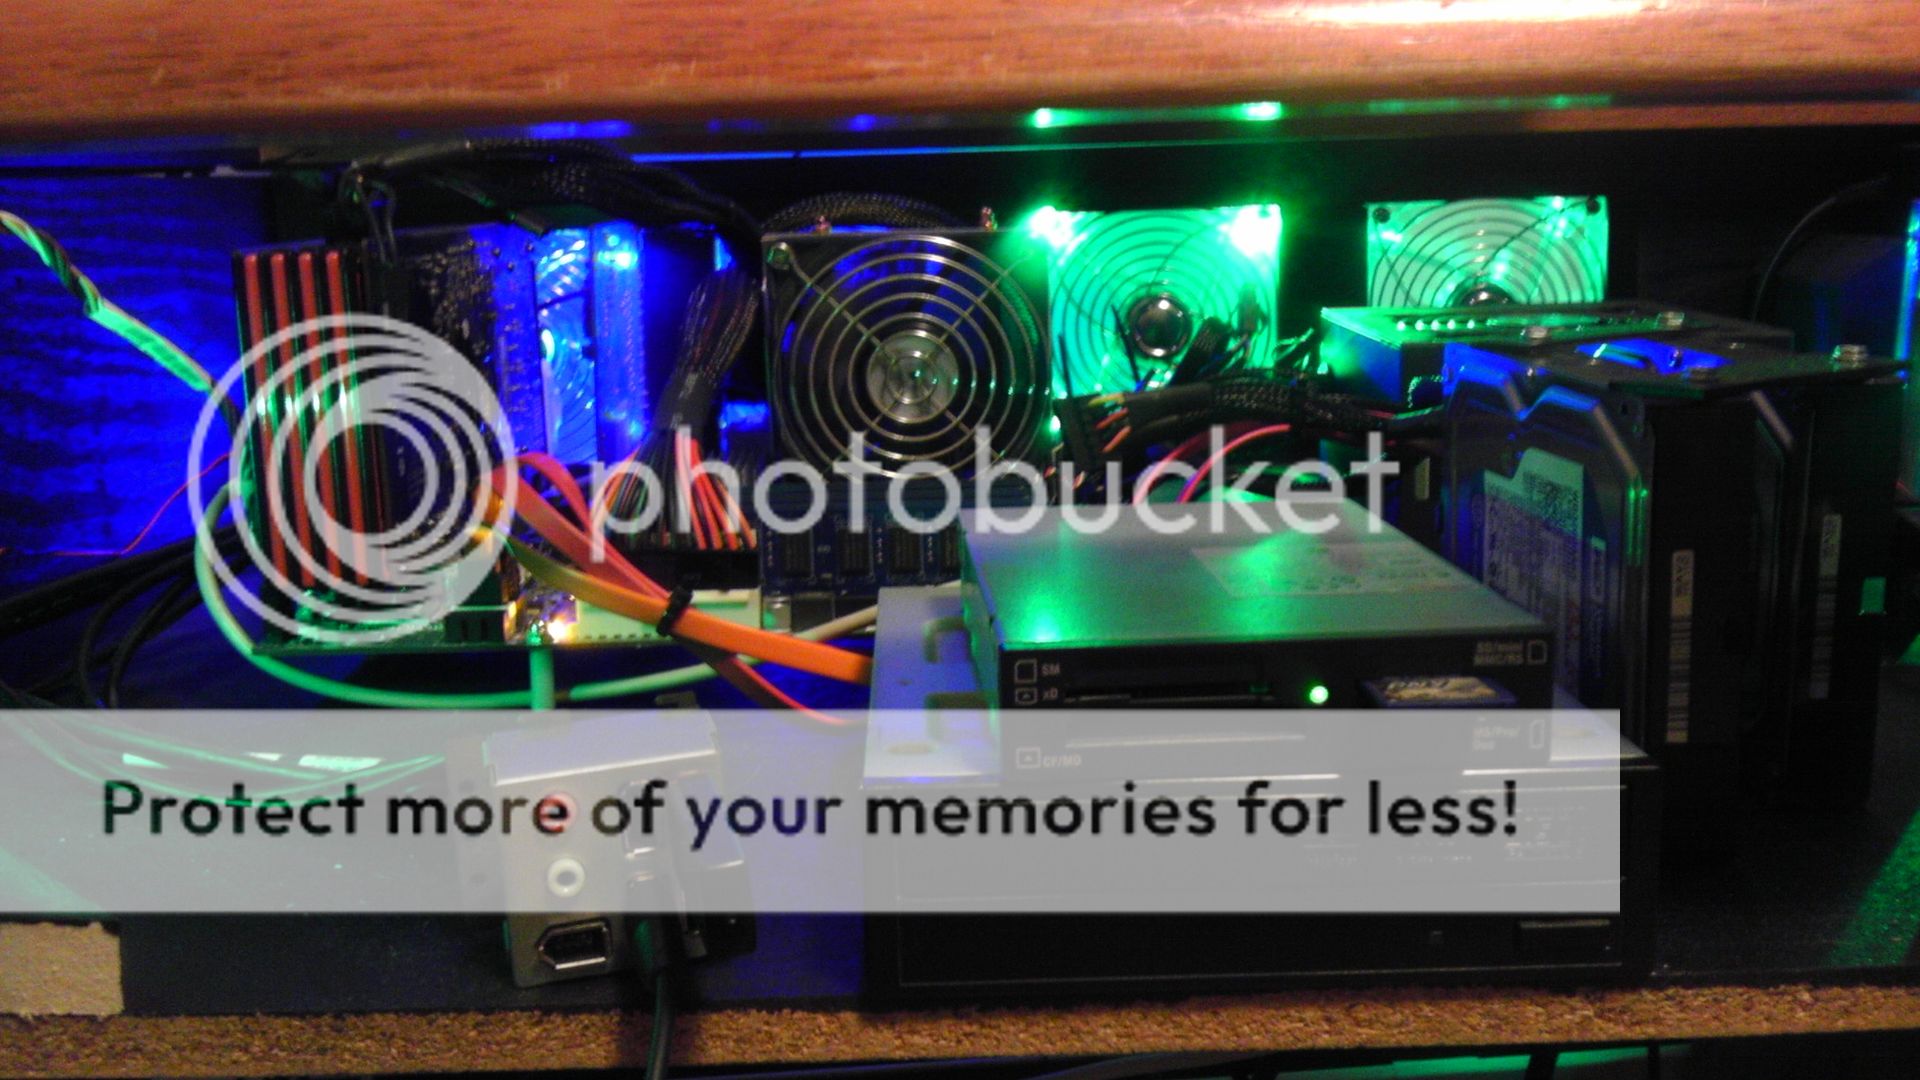
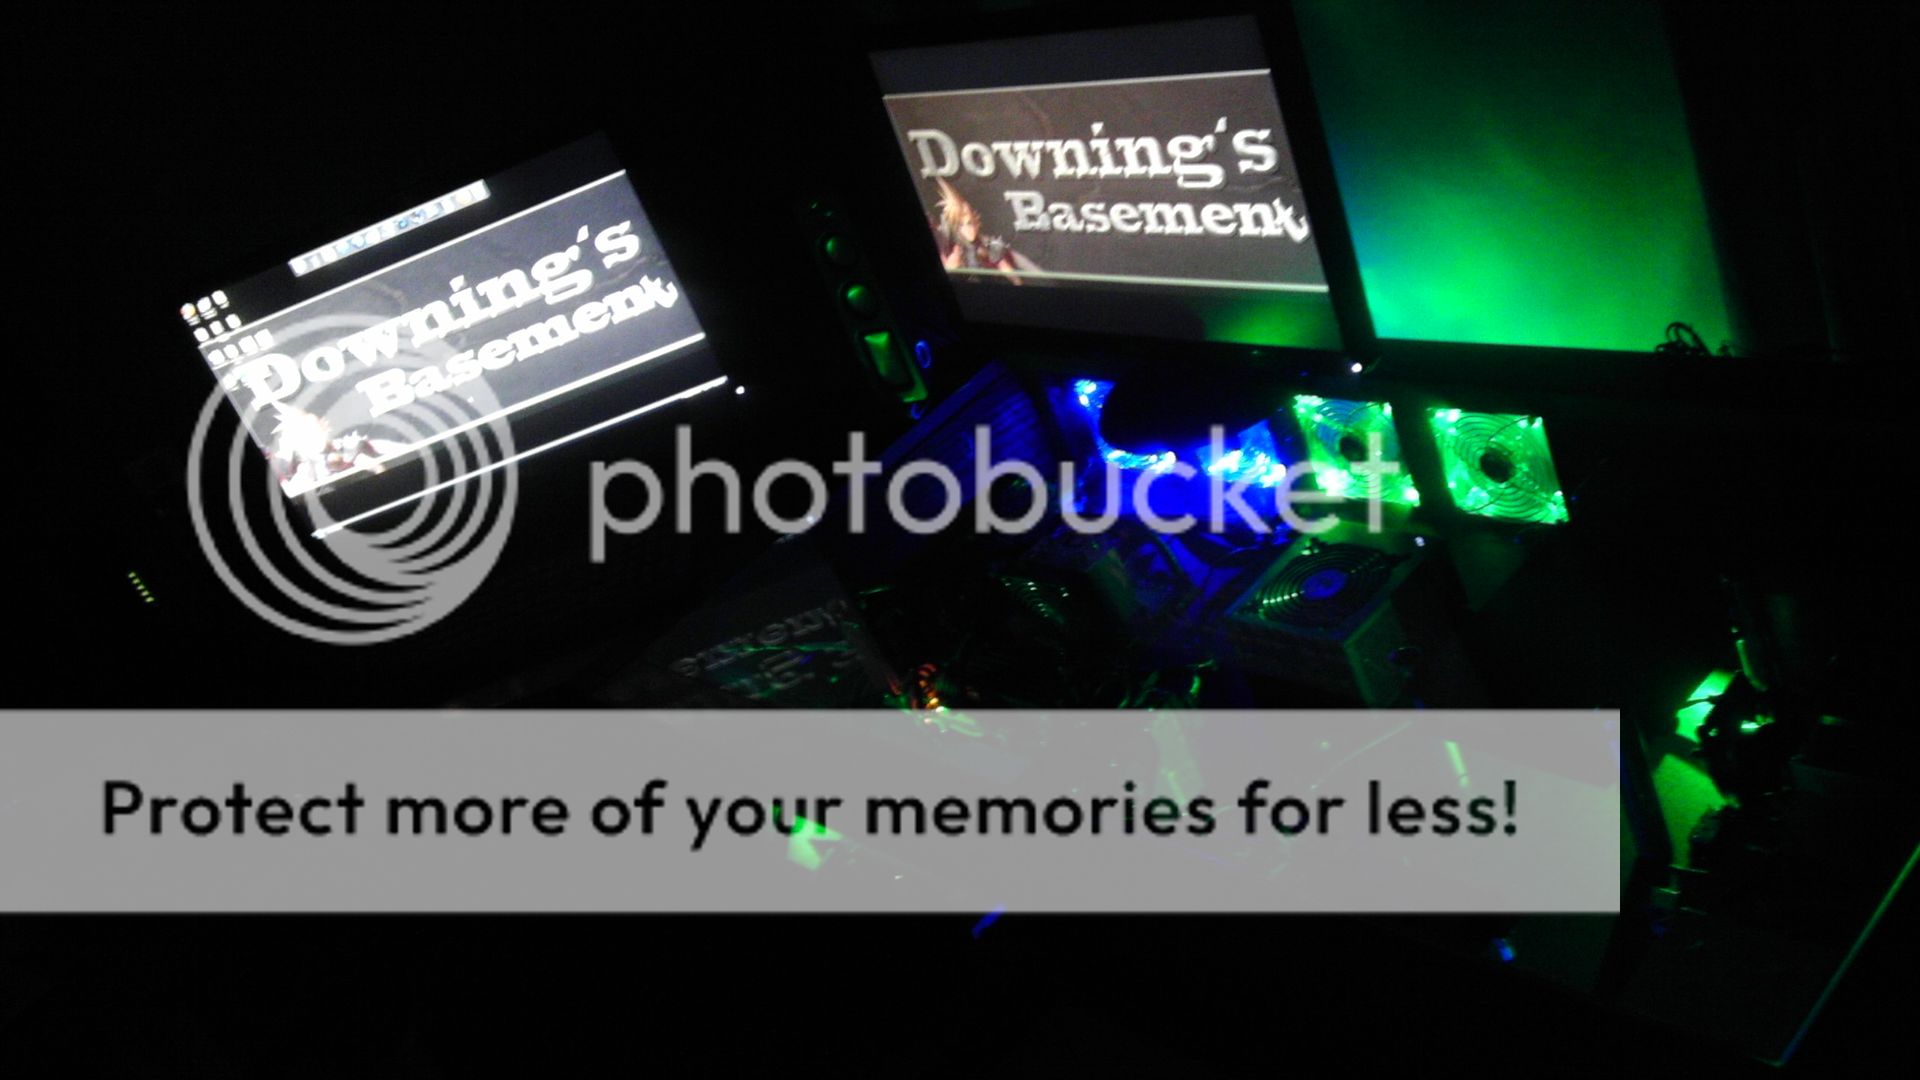
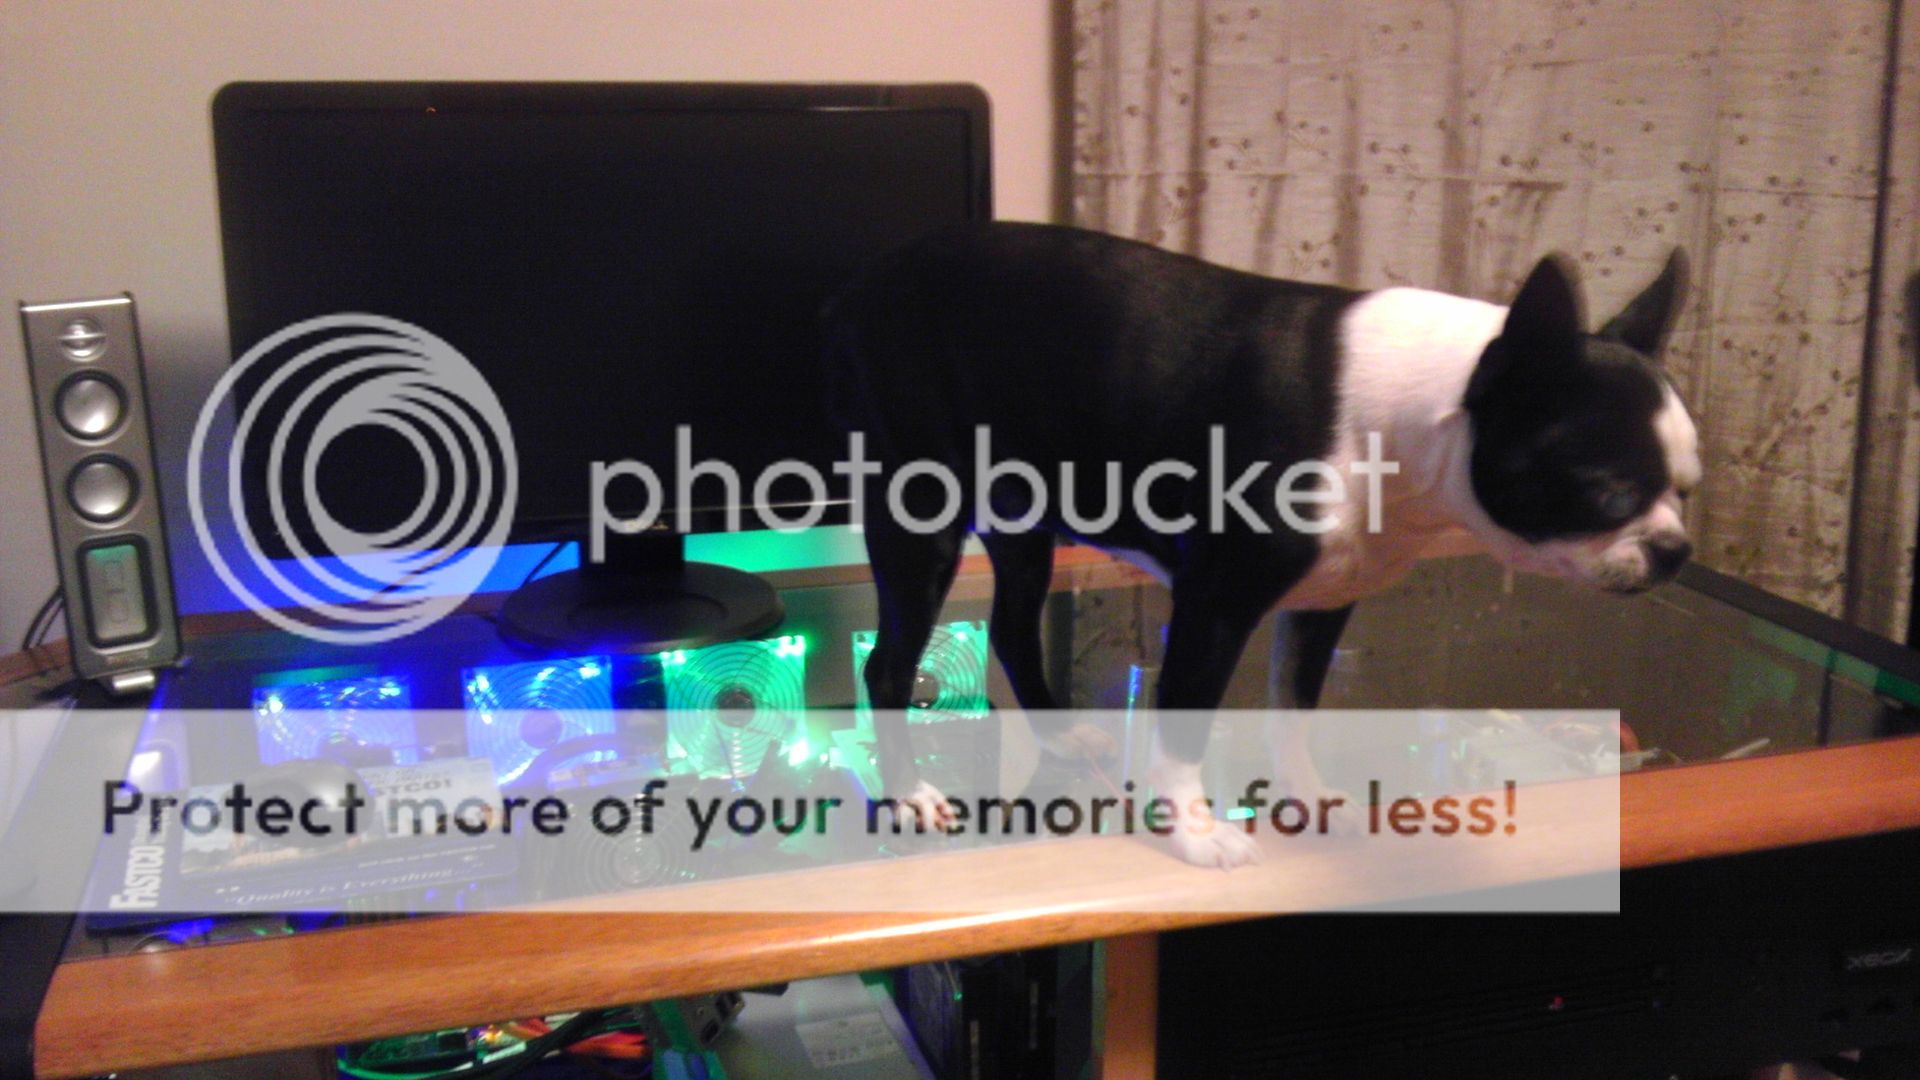
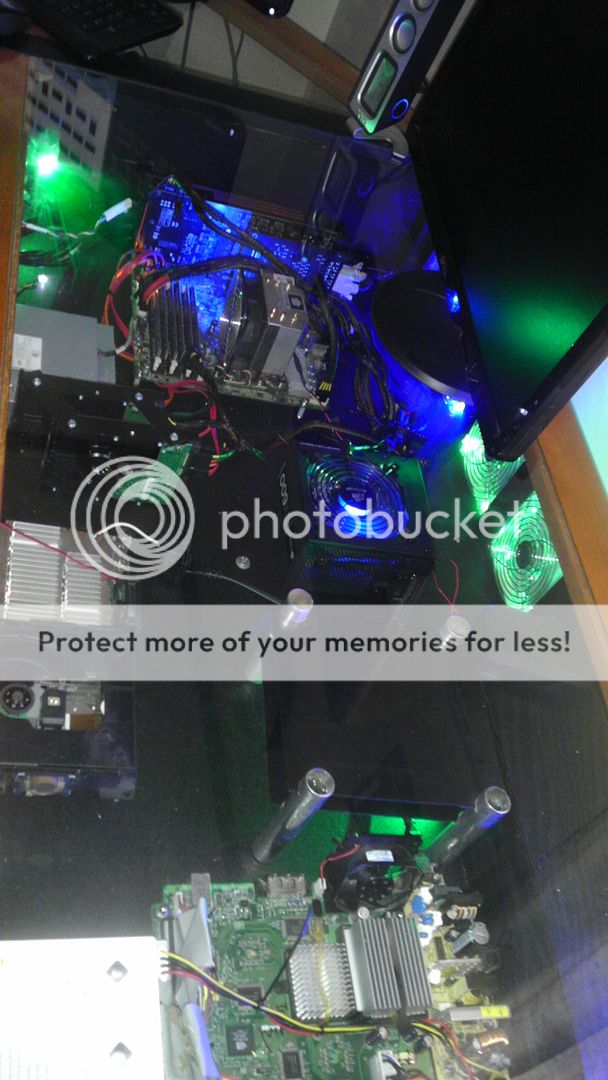
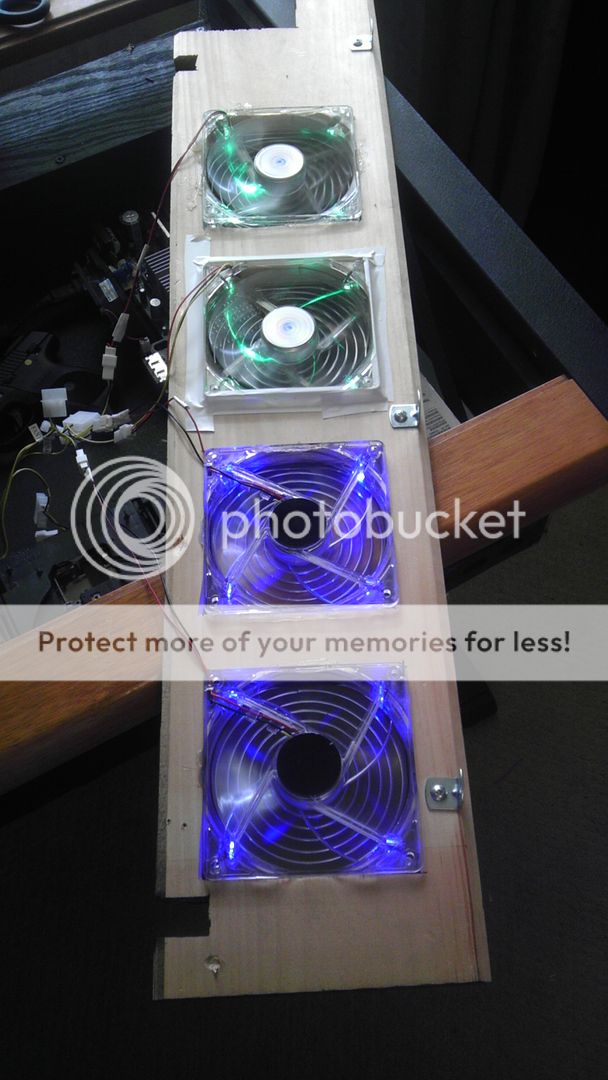
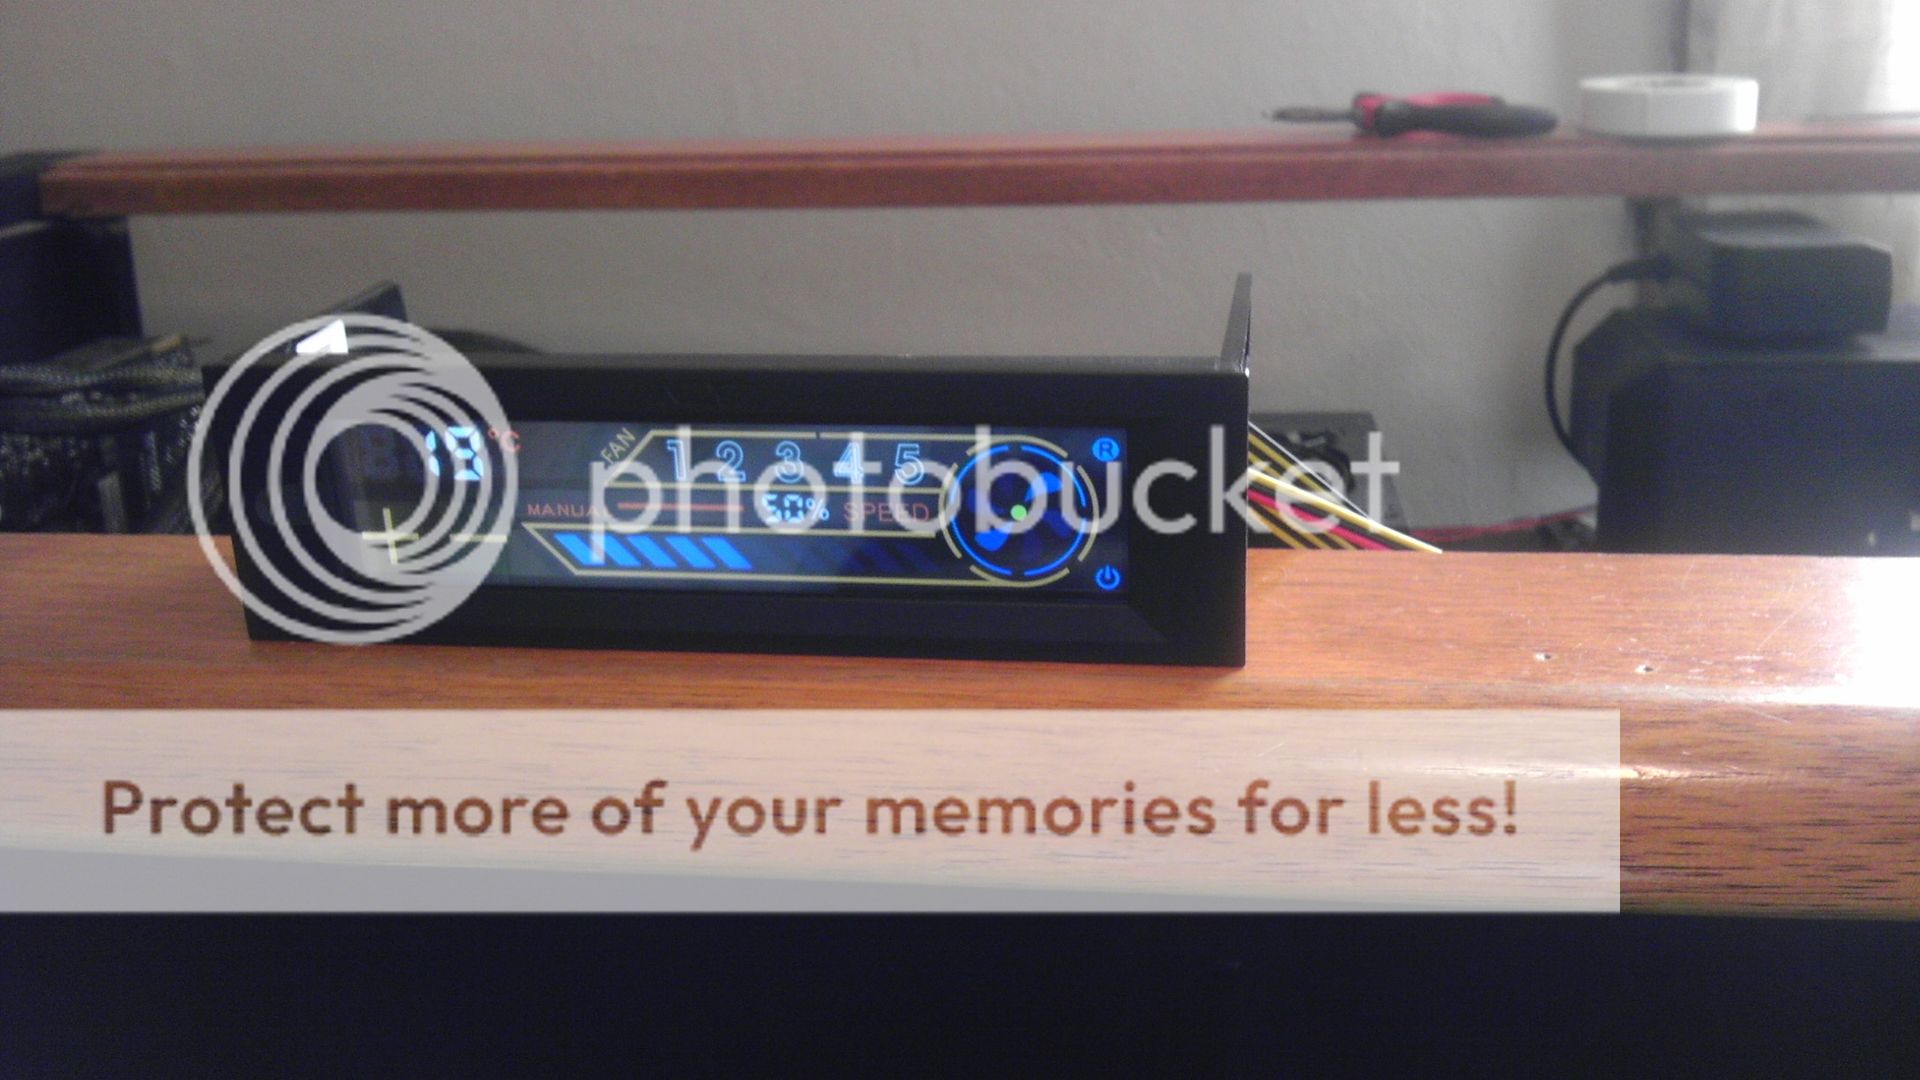
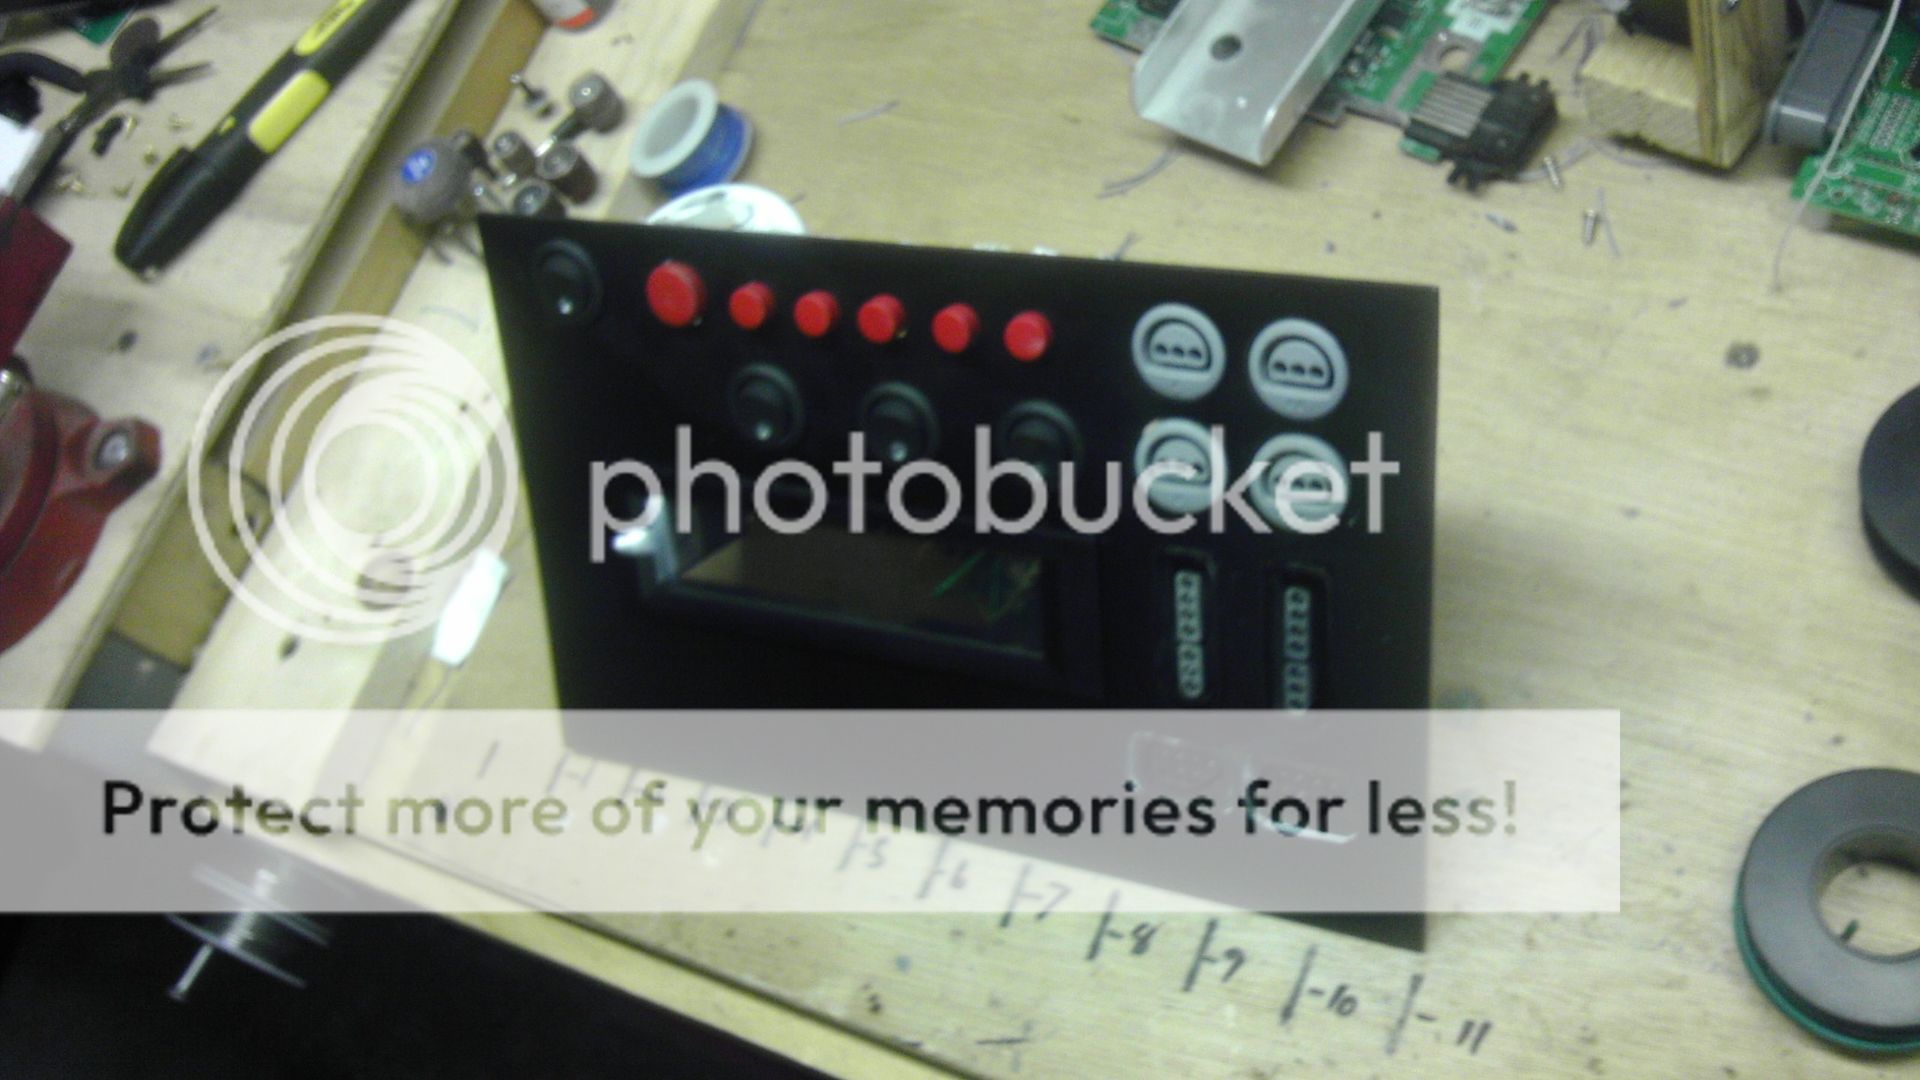
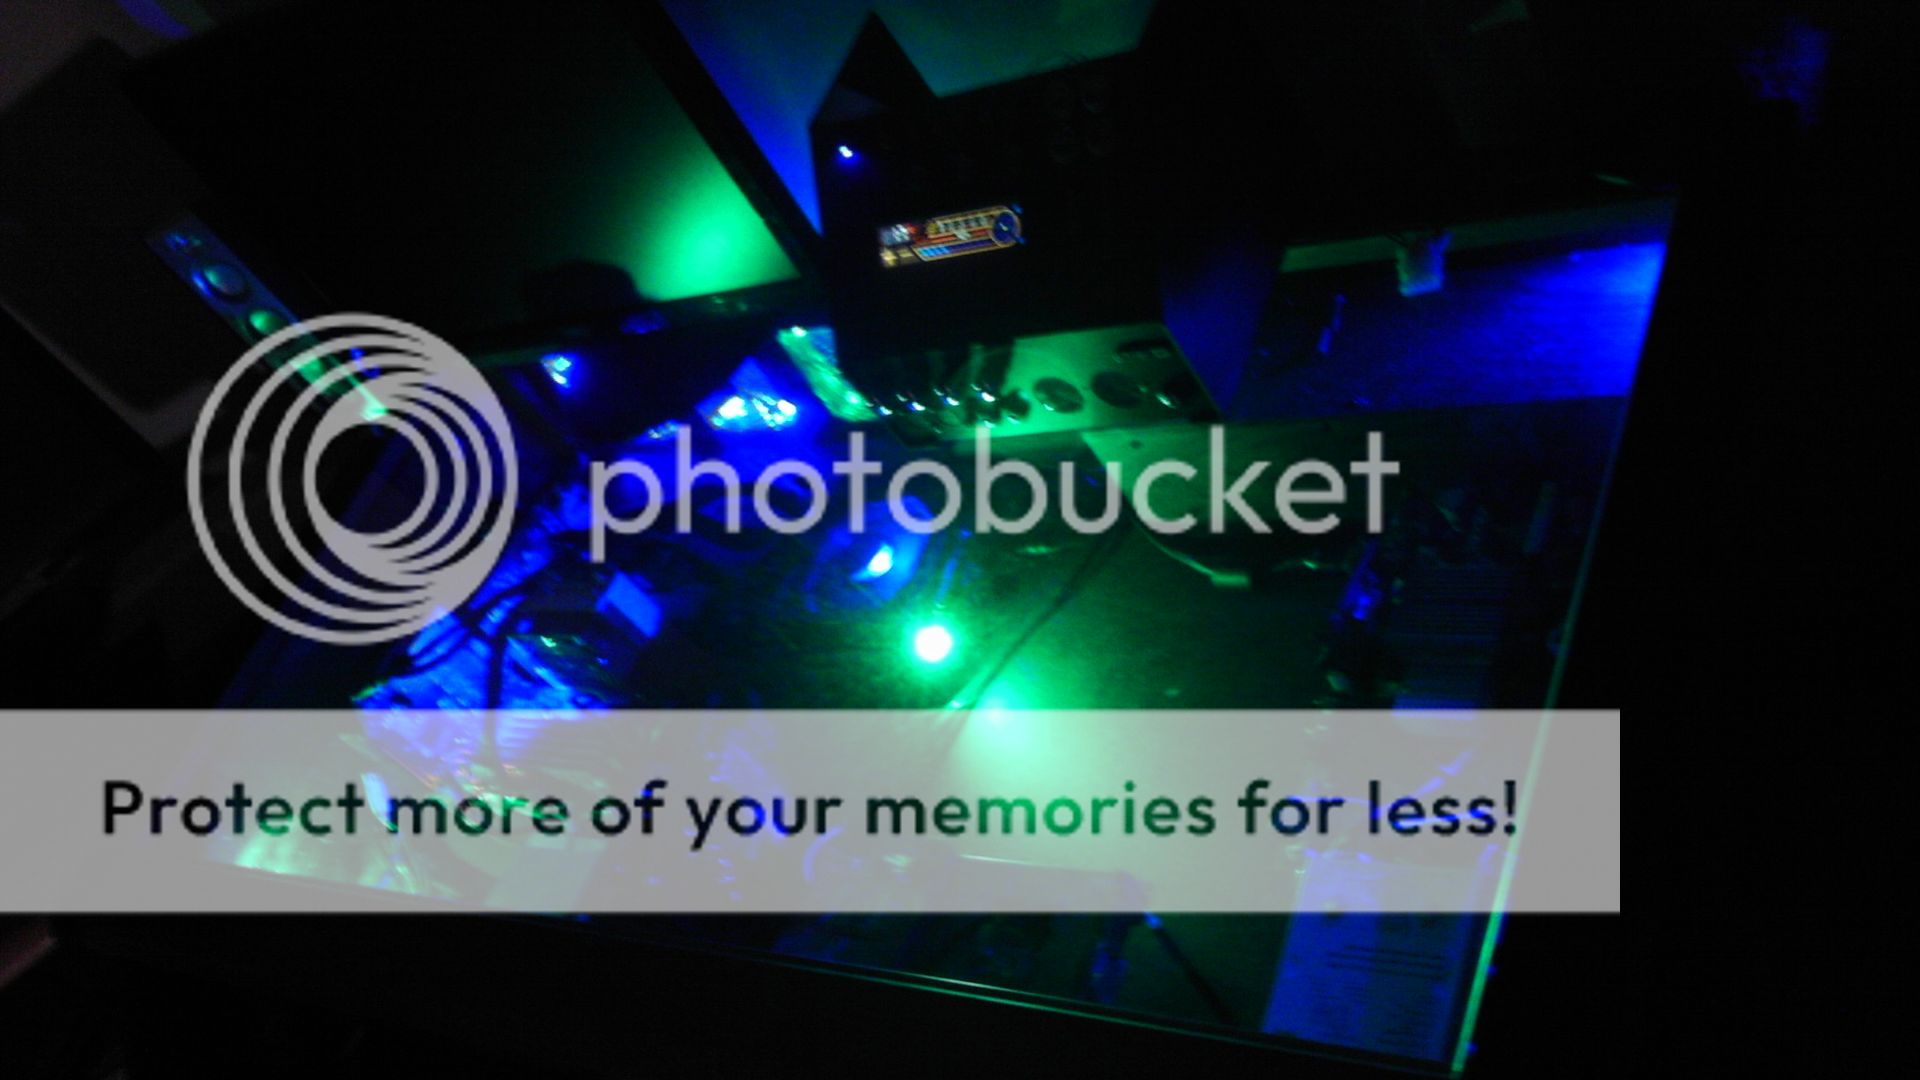
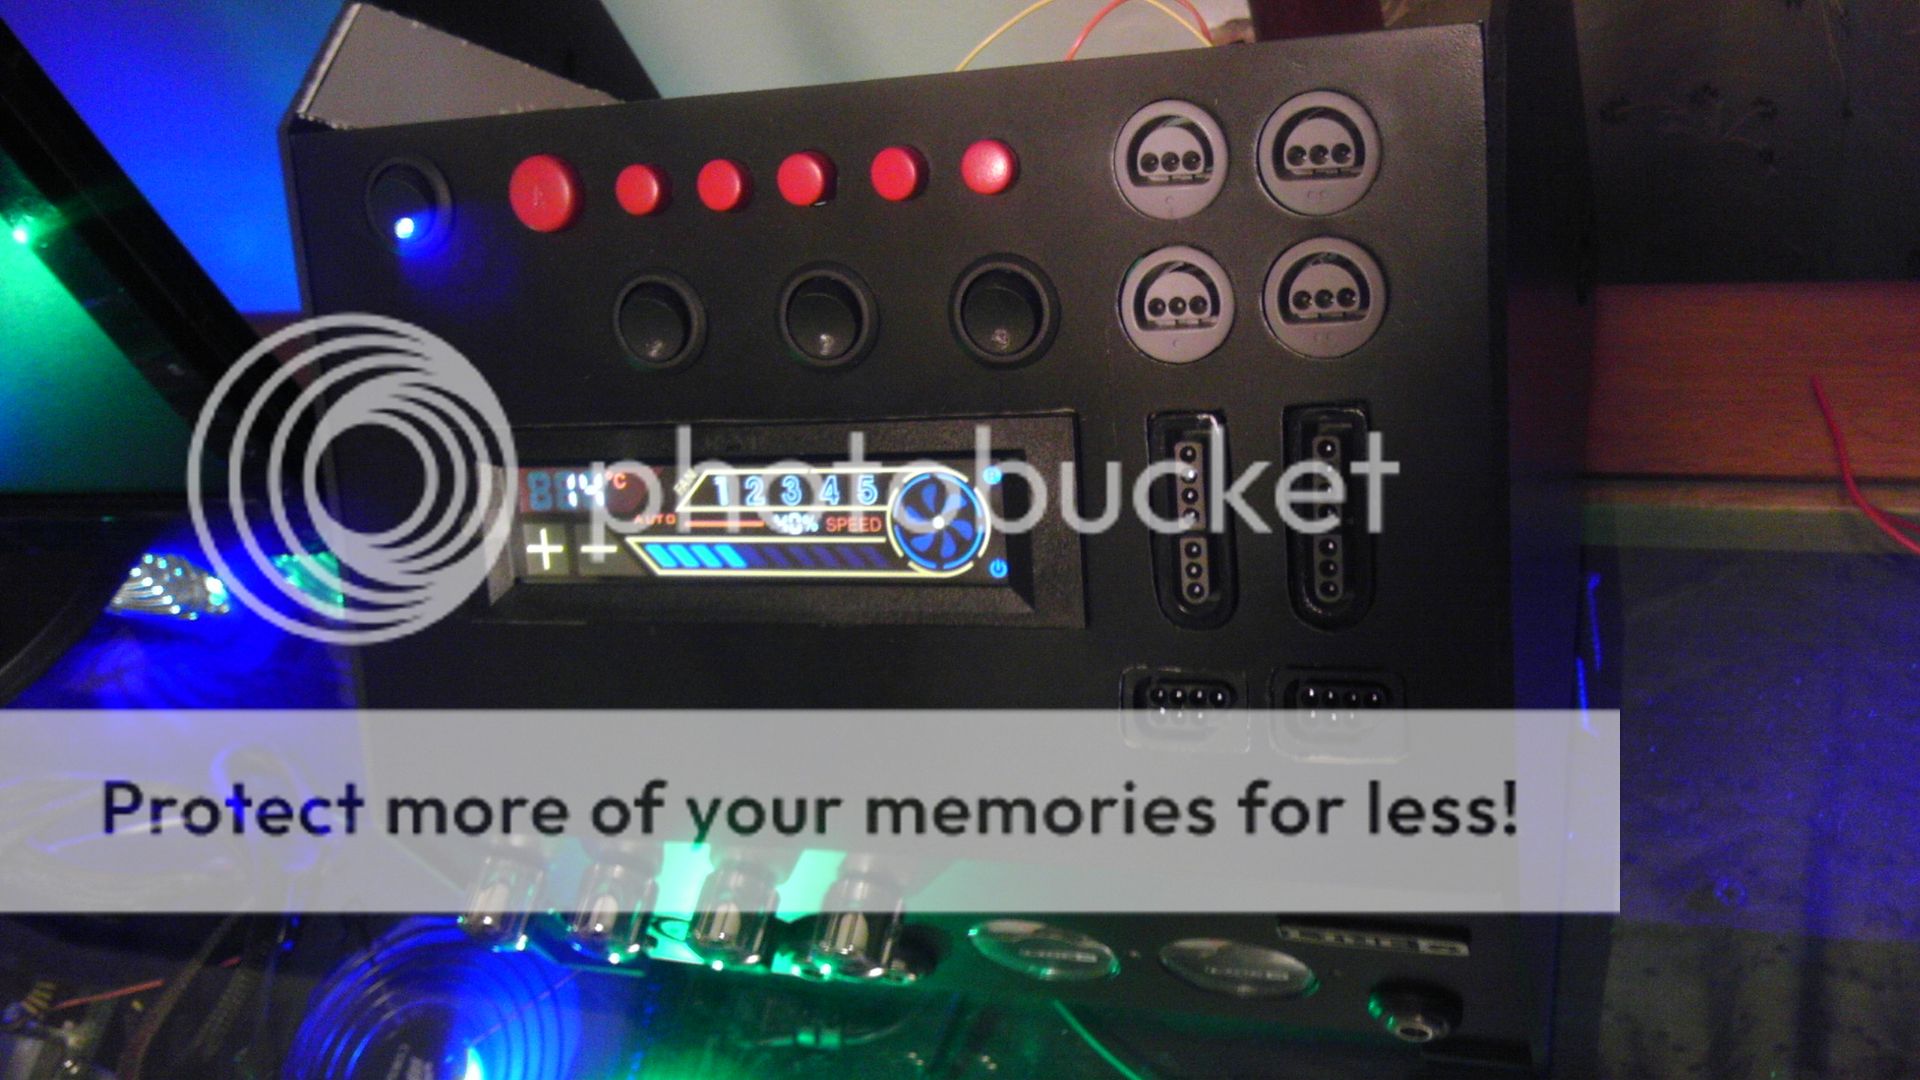
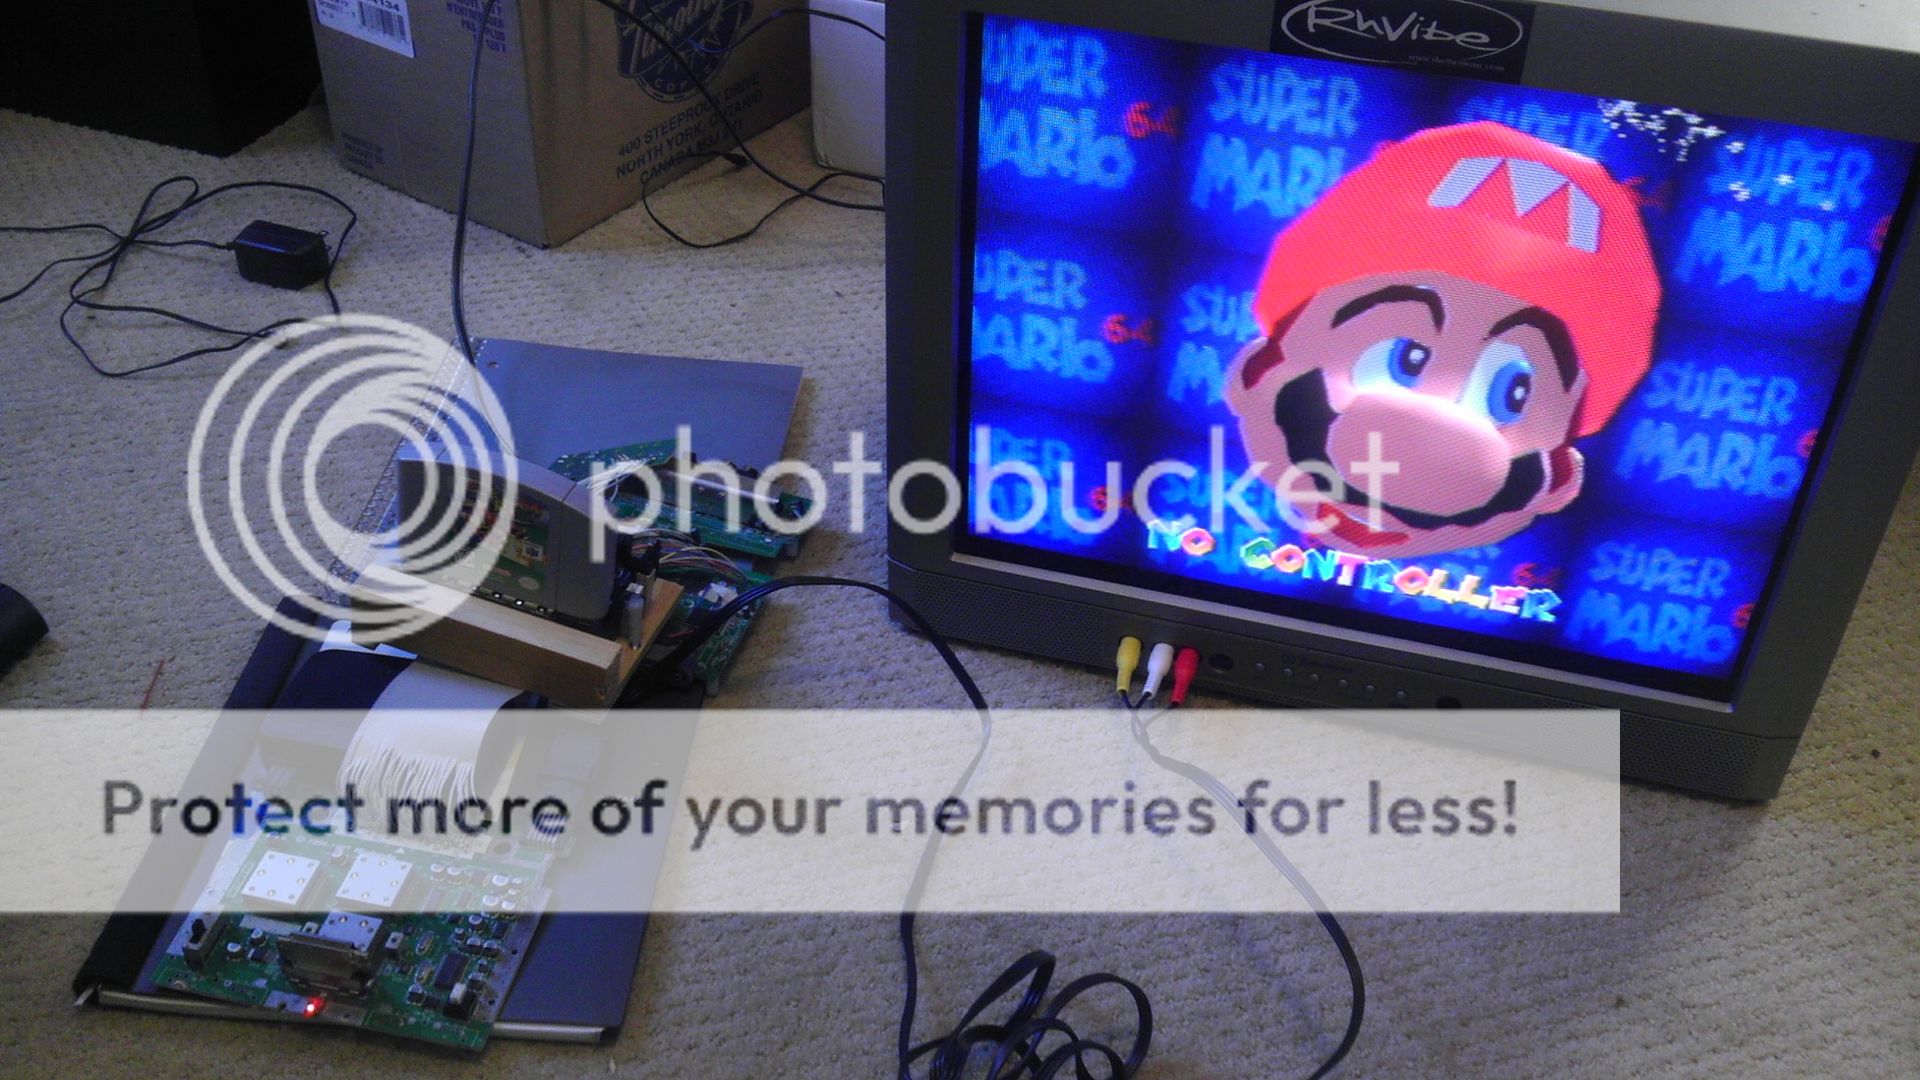
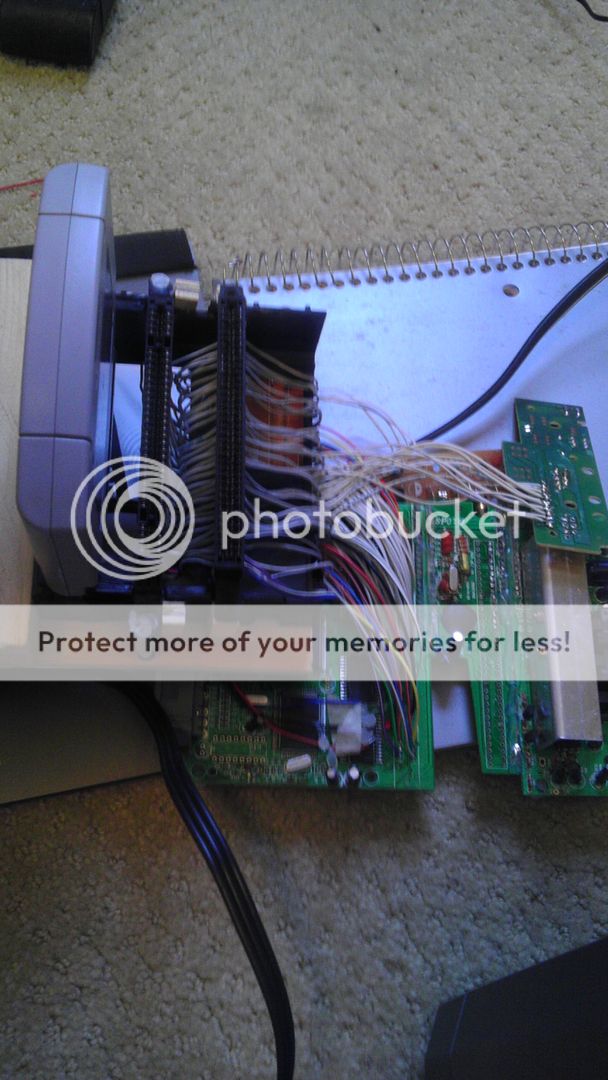
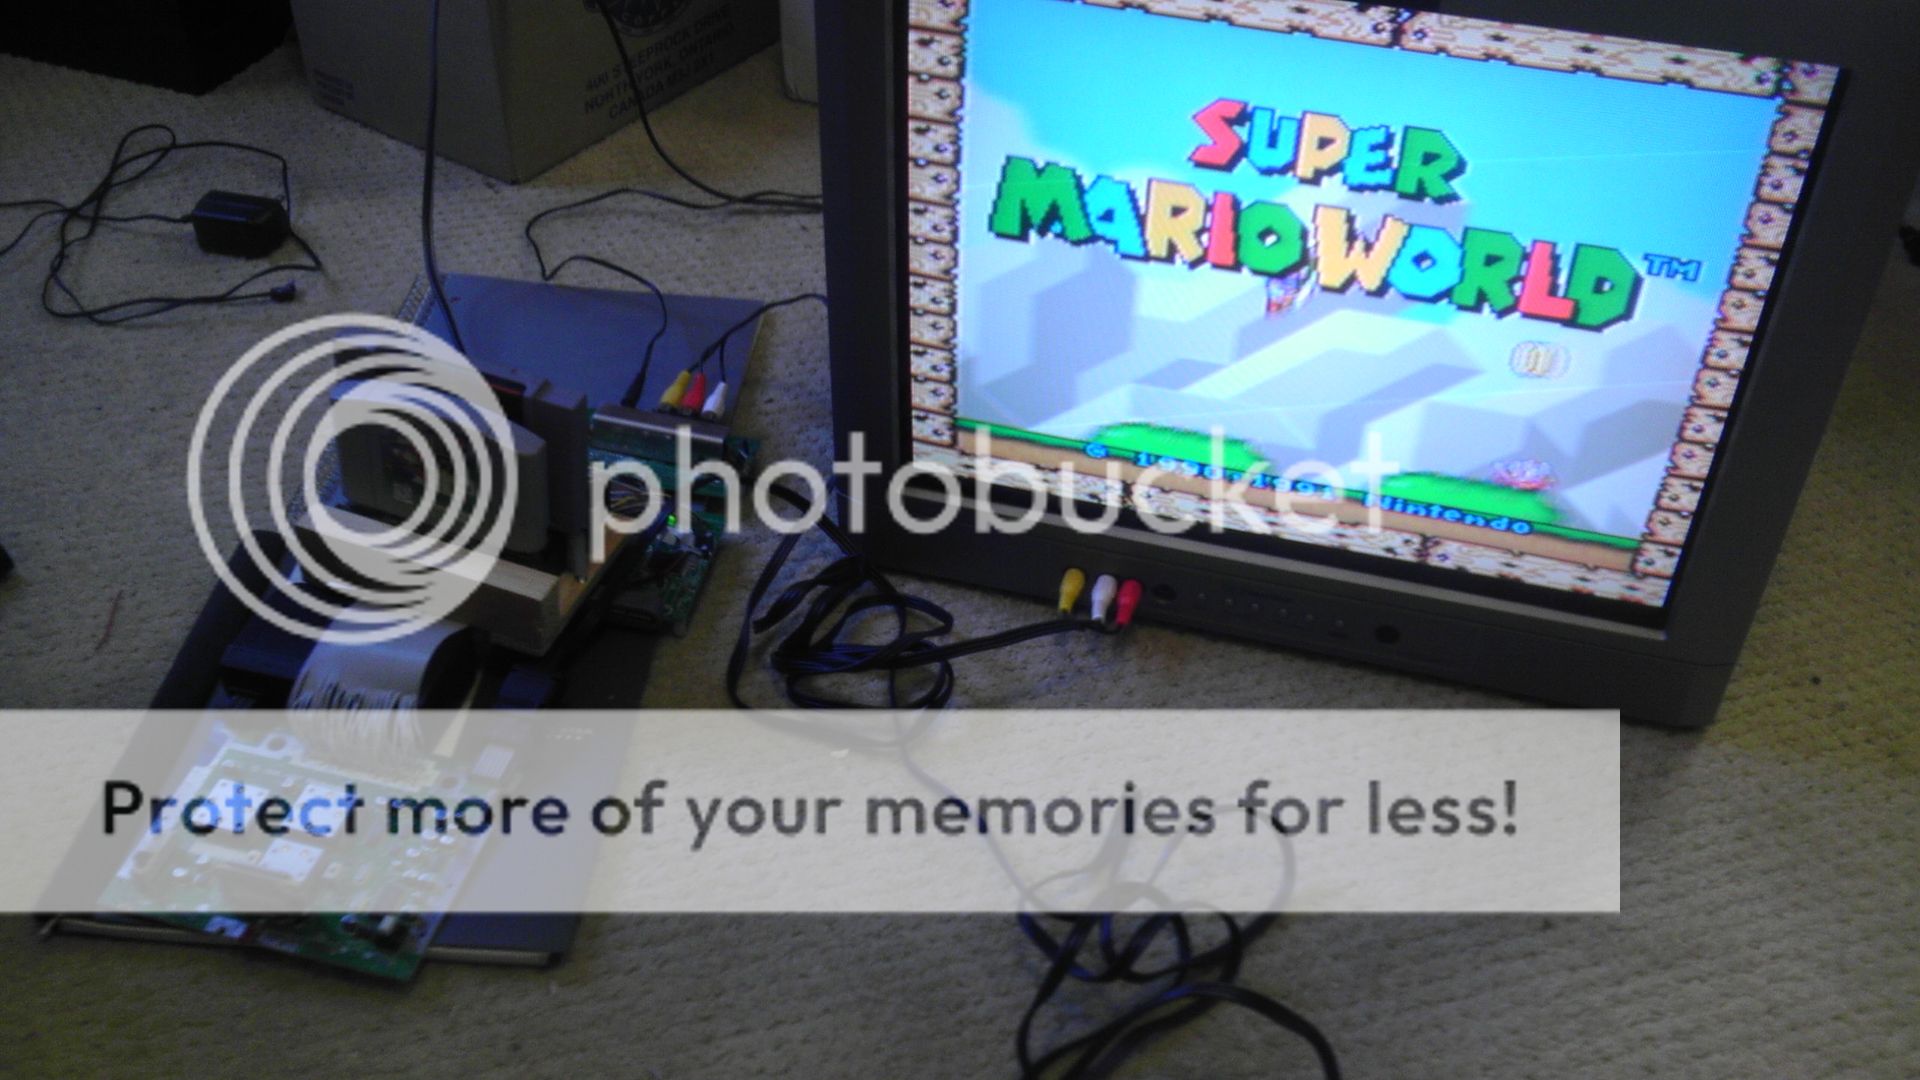
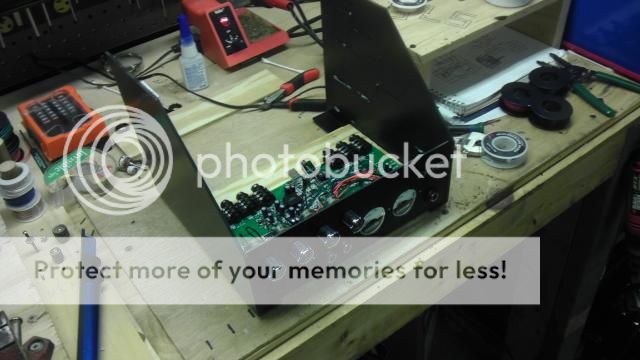
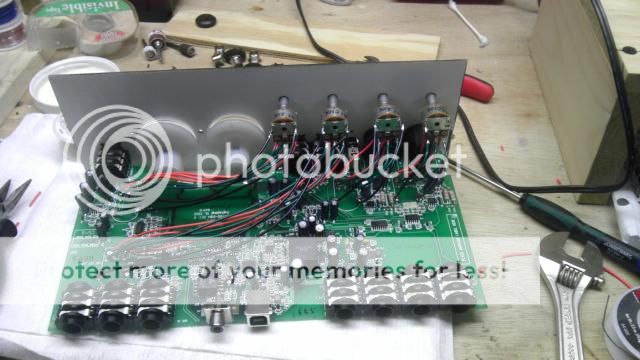
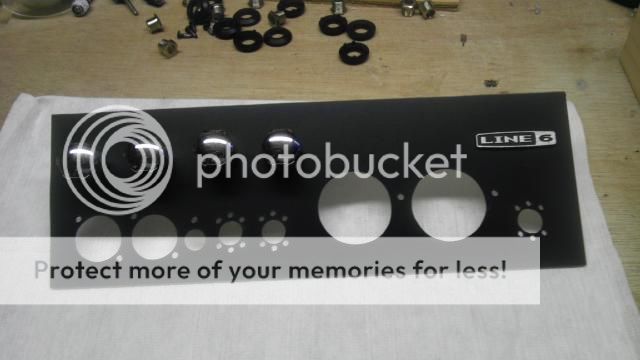
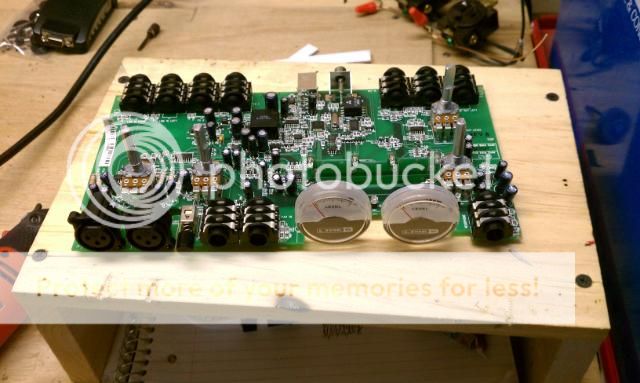
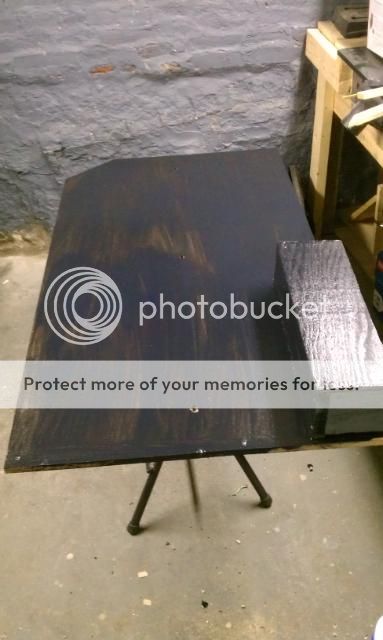
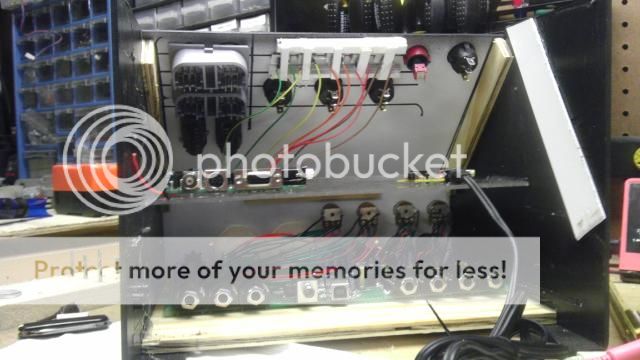
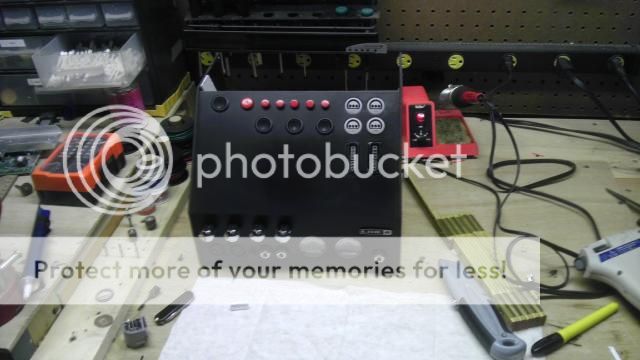
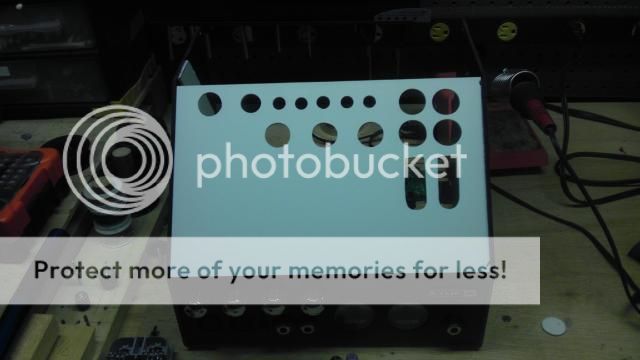
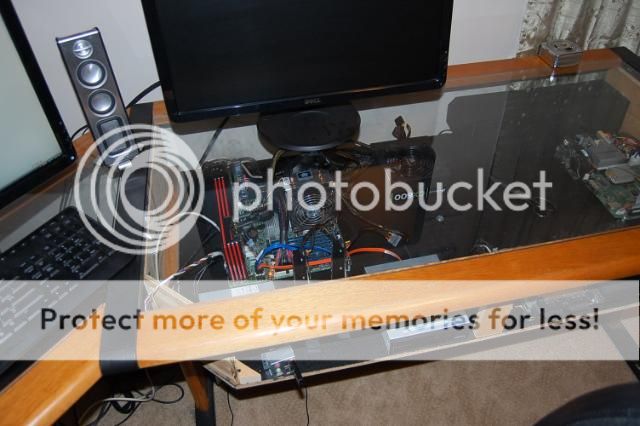
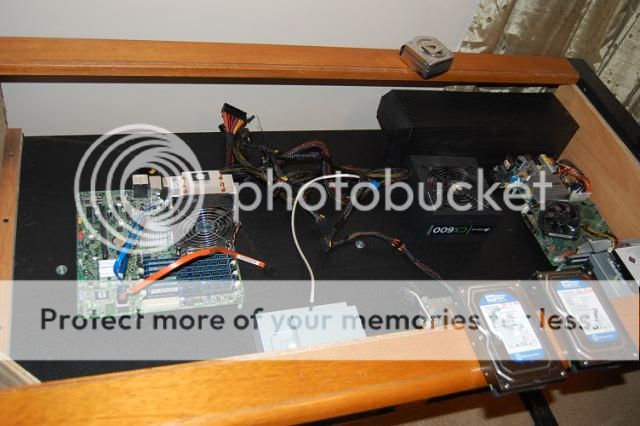
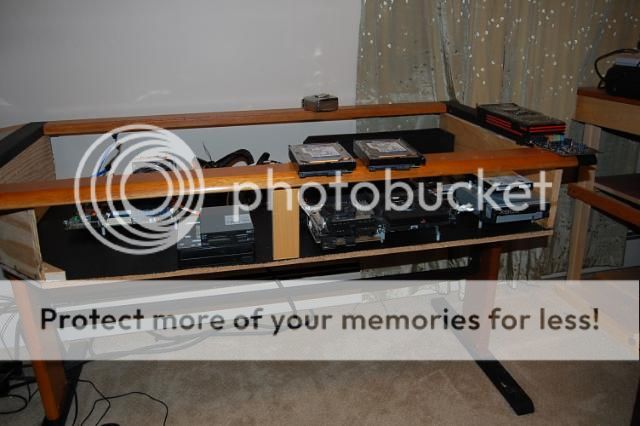
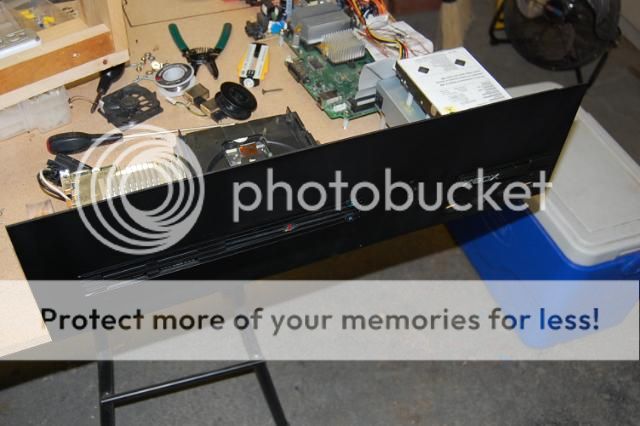
I'm just going to post a few pictures of the progress but basically I took my computer, an X-box, PS2, NES, SNES and N64 and threw it into my glass topped desk which when completed will be controlled by a fully integrated control box which will include LED cooling fans with on/off control and an audio output switch which when pressed, sends signal to my PC speakers, or to my 500 watt PA system that has three 12" speakers w/tweeter hooked up to the head! The control box also has a USB audio interface of a Line 6 Tone Port 2, which basically allows me to record analog audio and convert to digital, mostly for my guitars and mics. But that too I will have hooked up to go though the PA or PC speakers.

Simply put, if I'm play COD or and Doom the police are likely to show at the house!

These aren't in any real order but you get the general idea. There are more details on my Personal Blog if you want more info on it, but feel free to ask as well. I've been trying to be more active on the forums lately so conversation will help!

IMAG0275.jpg

IMAG0273.jpg

IMAG0269.jpg

IMAG0266.jpg

IMAG0265.jpg

IMAG0281.jpg

IMAG0280.jpg

IMAG0278.jpg

DSC_0285.jpg

DSC_0282.jpg

DSC_0283.jpg

DSC_0279.jpg
 
Wow no reply?

This looks sweet, nice and organized, now I want to make an all in one desk.
 
Pretty sweet, can't wait to see the finished product. I really want to do something similar to this.
 
Thanks guys! Yeah as soon as I get some time I'll be getting to it a bit more, but I've got all the materials I need, it's just sitting down to do it now.
 
Just made a small amount of progress today on the desk. Got my 4 120MM Blue and Green LED fans roughly mounted to the back panel of the desk.

I still have to put the directional ducts on the back as the two left fans blow air out and the two right ones blow the cool air in. However without directional duct vents, there's nothing to stop the hot air from bouncing off the back wall and getting sucked back in by the right fans!

Simple up and down directional ducts will solve that, hot air pointing up, cold air in pointing down.

The pic below just shows the rough mount. I have to trim them in, paint then wood and I have 4 fan grill covers on order to give it a bit of style. Slowly getting there!

IMAG0301.jpg
 
Got the trim work around the fans done as well as temporarily mounting the fan grills that came in this afternoon! Tested with 12V power supply which will be what is plugged into the switch on the control box but as you can see, I have a defective fan. The LEDs don't work but the fan itself does. So I've ordered some more green LEDs and I'll just wire it the connections. Now all that's needed for the face is to just paint it black and the back I need to put the directional vents in place. Shouldn't be too difficult. Will post more updates hopefully in the next day or so!

IMAG0303.jpg
 
New LED's should be in shortly to replace those that are not working in that second fan. Once those are wired up I should be able to mount that in the back. I decided that I'm not going to put the vents in place right now anyway as I might be able to sneak by with just one divider to direct the air in a different direction.

Anyway, got the front painted and the fan grills mounted so this work out nicely. It seems that the green push more air than the blue, but once the unit gets sealed up a bit tighter, the fans will equal out on their own.

Maybe another update today!

IMAG0305.jpg
 
LED's came in and they are working wonderfully! They are a slightly different shade of green though and much brighter, but I don't think it will be noticed very much.

I have a Molex connector for the power as well so if I have to take the back panel off for any reason, a quick disconnect will work out nicely!

IMAG0308.jpg


IMAG0309.jpg


IMAG0306.jpg
 
Got the fans mounted to the back of the desk and plugged in temporarily to a different supply to test them out. Man, they look cool but they are loud! Not quite sure how I'm going to quiet them down...maybe put in a potentiometer in the control box or even get a digital fan control so they only turn on when they need too. I'd rather keep it manual, but hey I'll do what I gotta do.

Not sure what it's gonna look like when in the dark, but I'm hoping that once the window glare goes away I can see whats what in there and find a place for my surface mount LEDs that I have. Probably goin over to the right of the desk where the consoles are because that place is pretty dark right now still.

Anyway, here are some pics. I might update later tonight with how this looks in the dark!

IMAG0311.jpg


IMAG0312.jpg


IMAG0313.jpg
 
Pretty cool man, looks very nice. I need to copy this at some point in the near future. ;)
 
Be my guest! Though I must admit I can't take credit for the original idea. Hack N Mod had a whole bunch of really over the top mods like this. Mine won't be liquid cooled or have custom CNC plating, but it will be one of the few to encompass 5 systems and a computer. The control box is really where it's at though and that's going to be the hardest part about this! It's getting darker so I'll be posting a few more pics as I've added a few more LED's to illuminate more of the insides!
 
Well, taking low light shots has been pretty difficult without a tripod, so my phone has been used instead of my good camera. Basically I have the layout of the components and LED's in place, all temporarily wired and working. So as far as the computer and the desk components are concerned it's basically done but I do have to put a facing on the front where the DVD-ROM and Media reader need to come out, as well as mounting a new PC on/off switch. This should look pretty cool, though I do need a few more LED's in place to brighten things up a bit on the console side.

On a scary not, I found out that my computer's PSU have a circuit breaker in it! Good thing as I was using it to power some of my LEDs for a temp test and while moving around I bridged some connection and my computer went dead! But started up fine with no damage so we're defiantly gonna be a bit more cautious next time!

But here are some pics of the progress so far!

Front view before it gets closed in.
IMAG0319.jpg


Night Shot 1
IMAG0318.jpg


Night Shot 2
IMAG0317.jpg


Te-Te checking if the project is still on budget! She's a rough Sega!
IMAG0316.jpg
 
Being sick sucks! Though I'm sure it's just a common cold and the Dayquil is fighting it quite well, I'm still miserable and feel today is going to be mostly wasted to movies and video games.

But, over the past week or so I've made a great deal of progress on the desk. I've used pretty much every LED I have in the house now for this, placing them actually into my power supply and computer PCB so most of the areas are well lit. Looks pretty cool too. Still having a problem with the noise these fans are putting off, but I have found a solution I think with a digital touchscreen fan controller I found online for $22 bucks! Basically this has a 5 fan, fully programmable interface which allows me to control the speeds and temperatures in which they are supposed to turn on! I'll be building this right into the face of my control box! I'll put up pics when I get them! Here's a view of the inside!

IMAG0331.jpg


I also finished off the the front panel where the DVD, Media Reader and USB plugs are mounted. This isn't trimmed out or screwed into place yet, but the fit was perfect and outcome looks good! I also mounted the PC on/off button with a snap bushing and the B button from some old controller that I had. It just took a basic momentary tact switch and this button works better than the first one did! I then mounted the original LED that used to illuminate the Dell Logo right above the button so it can be seen when you're sitting at the desk but from afar you'll know the PC is on.

IMAG0321.jpg

IMAG0329.jpg


I also got a lot of wiring done on the cart slots for the Nintendo systems. I was originally going to put 50 pin headers and sockets for the wires so that if I needed to move the control box I could simply unplug the connectors and be good, but I found that it was going to be easier to make the whole cart slot holder detachable from the control box and wire the cart slots to their respective boards directly. Just have to finish up one side of the NES and we should be good to go. Yes, cloned hardware, but I had it so I used it. Some more pics below of that process.

IMAG0326.jpg

IMAG0325.jpg

IMAG0324.jpg


So, still a long way to go, but it's certainly getting there. The only bummer is that I can't really test if any of the Nintendo systems are working until I get the control box finished. I'll try and rig something up, but we'll see where it goes!
 
Progress!!!


The fans are finished finally! Complete with a digital touchscreen controller and heat sensor! This has helped a great deal with the sound as the fans really did not need to be running full speed anyway all the time. Though when I do drop the power to the fans, the LED's get a bit darker as well. Below you'll see I replaced the broken fan didn't have LED working with a new one.

IMAG0333.jpg


This is the fan controller. It's a NZXT Sentry 2. Designed originally to fit in the bay of a PC case, this one was destined for something greater!
IMAG0334.jpg


Here it is mounted to the face of my control box.
IMAG0335.jpg


Plugged in and testing. Seems to be working out great!
IMAG0336.jpg


The nearly finished product!
IMAG0337.jpg


All in all this is coming out better than expected. I have to do a bit of a redesign for the Nintendo systems as I just could not get enough length for the cart slots to put them in the desk, so they will be in an extension box of the control box. That's mostly wired now, but still have a bit more to do. What do you think?
 
All that control box needs now is some cleaning up the straight cutouts, and it will be 100% BA Seriously, grab a Playstation file, spend some more time than you would like making those squares perfect. It would be lovely. /perfectionist
 
Well, tested out the cart slot relocations today and 2 out of 3 worked on the first try! The N64 and SNES worked out wonderfully, but NES (which I had a feeling wasn't going to work well) didn't. Upon closer inspection I found that a few traces had been ripped right from the board on the system. So I've ordered a new clone NES and will have to do the cart relocation again but now that I can leave the system whole I shouldn't have an issue making it work.

Anyway, here are a few pics showing that the other two systems are working!

IMAG0338.jpg


IMAG0339.jpg


IMAG0340.jpg
 
Back
Top