DarkWing
Member
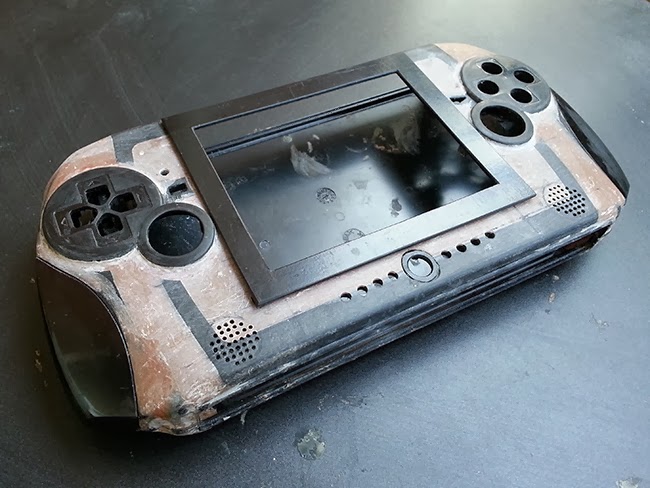
Hi guys i'm back with another "winged" ps2p.
I don't have a name in mind for it so i'm open to suggestions.
This time my goal is to make a more compact ps2 portable that I can take with me and use in my daily commute to work.
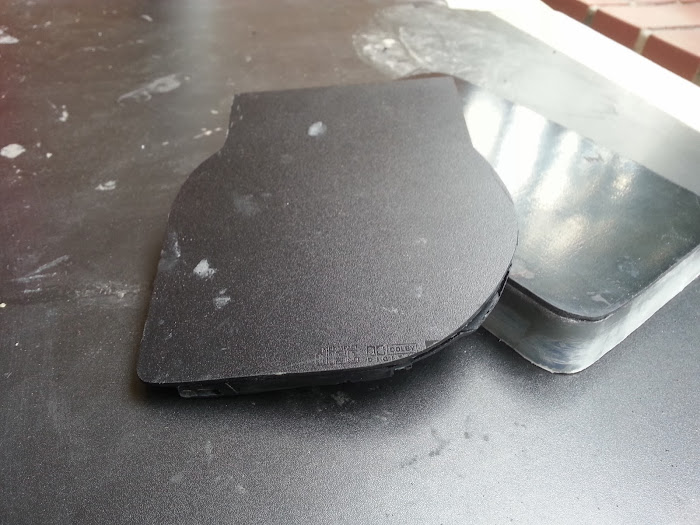
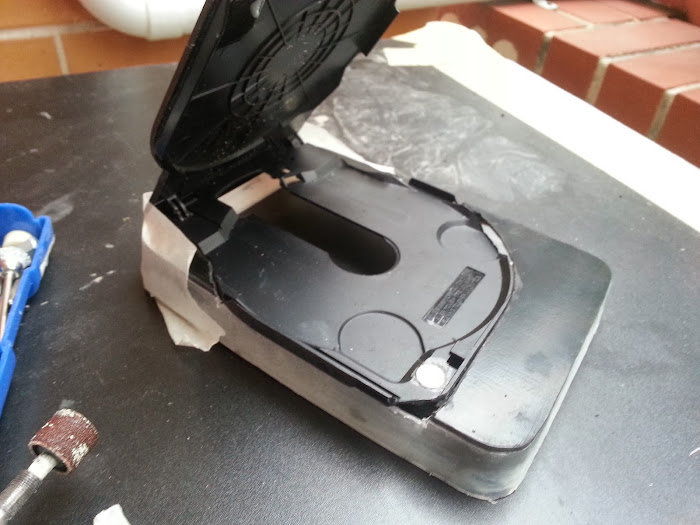
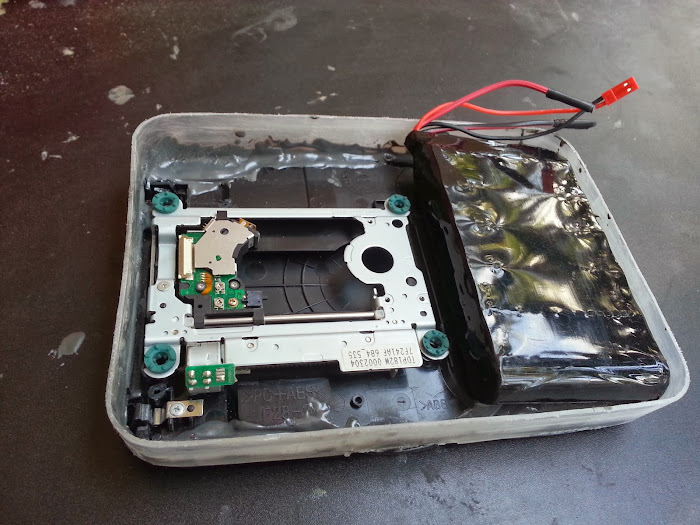
To make it slimmer and lighter i'm going to frankenscase the button to the case, use a slimmer heatsink + fan, think about another design for the disc drive and use a smaller screen which as a better image quality.
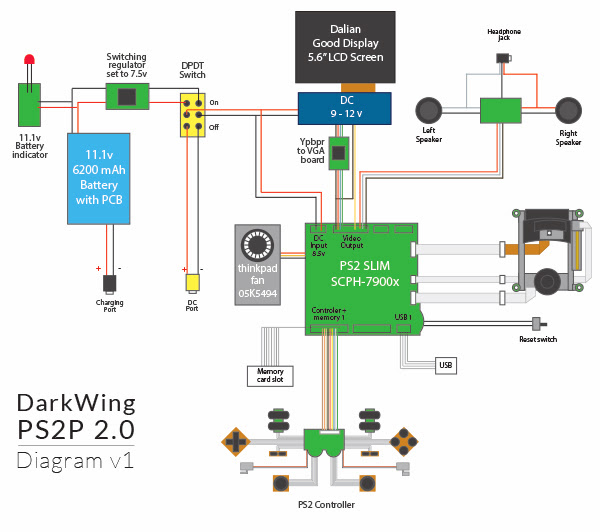
Specs
Ps2 scph-79002
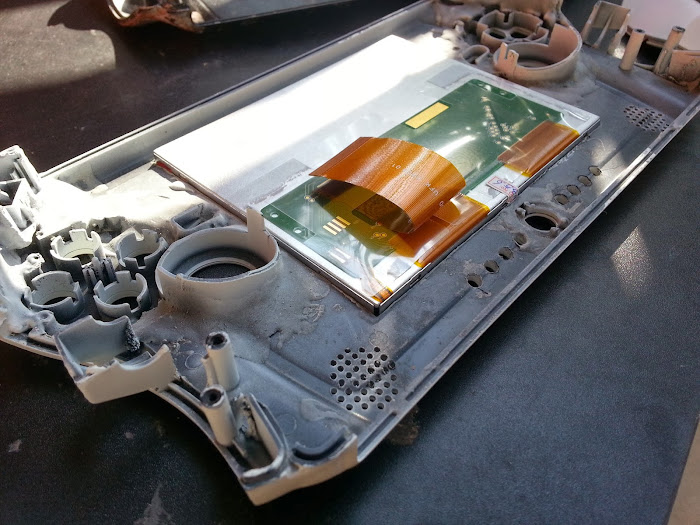
5.6" Dalian Good Display and VGA chip
Genius MaxFire Blaze 2 controller
11.1V 6200mAh made of 6 ncr18650a cells
Texas instrument ptn78020 switching regulator
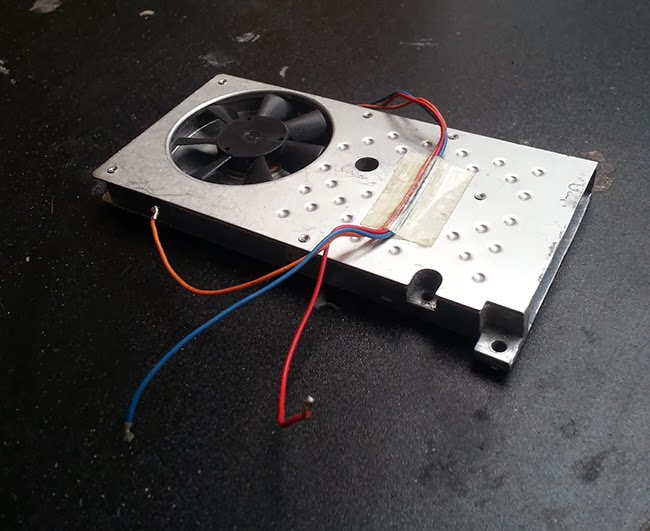
IBM Lenovo 05K5494 Laptop Fans + heatsink
Optical drive with extension
for audio a 5V mini digital amplifier board or a bb mini-iStereoDock (thanks to AngelArm1110)
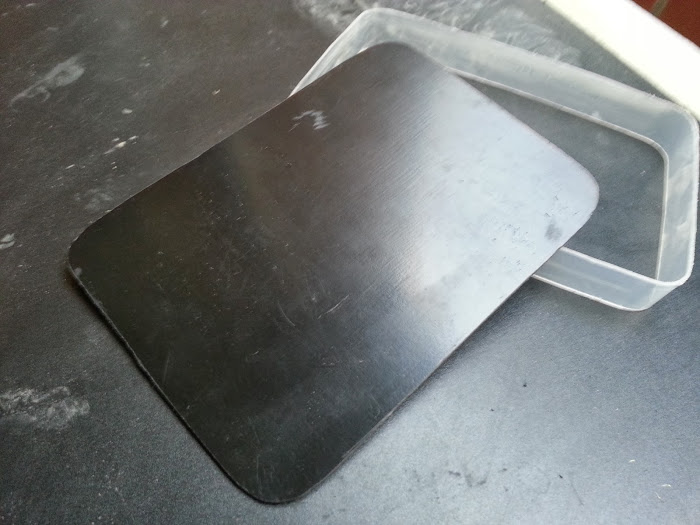
ZN40 from Polycase
I'm probably forgetting some parts but that the core of it.
Diagram
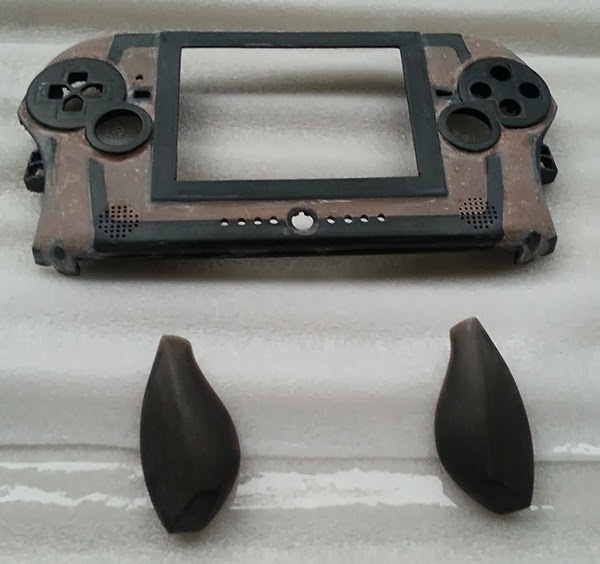
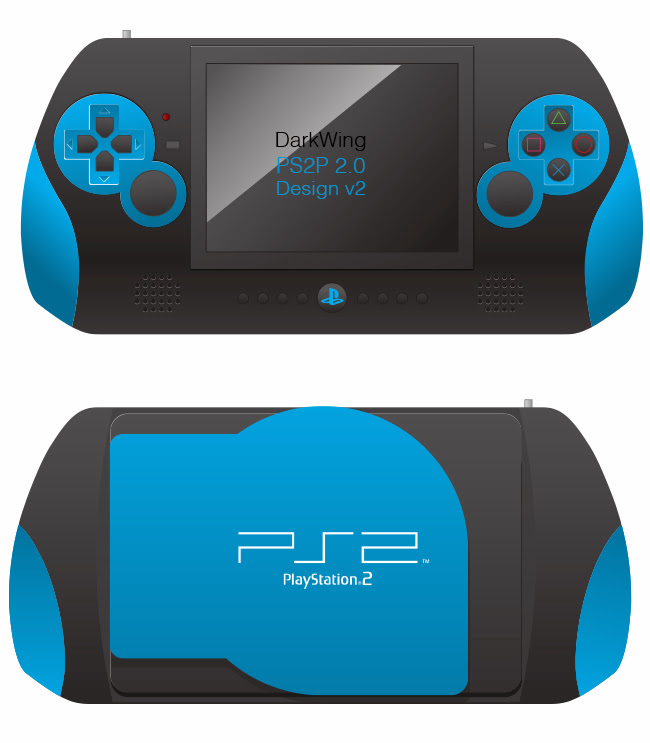
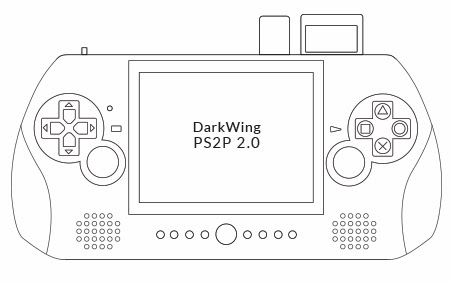
Design
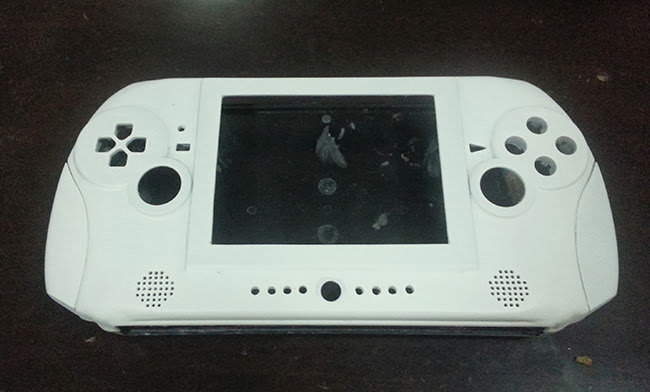
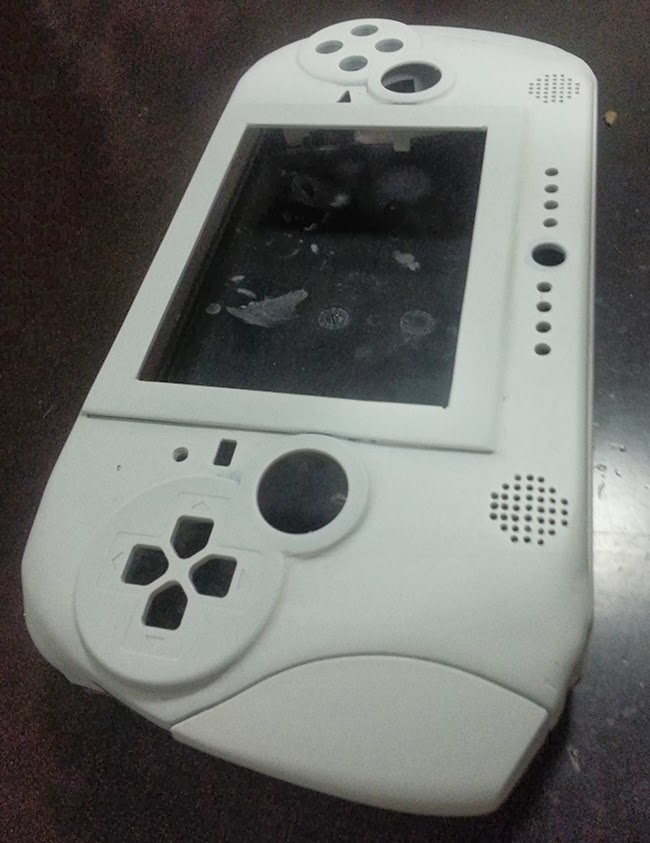
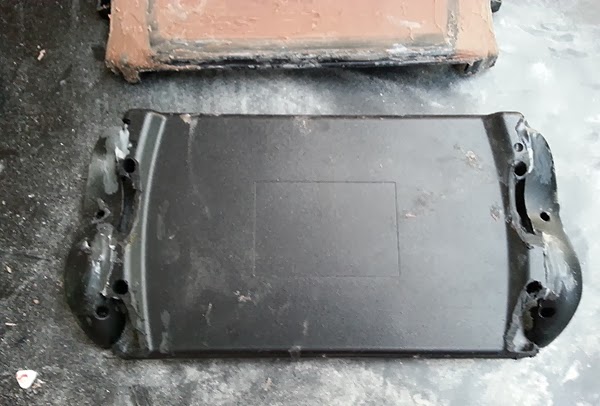
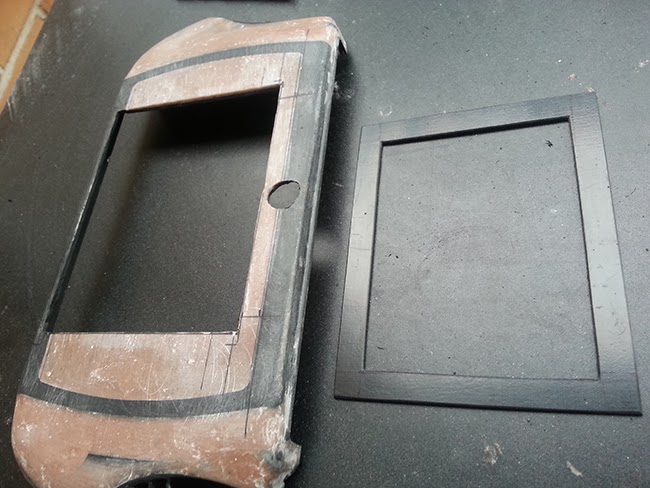
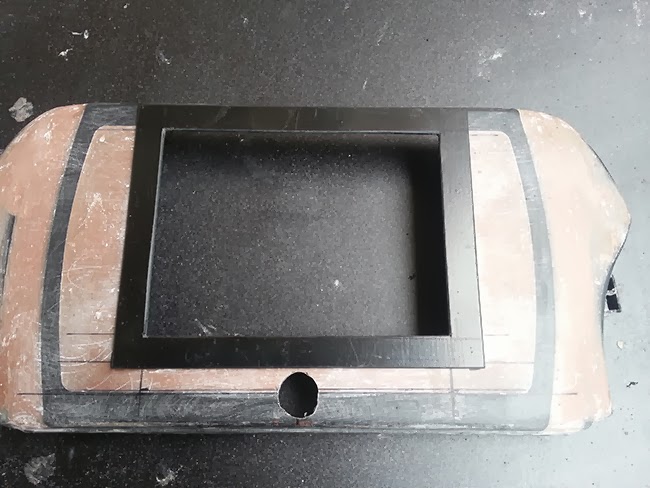
Design wise this is what i have in mind base on what i'm going to frankencase.
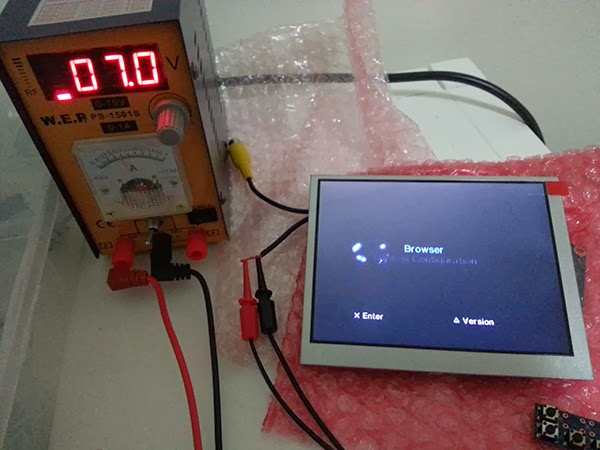
I have tested the screen and find out that it can work as low as 7v so i'm thinking to step down the voltage for both screen and ps2 board.
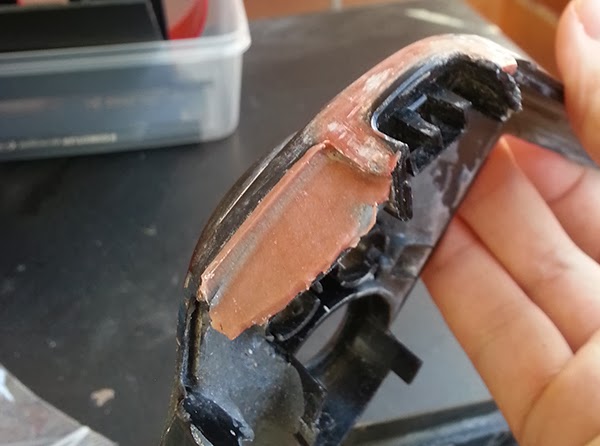
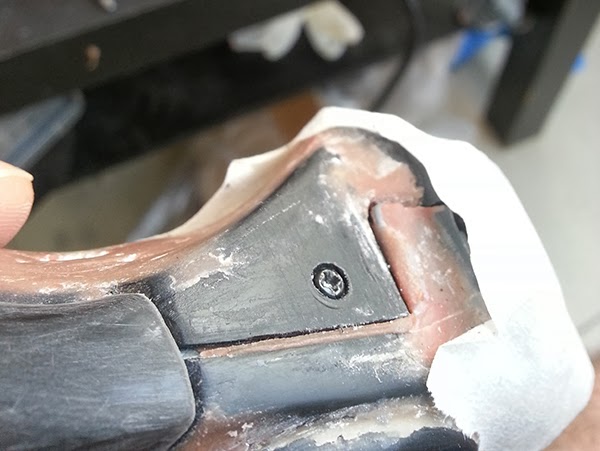
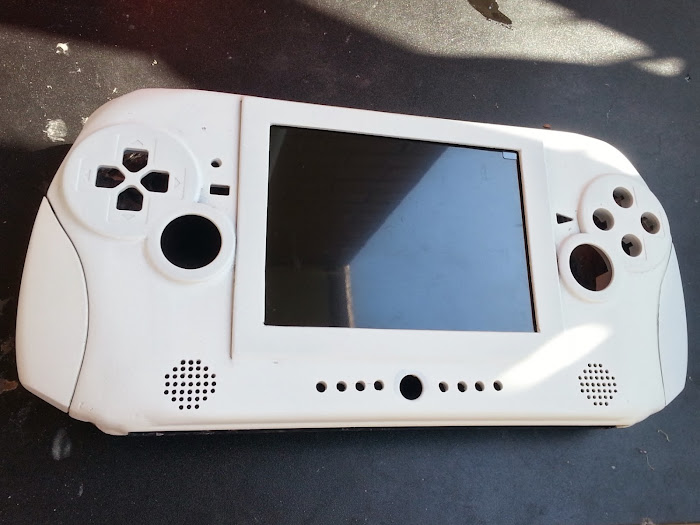
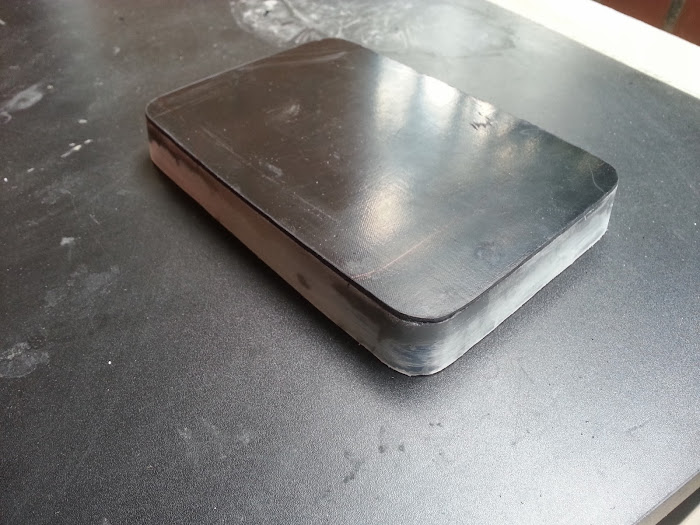
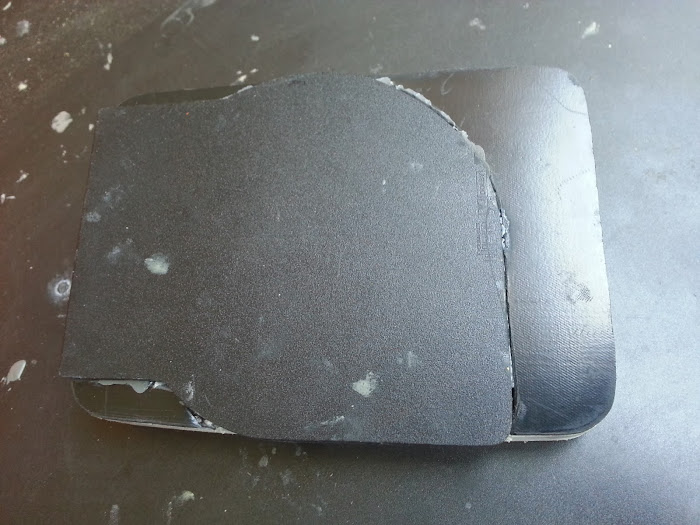
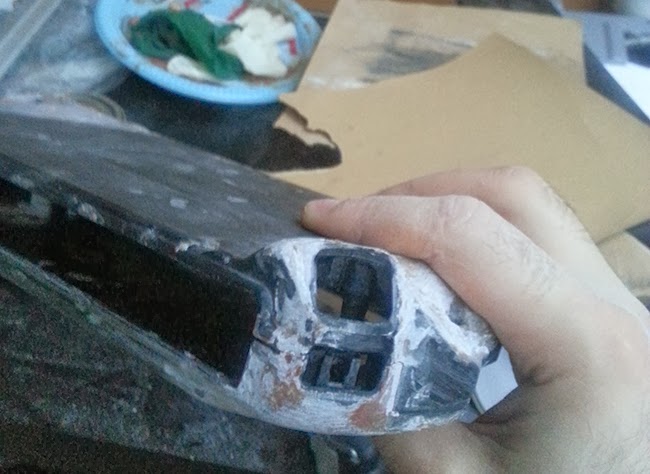
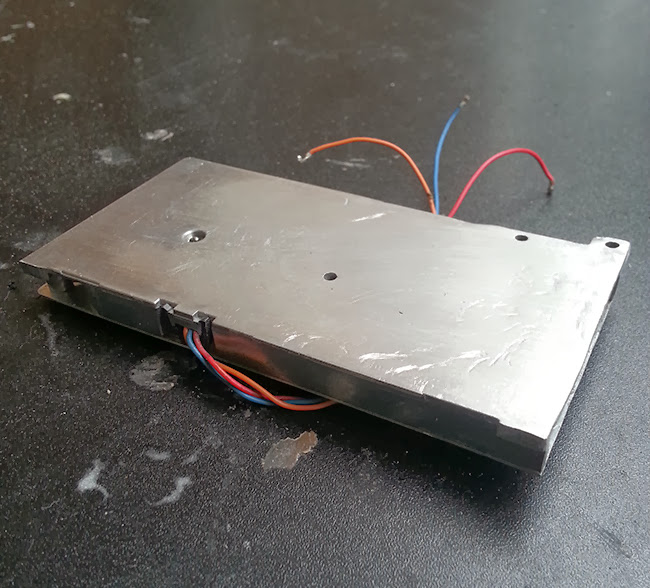
Also i have started working on the case, cutting the sides, applying a layer of jb weld and a lot of plasti-bond filler (similar to bondo in the US).
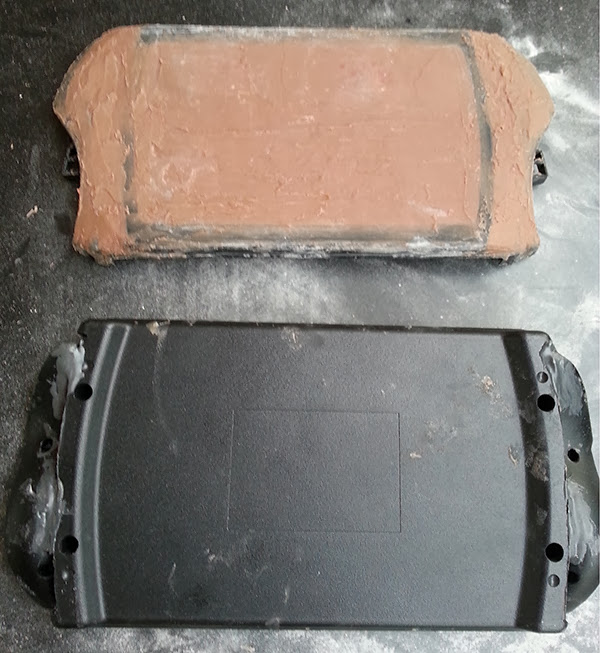
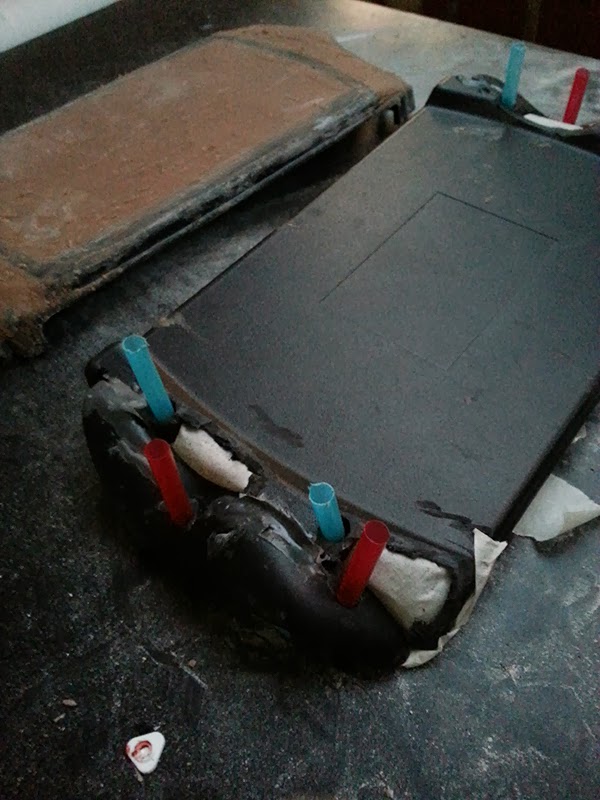
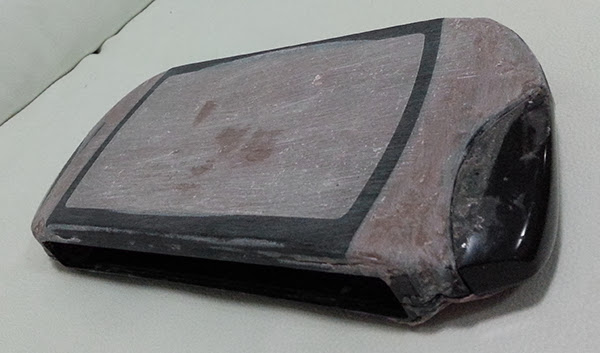
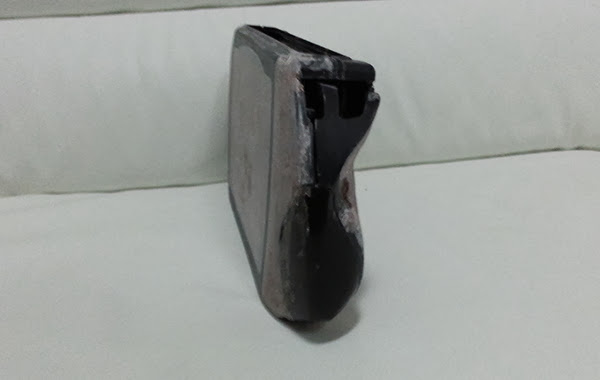
ANd after 2 hours of sanding this is the result

I don't have a name in mind for it so i'm open to suggestions.
This time my goal is to make a more compact ps2 portable that I can take with me and use in my daily commute to work.
To make it slimmer and lighter i'm going to frankenscase the button to the case, use a slimmer heatsink + fan, think about another design for the disc drive and use a smaller screen which as a better image quality.
Specs
Ps2 scph-79002
5.6" Dalian Good Display and VGA chip
Genius MaxFire Blaze 2 controller
11.1V 6200mAh made of 6 ncr18650a cells
Texas instrument ptn78020 switching regulator
IBM Lenovo 05K5494 Laptop Fans + heatsink
Optical drive with extension
for audio a 5V mini digital amplifier board or a bb mini-iStereoDock (thanks to AngelArm1110)
ZN40 from Polycase
I'm probably forgetting some parts but that the core of it.
Diagram
Design
Design wise this is what i have in mind base on what i'm going to frankencase.
I have tested the screen and find out that it can work as low as 7v so i'm thinking to step down the voltage for both screen and ps2 board.
Also i have started working on the case, cutting the sides, applying a layer of jb weld and a lot of plasti-bond filler (similar to bondo in the US).
ANd after 2 hours of sanding this is the result

 . So i had to use the unreliable technic of taping the tool to make them hold inside the Dremel. I don't advise anyone to do this because that can be pretty dangerous but i couldn't wait weeks to receive that piece.