Introduction: This guide is how to make a custom case for your projects without having to go through the trouble of making a vacuum forming table. If you have any questions on this case method, please let me know.
Supplies and tools needed:
-Styrene sheets
-Heat gun
-wood for making a mold
-xacto knife to cut the styrene
-Dremel
-abs cement or epoxy
-A filler like bondo
-Sand paper
-4 small screws
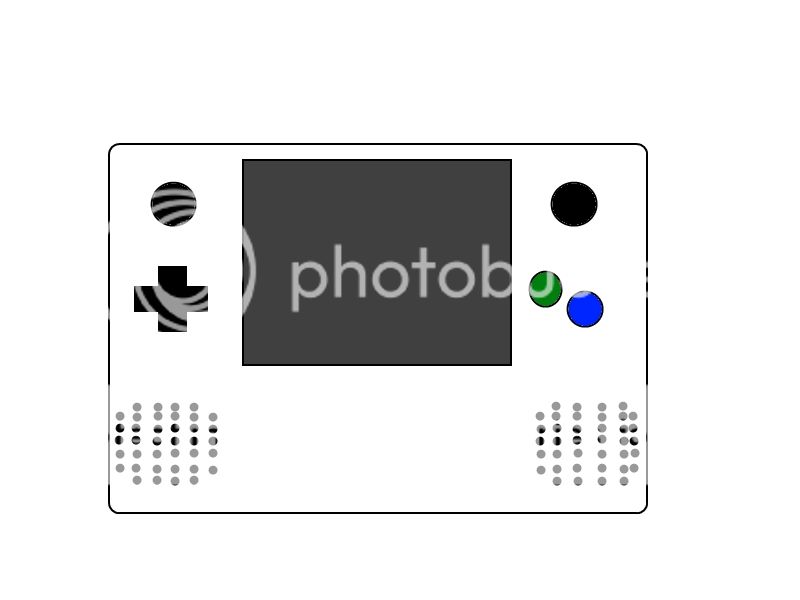
1. First you need to design a case for your project. Think about the shape you want. Also think about where all the buttons will go. Draw a side view of the case with all of the components in it so you know how thick to make the case. Here is my case design
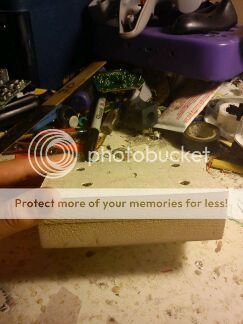
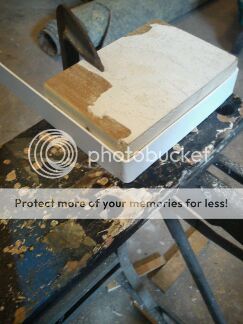
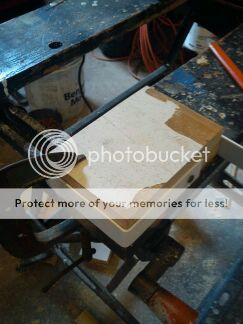
2. Once you come up with a case design, you will need to make a mold. You can use many things as a mold. Make sure you use something that won't melt over high temperatures. I used wood that I had around for the mold. Sand down the sides of the mold until they are smooth. The mold is only going to be used for the sides, the front and back will not be needed. Here is my mold
3. There will be a front and back case and when they meet together, it will be a whole case. We will make one half at a time. Take the thickness of the case and divide it by two, that is how thick each half will be. Now take the perimeter of the mold and add a few inches to it. Make a long strip of styrene that is longer than the perimeter of the mold and is as thick as a half. The perimeter of my case is 18 inches so I made my strip about 24 inches long.
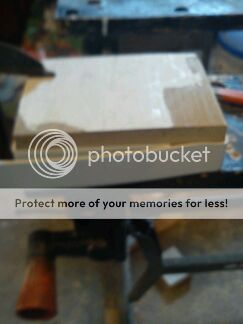
4. Screw the strip of styrene to the mold. I recommend that you clamp the mold to a table or something so you can keep for hands free.
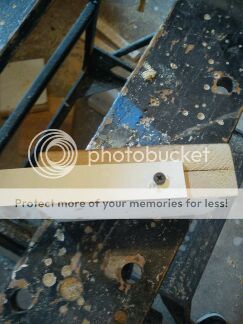
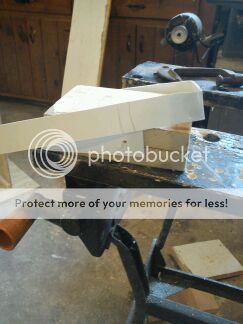
5. Heat up just the first corner with a heat gun. It won't take long to heat it up, only a few seconds. Don't over heat it or you could melt it and it will be disfigured. Heat it up just enough to bend it around the corner. Use something straight like a pencil or a ruler to help the plastic be smooth around the corner.

6. Now wait for the plastic to cool down and do the same thing for the other corners
You will need to move the clamp for the last corner.
Move the styrene so that way you can unscrew the strip from the mold.
Using a dremel, cut the styrene so that way the hole from the screw is gone
Put the styrene back onto the mold. Using a pencil, mark where the strip will meet with the other end and cut on that line.
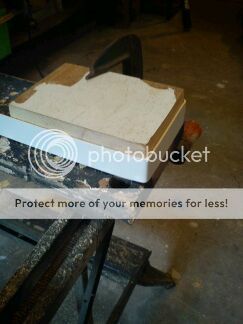
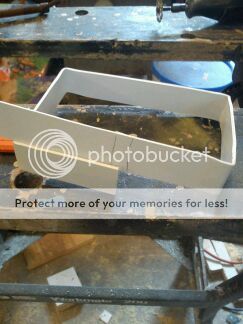
7. Put the strip of styrene on the mold and put that onto a sheet of styrene and draw around the mold.

8. Cut on the line that you just drew

9. Now we are ready to put the first half of the case together! I recommend that you sand down all of the sides that will be bonded together with some 80 grit sand paper because it will bond better if you rough it up a little bit. You can use many different things to bond the plastic together. I tested out different products to see which one works the best. I tried out pvc cement, 2 different types of epoxy, and jb-weld. I found that the pvc cement held the best but it had a little bit of give which was a turn off. The epoxy and the jb-weld were both about equally strong and cracked off with about the same strength. All in all, I concluded that the jb-weld was the best to use since it dries rock hard while the epoxy that I used was a little rubbery.
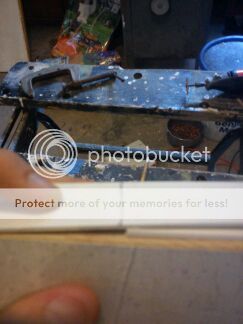
If you have vice grips, use them!! Wrap the mold in saran wrap so that way the jb-weld won't bond to the mold. I had to figure this trick out the hard way when I realized I couldn't get the mold out! Wrap the strip around your mold once again and put that into the vice grips to keep your hands free. Now mix up some jb-weld or what ever material you will use to bond the plastic together. Paint a thin layer of jb-weld onto the strip of mold that will touch the flat piece that we cut out. Place the flat piece of plastic onto the strip. It should b perfectly lined up because once it dries you will not be able to move it. If you have small clamps, clamp the plastic to the mold to keep your hands free. Let this dry over night and then remove all the clamps and take the mold out of the plastic box we have just made.
10. Put a thick coat of jb-weld on the inside of the case to make it really strong.
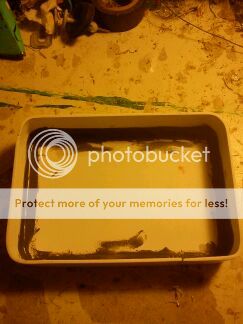
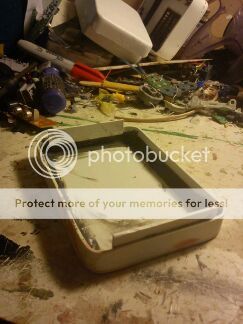
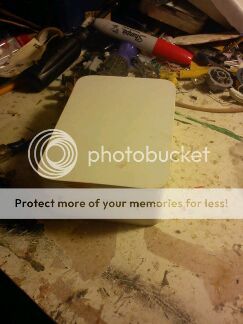
Sand down the box where the two different sheets of plastic meet. Use a little bondo to cover the crack where the plastic strip meets. After you sand down the bondo, the case should be close to perfect.

11. Great! You have one half of a case now! Repeat steps 3-10 in order to produce the other half.
12. Cut a strip of plastic to go along two opposite sides of the case. Epoxy the strip onto the case. Half of the strip should be on the case and the other half should not be. The point of this is for attaching each case half together and to make sure the halves are aligned properly.
It should look like this.
13. After the epoxy dries, put the case halves together and make sure they fit properly. Get some nice small screws. They should be just long enough to go through to sheets of plastic. Drill a pilot hole that is a tiny bit smaller than the screw through one of the case halves and the strip from step 13. Drill 2 holes on each side preferably close to the corners. Now screw in the screws to tap the screw hole.
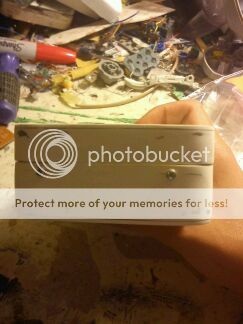
14. Now your plastic case is done! You can now drill holes or frankencase things in for what ever you were planning on using the case for.
Supplies and tools needed:
-Styrene sheets
-Heat gun
-wood for making a mold
-xacto knife to cut the styrene
-Dremel
-abs cement or epoxy
-A filler like bondo
-Sand paper
-4 small screws
1. First you need to design a case for your project. Think about the shape you want. Also think about where all the buttons will go. Draw a side view of the case with all of the components in it so you know how thick to make the case. Here is my case design
2. Once you come up with a case design, you will need to make a mold. You can use many things as a mold. Make sure you use something that won't melt over high temperatures. I used wood that I had around for the mold. Sand down the sides of the mold until they are smooth. The mold is only going to be used for the sides, the front and back will not be needed. Here is my mold
3. There will be a front and back case and when they meet together, it will be a whole case. We will make one half at a time. Take the thickness of the case and divide it by two, that is how thick each half will be. Now take the perimeter of the mold and add a few inches to it. Make a long strip of styrene that is longer than the perimeter of the mold and is as thick as a half. The perimeter of my case is 18 inches so I made my strip about 24 inches long.
4. Screw the strip of styrene to the mold. I recommend that you clamp the mold to a table or something so you can keep for hands free.
5. Heat up just the first corner with a heat gun. It won't take long to heat it up, only a few seconds. Don't over heat it or you could melt it and it will be disfigured. Heat it up just enough to bend it around the corner. Use something straight like a pencil or a ruler to help the plastic be smooth around the corner.
6. Now wait for the plastic to cool down and do the same thing for the other corners
You will need to move the clamp for the last corner.
Move the styrene so that way you can unscrew the strip from the mold.
Using a dremel, cut the styrene so that way the hole from the screw is gone
Put the styrene back onto the mold. Using a pencil, mark where the strip will meet with the other end and cut on that line.
7. Put the strip of styrene on the mold and put that onto a sheet of styrene and draw around the mold.
8. Cut on the line that you just drew
9. Now we are ready to put the first half of the case together! I recommend that you sand down all of the sides that will be bonded together with some 80 grit sand paper because it will bond better if you rough it up a little bit. You can use many different things to bond the plastic together. I tested out different products to see which one works the best. I tried out pvc cement, 2 different types of epoxy, and jb-weld. I found that the pvc cement held the best but it had a little bit of give which was a turn off. The epoxy and the jb-weld were both about equally strong and cracked off with about the same strength. All in all, I concluded that the jb-weld was the best to use since it dries rock hard while the epoxy that I used was a little rubbery.
If you have vice grips, use them!! Wrap the mold in saran wrap so that way the jb-weld won't bond to the mold. I had to figure this trick out the hard way when I realized I couldn't get the mold out! Wrap the strip around your mold once again and put that into the vice grips to keep your hands free. Now mix up some jb-weld or what ever material you will use to bond the plastic together. Paint a thin layer of jb-weld onto the strip of mold that will touch the flat piece that we cut out. Place the flat piece of plastic onto the strip. It should b perfectly lined up because once it dries you will not be able to move it. If you have small clamps, clamp the plastic to the mold to keep your hands free. Let this dry over night and then remove all the clamps and take the mold out of the plastic box we have just made.
10. Put a thick coat of jb-weld on the inside of the case to make it really strong.
Sand down the box where the two different sheets of plastic meet. Use a little bondo to cover the crack where the plastic strip meets. After you sand down the bondo, the case should be close to perfect.
11. Great! You have one half of a case now! Repeat steps 3-10 in order to produce the other half.
12. Cut a strip of plastic to go along two opposite sides of the case. Epoxy the strip onto the case. Half of the strip should be on the case and the other half should not be. The point of this is for attaching each case half together and to make sure the halves are aligned properly.
It should look like this.
13. After the epoxy dries, put the case halves together and make sure they fit properly. Get some nice small screws. They should be just long enough to go through to sheets of plastic. Drill a pilot hole that is a tiny bit smaller than the screw through one of the case halves and the strip from step 13. Drill 2 holes on each side preferably close to the corners. Now screw in the screws to tap the screw hole.
14. Now your plastic case is done! You can now drill holes or frankencase things in for what ever you were planning on using the case for.
